

Hello! — when my daughter-in-law shared the idea of having dream catchers at her wedding, I was excited to see what she came up with. Well, she had a cute picture from Pinterest but that was about all. She tried to buy already finished dream catchers, but to get them larger than 4″ in diameter was too pricey so..Momma Pursley was called to the rescue and I was happy to help out.
I bought the 4″ ones and then picked up my yarn and needle and crocheted some 8″ doilies. They were so easy and fun! 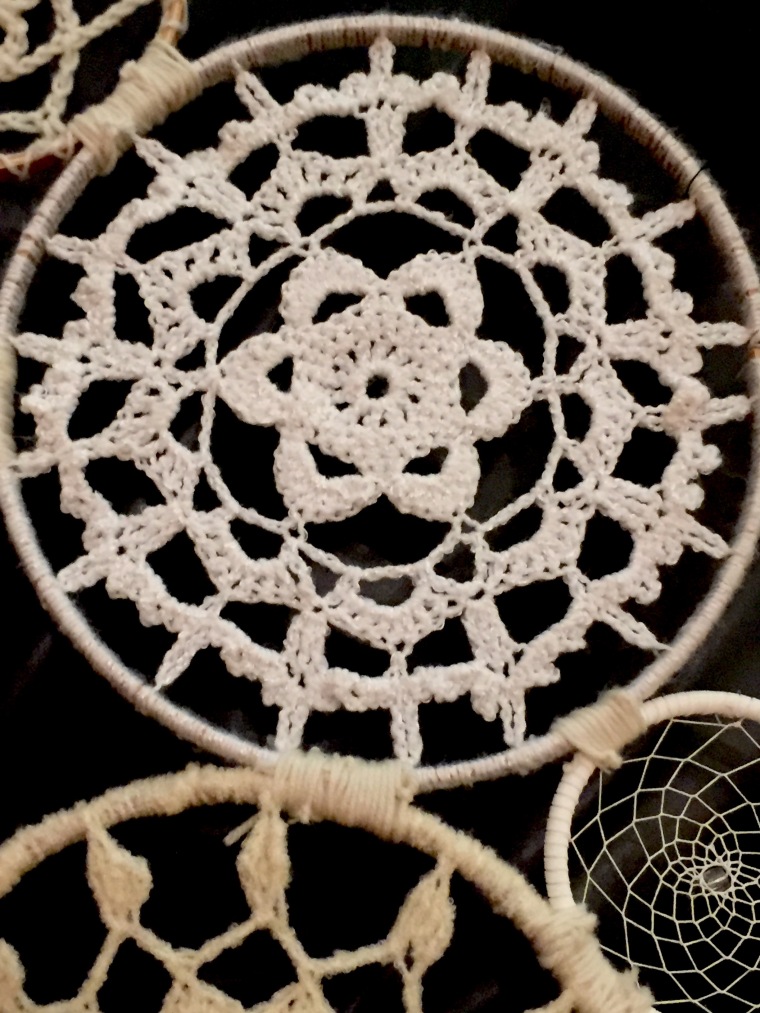 I attached them to the hoops. Then my beautiful daughter, Tassy, put them together adding the pretty lace and feathers making this fantastic arrangement! (She even got inspired and crocheted a few of the smaller ones herself!)
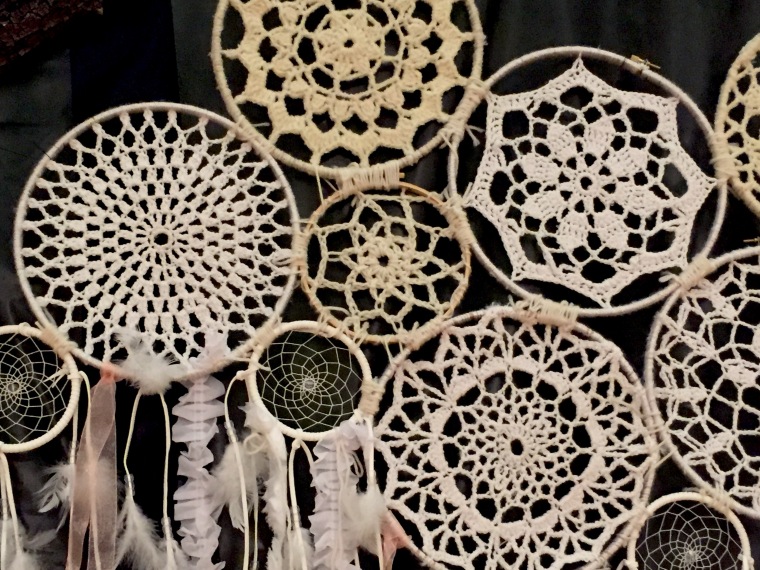
If you know how to crochet at all, these really are not hard to make. Here is what you do:
- Gather different sized embroidery hoops. Mine ranged from 10-12″ in diameter. Tassy used a 6″ one.
- Find a doily pattern that you like. There are tons of free patterns online. There were so many that I used a different pattern for each dream catcher, but you could make them all the same if you wanted to whip them out quickly. –another easy way is to buy them already made. They are really affordable on eBay and Amazon.
- The finished doily should be about 2″ smaller than the hoop you are using because you want it to be tight when you attach it.
- cut a 4″ piece of thread and slip it around a point of the doily and then tie it to the hoop. Repeat this on an opposite point all around the doily until it is tied all the way to the hoop. There will be strings hanging out all around.
- Cut an arms length or 30″ or so piece of yarn to start wrapping the hoop with. Lay about 3″ on the hoop with the end facing left if you are right handed. Now start wrapping counter clockwise around the hoop covering all of the hanging threads and beginning yarn piece as you go. It goes rather quickly and cleans up so pretty. Cut more yarn as needed and repeat covering the ending and beginning threads as you go until the whole hoop is covered.
- At the end, leave a 6-8″ length of yarn to thread into a large eyed needle and sew back under the previous stitches. It should be very tight.
- Now all you have to do is tie them all together in a design that you like and add pretty ribbons and feathers to the bottom!
Yea!! It turns out BEAUTIFUL!!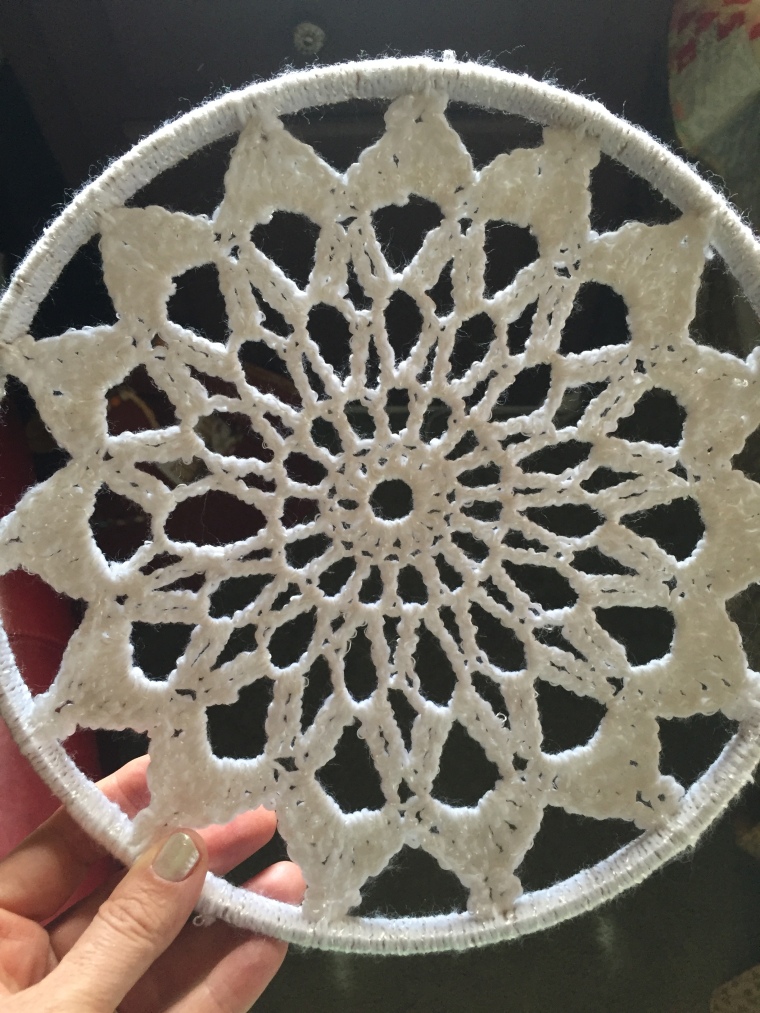
Good Luck and SWEET dreamzzzzz!
–Tracy:)

Lovely idea!
LikeLike
Such a great idea and so beautifully executed! thumbs up 😉
LikeLiked by 1 person
Thank you! My daughter in law is very “earthy” and just loves it:)
LikeLiked by 1 person
She’s also lucky 😉
LikeLike
These are great 🙂
LikeLiked by 1 person
OMG! How freaking awesome is THAT!?! Really beautiful!
LikeLike
Thank you! They were so fun and really set the tone of the evening:)
LikeLike