

 My husband and I work with a bunch of fantastic young people in the ward of my church. They are going to college or working and are so excited to be starting their life’s adventures. If you you want to feel young, surround yourself with enthusiastic college aged students! It’s Great!
  There is a couple who also works with them, but is from out of town. They are missionaries who have spent the last 18 months spending their whole day and most of their nights just being there for the kids. They feed them, smile, serve them, and love them.
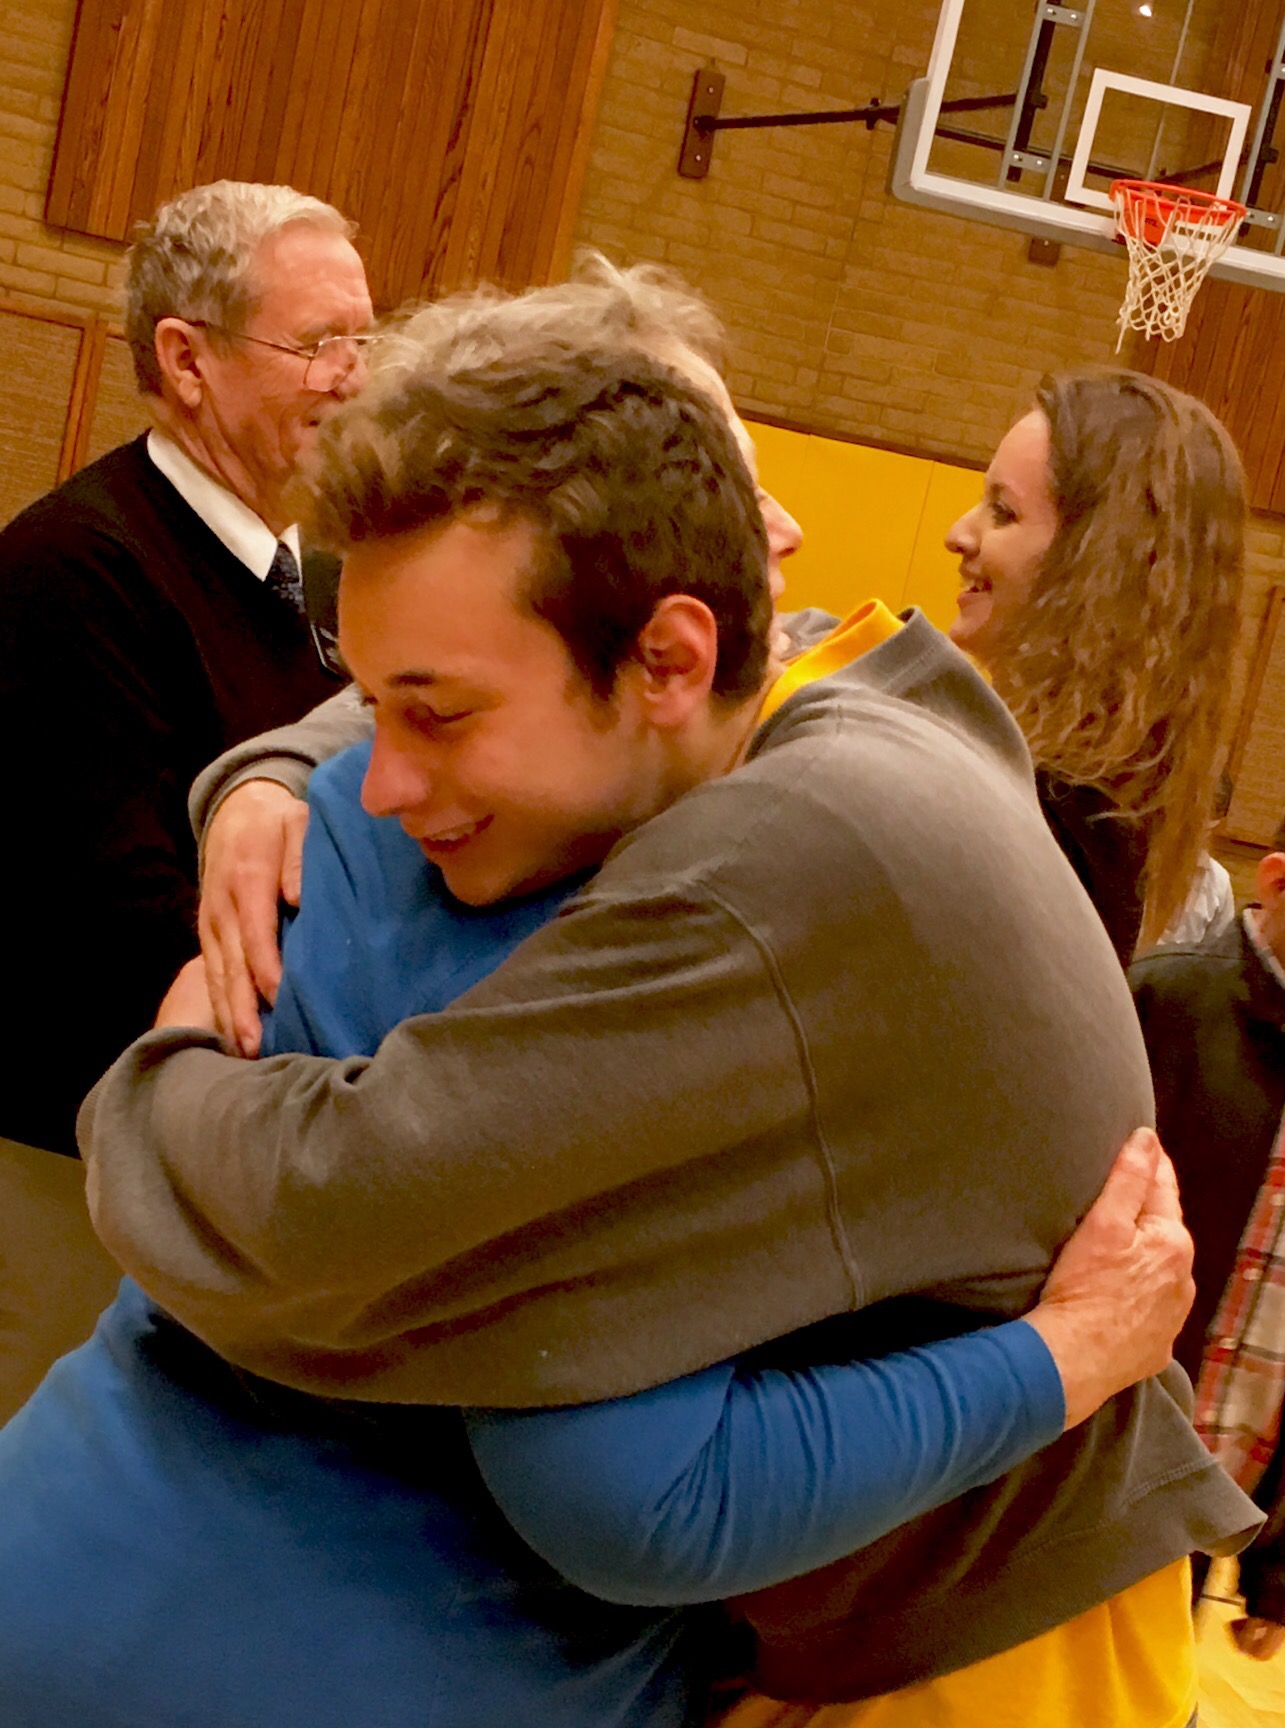 Well, this couple’s mission is over and we all are going to miss them. Being a quilter, I knew that the best way to say good bye is with the warm hug of a quilt!
I cut a bunch of 5.5″ squares from some left-over backing fabric I had in my stash, and had the kids all write thank you notes on them with crayon. –I just love using my scraps. It makes me so happy:)!!
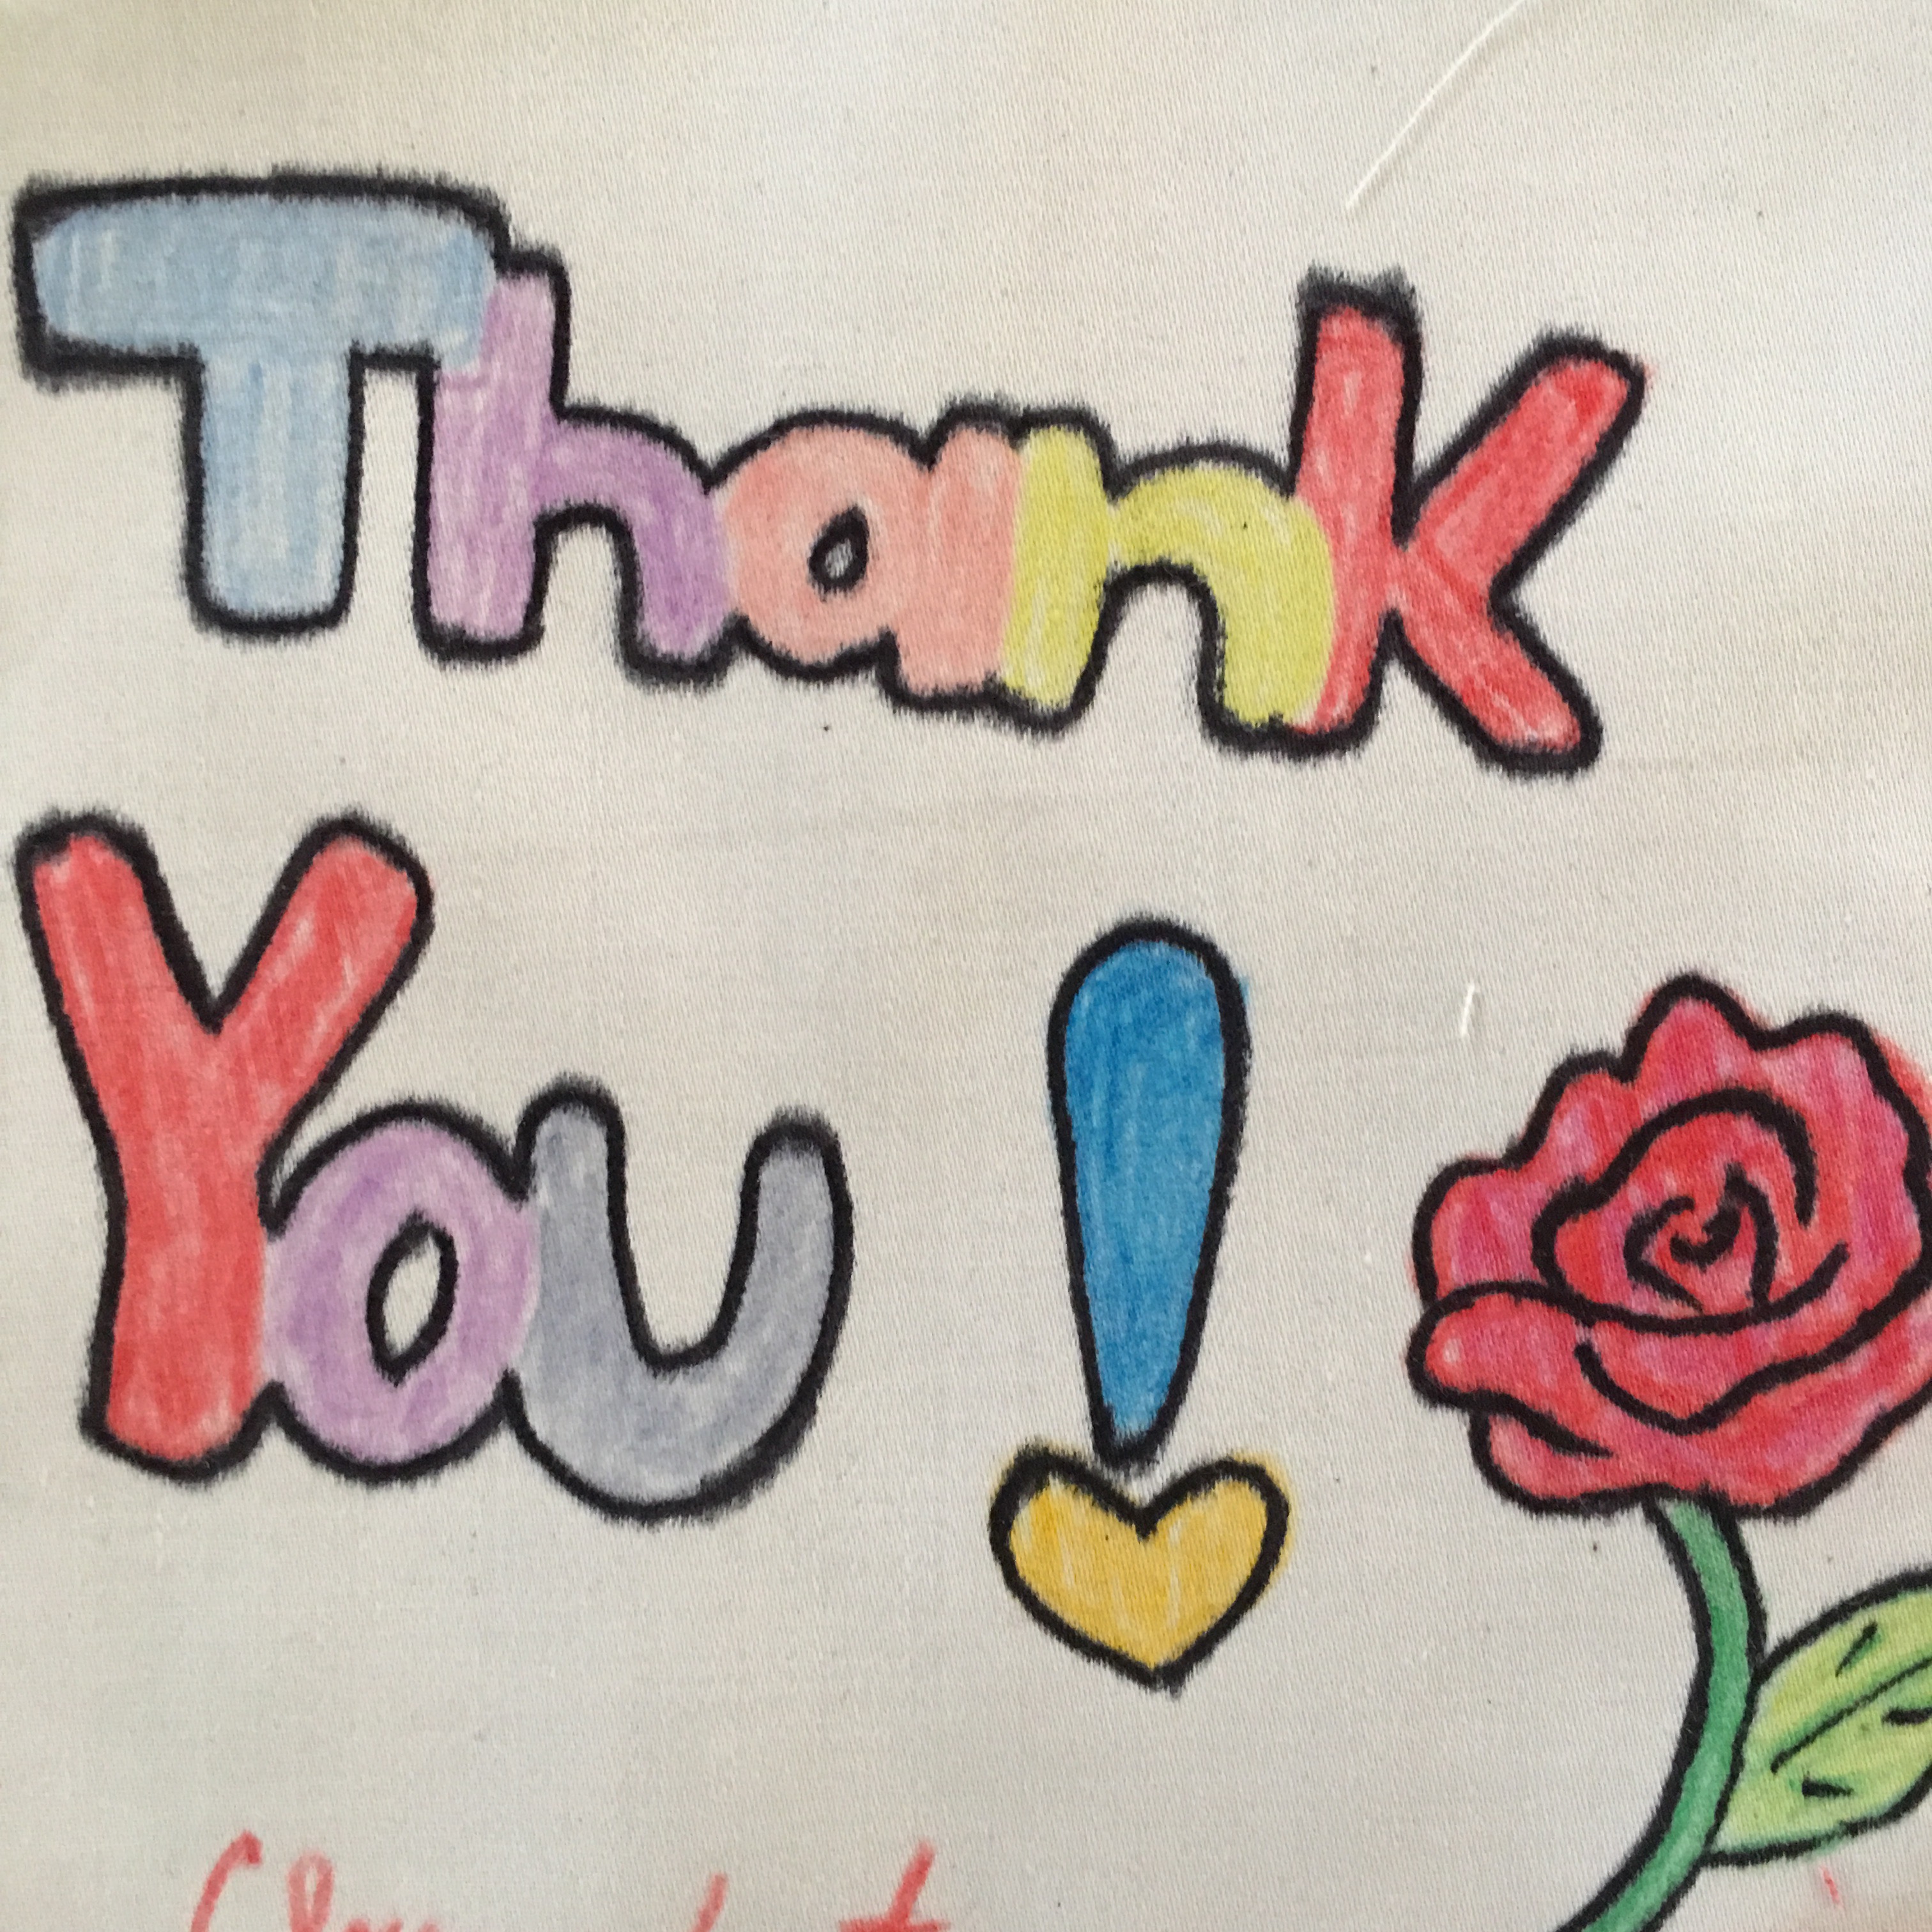
 Crayon is an amazing thing. You color on the fabric and then take it to the ironing board, place a paper towel over it and press. The wax is sort of absorbed in the paper towel while the color is permanently embedded in the fabric. It’s so cool!
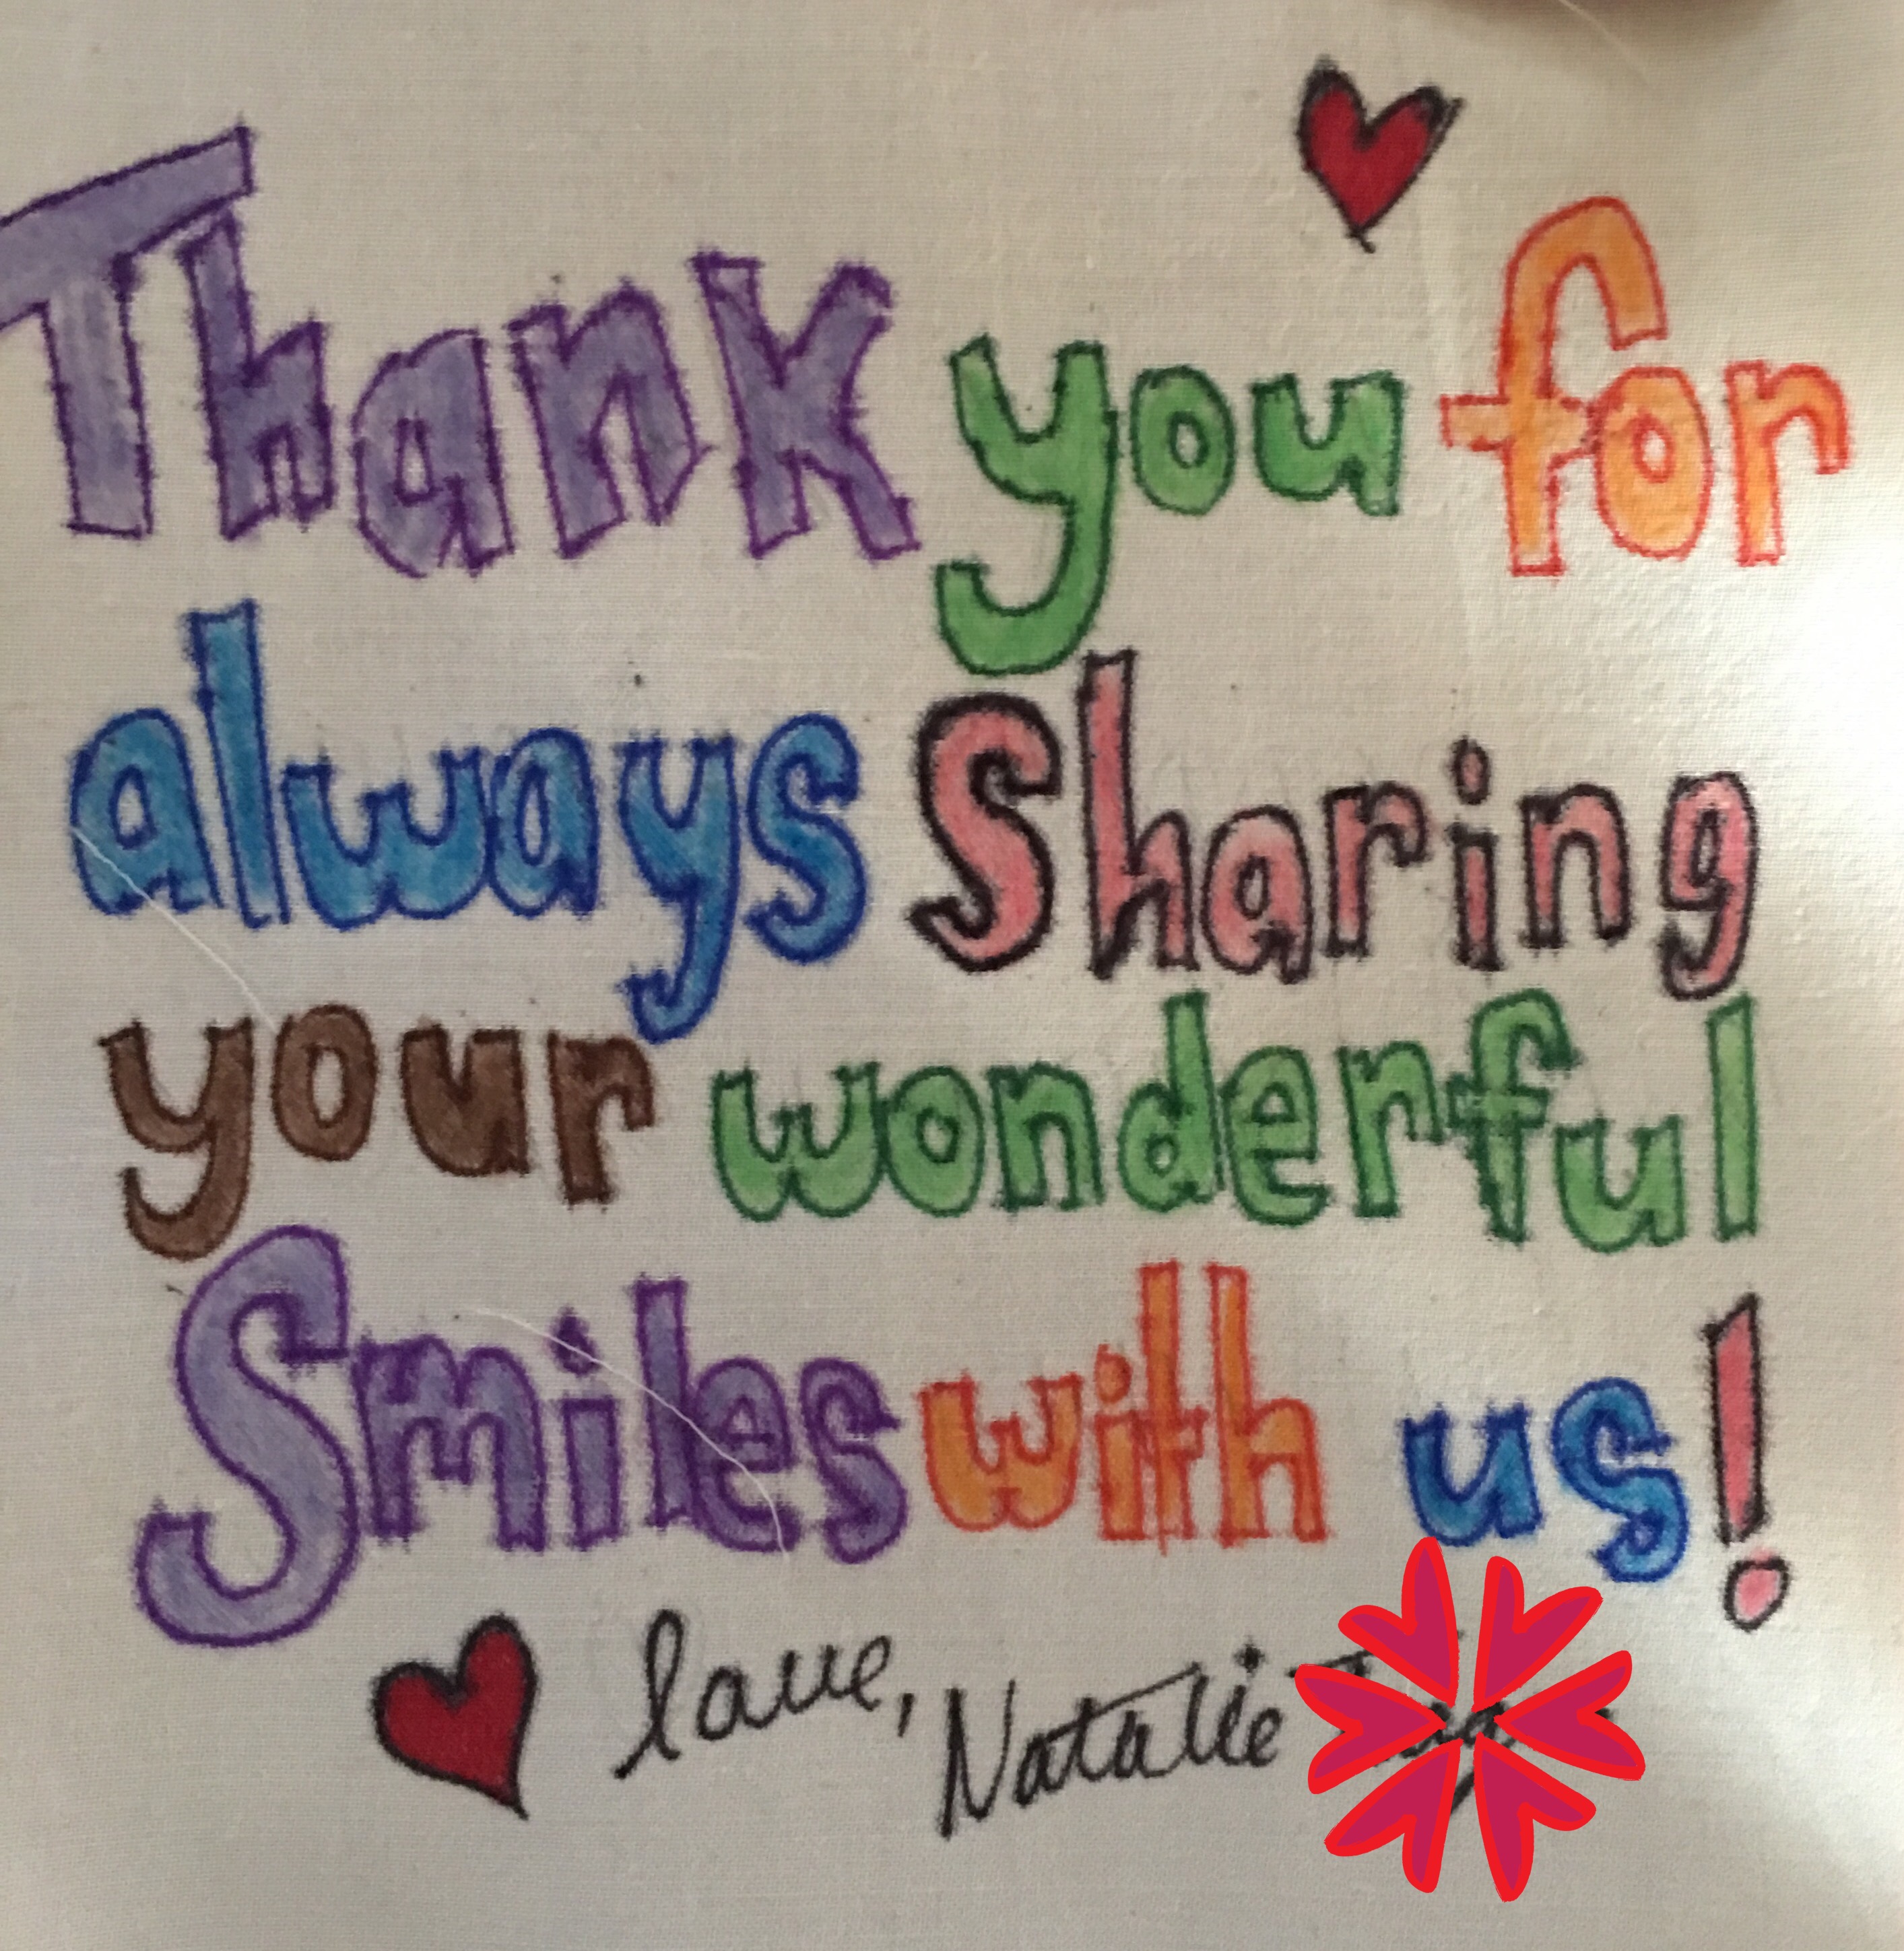 Next, I gathered up some of my scraps of red. I have a lot of red left over from my “In the Sewing Room” spinners quilt that I recently gave away here on my blog.
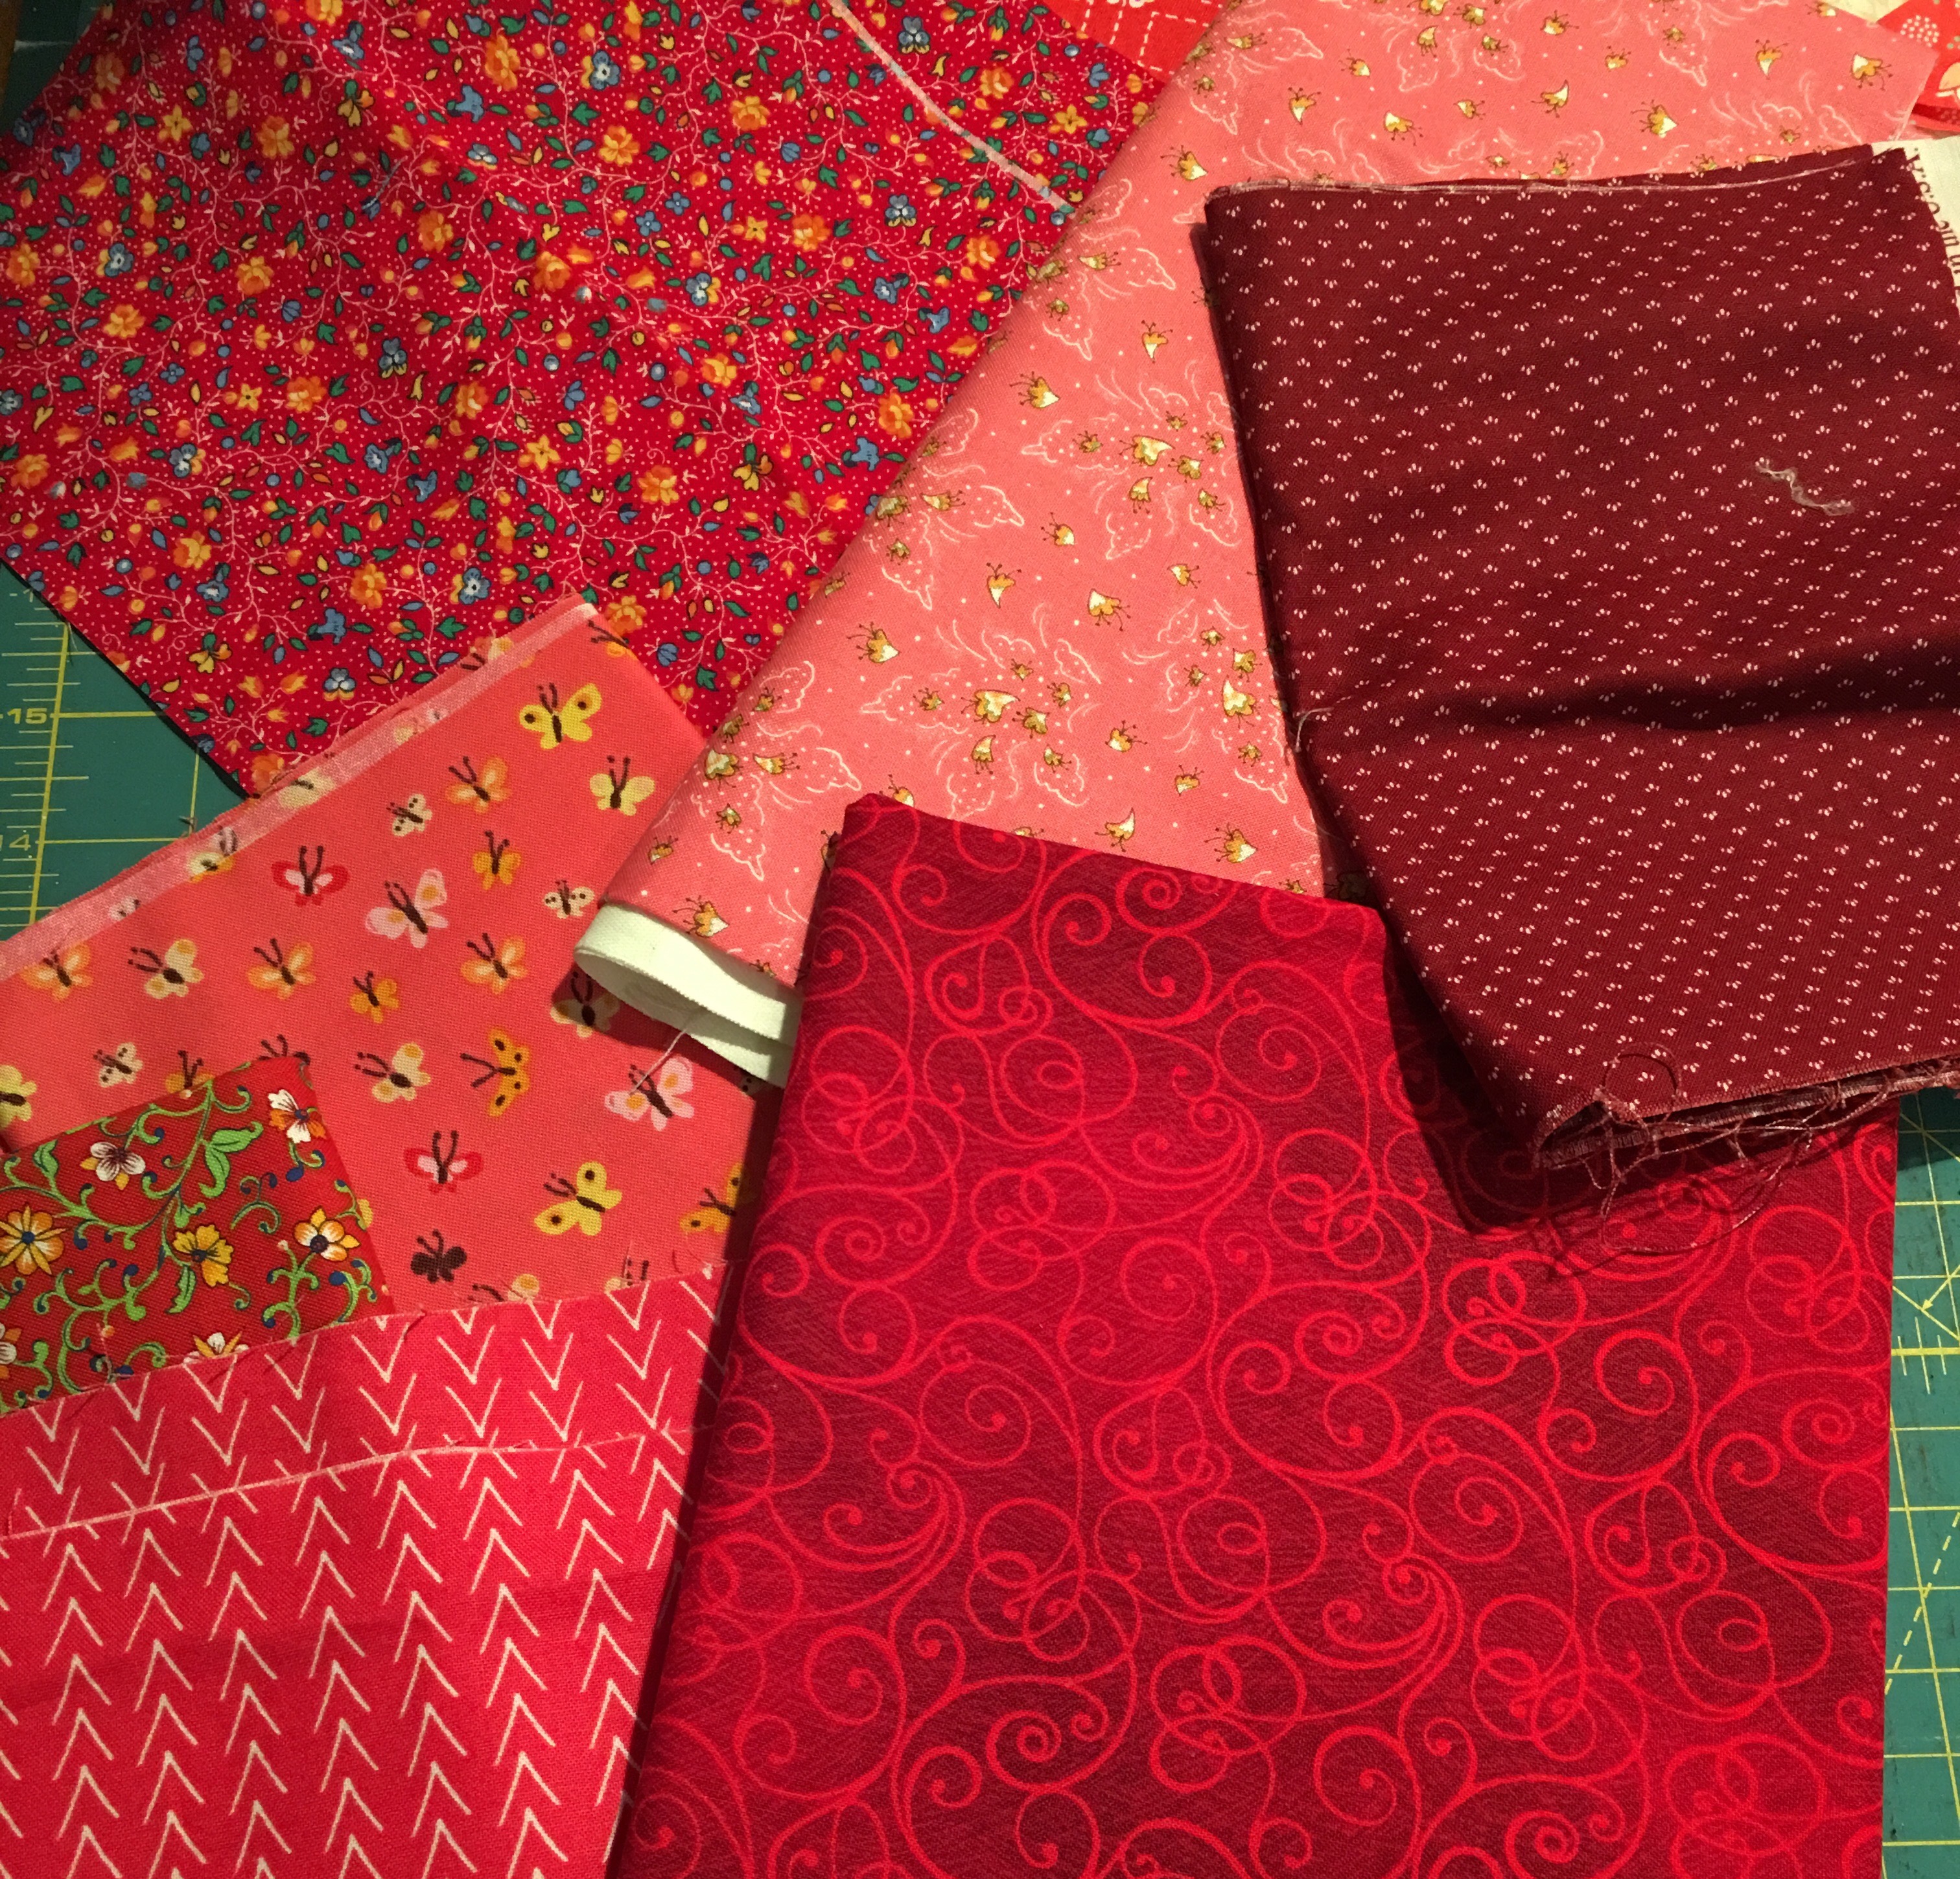
I wanted to make this quilt a two color quilt so that the bright messages would really pop! I decided on a quarter square triangle for an alternating block. This frames the art perfectly, plus they are super easy! Here is the “recipe”:
Quarter Square Triangle Block—
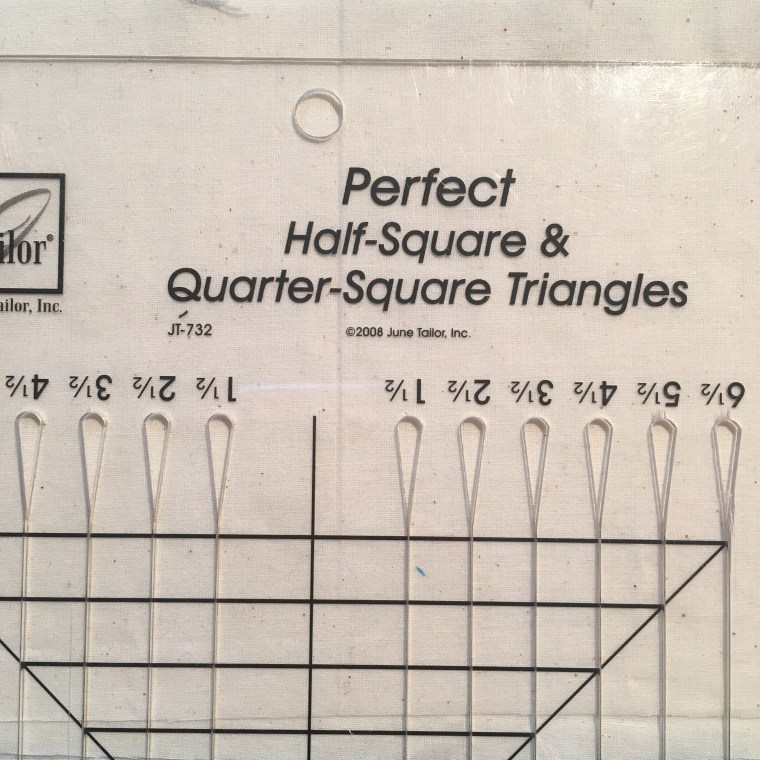
You will need a Perfect Half square and Quarter square Triangles ruler by June Tailor.
- Determine the finished size of your block. I finished mine to 5.5″
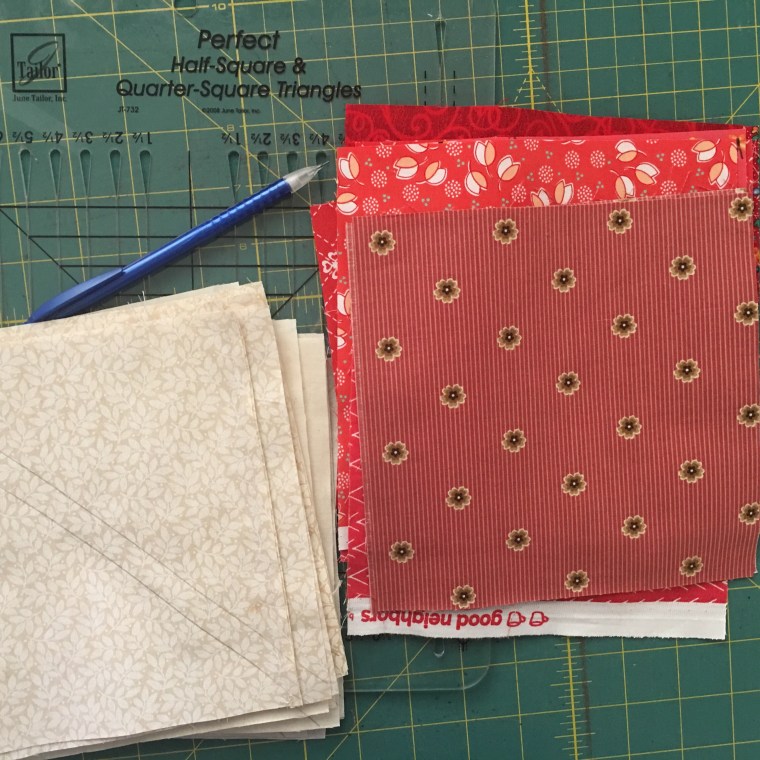
- Here is the very important step–Cut one light and one dark fabric 1 1/4” larger than your finished size. I added 1.5″ just to be safe. I cut my squares 7″
- Each square will make two blocks– I needed 108 blocks so I cut 54 dark and 54 light 7″squares.
- Because these are such large squares, I marked on the back to get a straight stitch line.
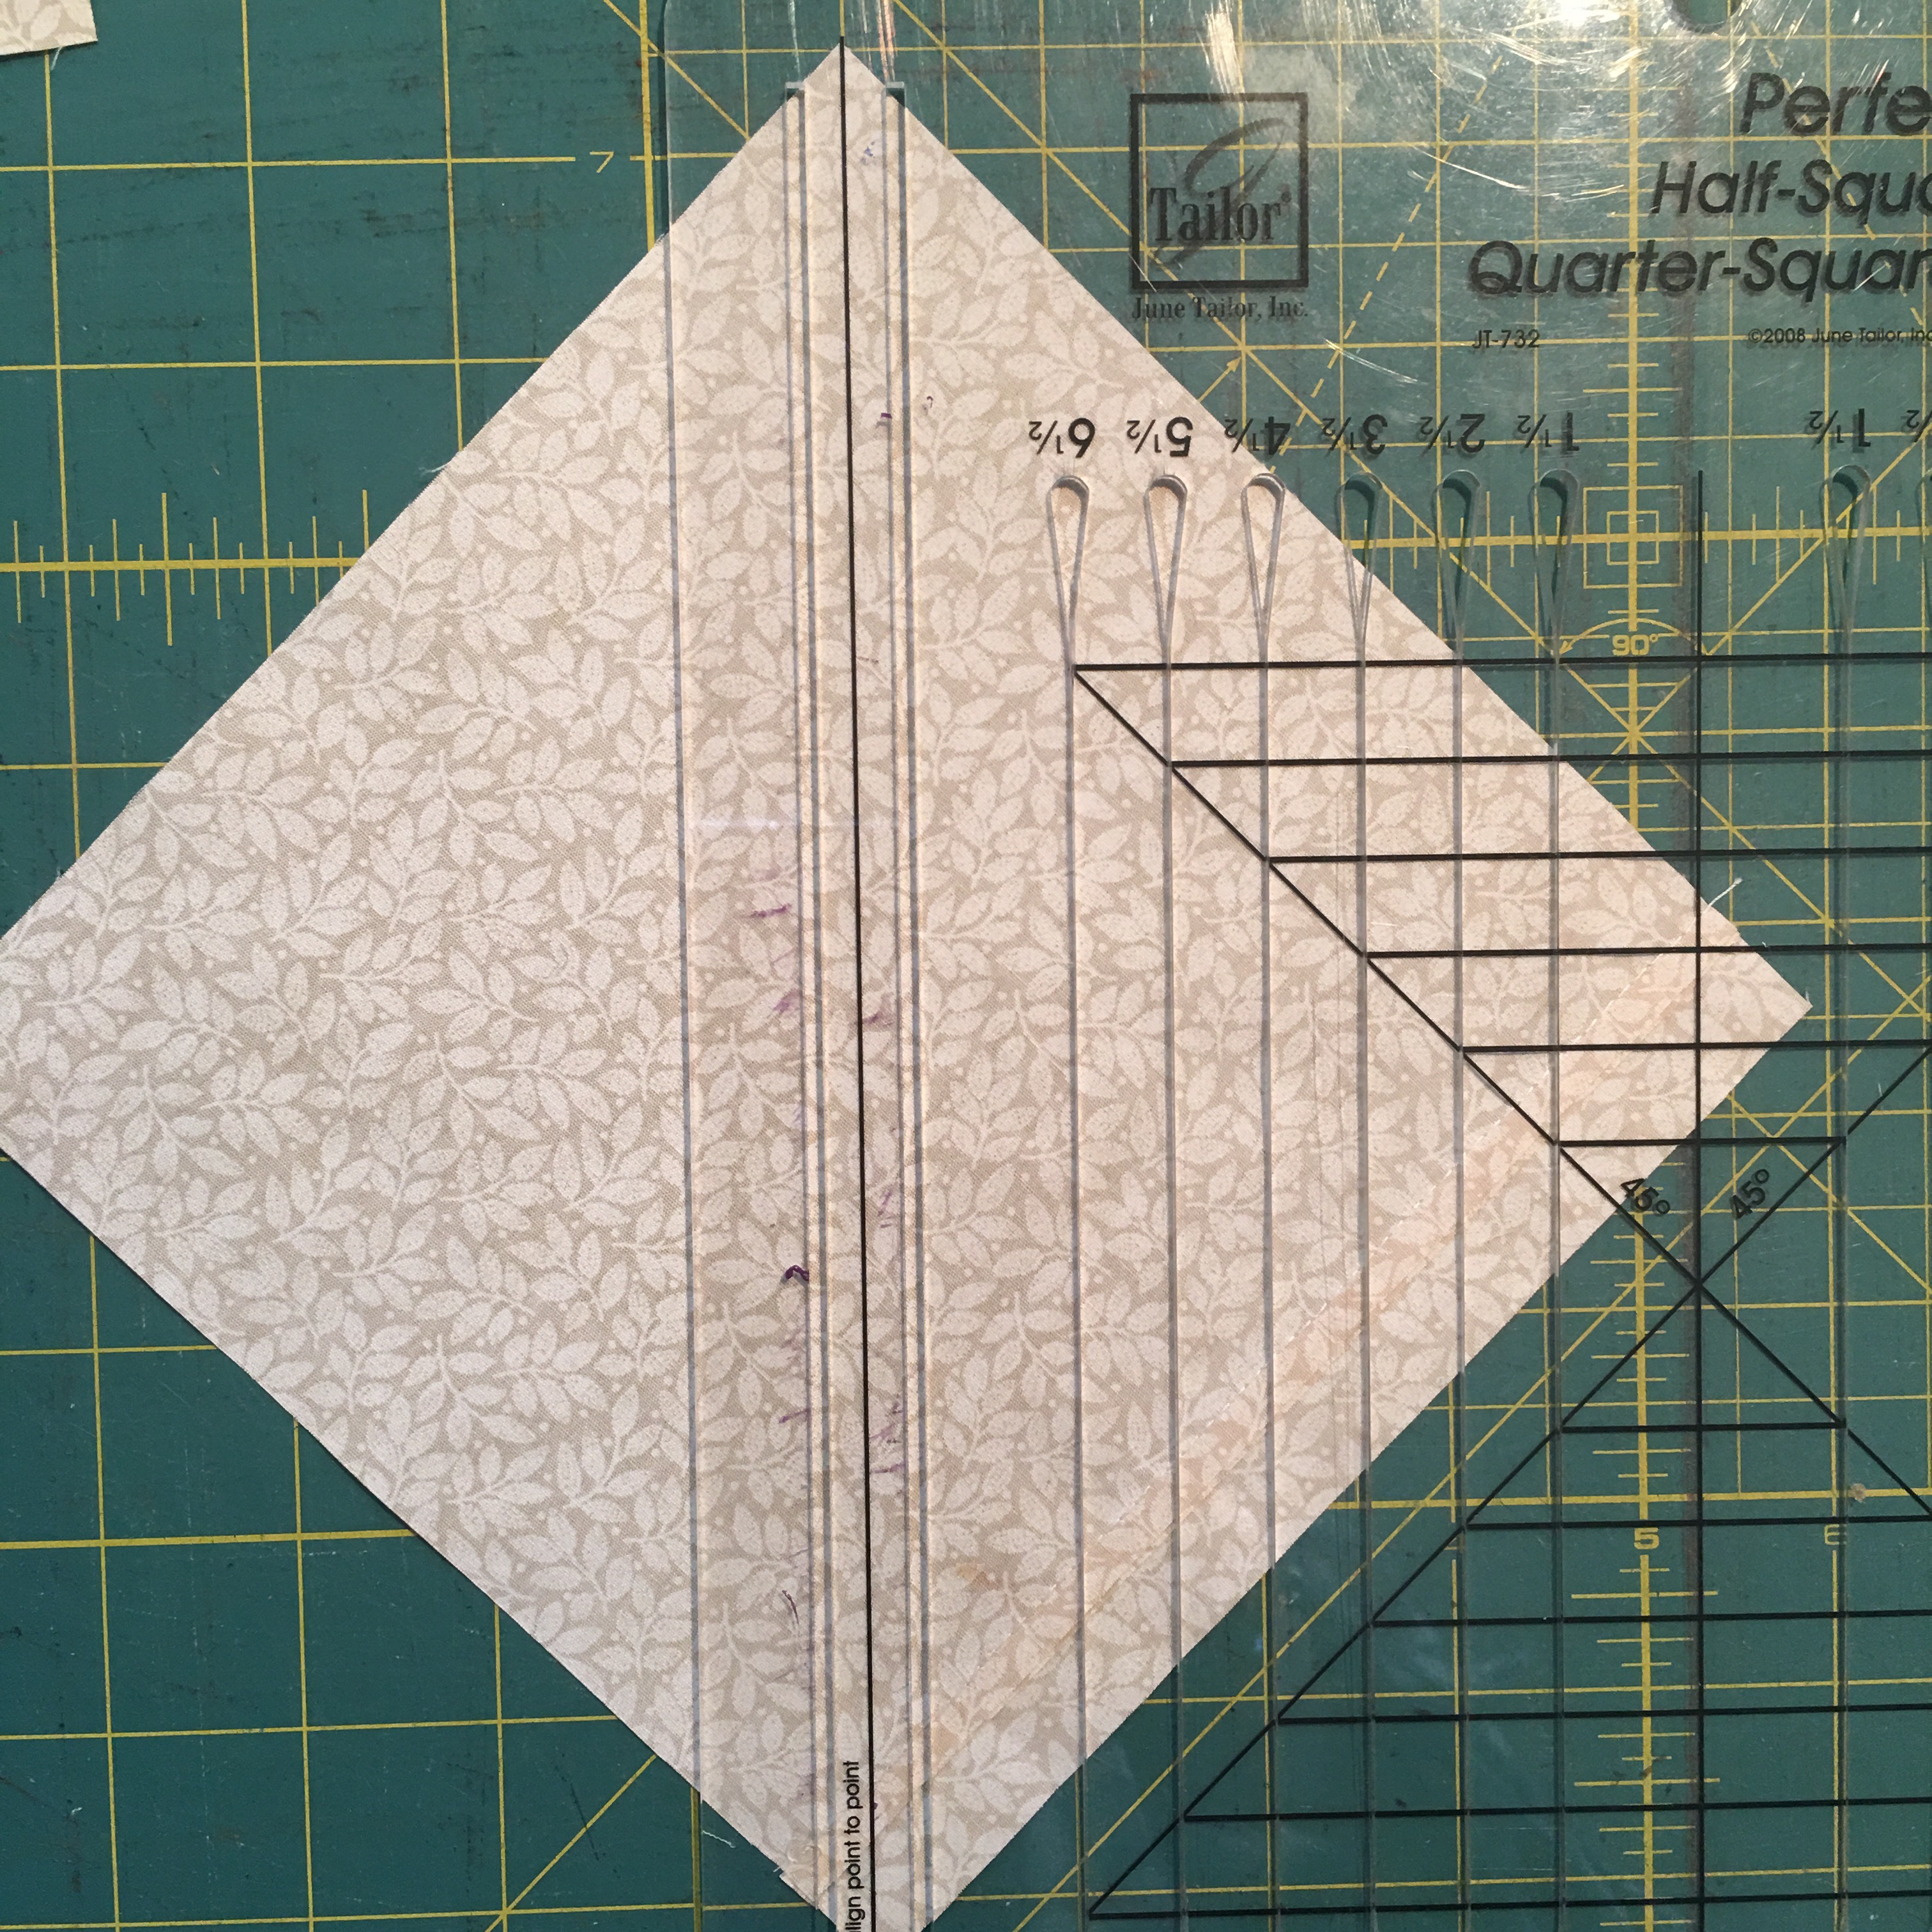
- Take out the quarter square ruler. You will notice on the left is a double slot opening. This is wide enough for a pencil to draw lines.
- Line it on the diagonal on the back of the light fabric and mark both lines.


- Place a light fabric right sides together with a dark fabric and sew on the marked lines.
- Use the right side of the ruler to cut down the center of the stitching lines. This goes really fast!

- Press these open with the fold to the dark side.
- Match these half square triangles into pairs right sides together with the colors going opposite directions. The seams should nest or “kiss” each other.

- Repeat the process. Mark the sewing lines
- Sew on the lines

- Chain sew on each side and cut apart after both sides are sewn
- Cut down the center of the lines using the right side of the ruler.

- Press open.
- Next is the really fun part!–Line the block to the center “x” markings of the ruler and cut on both of the desired square measurements, left and right sides. I used the 5.5″ markings
- Cut the two sides, and then flip the block and then cut the other two sides.


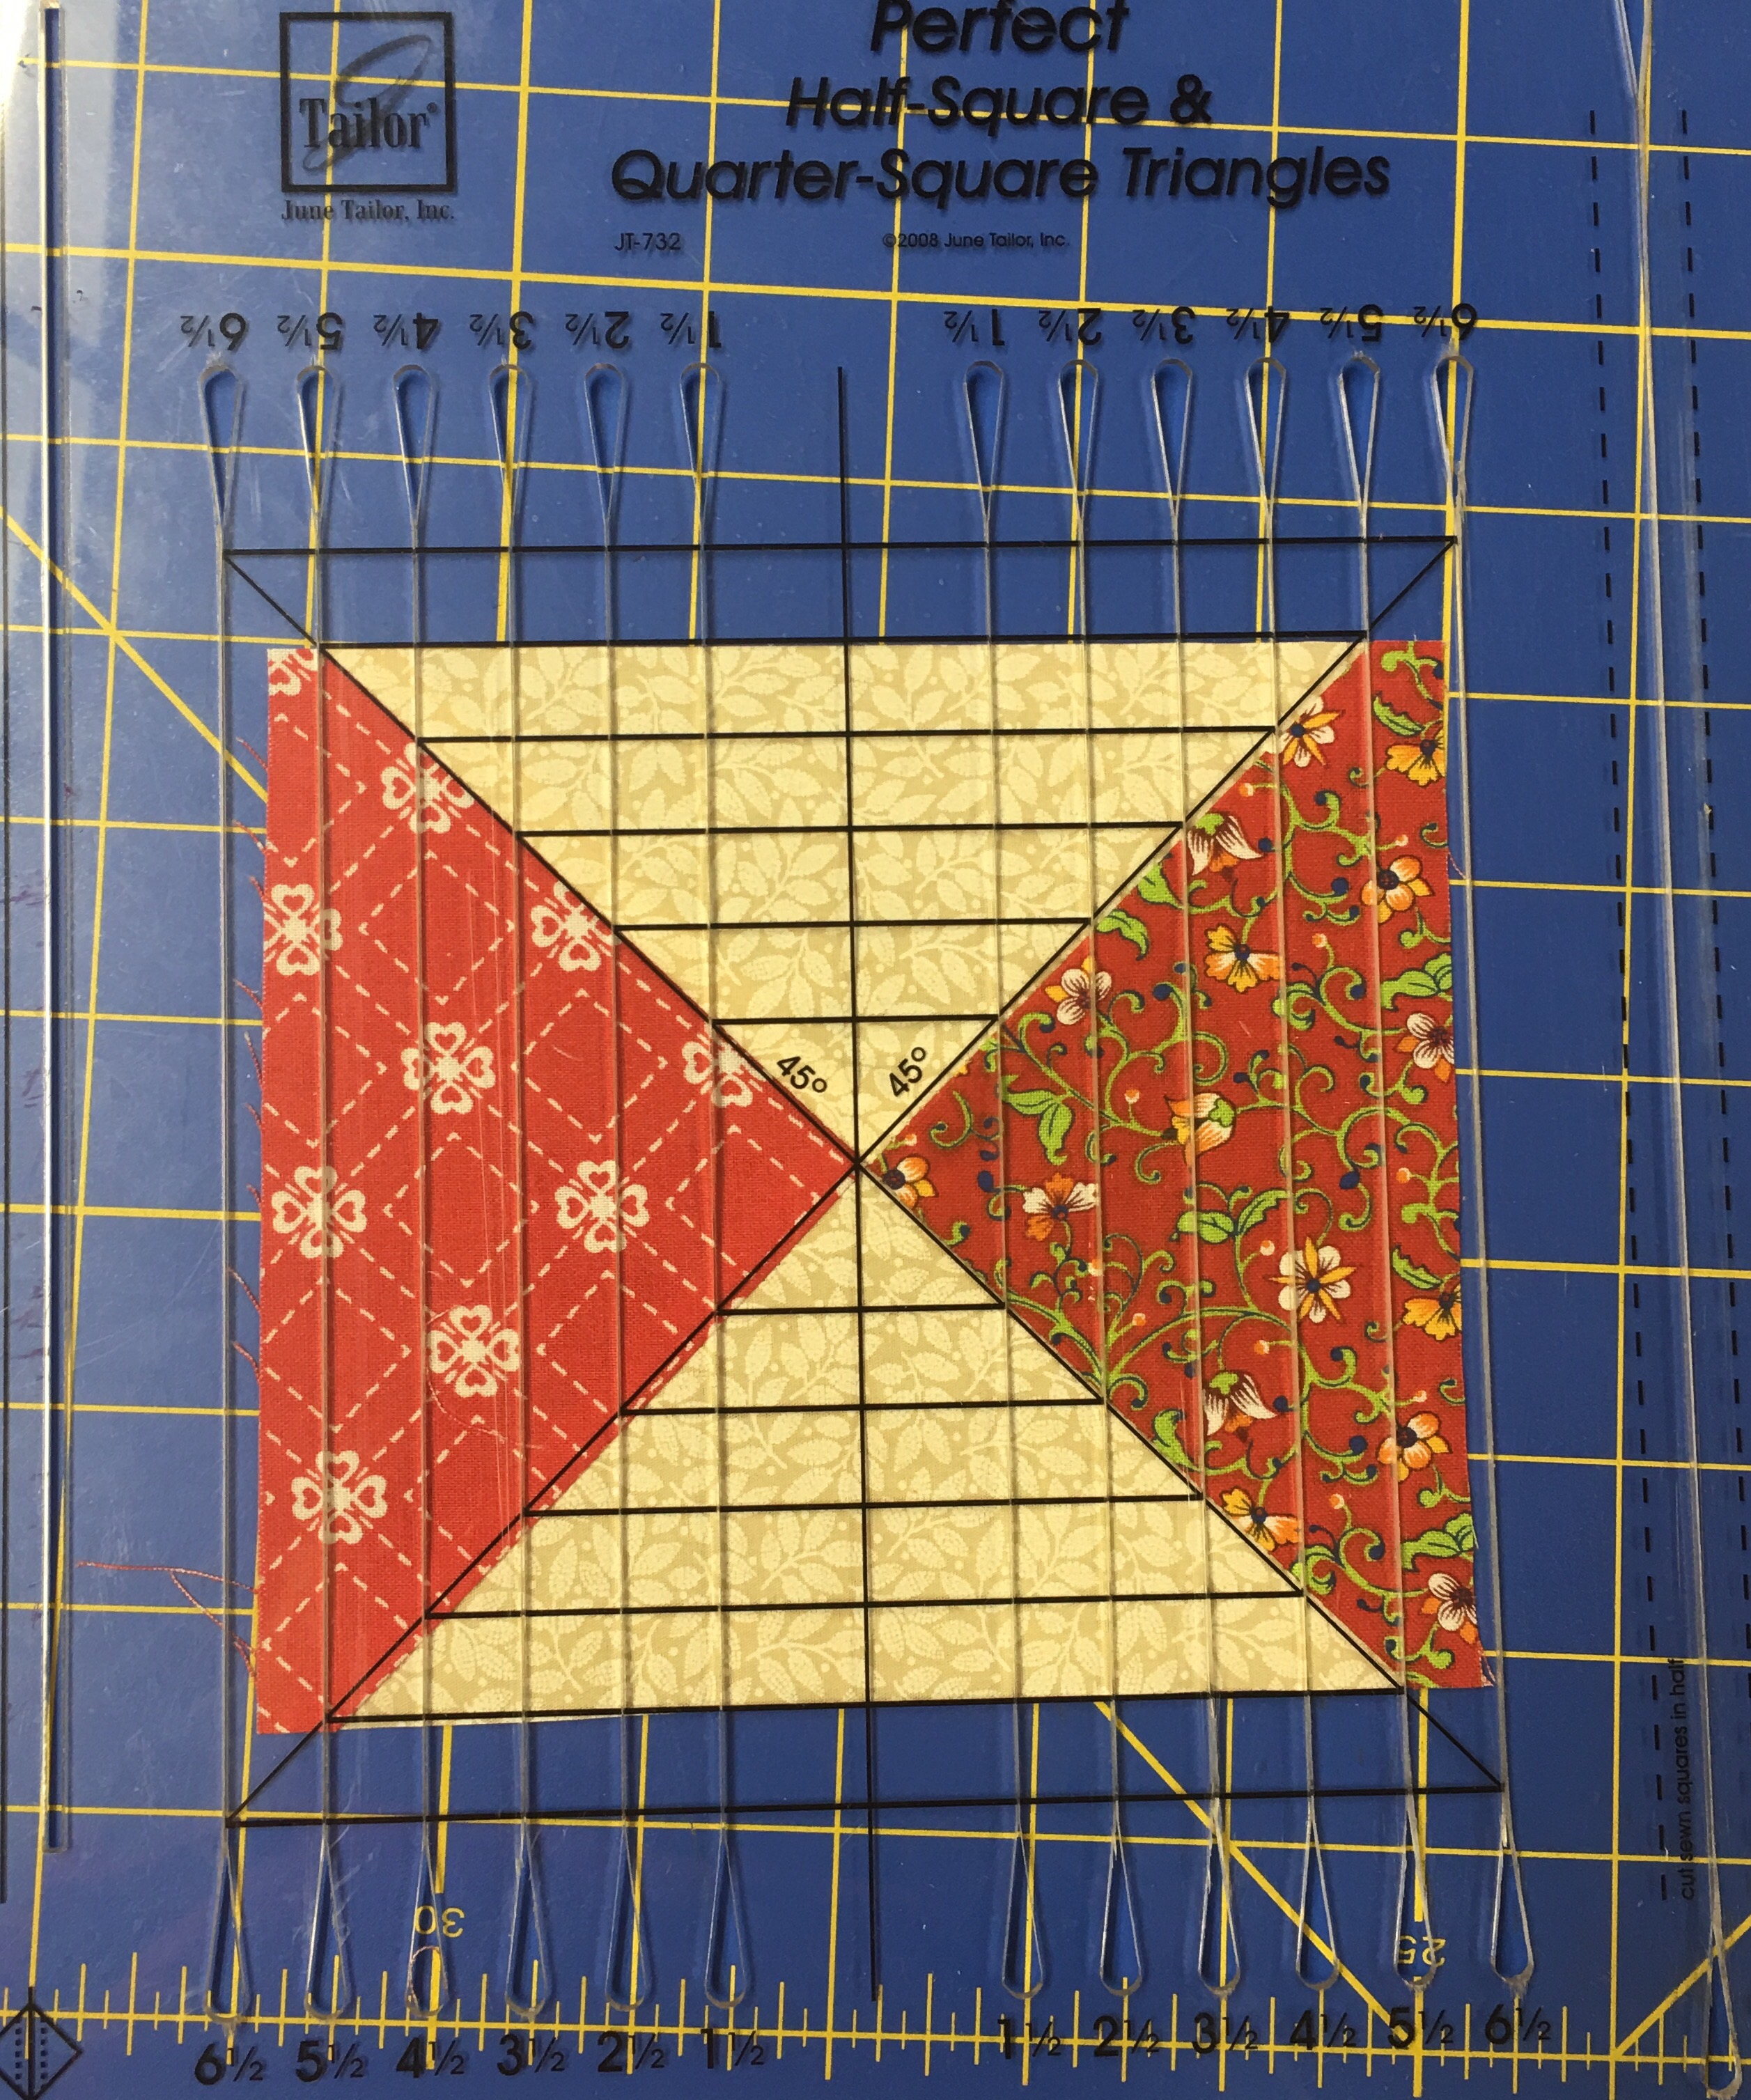
Perfect!! Aren’t they pretty?! You will have a bit of waste, but I prefer trimming down to get that perfect square:)
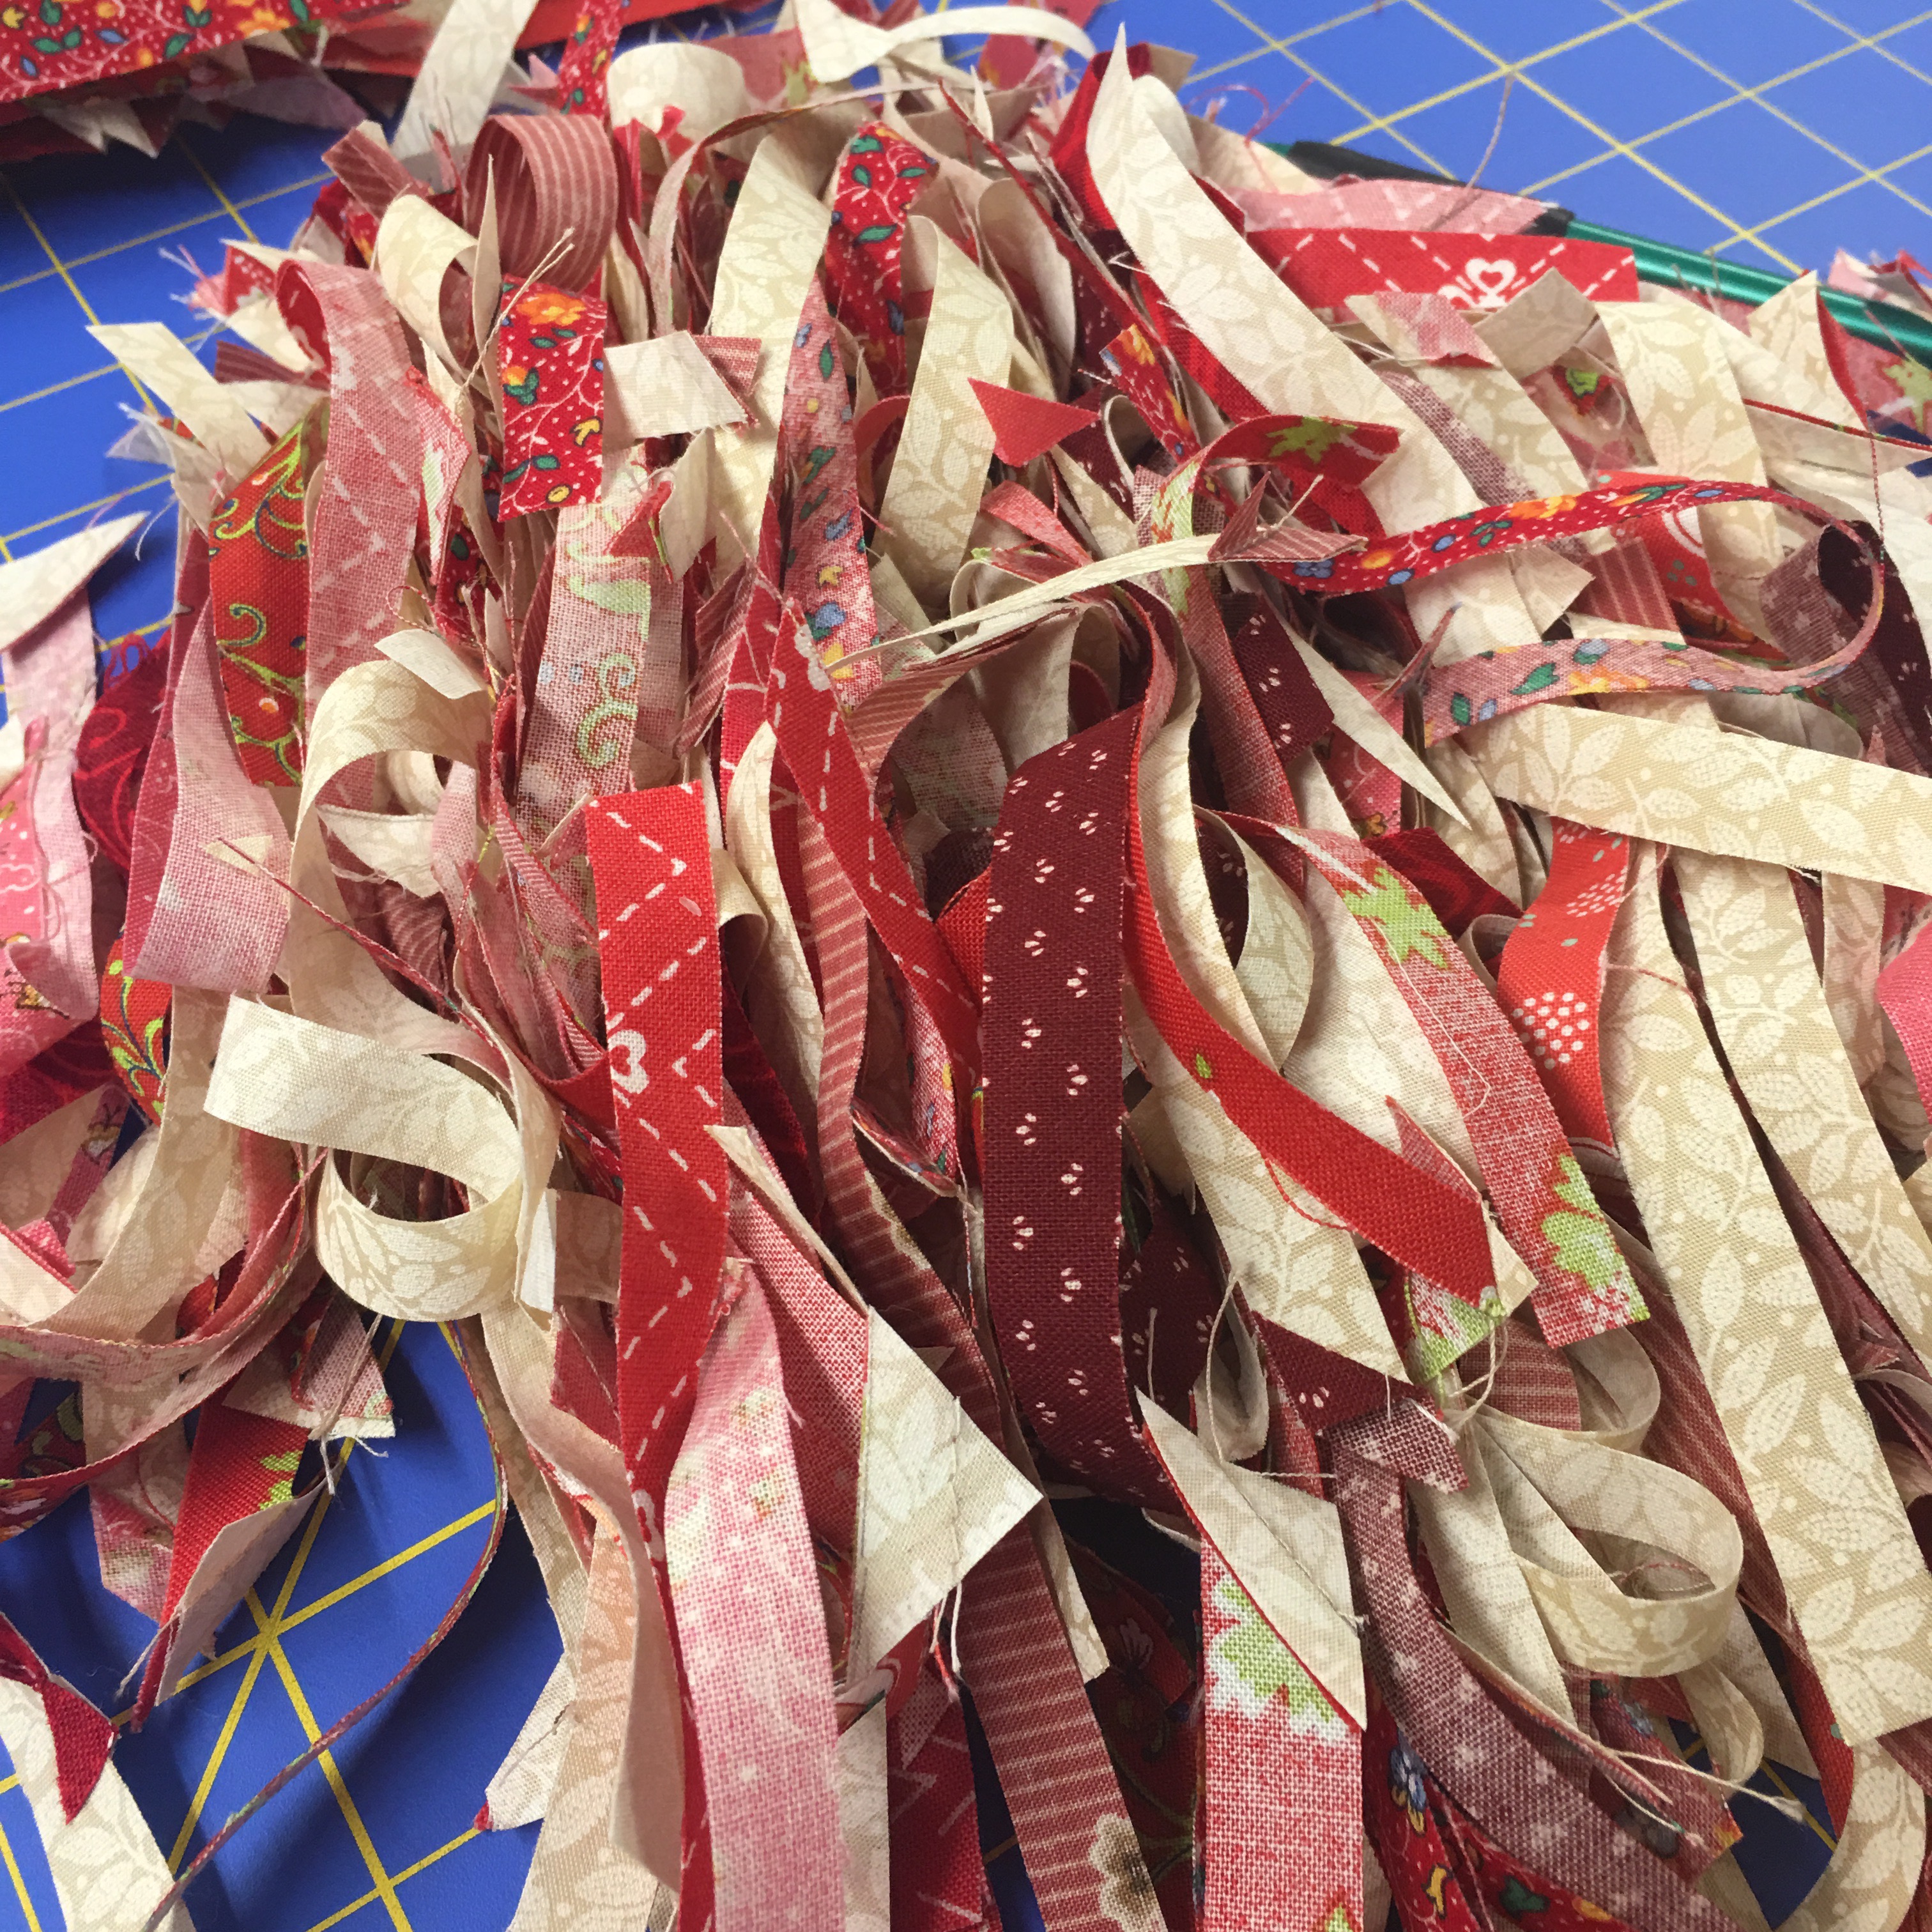 Here is my beautiful finished Thank you Quilt.
 I quilted it with a fun, freehand loopy stitch and added a red binding
 Oh, I just love quilts!! This one was especially fun because we all added a little bit of love and memory to it.
I am excited to link this quilt up with talltalesfromchiconia’s Scrap-Happy monthly blog project for December. A service quilt seemed fitting.
I hope you all are having a nice Christmas season filled with all of the SWEET things and people you love!

What a great project, and a wonderful use for scraps! They’ll certainly remember their time with your young guys…
LikeLiked by 1 person
Thank you Kate! It was definitely a labor of love:)
LikeLiked by 1 person
What a lovely post and darling quilt! This would be a fun activity to do at a family reunion and then raffle it! Love your blog…
LikeLiked by 1 person
Thank you so much Brenda!! I agree about the reunion quilt. You could send out the squares early and have the family send them back so the quilt could be completed before the reunion…..great idea!!
LikeLike
What a wonderful couple and a beautiful gift that will always contain treasured memories.
LikeLiked by 1 person
Thank you:). We had a lot of fun making it.
LikeLiked by 1 person
What an awesome gift Tracy!
LikeLiked by 1 person
Thank you Kathy! I am beat! Breathe deep and try to finish the rest of my Christmas sewing:)
LikeLiked by 1 person
Beautiful project
LikeLiked by 1 person
Thank you. The kids were surprised that their little block could be sewn into such a beautiful quilt:)
LikeLike
Fabulous! I love two-color quilts. And incorporating the children’s “Thank You” artwork was genius.
LikeLiked by 1 person
Oh thank you Lana! The two colors really let the artwork stand out. Thank you for visiting my blog:)
LikeLike