
Good Morning! Im glad to be home and back to some bit of normalcy. The best part of being home is spending a bit of time in my sewing room. I have been loving some of the fun techniques I am learning in my Down the Rabbit Hole Quilt by Sarah Fielke

I need to be more careful about second guessing how to do things on this quilt. For instance, I used my normal sew around the circle with fusible web technique. It is a very good way to make a fusible circle that can be found here. But I will show you in a minute that should have waited.

Dont they look pretty?

I gathered my 1/4″ bias tape that I made last time I posted about this quilt. I put a few drops of glue on the back and glued it down around my psychedelic Rabbit Hole.
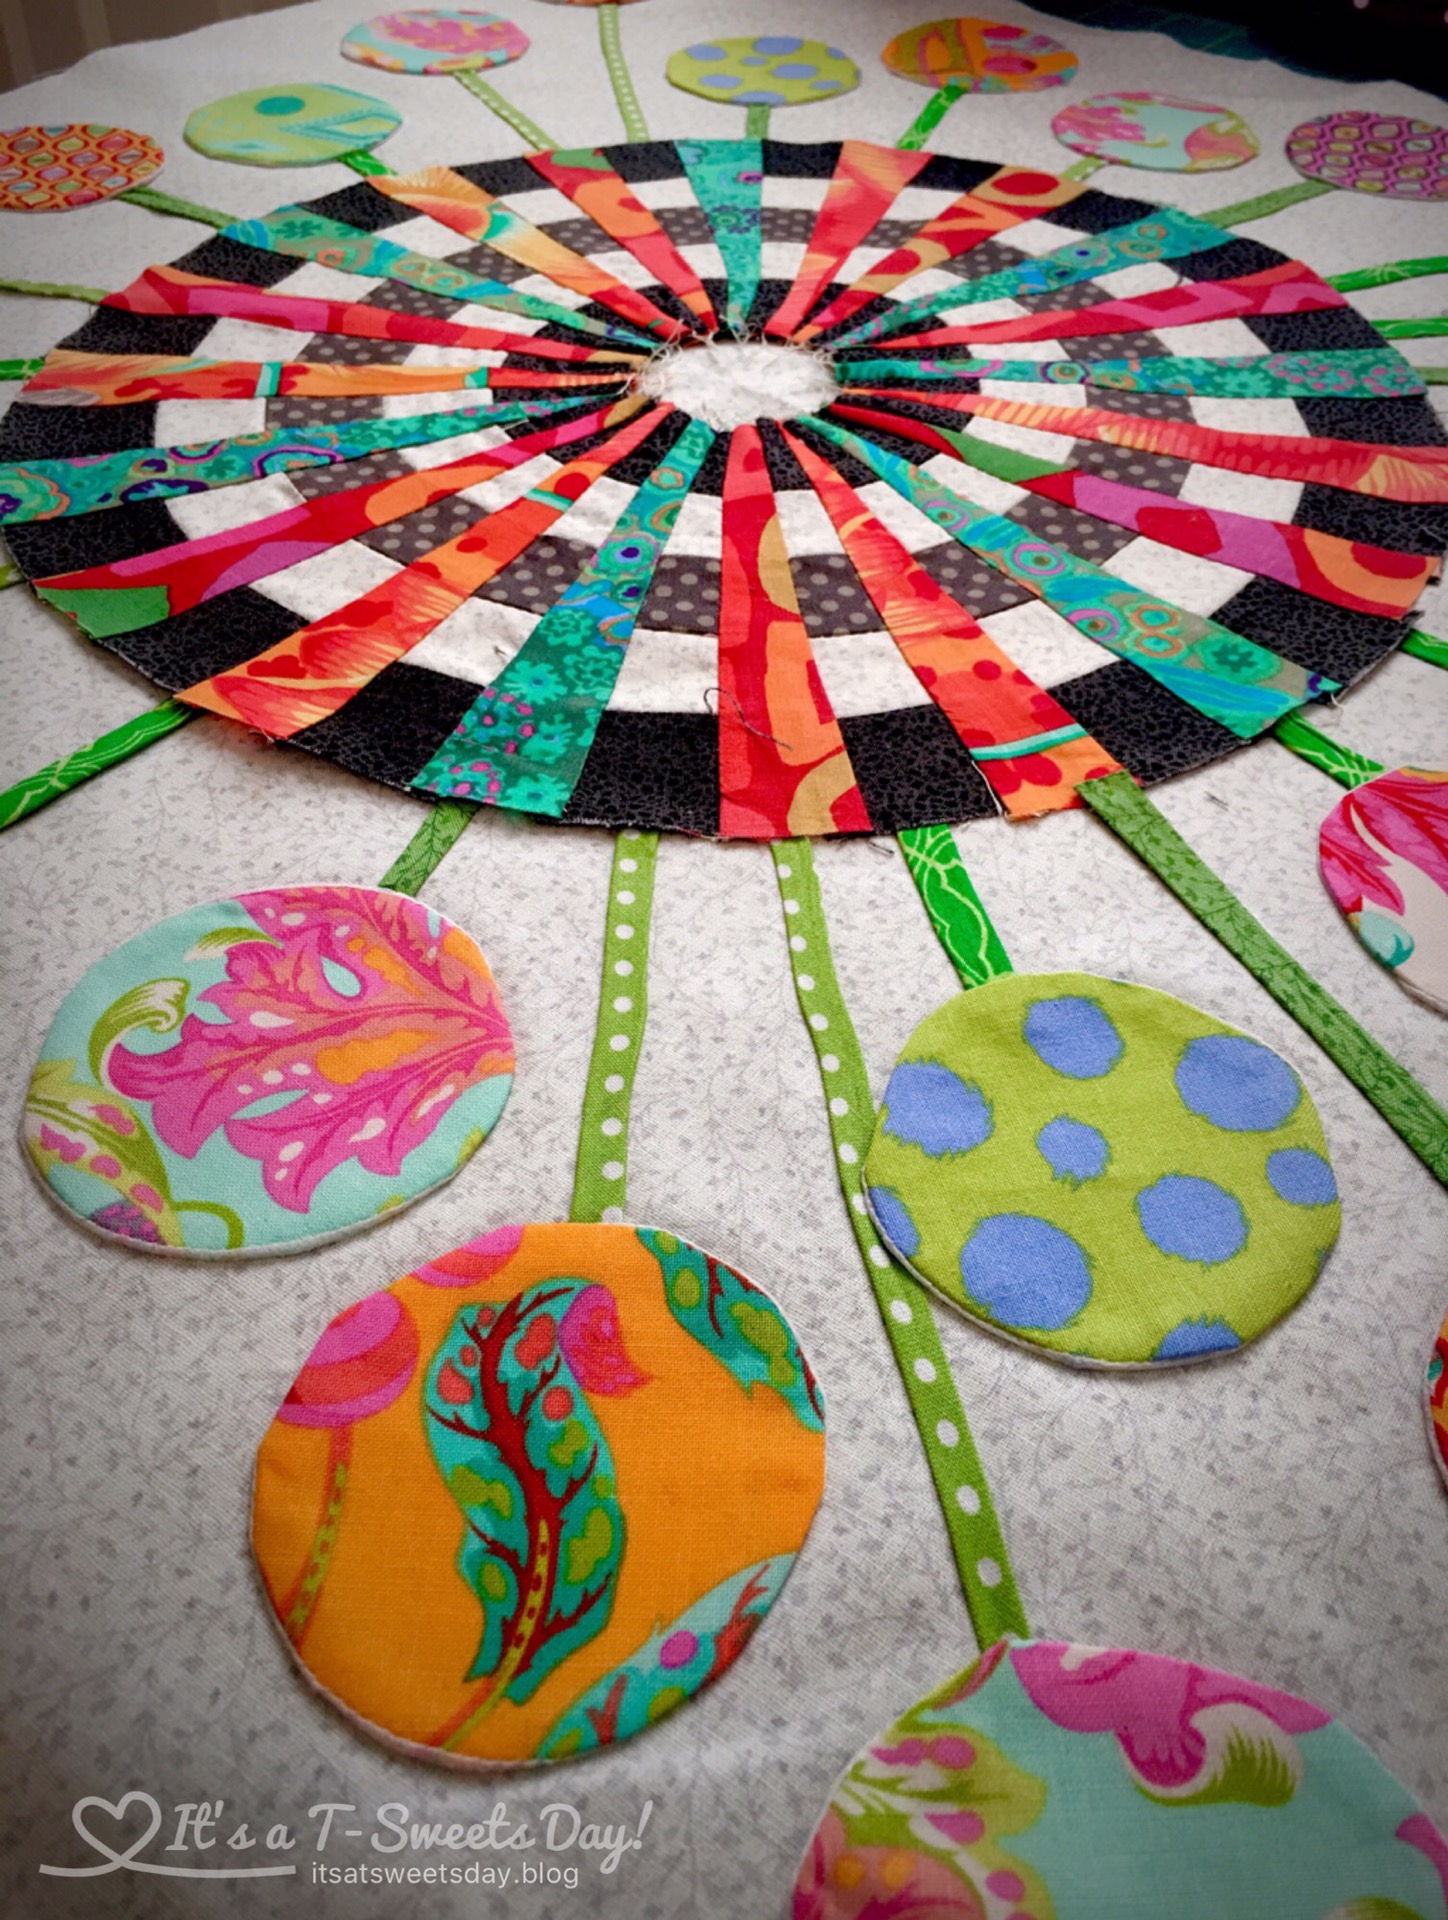
Then I ironed my beautiful circles down . I LOVE it! –But there was an even easier way to make perfect circles.
In section 3 of Sarah’s directions, she introduced me to a new way to make circles for applique. I know the “Magic Circle” for Crochet. Now I know a magic circle technique for quilting too!❤️❤️
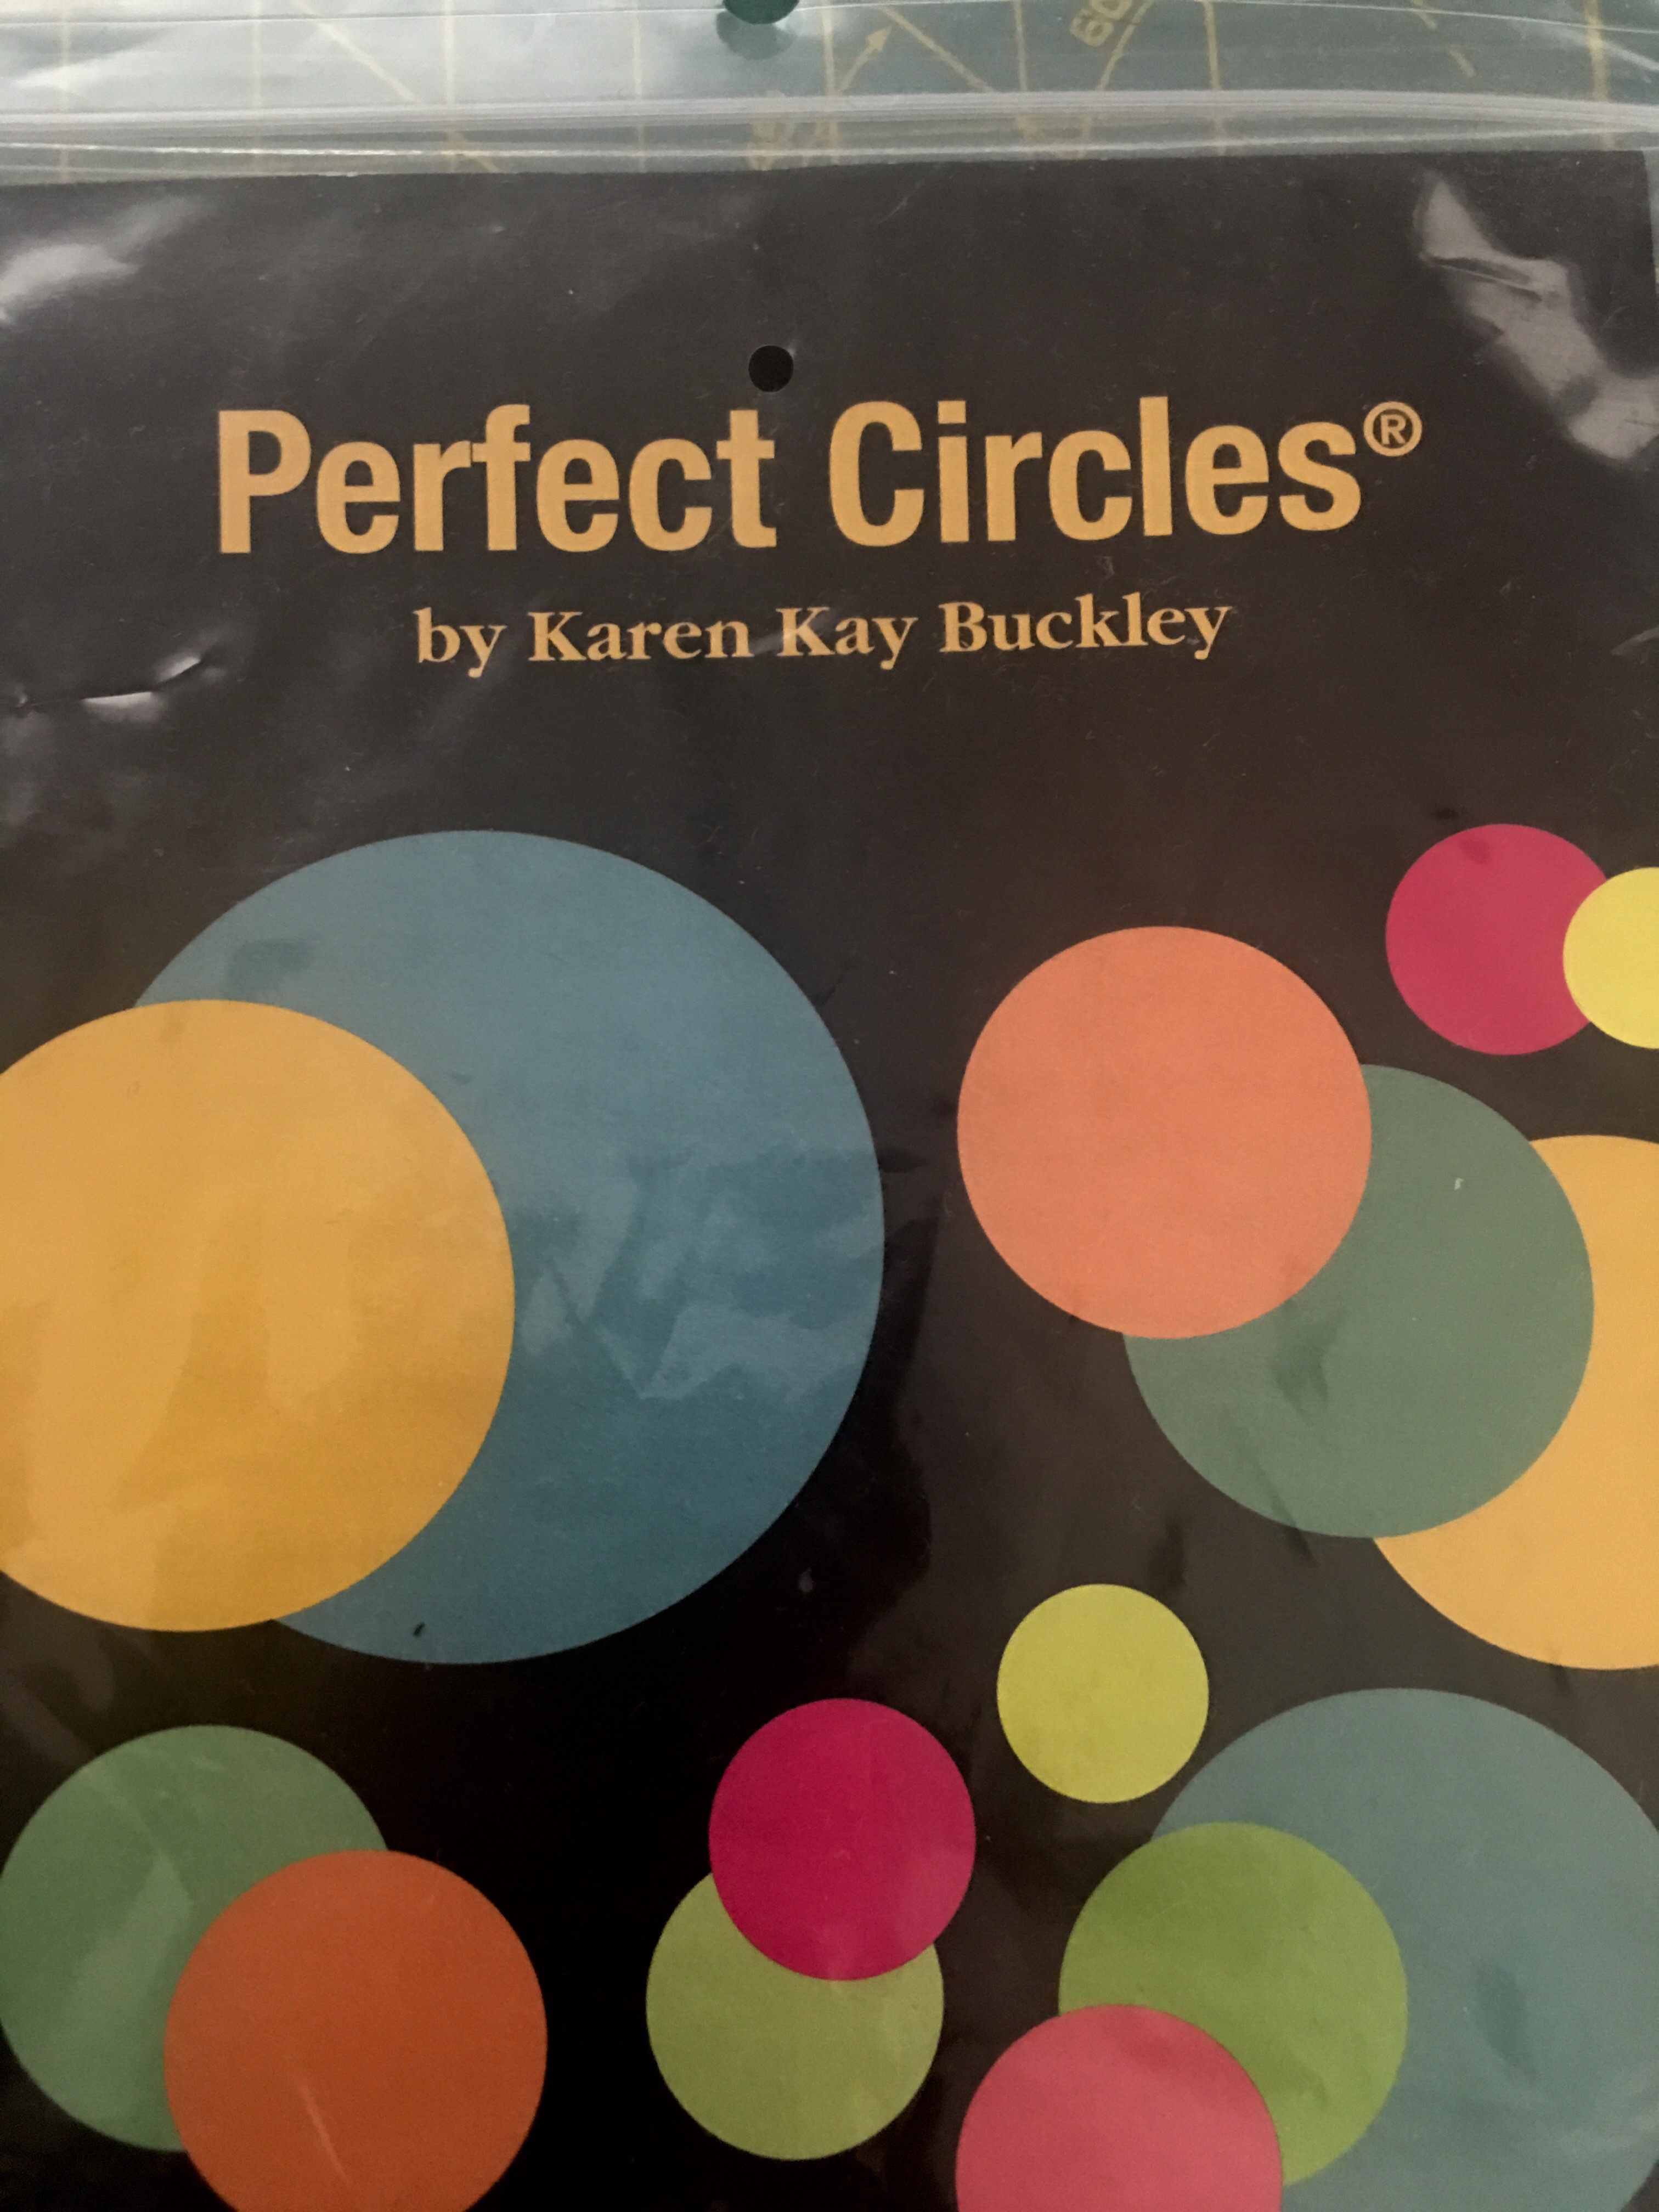
- First, I gathered my perfect circles templates and took out the circles that were the right size for the pattern. But really a piece of cardboard cut into a circle would work as well.
- Then I took out my kitchen aluminum foil and cut some squares that were bigger than the circles I was making.
- I cut my fabric into circles that were 1/4″ larger than my template circle, but next time I am going to cut them 1/2″ larger for added adjustment.

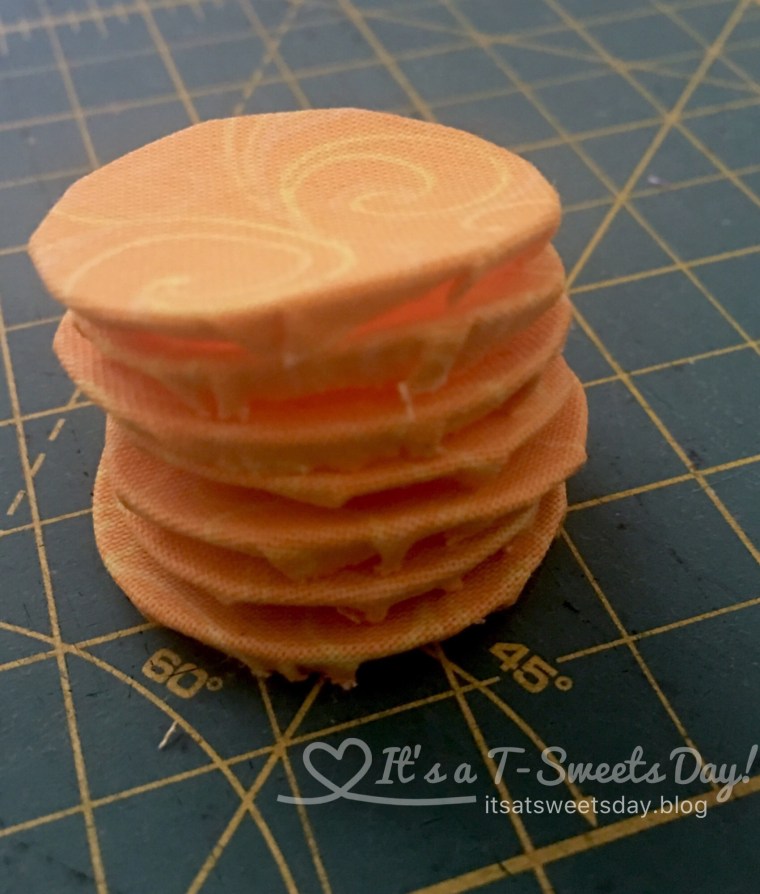
- I followed Sarah’s instructions and placed the foil down first, then the fabric with the right side down, followed by the template
- It was easy to then fold the foil and fabric over the template to make these little foil circles

- I took the circles to my ironing board and pressed them with my iron. The foil was very hot so I waited a bit to let them cool:)

- When I opened my little foil package, there was my pretty little ironed circle! Easy, easy, easy!!


Can you see why I wish I would have waited on my larger circles? The interface method worked, but this way was even faster and easier!
I am so excited to start my hand appliqué. I am always tempted to use my machine, but I really WANT to become a proficient hand appliquer. I will never get there unless I keep trying.

So—Here I go Down the Rabbit Hole!
Thank you for dropping by and reading about my creative adventures. I hope you have a SWEET day:)


That looks so good! And the circles are amazing. When I started reading this post I admired your circles, thank you for telling us about the magic circles
LikeLiked by 2 people
Isn’t that a fun technique? I’m glad you liked them. Thank you for dropping by Susan!❤️❤️
LikeLike
it is so pretty and perfect circles. How awesome.
LikeLiked by 2 people
Thank you Lori! It sure was an eye opening technique for me:)
LikeLike
Those circles look pretty cool, I have always done mine by basting around the edge and using a card stock circle in the middle, then pulling the thread up tight and pressing. (I didn’t like how fiddly the edges were in the interfacing method.) This new way with foil looks very fast and extremely accurate too.
LikeLiked by 2 people
I used to do the basting stitch too. Give this way a try. It is really just like magic!
LikeLiked by 1 person
I will!
LikeLike
What cheery summery colors!
LikeLiked by 2 people
Thank you Tonya! I really like them too:)
LikeLiked by 1 person
Wow! I sure hope I remember this! I love your quilt!
LikeLiked by 2 people
Why thank you Pretty Curious! I hope you remember too because it really is magical:). Thank you for dropping by❤️❤️
LikeLike
Just so you know, that technique makes great leaves too… There is one advantage to your interfacing circles, and that is that you can just iron them into position. With Sarah’s version, you have to use a little glue or pin them. I’m loving your fabric choices, such gorgeous exuberant colour!
LikeLiked by 1 person
Good to know Kate! I’ll have to try it out in leaves;). I agree with ironing instead of glueing. It’s always a give and take. ❤️
LikeLiked by 1 person
I think this technique will be good for all sorts of shapes! 🙂
LikeLiked by 1 person
I agree Elena! I’m definitely going to have to try it out!
LikeLike
True, but they need to be fairly smooth and regular, as the foil won’t pull fabric into very wiggly edges without tearing.
LikeLike
I love he fabrics you’re using for this project, they are so bright and fun!
LikeLiked by 1 person
Thank you Kate! It is such a fun quilt!!
LikeLiked by 1 person
Good news, I found my recipe for the bake along…I always lose track of when that is…can you remind me? And tell me what you need me to do?
LikeLiked by 1 person
Wonderful! I will pm you on IG:)
LikeLike
Wow! Looks good, and a lot of work. Glad you found an easier technique!
LikeLike
Thank you Brenna! This is going to be a fun one for sure:). I love learning new techniques, it is amazing to me how no matter how long you do something, there is always more to learn:)
LikeLiked by 1 person
Oh Tracy this is going to be one super fun looking quilt!! I’m in love with it already! ❤ ❤ ❤
LikeLike
Looks just beautiful!
LikeLiked by 1 person
Thanks Cindy! I always love it when I learn something new on a quilt! So nice to meet you:)
LikeLiked by 1 person
I think we can always learn something. Greetings!
LikeLiked by 1 person
it was really interesting to read about your process.
LikeLiked by 1 person
Thank you so much!❤️❤️
LikeLiked by 1 person
this is looking so much fun with all the gorgeous colourful fabrics you’re using!
LikeLiked by 1 person
Thank you Claire! These colors really make me smile😊
LikeLike
These look great. I am trying to improve my applique techniques. Thanks for the tip.
LikeLiked by 1 person
You’re welcome Chela! We are on an appliqué quest!
LikeLike
Love the color of the fabric circles! So fun.
LikeLiked by 1 person
Thank you Stacey! This is a really fun one:). I appreciate you dropping by and leaving a comment ❤️. Have a super SWEET DAY!!😊
LikeLiked by 1 person
I love this! How will you finish the edge of the big circle? Also how did you finish the small ends of the wedges? Thank you for sharing your information. marys5858mail@tampabay.rr.com
LikeLike
Good day Mary! I’m so glad you stopped by today:). That circle is actually the center of a beautiful quilt called Down the Rabbit Hole. Here it is all finished https://itsatsweetsday.blog/category/quilts/down-the-rabbit-hole/. It is so so pretty! Once again, thank you for stopping by and have a super wonderful day! — Tracy😊❤️
LikeLike