

It has finally come, that time to put away the other projects and focus on my Christmas sewing. Yea! I love Christmas!
When my oldest son was born, a beautiful lady from my church made a hooded towel for him. That towel was WONDERFUL! It was large enough to wrap him up in and absorbent enough to really get him dry. I just LOVED it!
As I was thinking about gifts for my grandsons this year, I knew that I wanted to make a large, soft, hooded towel for them too. I wish I had kept that old towel to use as a pattern, but it has been long, long gone. I searched the internet and Pinterest for patterns that were similar or that I liked, but I couldn’t find one that gave clear enough instructions. So… to make this long story short — I just designed my own!

The pattern is EASY!! And the tutorial makes sewing the towel a breeze :). If you have any babies or toddlers on your Christmas list, you might want to try your hand at sewing them a Hooded Towel. 🙂
Supply List:
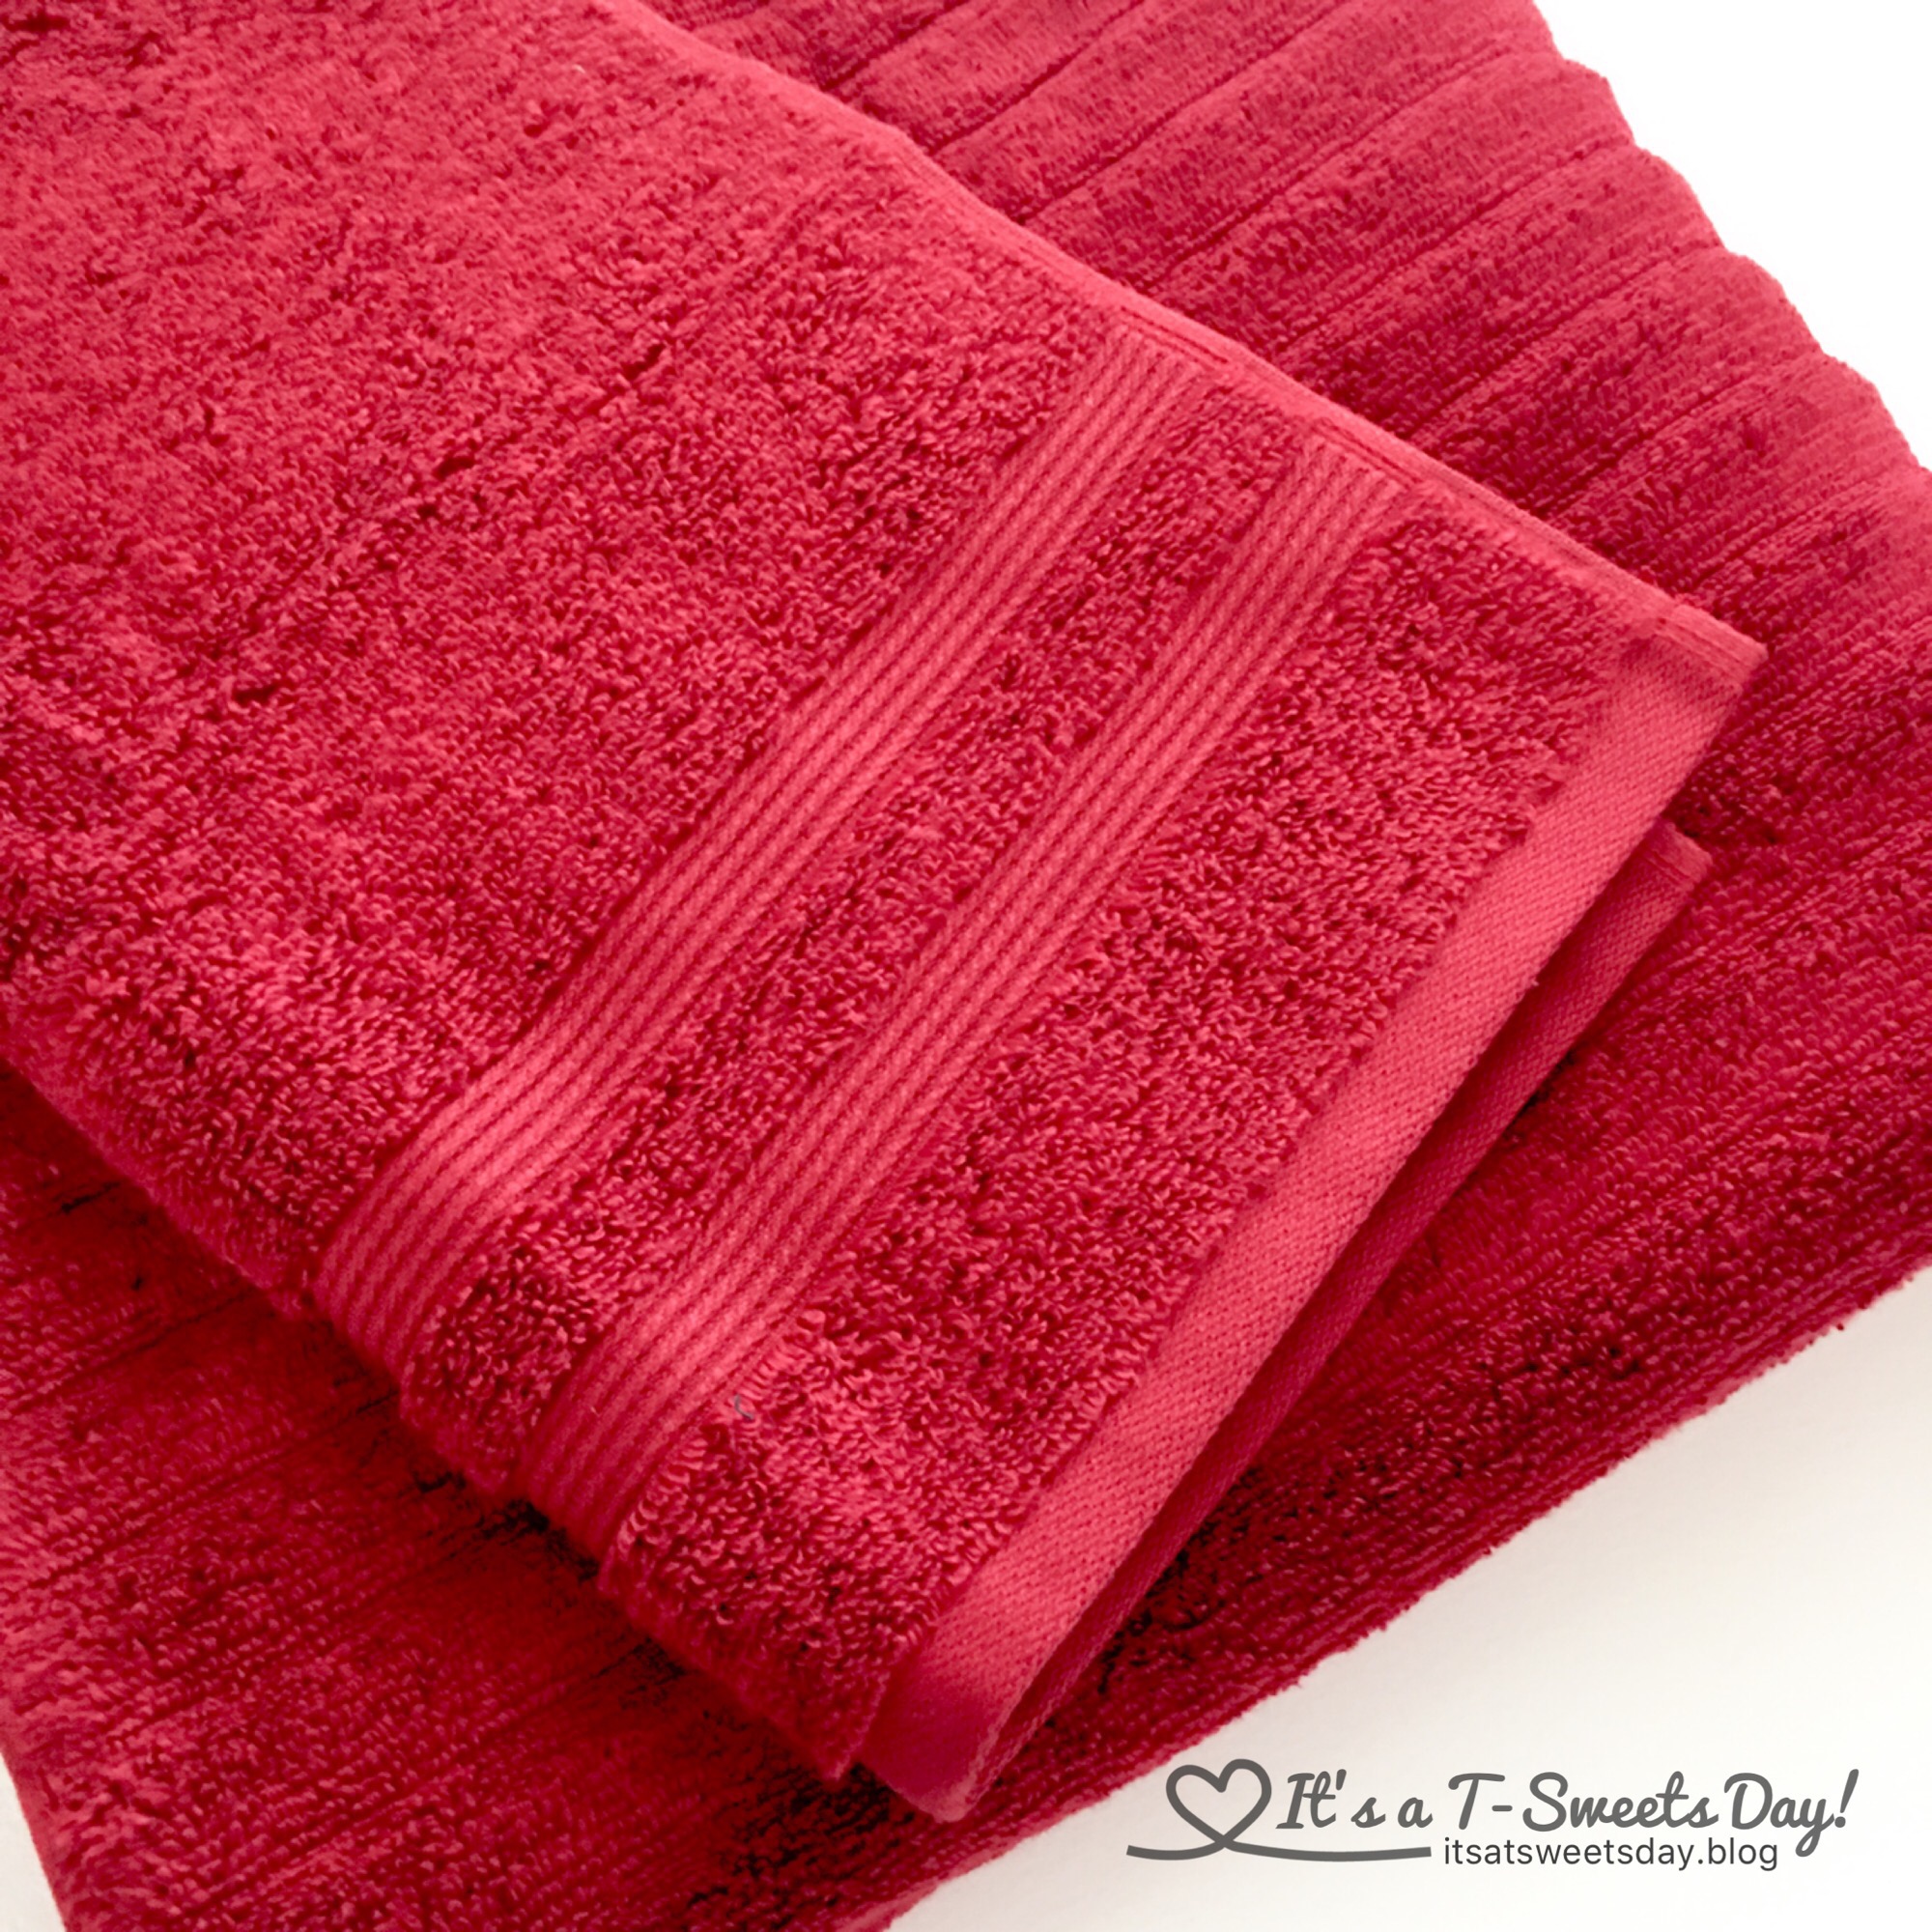
- One Bath Towel
- One Hand Towel
- Matching Thread
Instructions:

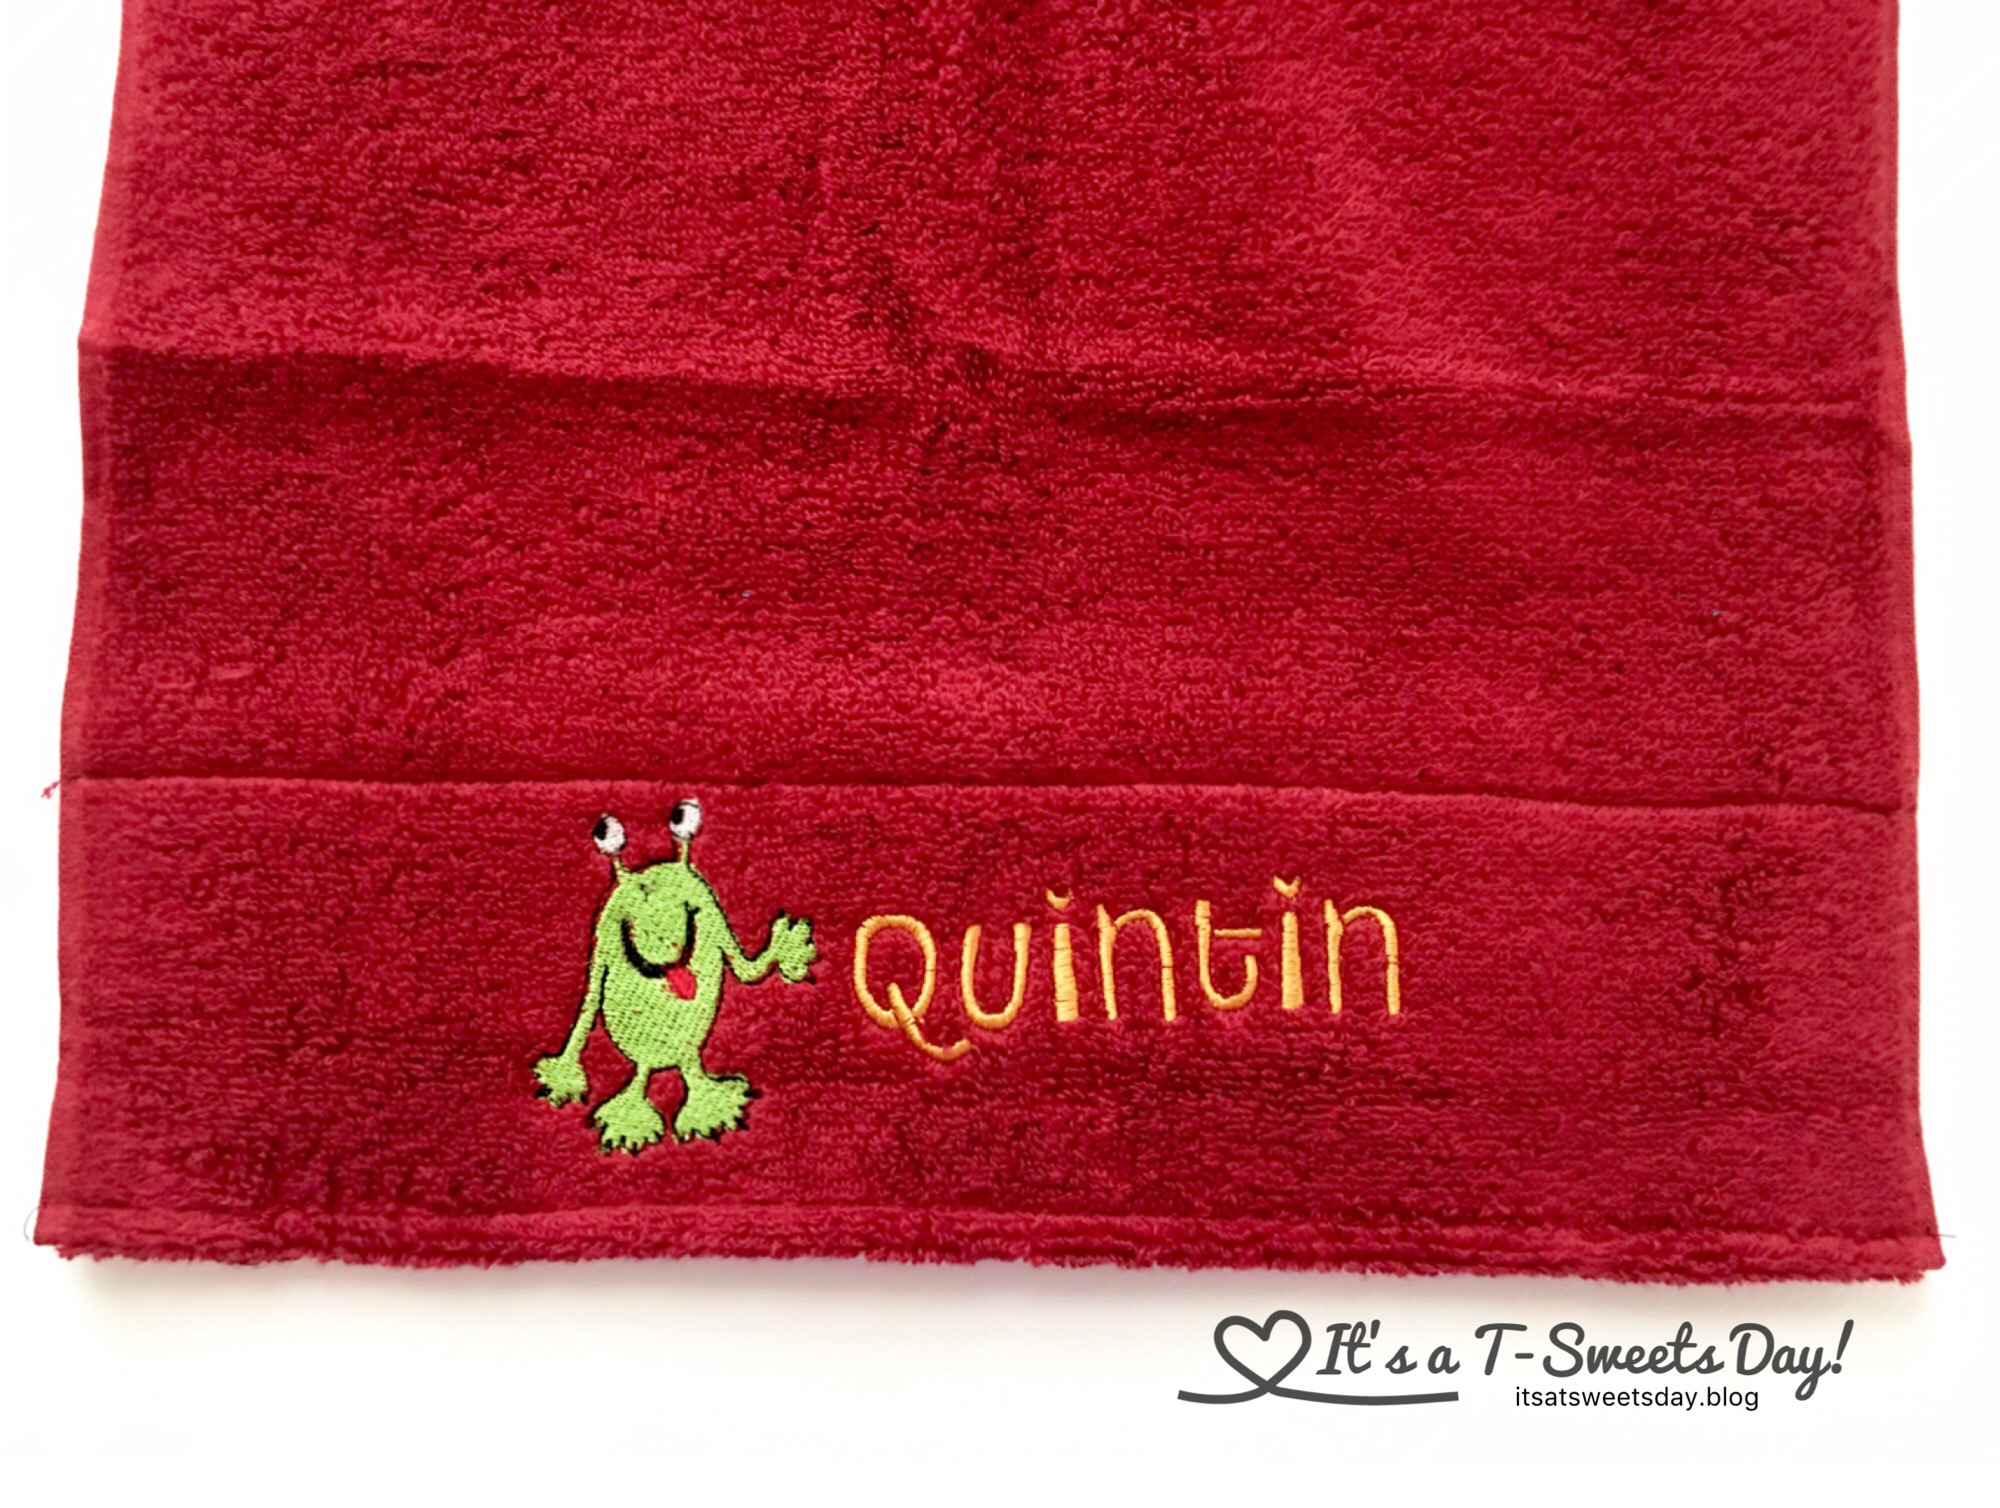
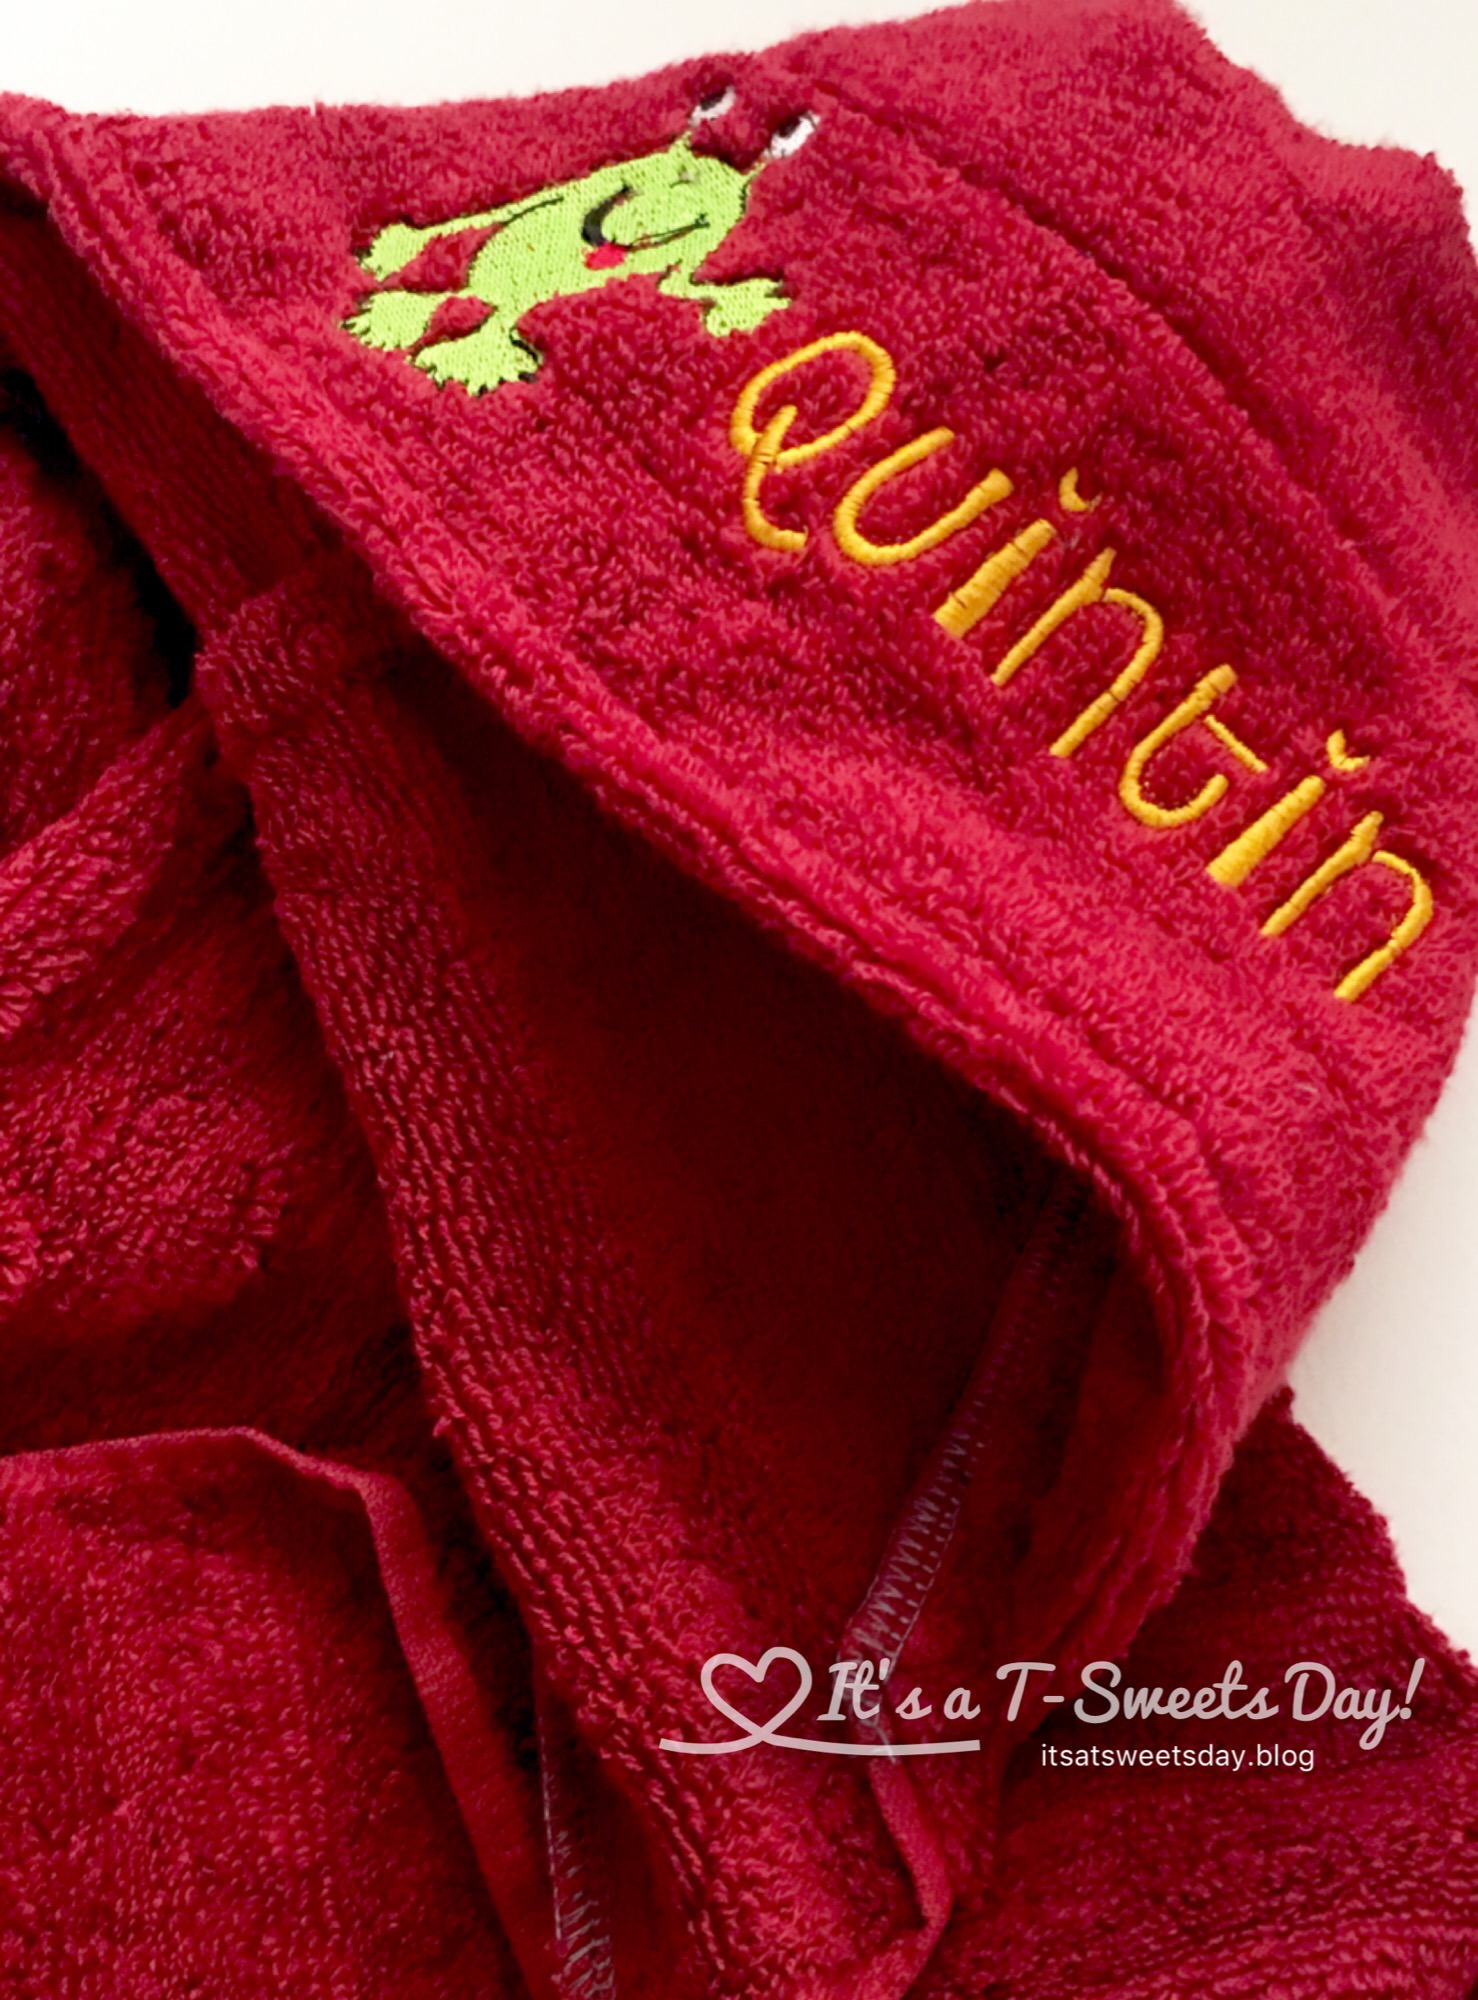
- If you want to add embroidery or ribbon or appliqué etc., add it to your hand towel first. Make sure that the embellishments are between 6” – 9” from the bottom of the towel. You can add bows and buttons or more after the towel is sewn.
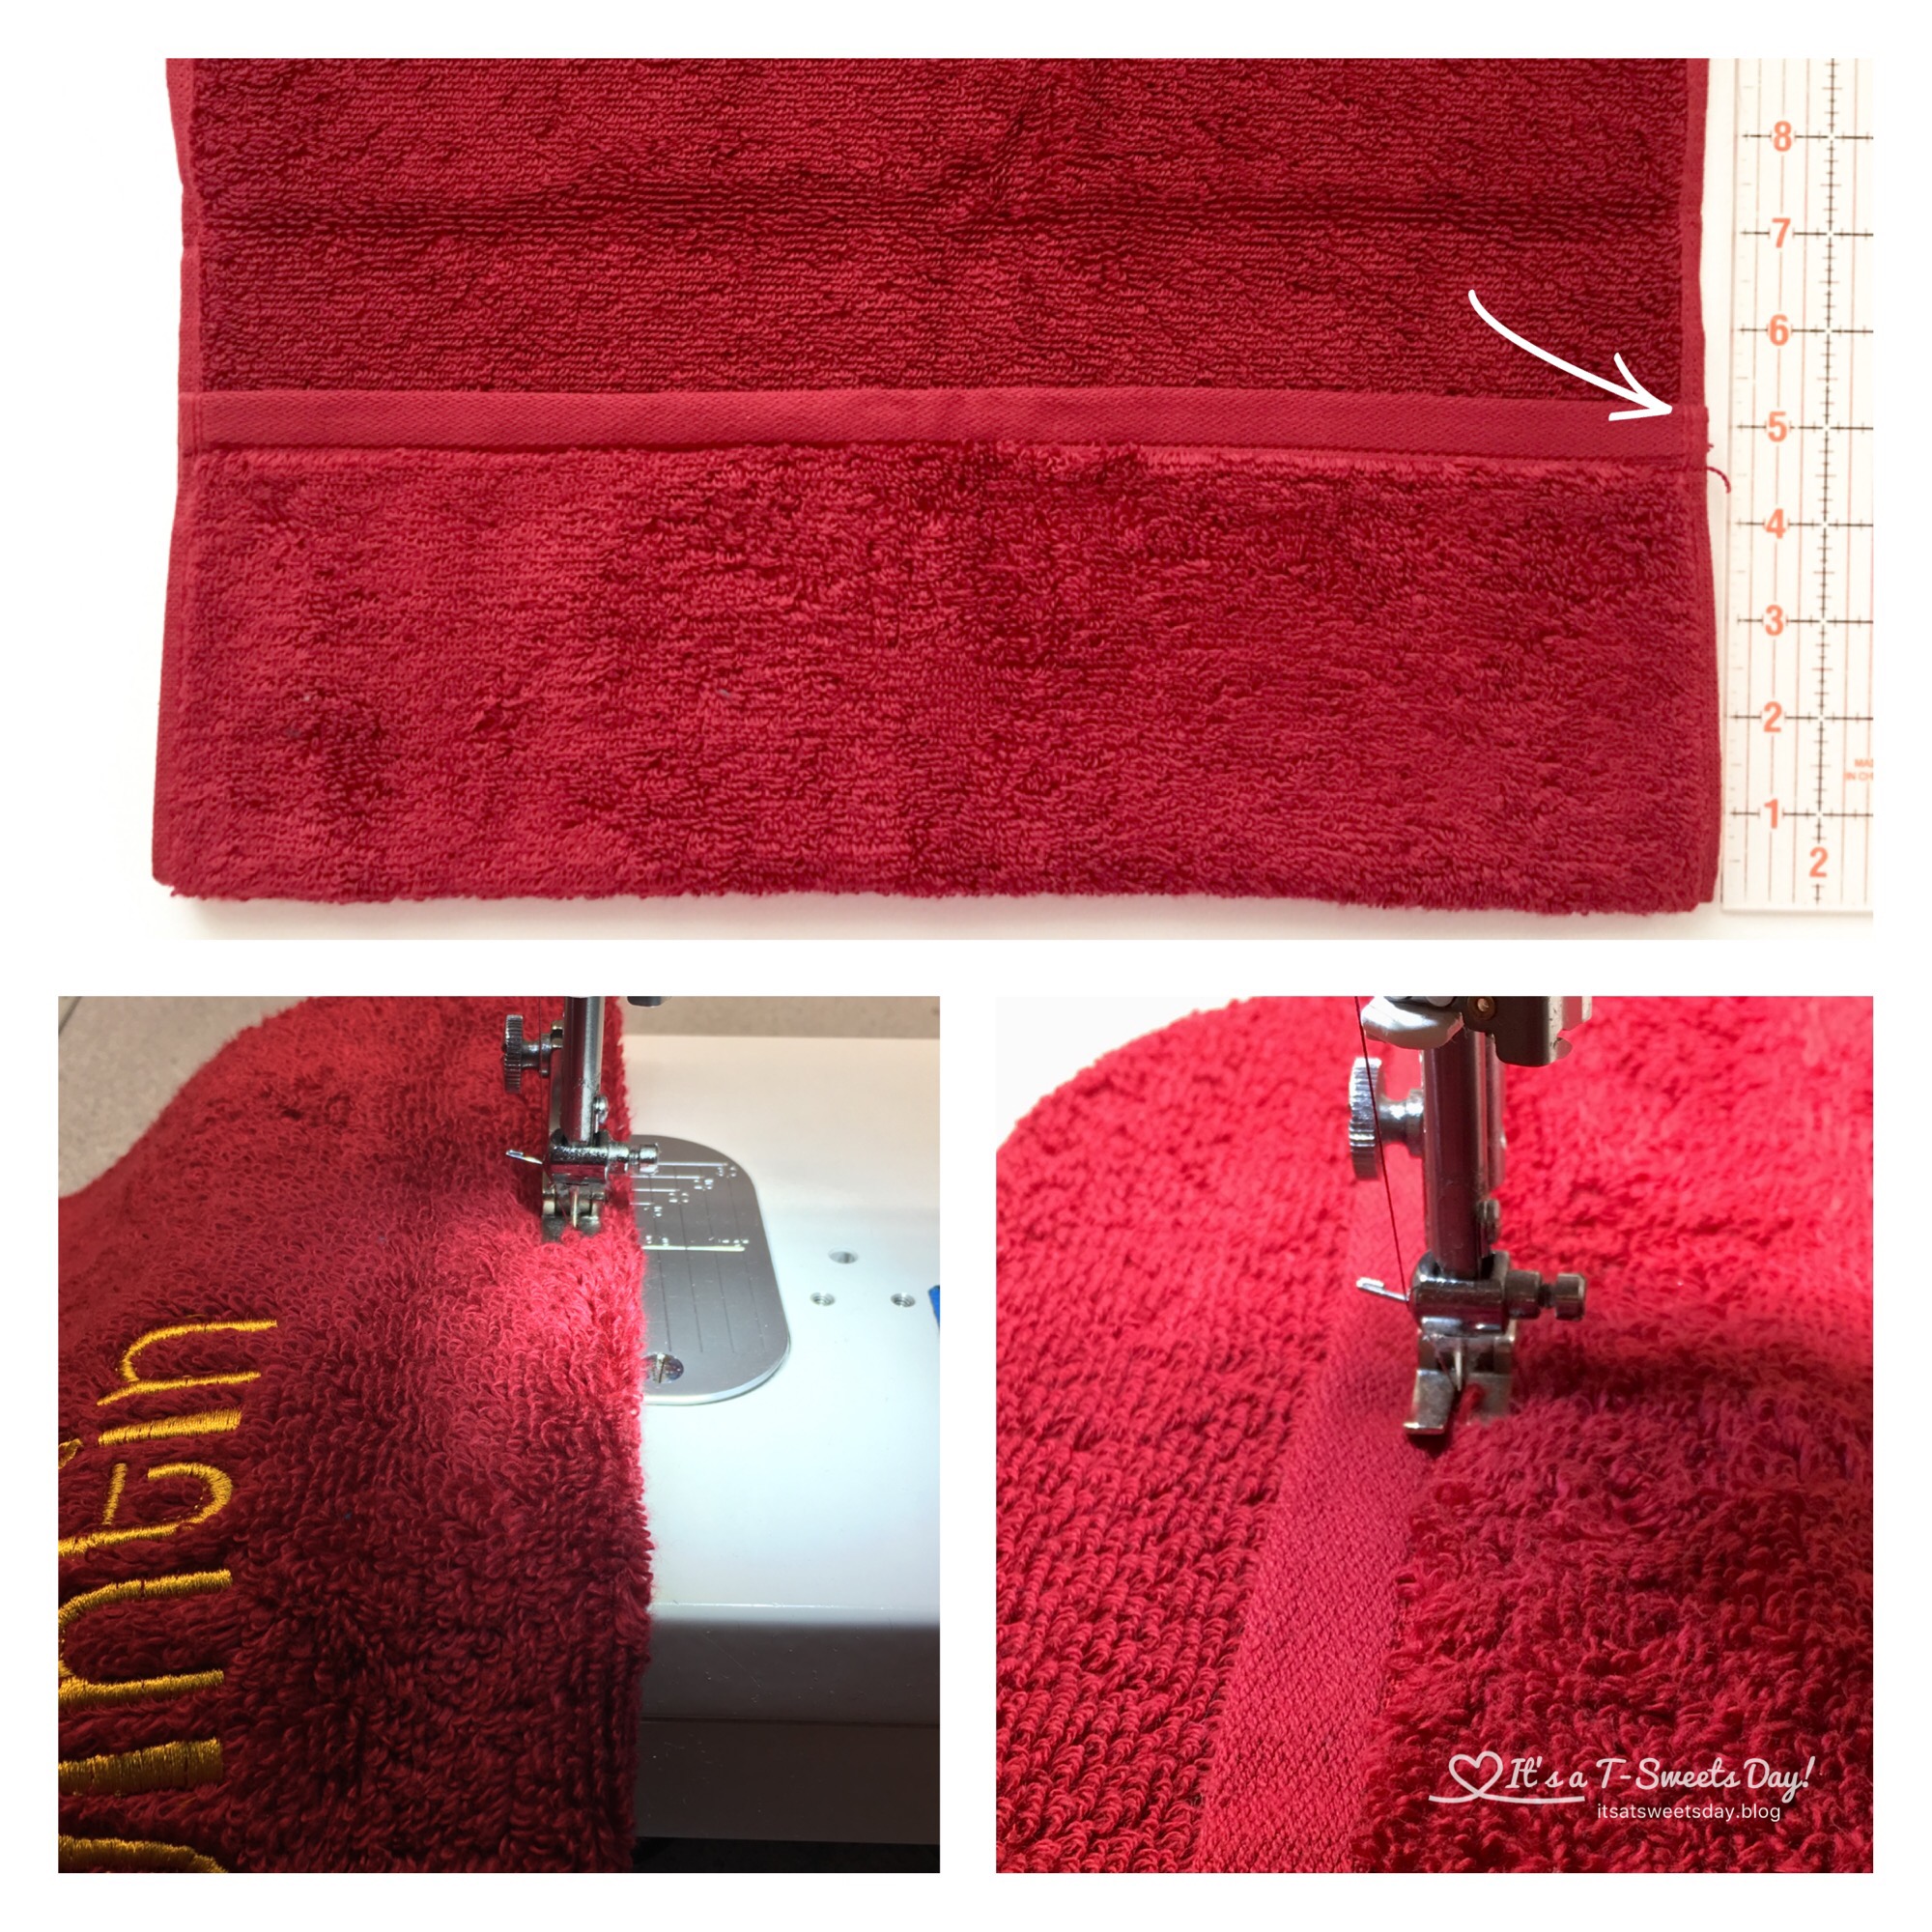
- With the right side of the towel facing down, fold the bottom of the towel up about 5”. If you are adding embellishments, Check to make sure that the fold covers the whole thing. If not, make the fold larger.
- On the front of the towel, sew a top stitch close to the fold.
- On the back of the towel, sew the top of the folded flap down.
The front will now look like this.
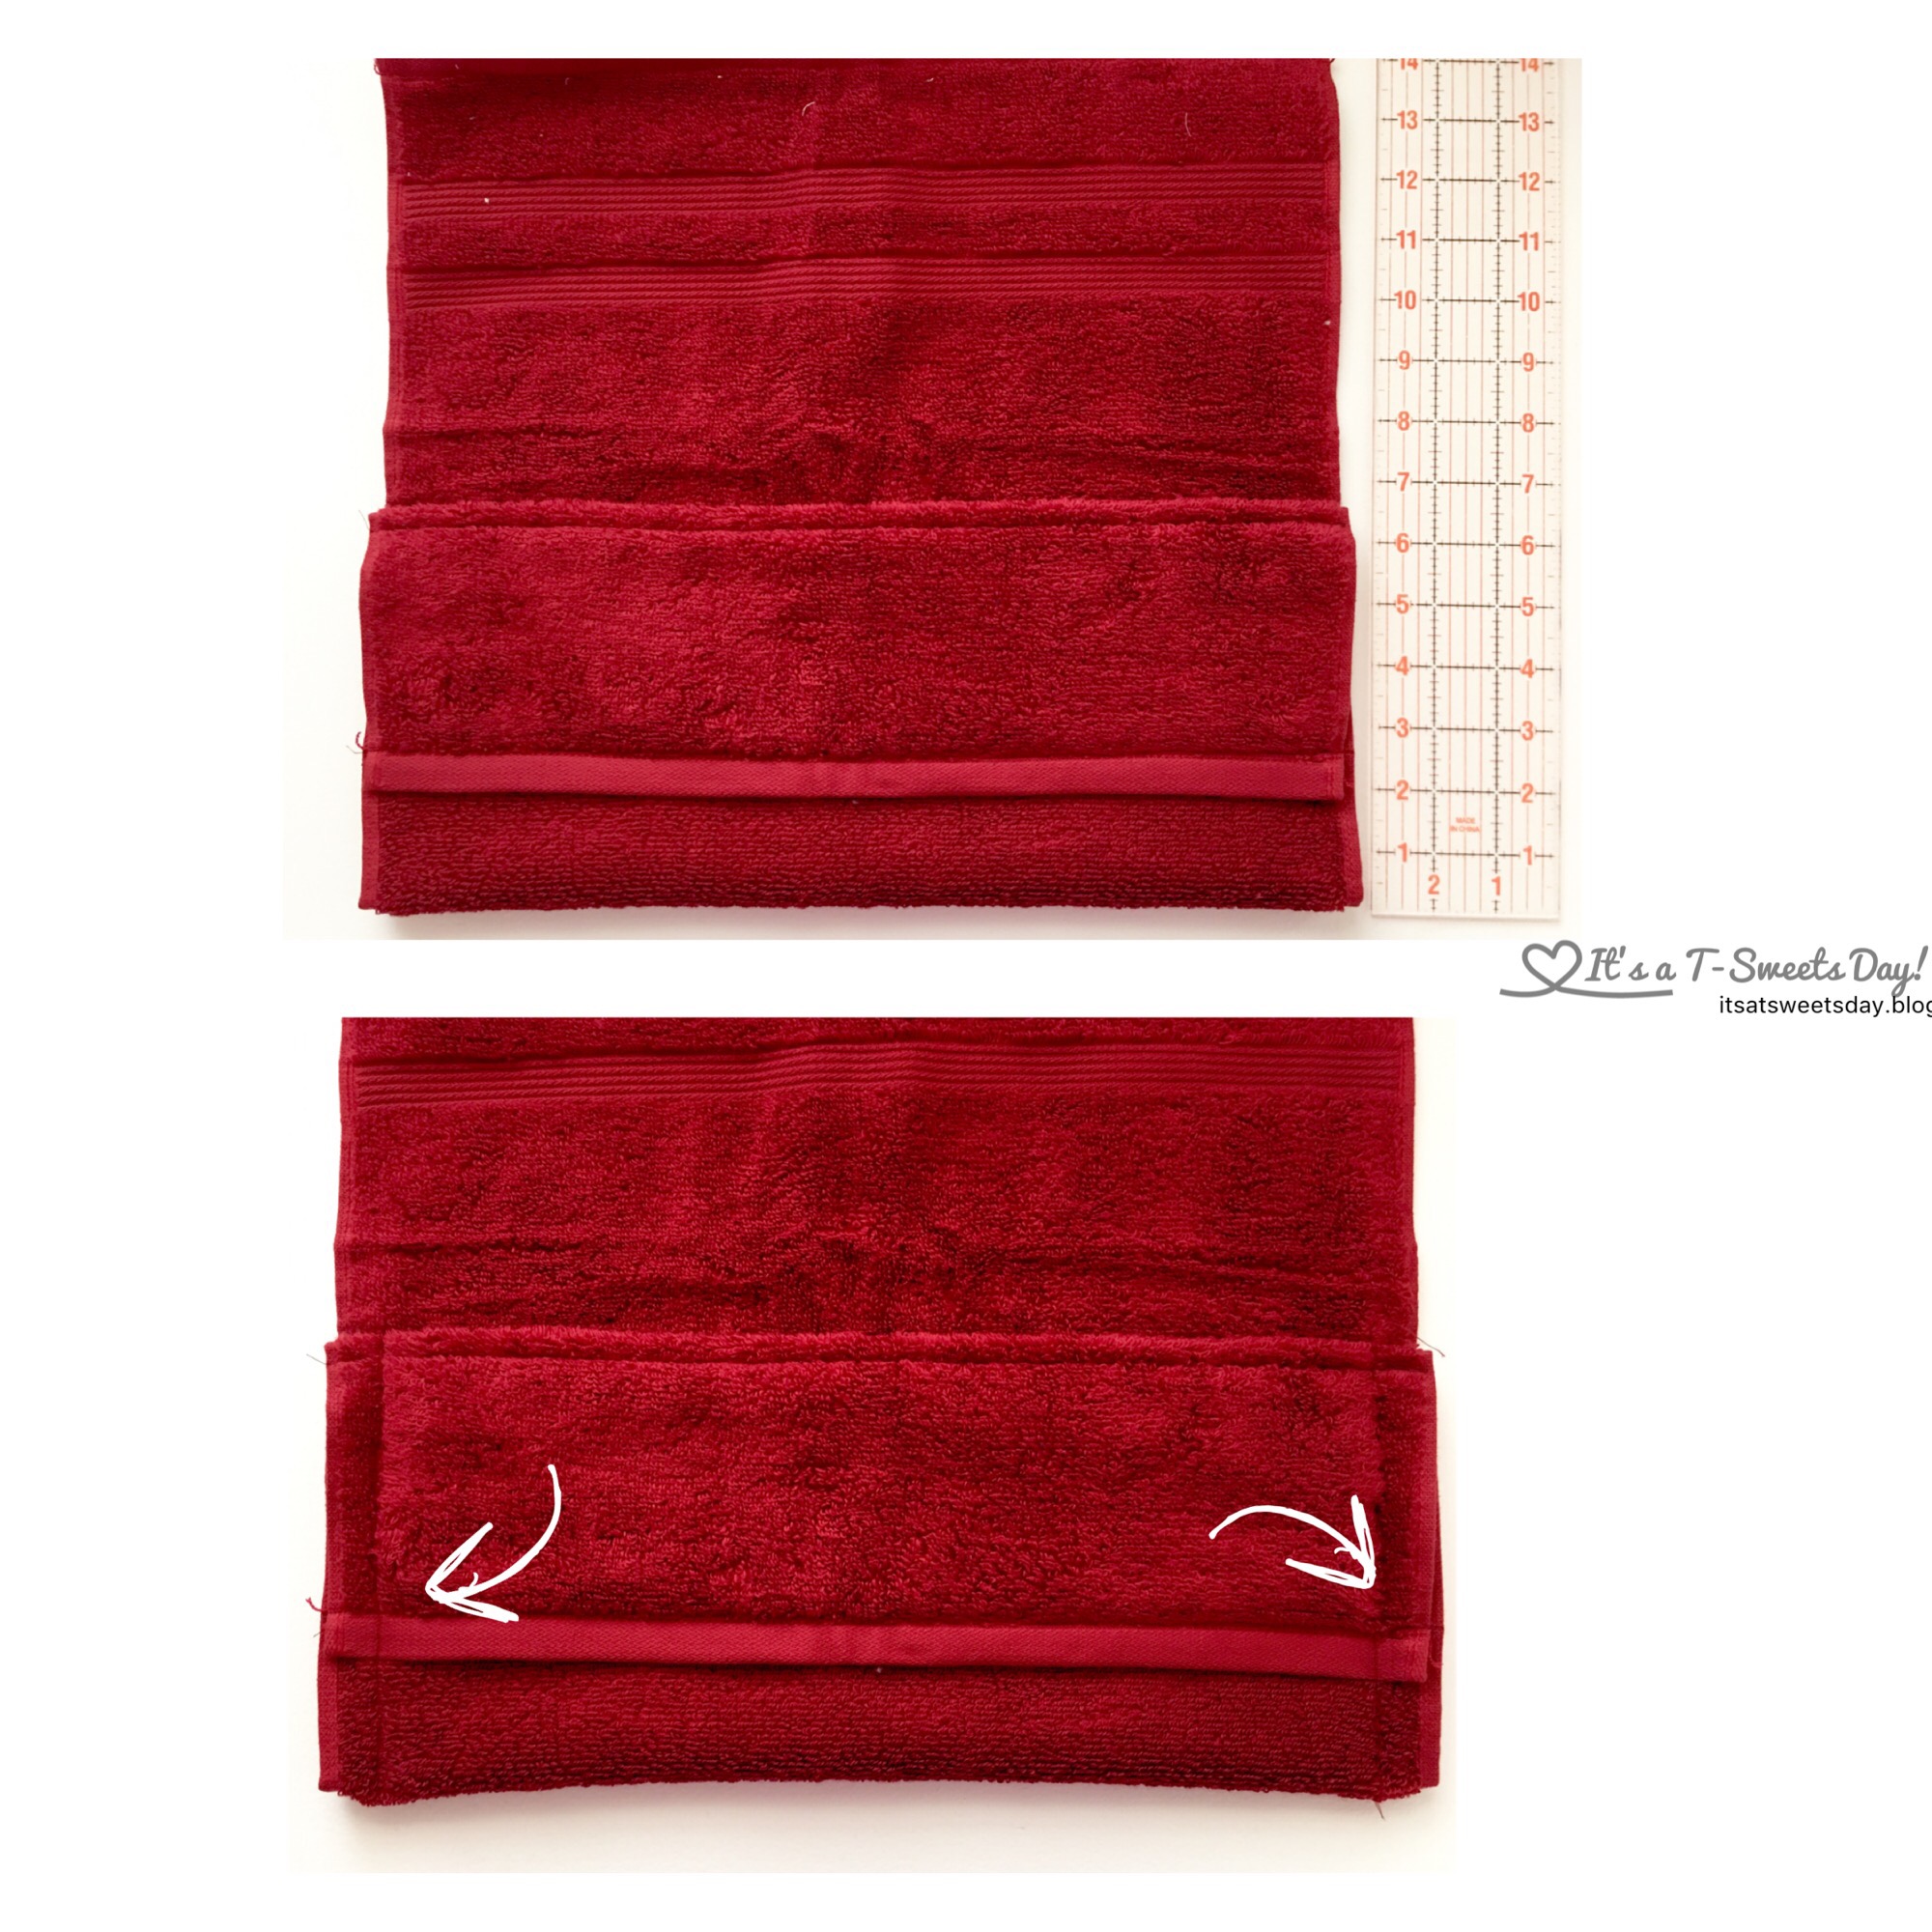
- With the right side facing up, fold the edge you just sewed back on itself 6.5”
- Sew these sides closed

- Find the center of the towel on the fold and place a pin there.
- With a ruler, place the 3’ mark at the pin and mark 3” on either side with a pin.
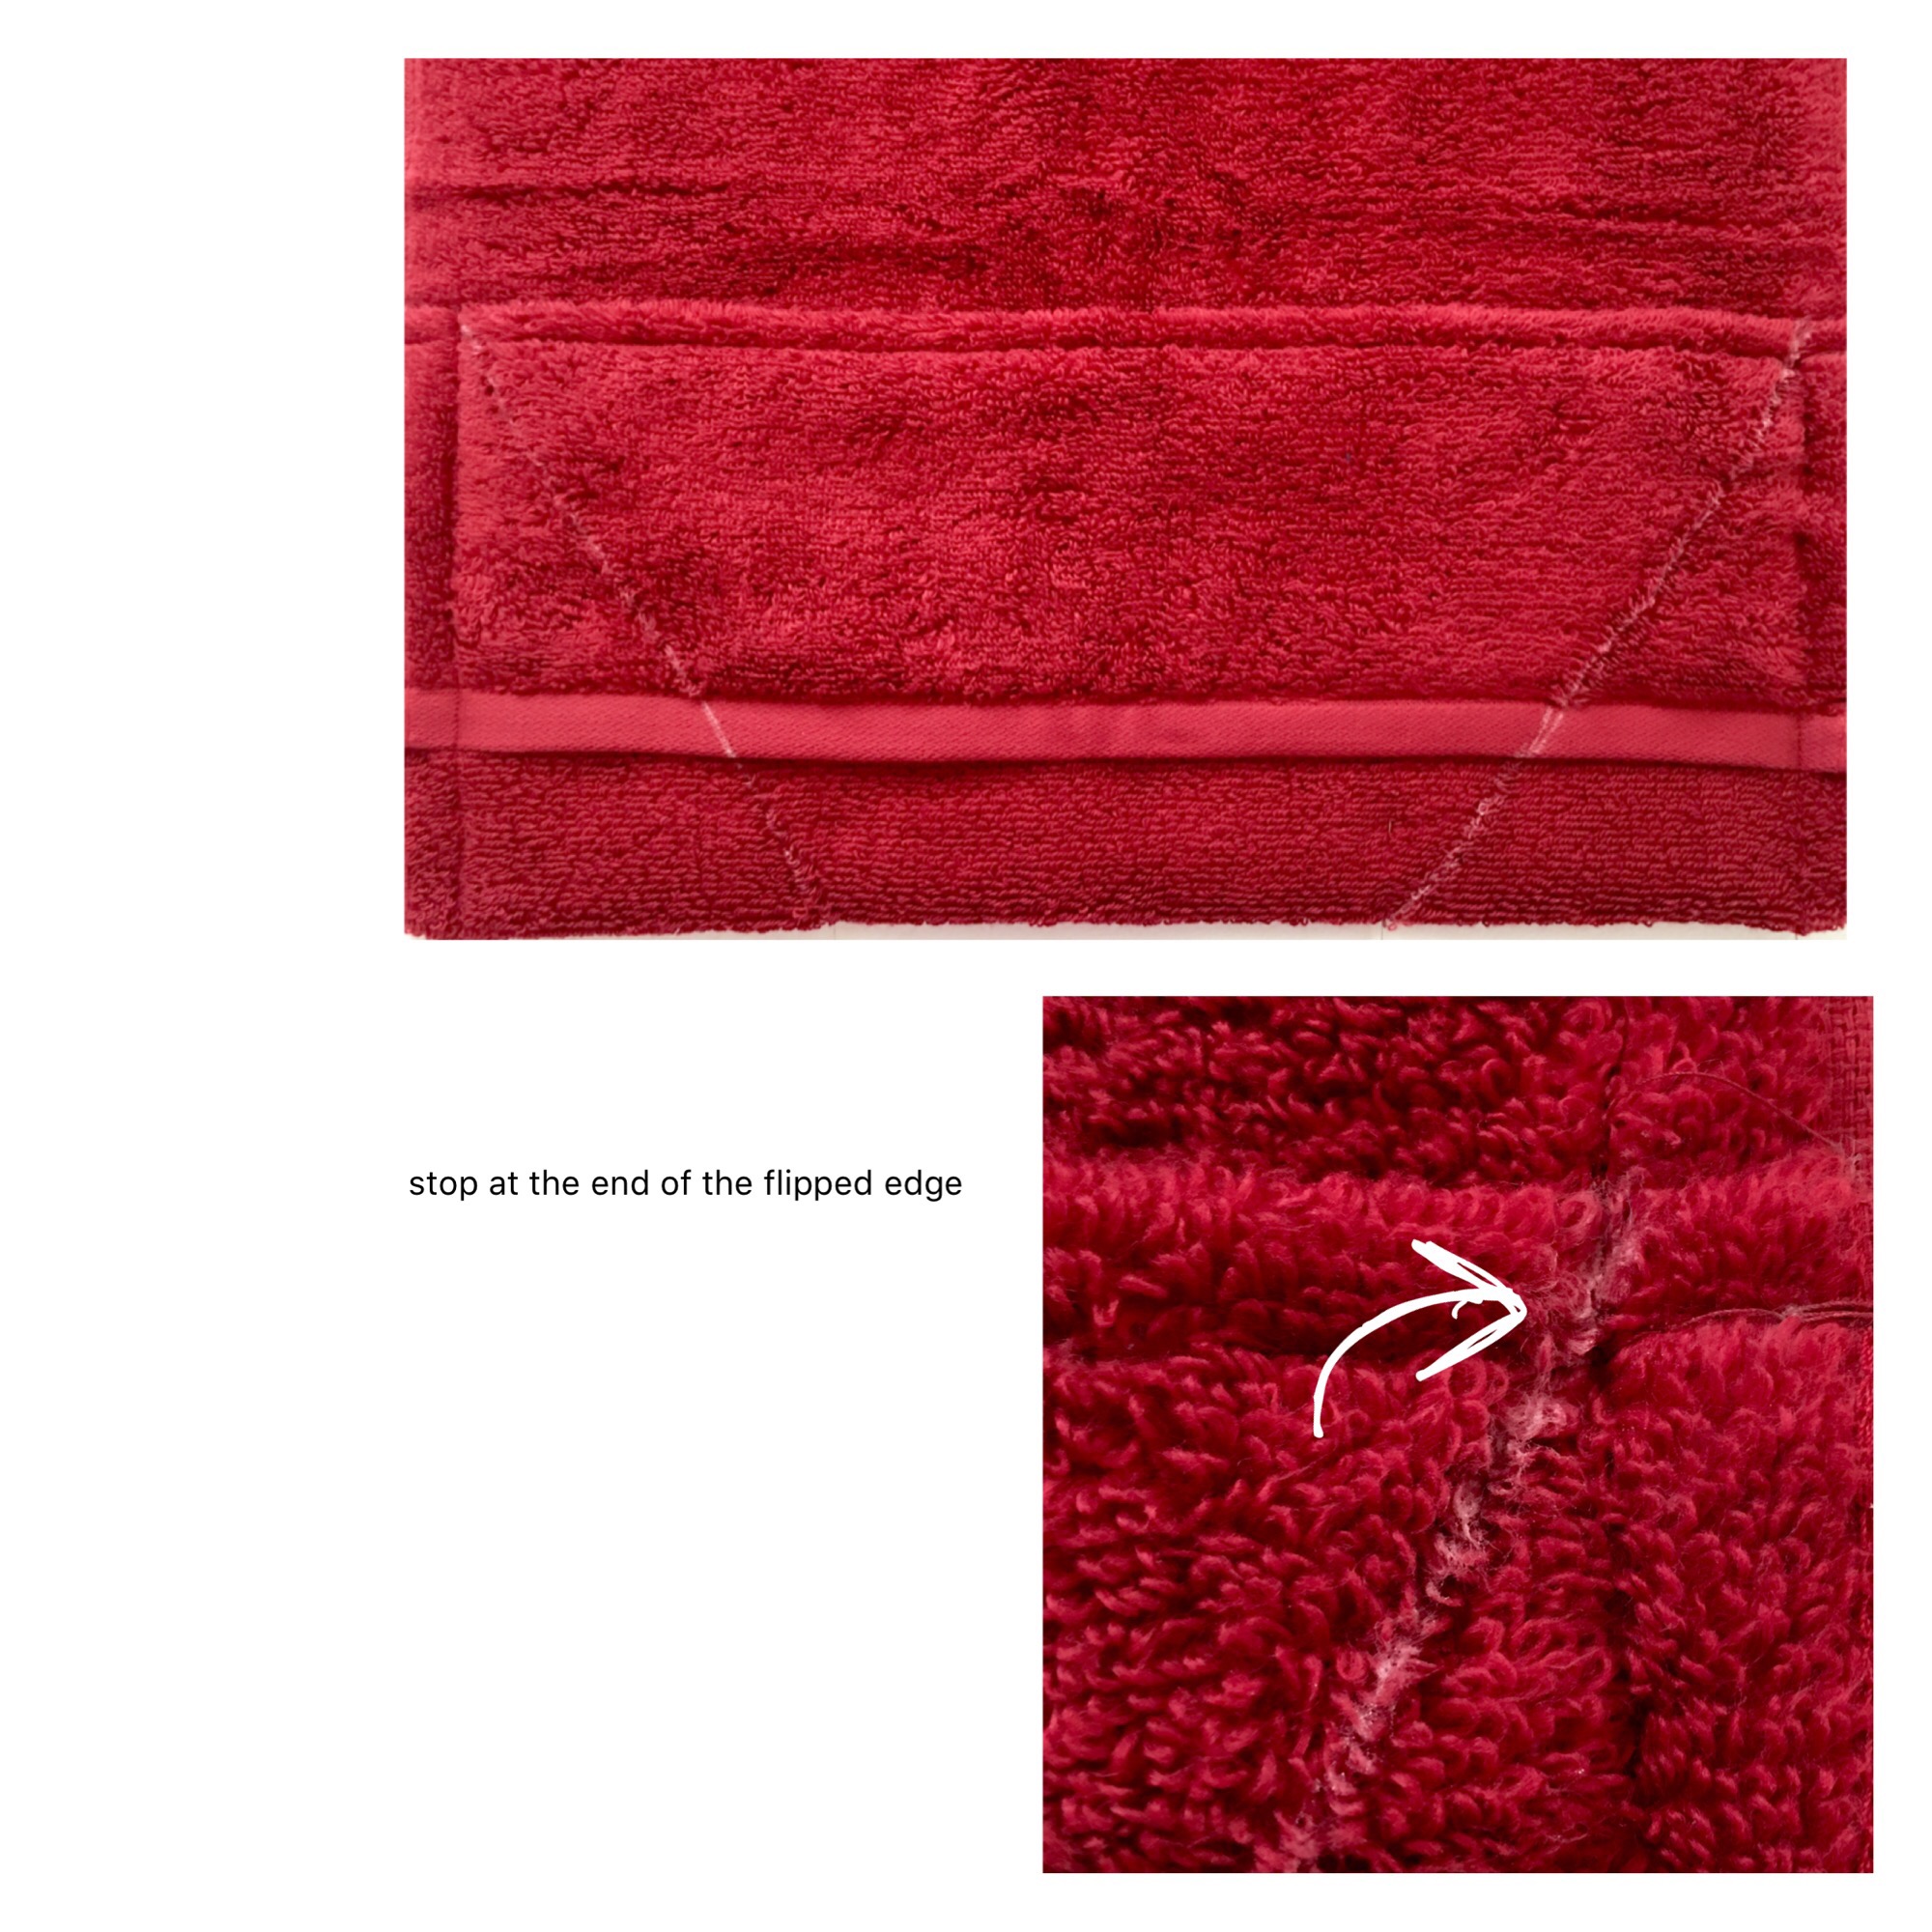
- Sew from the pin to the end of the flipped edge.Back stitch and secure this edge quite a bit. I have marked in chalk your sewing line from the pin to the end of the flipped edge. You do not need to mark your towel

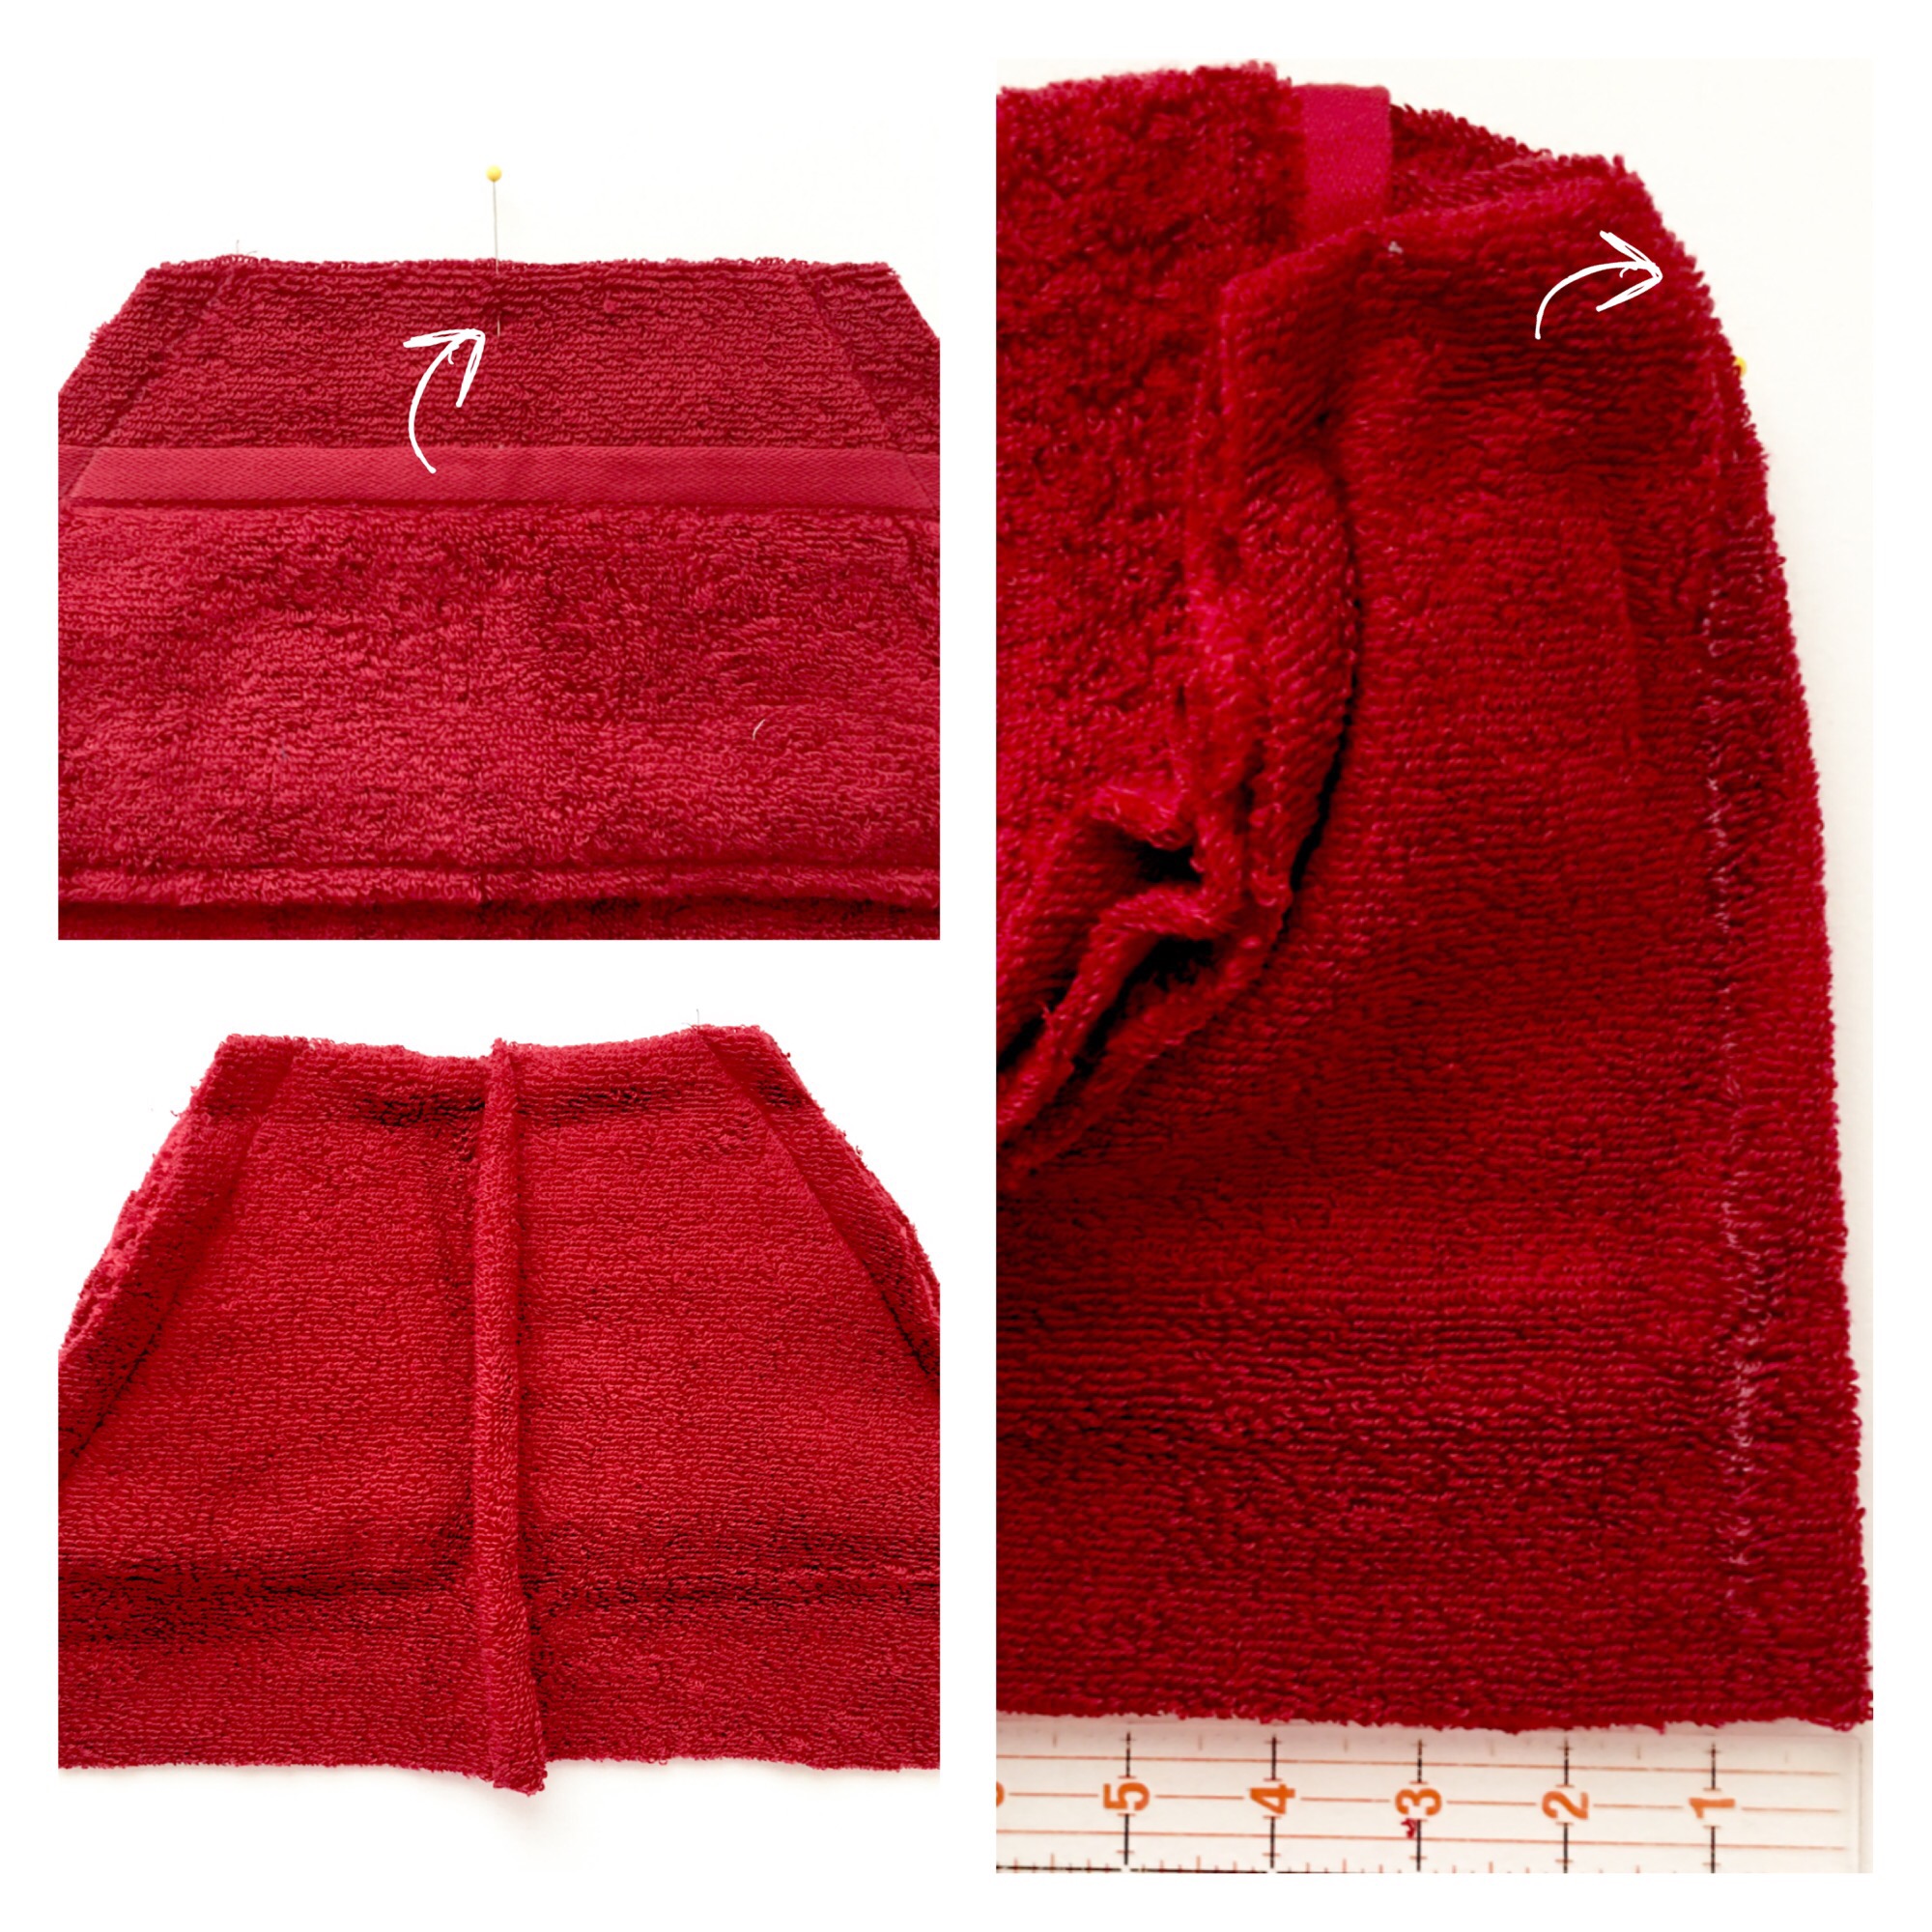
- Cut the corners of folded edge next to the angled stitching.
- Cut the free edge of the towel 3” from the fold as in the above picture.
This next step is the only somewhat tricky part, but it really just feels a bit awkward. It’s not hard. You can do it!:)
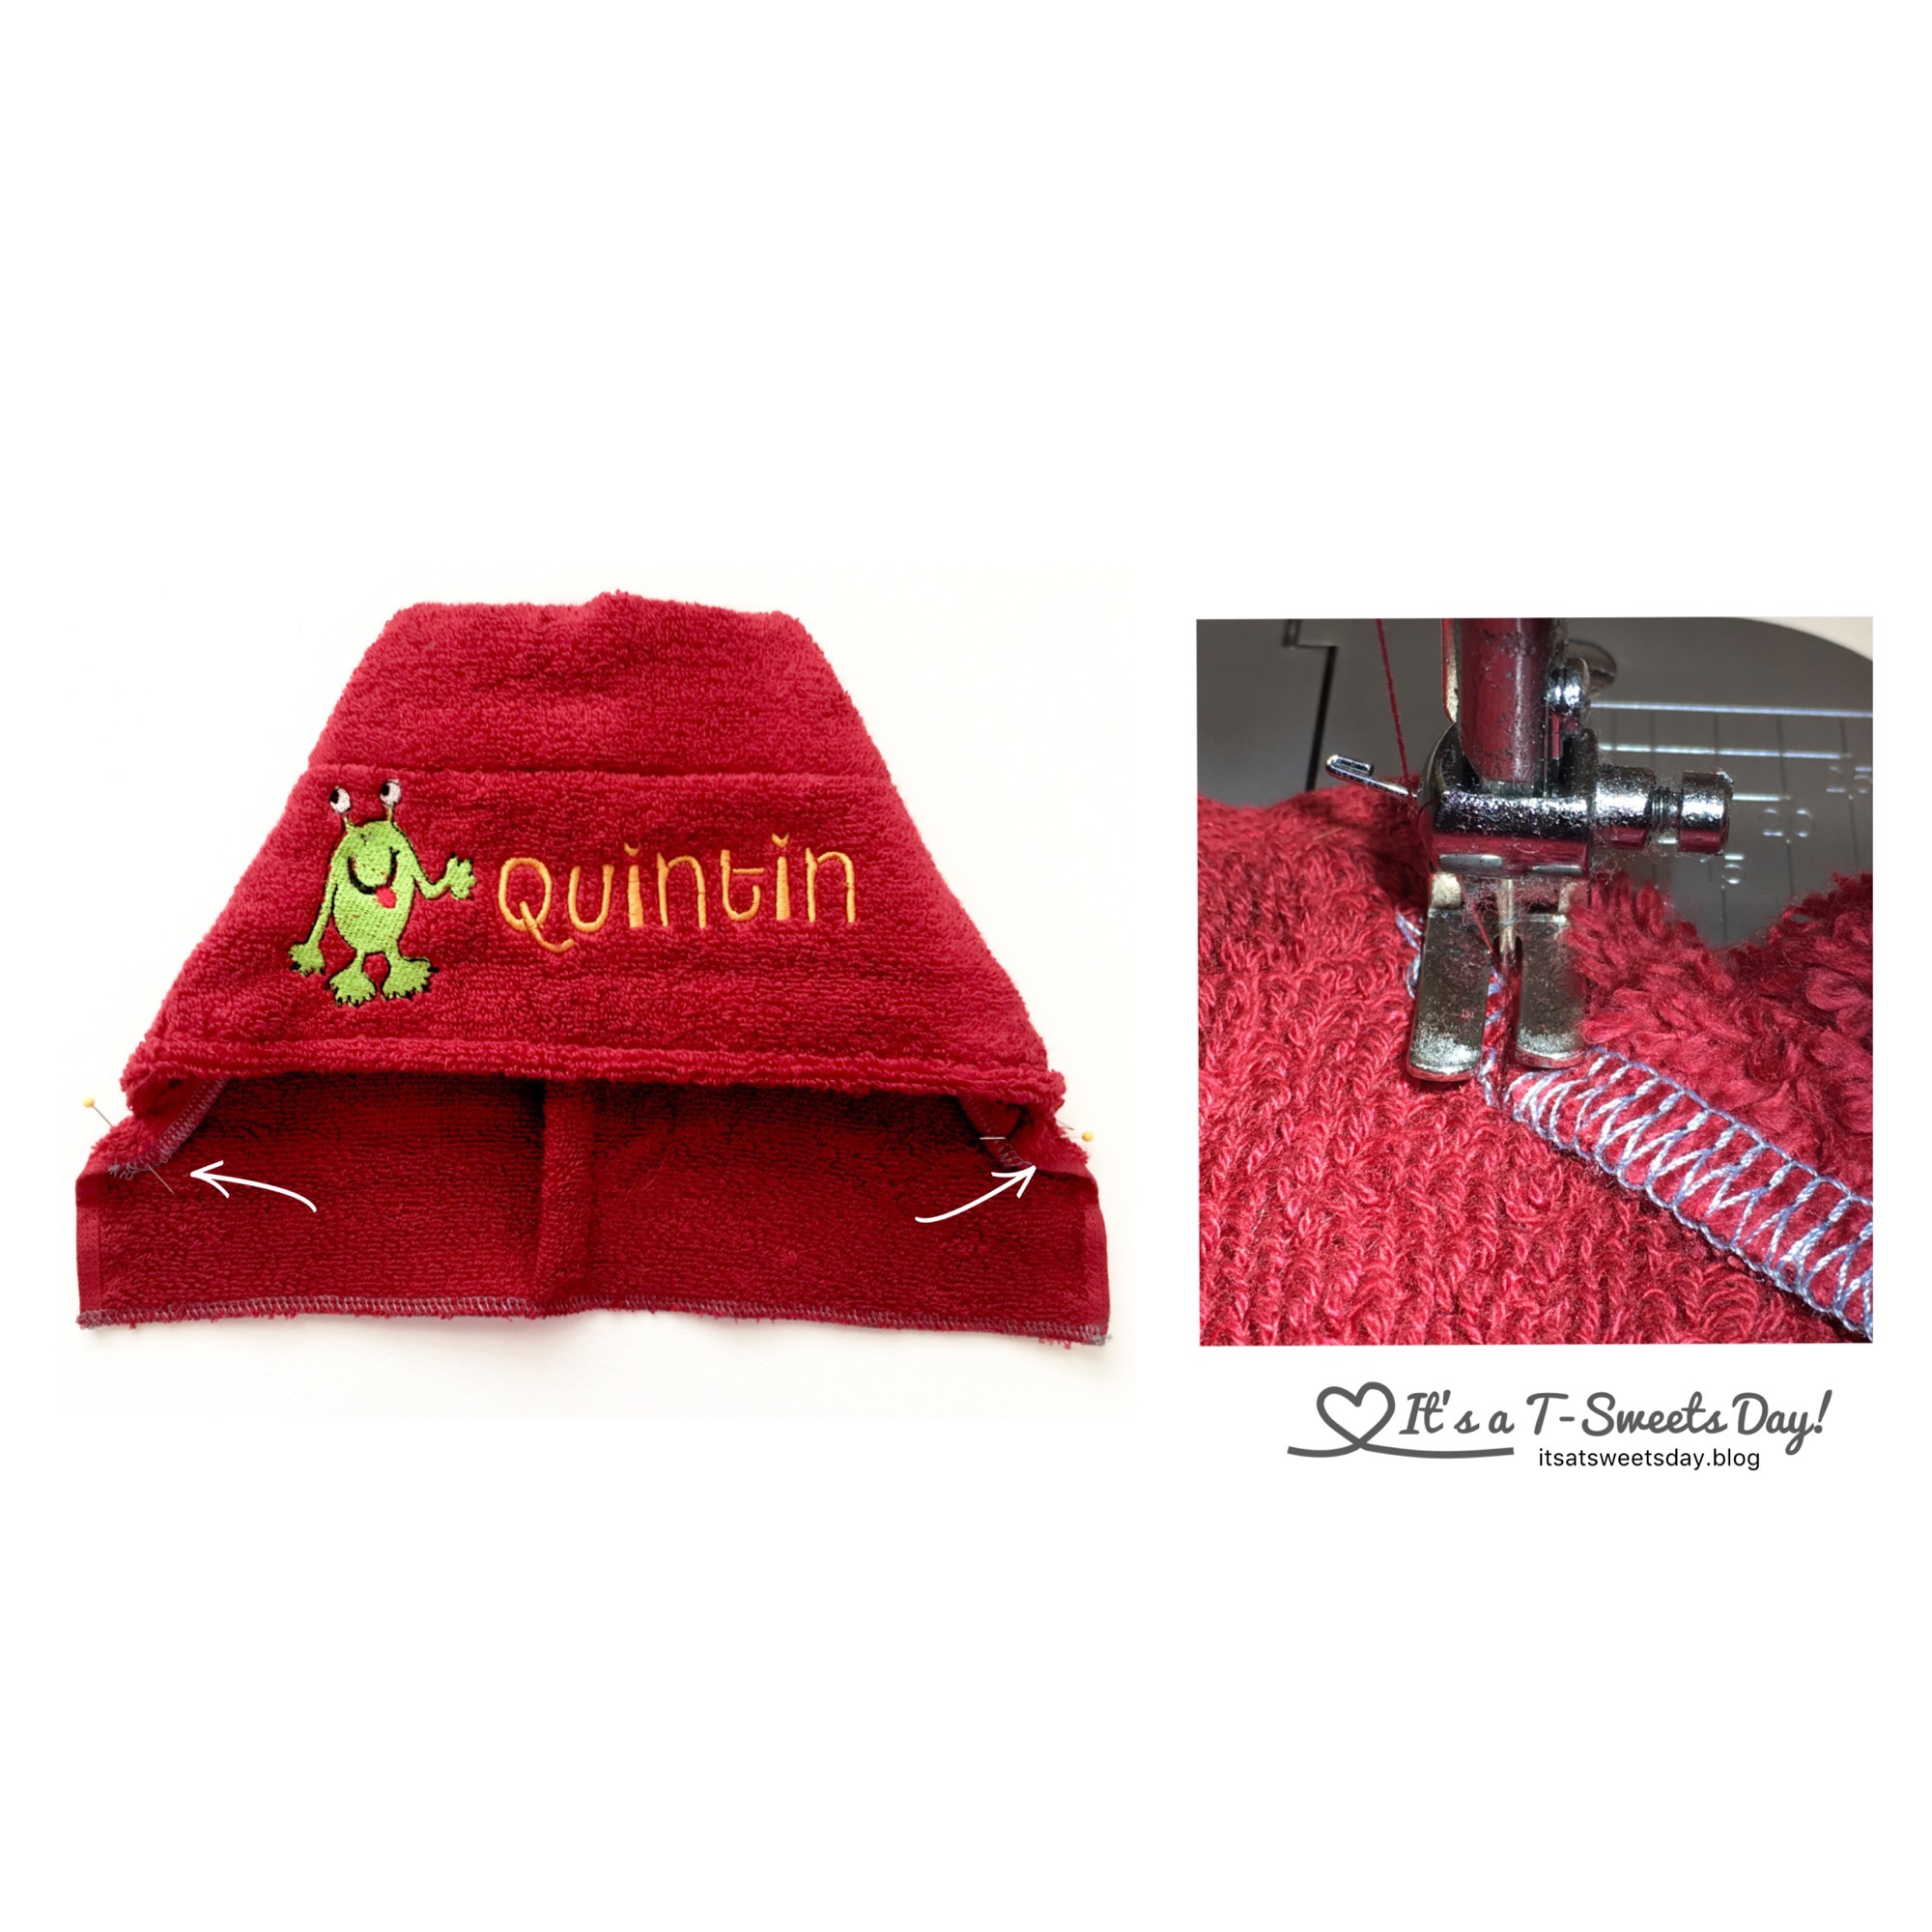
- Mark the center of the folded, top of the hood with a pin.
- Fold the back of the towel lengthwise starting at the pin. Fold the hood evenly in half lengthwise pinning as needed.
- Sew from the top pin down to the bottom about 1” over. I have marked in chalk your sewing line
You will have a hood with a dart on the back when you are done . Yea! You did it:)

- Finish all of your cut edges with a serger or with a zig zag stitch.
- Sew the side wings down that are barely below the hood
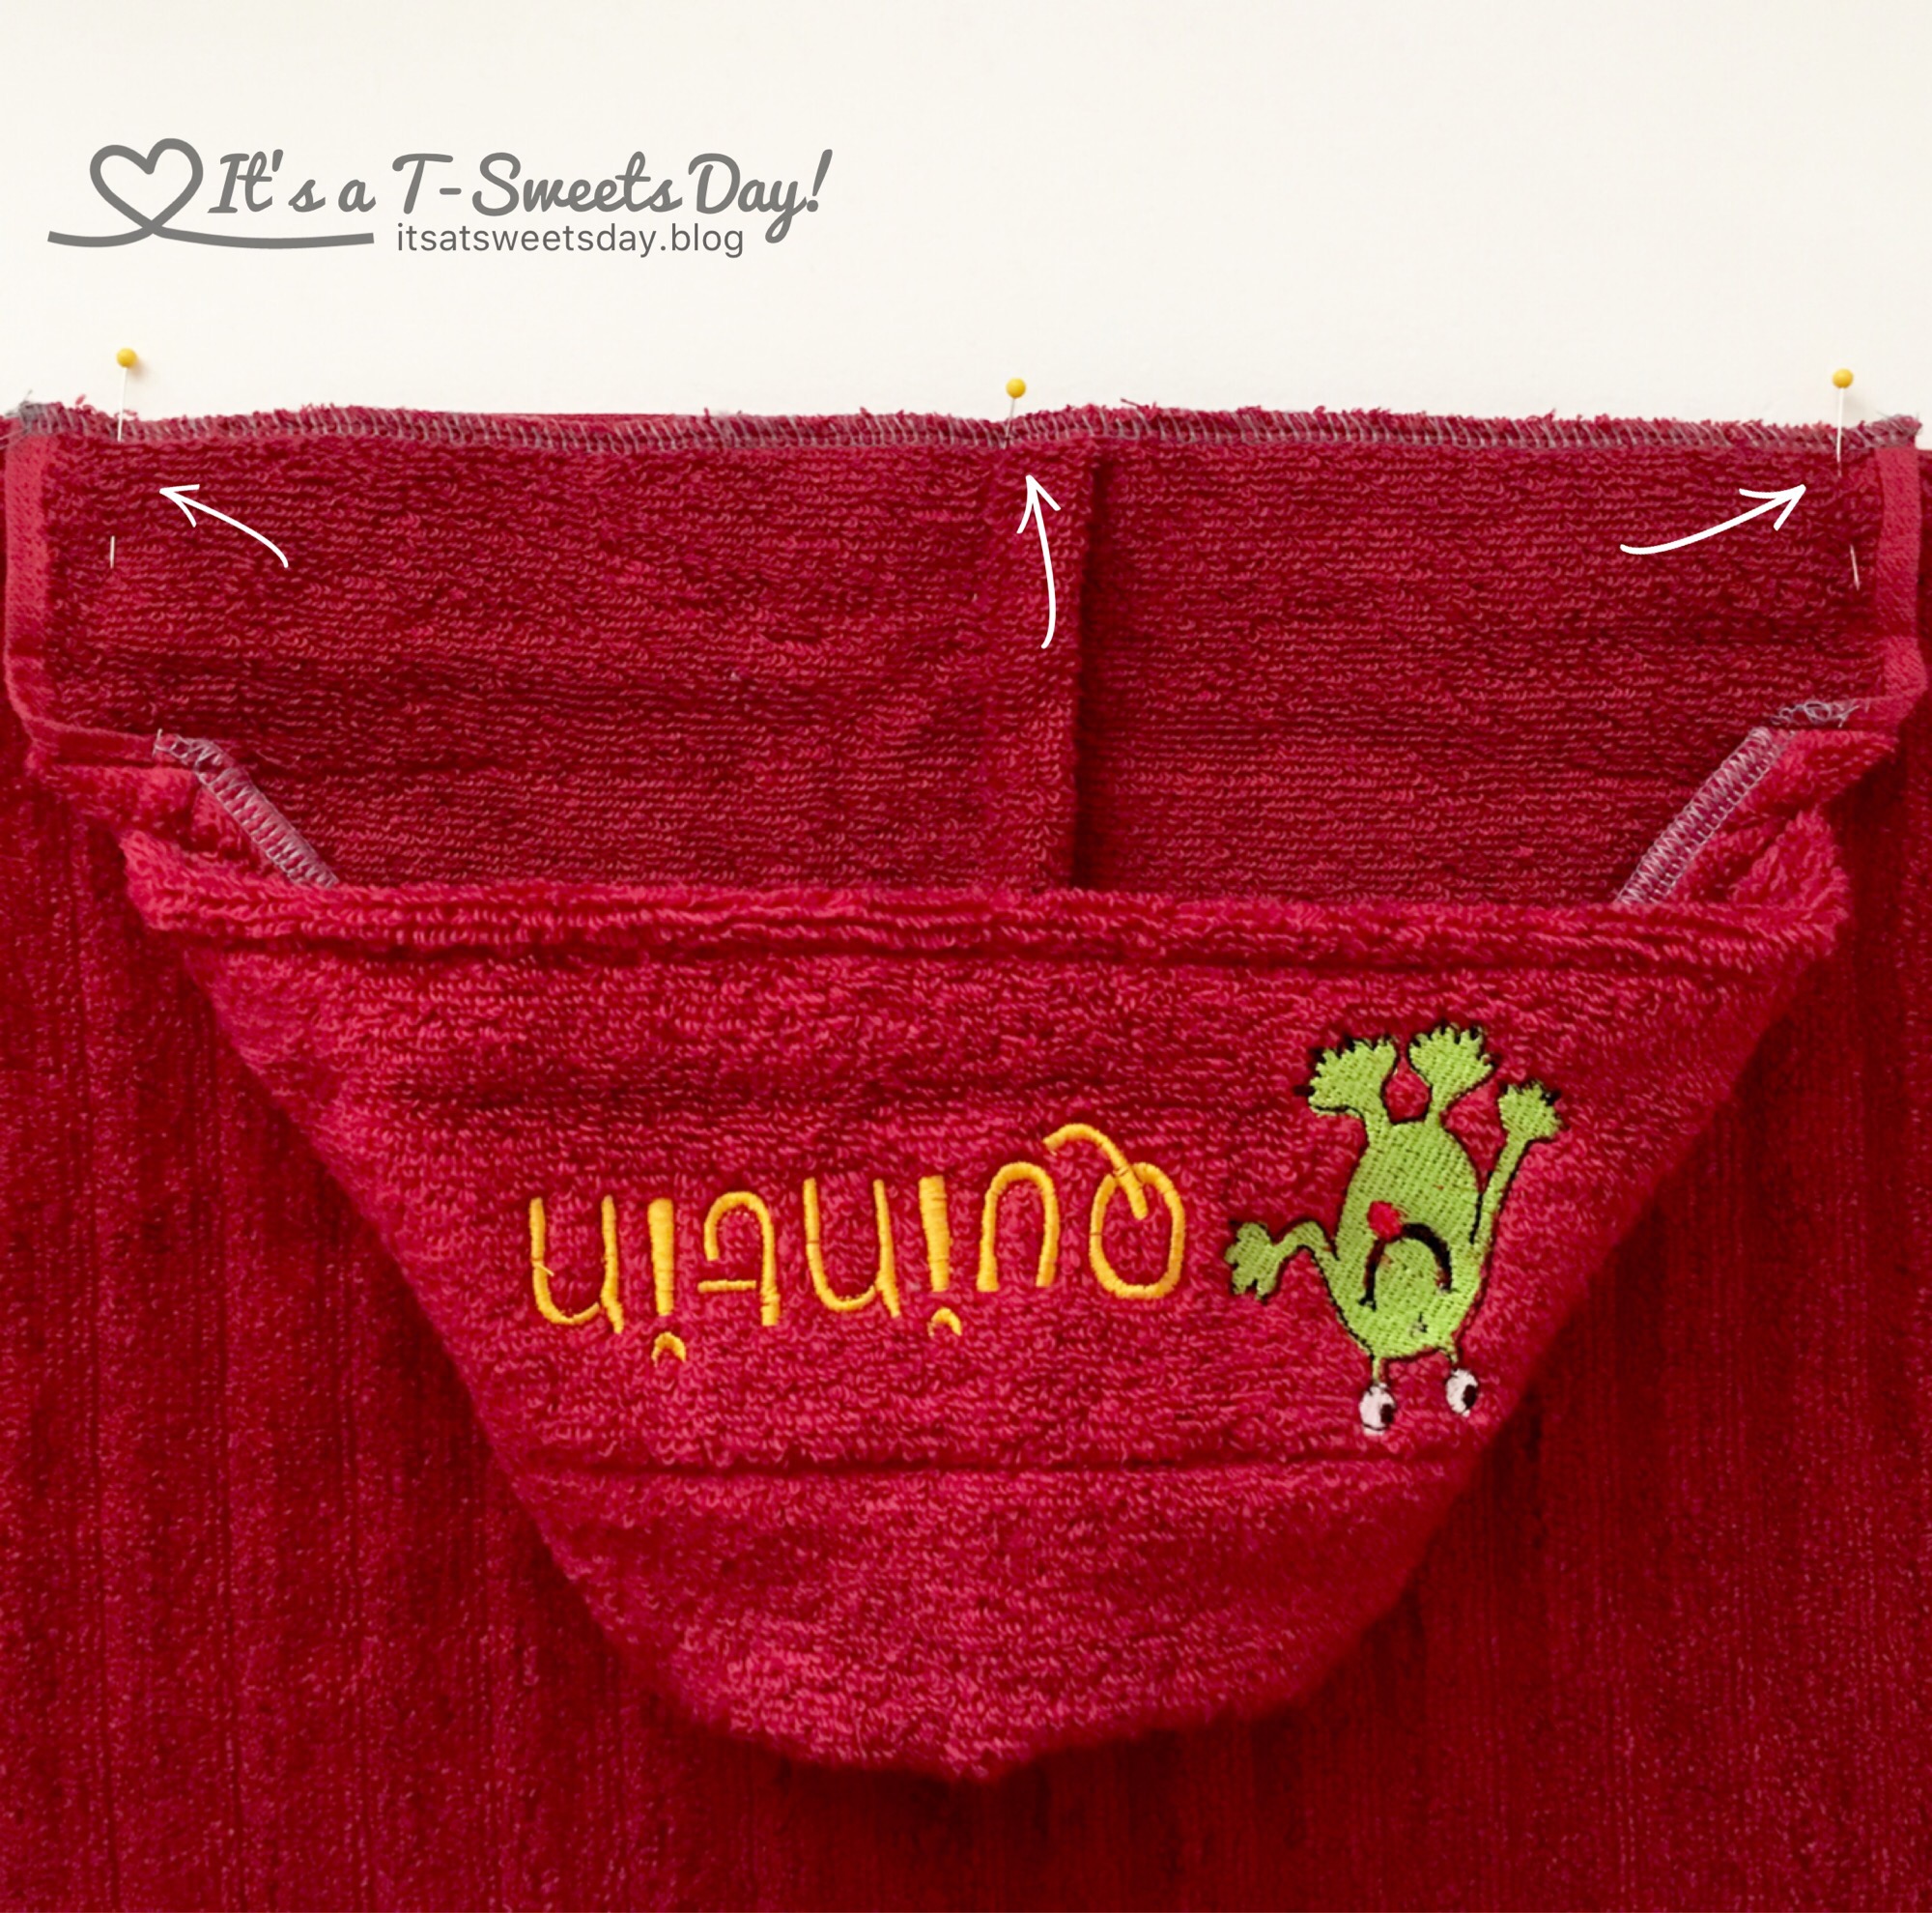
- Find the center of the long or wide side of your towel.
- Pin the hood to the towel
- Sew the hood down making sure to really back stitch and the beginning and end for added strength. You may even want to sew this seam twice.
Oh my goodness! You are done! Isn’t it the cutest thing?

And since I blog about my creative journeys, there are rarely any real homemade surprises under our Christmas tree. I figure it gives added anticipation. Lol:)! Here are the three towels that I made. After the initial embroidery, which took forever, these towels whipped up in no time!

And of course I had to grab my SWEET grandson and take quick photo to show you how truly adorable this towel really is! Just look how snuggly he is:).
I will not be posting the rest of the week due to the Thanksgiving holiday. I hope those of you in the States have a wonderful holiday filled with family and delicious food. I am Thankful for all of you, my online friends.


Thank you so much for sharing thus post. Your Grandson is adorable.
Happy Thanksgiving… Enjoy xx
LikeLiked by 1 person
Thank you Nicola! Grandchildren are the best:)❤️❤️
LikeLike
Great idea for a baby gift! We loved the hooded towel little c had, but I never thought to make one! Hope you and your family have a great Thanksgiving 😊
LikeLiked by 1 person
Thanks Brenna! Towels are really quite easy to make. I hope you try it sometime. Happy Thanksgiving to you too❤️❤️
LikeLiked by 1 person
I made a hooded towel for my oldest. I think I used a length of towelling fabric and bias binding. I prefer your though. It was very useful.
LikeLike
Hi Tracy,
First of all – those pictures of that sweet baby! OMG!! I just want to pick him up and have him tell me all his stories. And sneak in a few kisses. I have a sweet boy myself who is just 11 weeks old, and I am 100% certain that he NEEDS this towel. Right now, if not sooner. Thank you for sharing this tutorial. I will make him one and share with you when I do. I’ll bet I can find you on Instagram or FB, or I’ll just tag you with this post. ~smile~ Roseanne
LikeLike
How SWEET of you Roseanne! Cute little babies wrapped in towels are just targets for hugs and kisses❤️. Your 11 week old grand baby certainly does need a soft towel! I can’t wait to see it. Thank you so much!!
LikeLiked by 1 person
Tracy,
I didn’t even wait for the okay – I just shared it on FB. I think everyone should see that cutie pie and your wonderful project. ~smile~ Roseanne
LikeLiked by 1 person
You are so cute Roseanne!! Thank you so much:)❤️❤️
LikeLike
Tracy, Oh how I love those towels. We were not blessed with a home-made one but we did thoroughly enjoy our towel purchased from the store. Your tutorial is a wonderful resource to have available. Your instructions were so easy to follow and your finished towels are absolutely adorable! I especially love the personalized embroidery! So, so sweet! 🙂
LikeLike
So cute!
LikeLike
So cute! And the towel is very nice too. I hope that you and your family have a wonderful Thanksgiving!
LikeLiked by 1 person
Why thank you! Happy Thanksgiving to you too:)❤️❤️
LikeLike
Great towels! I remember when I was a kid, watching my mom wrap up my brother and sister in their hooded towels after their baths (they were quite a bit younger than me), but they were nowhere near as nice as yours!
LikeLiked by 1 person
Thank you So much Kate! Isn’t it funny what we remember with a picture😊❤️. I’m excited to give them to my boys:)
LikeLiked by 1 person
Cute with the embroidery! This is what I’ve been giving people for years. It takes less time than a quilt, and we have a lot of babies born! I don’t use a hand towel, though, I just fold a washcloth in half and sew one narrow end together, then sew the other end onto the middle of the bath towel. Yours is cuter, but I don’t have an embroidery machine anyway. =)
LikeLiked by 1 person
Oh Susan yours sounds like the kind my friend from the ward gave me! So cute and quick:)❤️❤️
LikeLike
This is just so cute! and your grandson is just ADORABLE ❤️❤️❤️
LikeLiked by 1 person
Thank you Emma! Grand babies are the BEST!!
LikeLiked by 1 person
Haha I’ll start with babies first 😉
LikeLike