
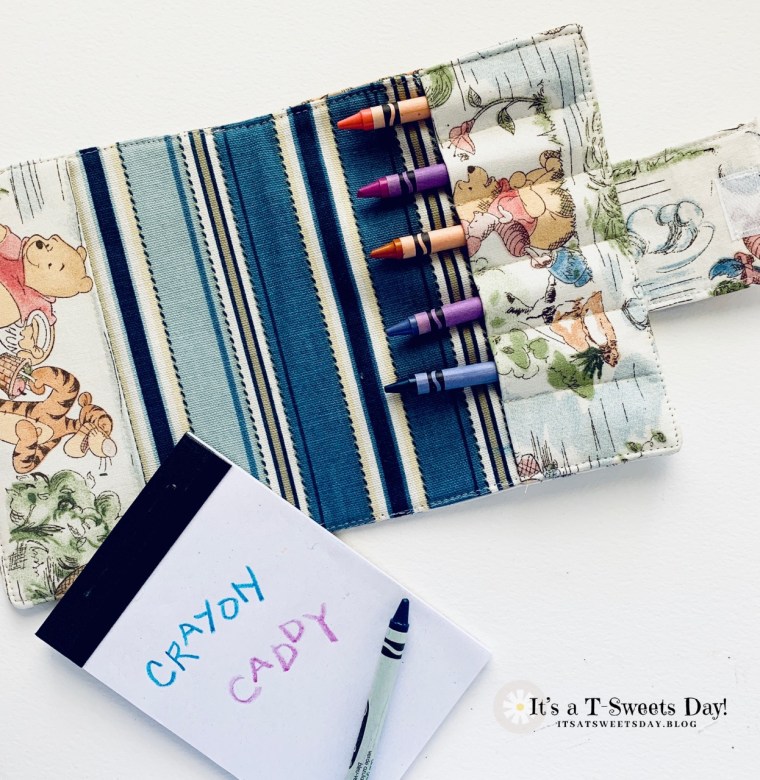
Do you have a SWEET little someone who likes to color? Sometimes waiting for mom or dad is just a bit much for smaller children. Too often we take out our cell phones or tablets and let the computer entertain our children in the doctor’s office or at the store. But there is an alternative. How about having a few crayons and a pad of paper handy in a neat little caddy all ready to entertain and inspire?
The ladies at my church are joining together to make bags filled with goodies for children in the foster care system. One of the ladies had a cute little crayon caddy that she asked me to make a pattern for so the ladies could make a bunch up to put in the bags. Of course I said yes!
It really isn’t hard and can be made with materials you probably already have around your house. Do you want to try? Ready, Set, …here we go!
Crayon Caddy
Materials–
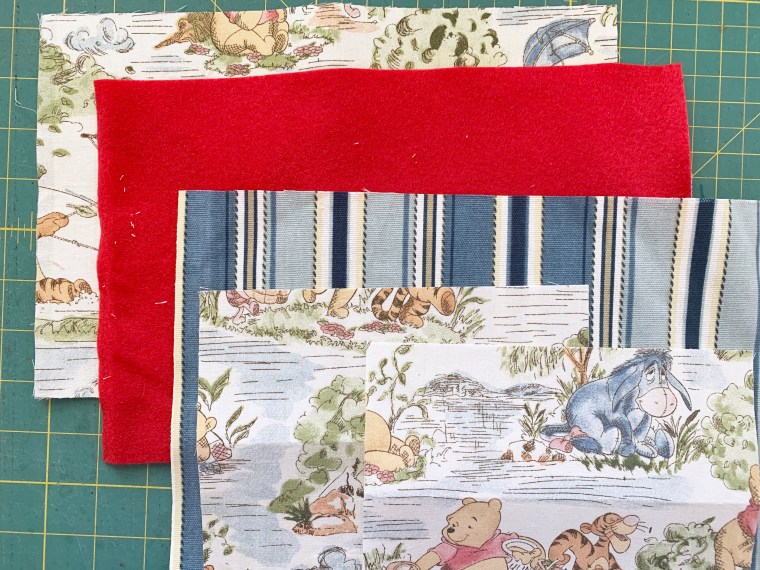
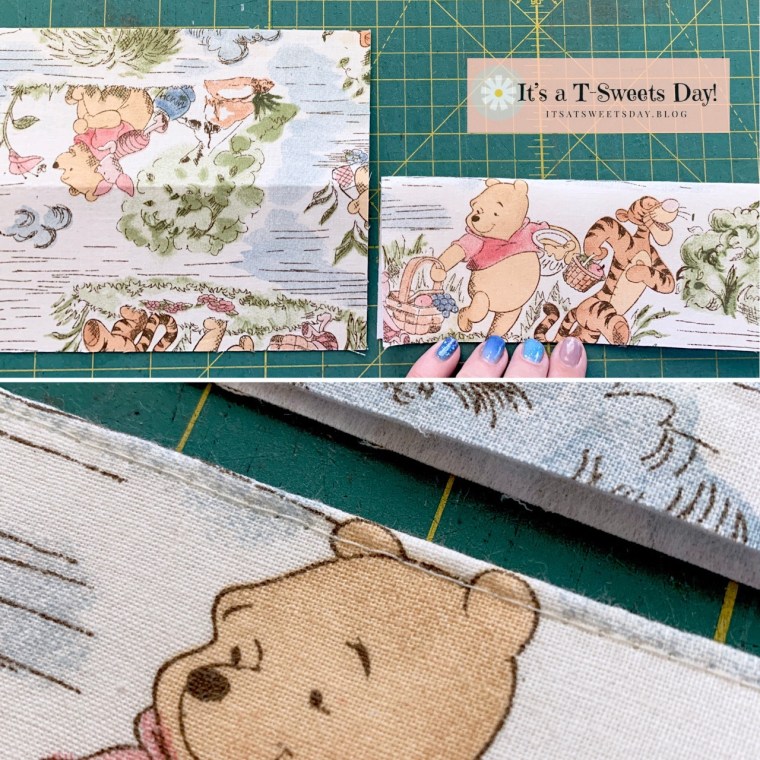
Main fabric lined with heavy fusible interfacing –
- (1) main outside piece – 11.5” x 7.5”
- (1) flap – 5.75” x 3”
- (2) pockets – 7.5” x 5.75”
Felt or Batting
- (1) – 11.5” x 7.5”
Lining Fabric
- (1) 11.5” x 7.5”
Hook and Loop
- (1) – 1” x 1/2”
Chalk pencil or Frixion pen (these erase magically with the heat of an iron!)
Directions –
Flap –
- Fold 5.75” x 3” piece in half widthwise with the right sides together making a 3” x 2.5” square.

- Sew along the sides leaving the bottom edge open for turning. Be sure to back stitch!
- Trim the corners
- Turn and press making sure the corner points are “pointy”
- Top stitch 1/8” from the edges
- Sew the hook side of the hook and loop tape 1/2” from the finished edge.
Pockets –
- Fold the 7.5” x 5.75” pockets in half lengthwise with the WRONG sides together
- Top stitch 1/8” along the folded edge
Lining –
- Place felt or batting on the table
- Place the lining fabric on top with the right side facing you

- Pin the pockets that you just sewed on top of the lining fabric at each end with the fold toward the middle
- Sew 1/4” all around the edges

- Remove pins
Crayon Dividers–
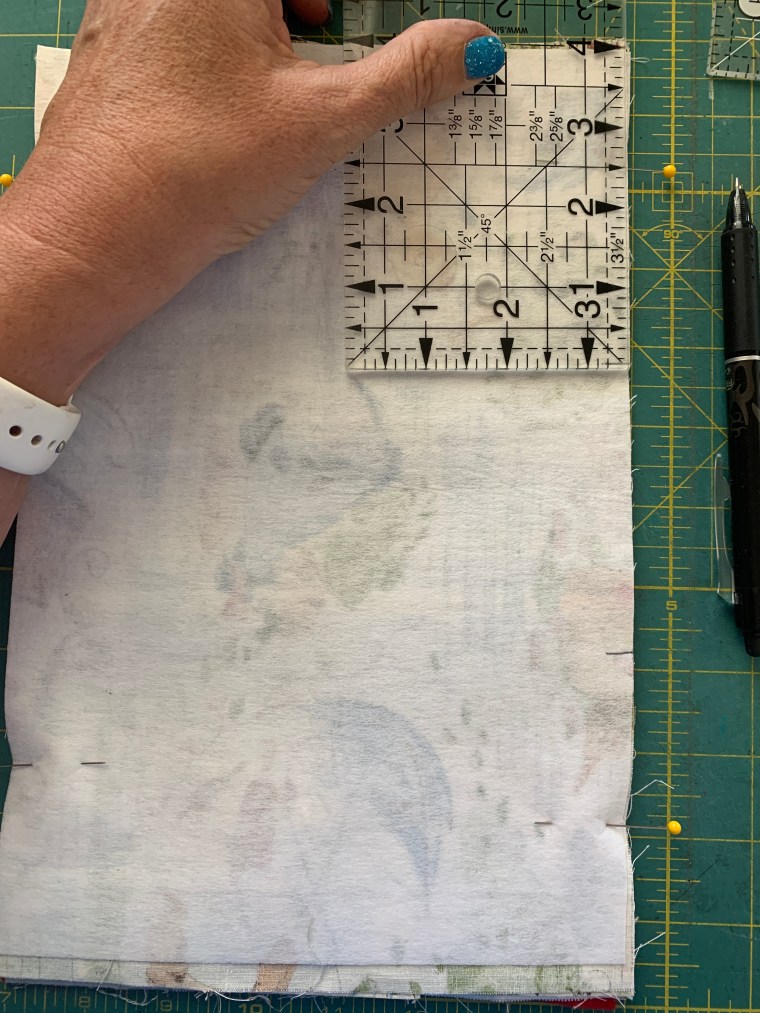
- On one of the pockets, measure 1.25” down from the top and draw a line using your chalk or Frixion pen or even a VERY light pencil.

- Do the same thing from the bottom only marking UP 1.25”
- Continue marking 1 1/8” from each of these lines for a total of (5) lines. This will make holders for six crayons.
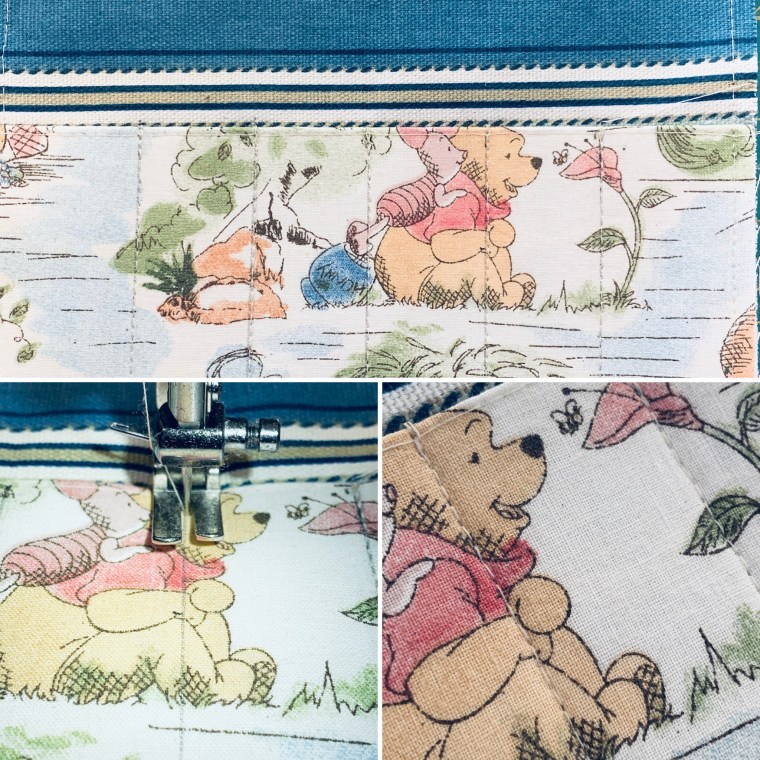
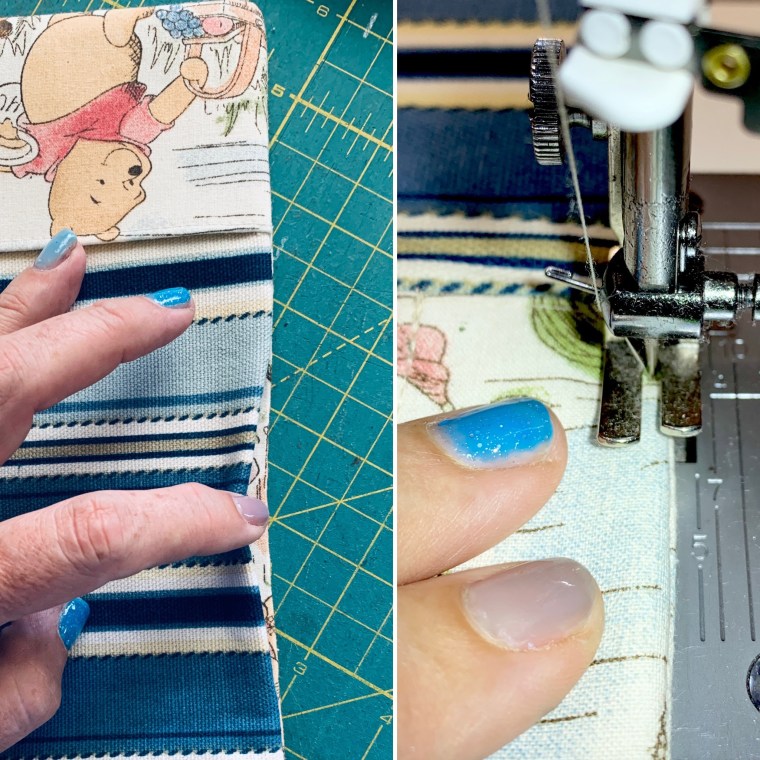
- Sew on the lines making sure to back stitch at the beginning of the folded edge for strength
- Iron
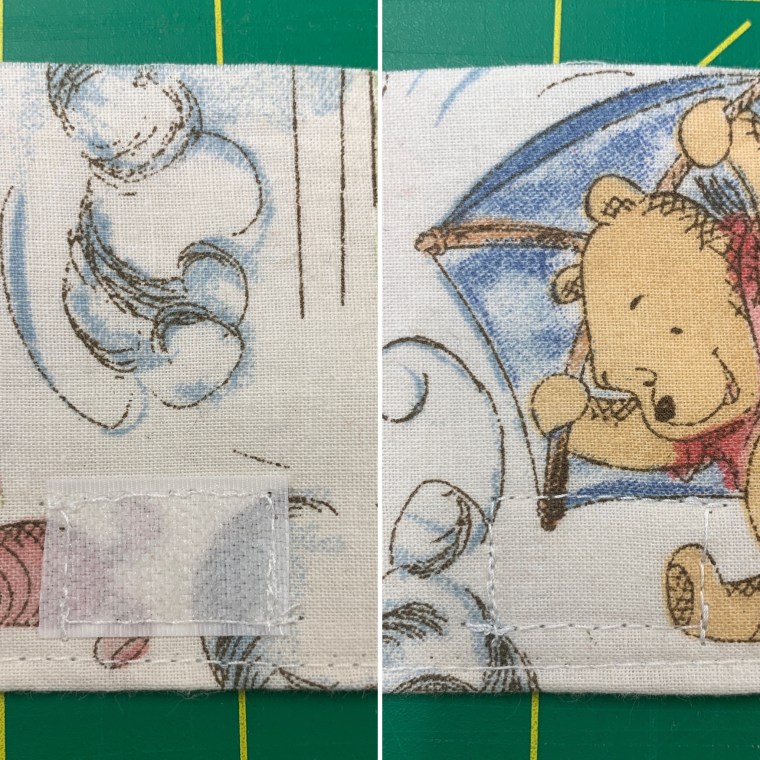
Main Outer Fabric –
- Fold the fabric in half lengthwise to mark the center.
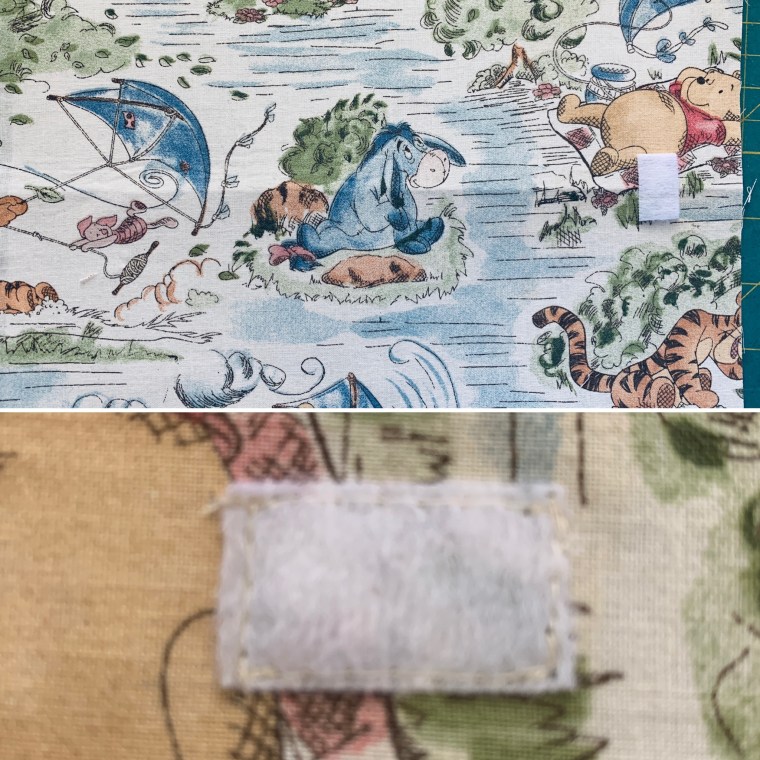
- Place the loop side of the hook and loop tape over the fold 1” from the edge
- Sew in place
Sewing Together –
- Fold lining in half length wise to mark the center.
- Center the flap piece over the marked fold with the hook tape toward the lining over the crayon holder side.

- Sew the flap 1/4” from the edge
- With right sides together, pin the main outer fabric to the lining making sure the side with the loop tape is not over the flap.
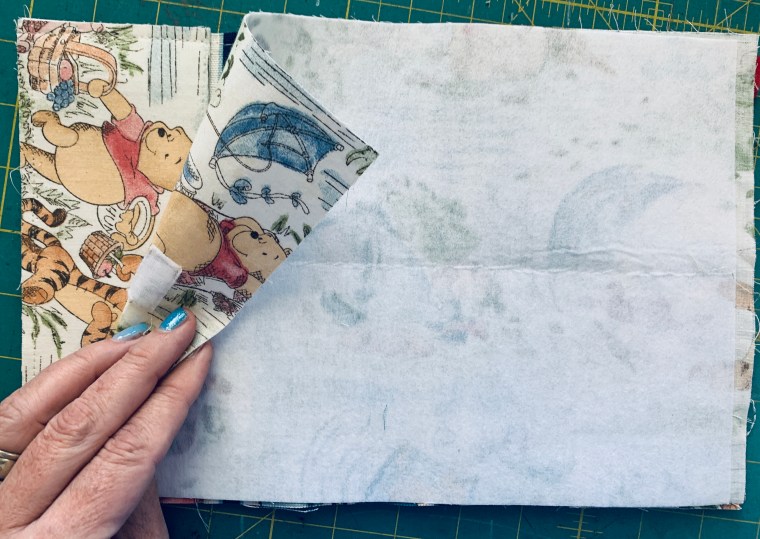
- On one edge, mark 3.5” from the top and the bottom
- Sew 1/4” all around starting at the bottom mark and stopping at the top mark. Be sure to back stitch at the beginning and end.
- Check to make sure you have sewn all of the layers of fabric on the back. Don’t worry if you haven’t – just sew around again taking a slightly bigger seam allowance.

- Clip the corners.
- Turn the caddy inside out from the opening on the side. It will be stiff. Just go slowly.
- Flip the large pocket to the lining side.
- Push the corners to a point with a dull pointed object like a screw driver or a cuticle stick. — The points may be a bit tricky to get really “pointy” That’s ok, just get them the best you can:)
- Press, folding the open edges in to match the seams.
- Edge stitch 1/8” around the entire caddy.
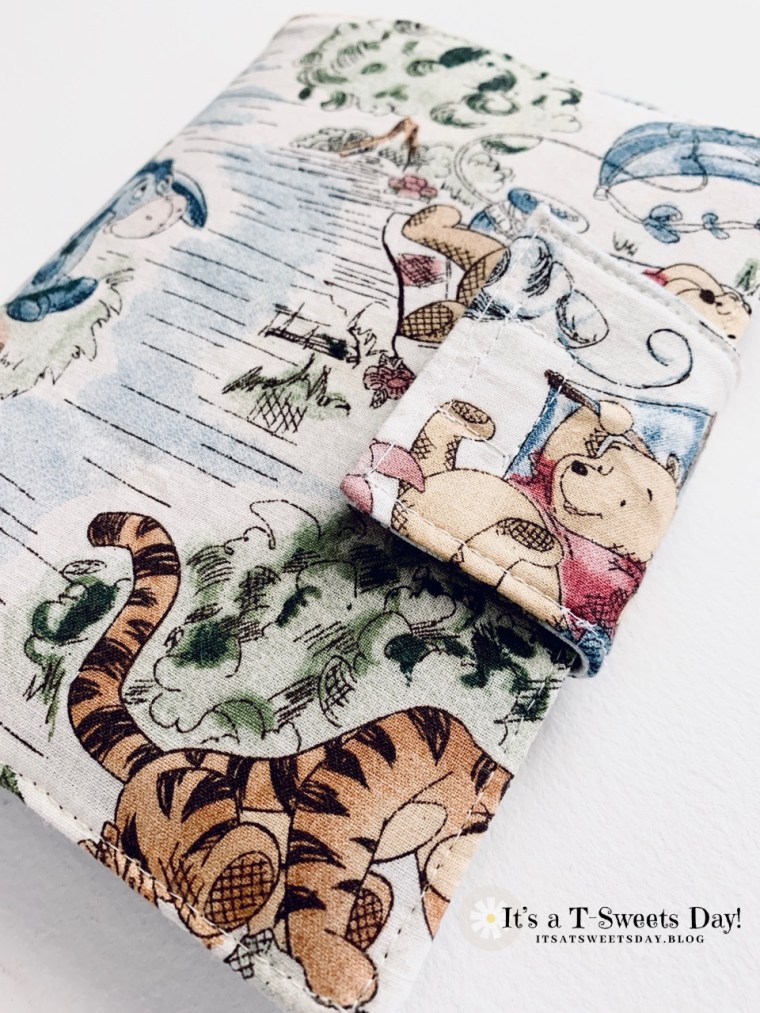
- Add a small notebook and crayons

FINISHED! Now that wasn’t too hard!
Thank you for stopping by today:). I hope you have fun making this crayon caddy. I can’t wait to hear how it goes!


I made one something like this a couple years ago for my daughter’s great niece – she loved it – it is amazing how often people put a phone or iPad in the children’s hands instead of paper and crayons. I won’t get started but I think a book or crayons is much better for a child!
LikeLiked by 1 person
Hi Karen! I agree! I bet you had so much fun making yours, like I had making mine:). ThNk you for stopping by today. Have a wonderful day!❤️❤️
LikeLike
I agree. Although a few games etc in their lives are important, just keep it low interest. So much to learn in the sandbox.
Making them fun things makes you feel good and them even more special. It makes the love go around.
LikeLiked by 1 person
This is so cute!
LikeLiked by 1 person
Thank you! If you have any little ones in your “family tree”, you might make one or two for them. It’s fast and fun:)❤️❤️
LikeLike
Hi Tracy! I do have a sweet little someone, who we are trying to get interested in coloring. I’ll just bet I will need to make one for him and his sister very, very soon. Thanks for the great tutorial. Happy Friday, friend. ~smile~ Roseanne
LikeLiked by 1 person
Yes you do have a SWEET little one Roseanne! I can’t wait to see how yours turns out:)❤️❤️❤️
LikeLiked by 1 person
Great idea and I just love that Pooh fabric!
LikeLiked by 1 person
Thank you Kathy! Isn’t it cute?!!
LikeLike
Adorable!
LikeLike
Cool thing to make. I know it would be popular with the little ones. That’s a great tutorial.
LikeLiked by 1 person
Thank you Suz. The RS ladies are having a service project . We all do our part, right?❤️❤️
LikeLike
We do! We’re all about family history this month and I’m teaching journaling/record keeping for the Bi-stake festival. There’s always something. =)
LikeLike
What a sweet caddy and I love the fabric choice!
LikeLiked by 1 person
Thank you Tierney! The joy of a small project is the ability to use scraps:). Yea!!
LikeLike
This was an excellent tutorial, They turn out great! Thanks!
LikeLiked by 1 person
Yea!! I’m so glad you tried it and it turned out:). Have a super great day!!
LikeLike