
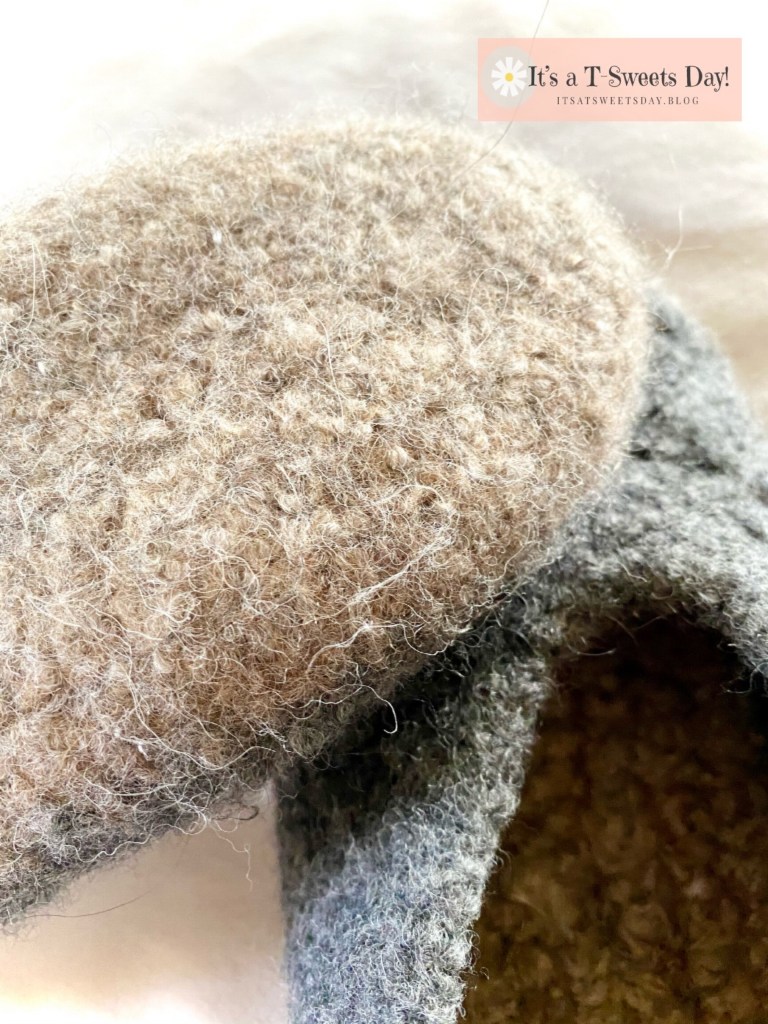
I have always liked the tight and squishy look of felted crochet or knitting. The stitches disappear and the the yarn becomes like a thick piece fuzzy fabric. But I always shied away from giving it a try because it looked too tricky. — Nope!

Really, all you need is a good pattern and the right yarn, along with a little confidence. With those, your next sewing addiction is right around the corner, lol!
Maybe you are thinking, “Tracy, you can do that, but I can’t.” Don’t listen! You can. Here is what you need:
The first thing you need is a good pattern. I used this Woolies Felted Slipper Pattern by Wild Woolies Studio on Etsy. I bought several different patterns to try, but this one was the easiest to adjust to any size. It was a winner for me:)
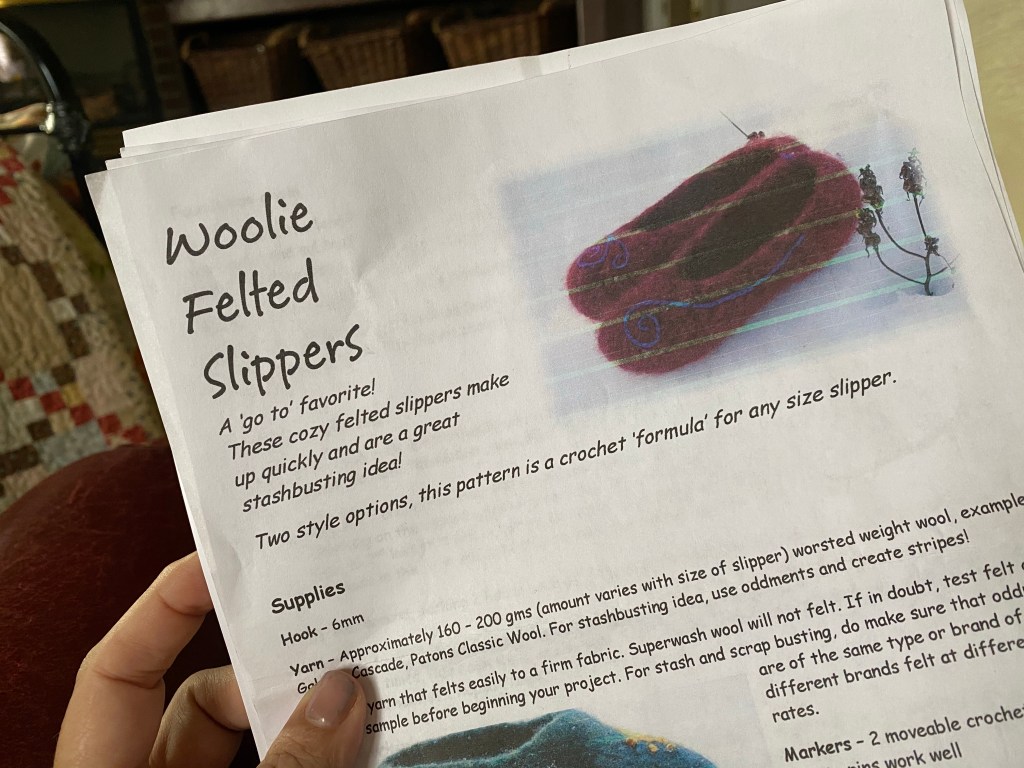
The pattern does a good job of describing the process of sizing which is the trickiest part.
The next, and VERY important part to a felted slipper is choosing the right yarn. It must be 100% natural wool. 80-20 with Alpaca works but Superwash does NOT work. I bought a sampler pack from Willow Yarns that was perfect.

Those colors made the most beautiful slippers that I gave as gifts this past Christmas .

Now that you have your pattern and yarn, next is the actual stitching. The stitch is made using two strands of yarn making the stitches extra thick. Use the thread from the inside pull and the outside pull. Don’t worry, it won’t tangle. 🙂
I changed the pattern just a bit by crocheting in a light color for the first 5 rounds and then switching colors at round 6 for a fun contrast and sole effect.
Now, the weird thing about these slippers is that when you finish stitching them up they are HUGE and quite ugly. Really?! These can’t possibly be those cute slippers I saw in the pictures!

Just wait, they will get there. Now the felting begins. I have a front load washing machine and it works just fine for felting, I hear that top loaders work even better, but I don’t know.
Place your slippers in the wash with a pair of jeans and a towel.

Wash on the highest heat and agitation with normal soap.

That’s it. Wash like normal. The pattern said to take it out and test before the final rinse, but I found that a complete washing with soap was all that was needed.
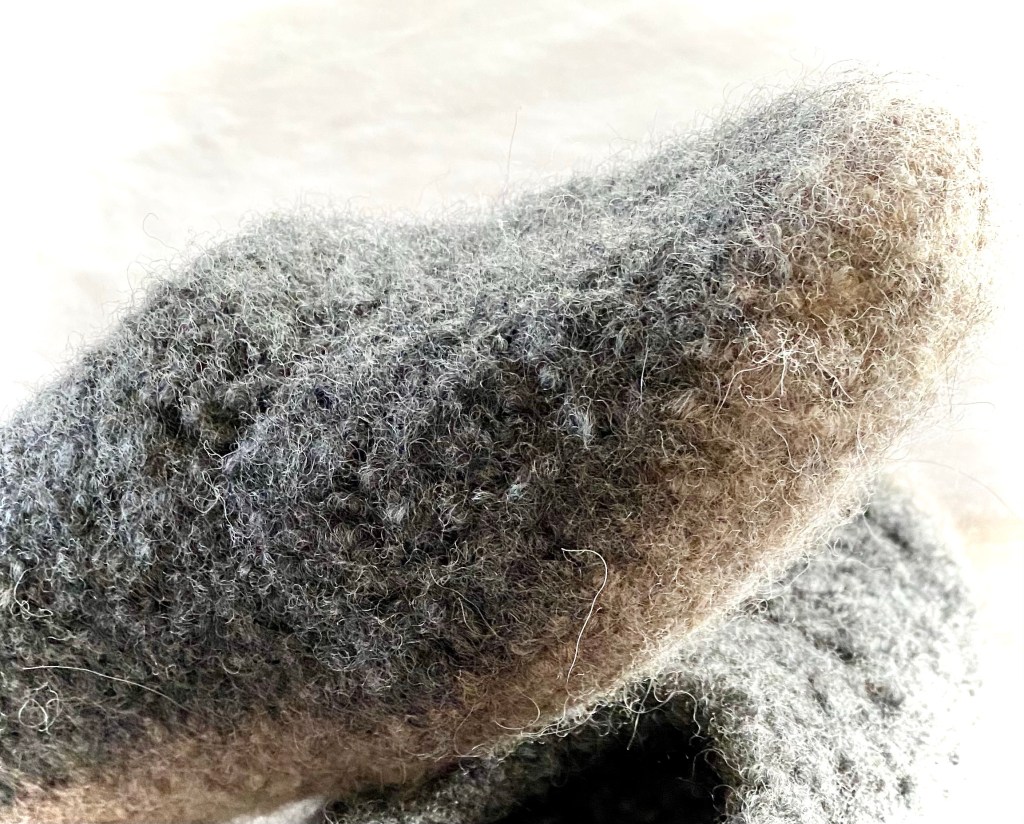
When the slipper comes out is looks very small, but it stretches to size very easily. Just put it on your foot and stretch it to size. Wow! What a change!

I absolutely love my new slippers! After giving away all of those cute slippers for Christmas, I’m finally the lucky one who gets to sit back in my own comfy pair.

I hope you will take out your crochet hook and try your hand at felting a fun new pair of slippers or a bag. I’m sure you will love it!
Thank you for stopping by today. I welcome your comments and would love to hear about your own felting experiences. Have a super SWEET day!


PS—May you all enjoy this upcoming Easter weekend. It is a beautiful time of year. New beginnings and restarts are a wonderful thing. I think, after this past year, the hope of better times ahead is the medicine we all need. God Bless you all! Happy Easter!❤️❤️


It’s a fun process, isn’t it? Works well with knitted items too. You just have to remember to make things about 30% larger all round than you actually want them and away you go: slippers, bags, hats, rugs, etc. I believe top loader machines can sometimes be too quick to complete the process in one go, and you have to run things through twice. And a friend swears by adding tennis balls to the wash, about half a dozen of them, to make the felt nice and tight. Love the colours you chose, especially the cranberry and the purple.
LikeLiked by 1 person
Tennis balls! That’s a great idea:). I’m so glad to hear that you have felted as well. Have you posted about them? I will head over and check them out. I really do enjoy the process and look😊❤️
LikeLike
I used to do wet felting with wool roving, not crochet or knit yarn, and occasionally if I wanted something felted really tight, I’d wrap it in netting, roll it up and put it in the washing machine with tennis balls to thump it!
LikeLike
very interesting to read but I don’t think I’ll be giving it a go ^^ How on earth do you know how big to make the slippers in the first place, allowing for shrinkage? because in your before & after shot, there’s a huge difference in size!
LikeLiked by 1 person
I feel your fear Claire. I felt the same way. The pattern does give directions for shrinkage, but I must admit that I made a practice pair and was happy with the results.😊
LikeLike
So much fun! I’m going to make myself a pair, but knitted, just haven’t got there yet!
LikeLike
Ooh, they look cosy. They would make good Christmas gifts for my daughters. *Sigh* – something else for my ‘want to try’ list.
LikeLike
Gosh, Tracy! You made this whole process look unbelievably easy. I haven’t crocheted in years but these make me want to try them. ~smile~ Roseanne
LikeLike
I loved reading your post about felting slippers. I am not a knitter, but the before and after pictures were stunning! I have also done some felting of wool sweaters that I found at the thrift shop for a sewing project. I also used the tennis ball technique and it worked well. Now to do something with all that felted wool!
Happy Easter to you, too!
LikeLike
Oh that is very cool the felting of slippers! You made it look easy 🙂
LikeLike
Your slippers look so cosy. Thanks for the inspiration
LikeLiked by 1 person
Thank you Mariss! I really do enjoy them. The process is quick and easy. I hope you give them a try:)
LikeLiked by 1 person
great tip. and I bet it’s a good stash buster for any woollen yarn that’s not the right colour for other things (I’m looking at my rapidly increasing stash of single skeins!)
LikeLike
lol! Hi Dawn:). Definitely use those wooly scraps! Thank you for stopping by and happy stitching to you 😊❤️
LikeLiked by 1 person