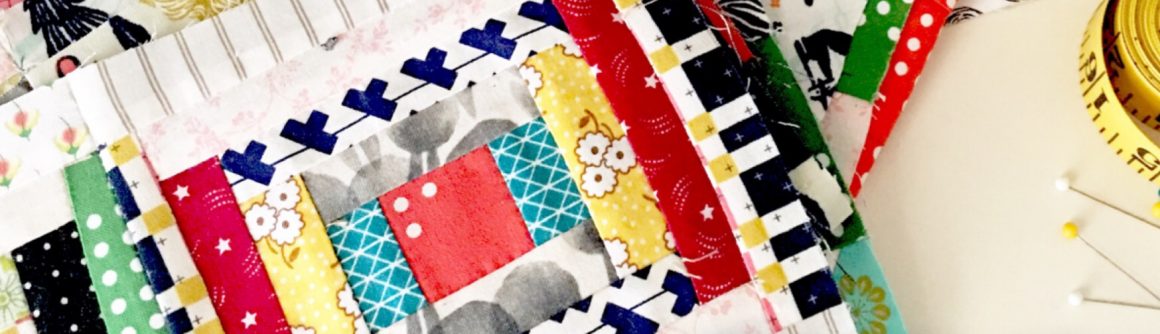

Hi All! —I am so excited to be sharing what I have been working on the past few months in my quilting room. I have been sewing curves and playing with colors while trying my hand at Sew Kind of Wonderful’s Posh Penelope.
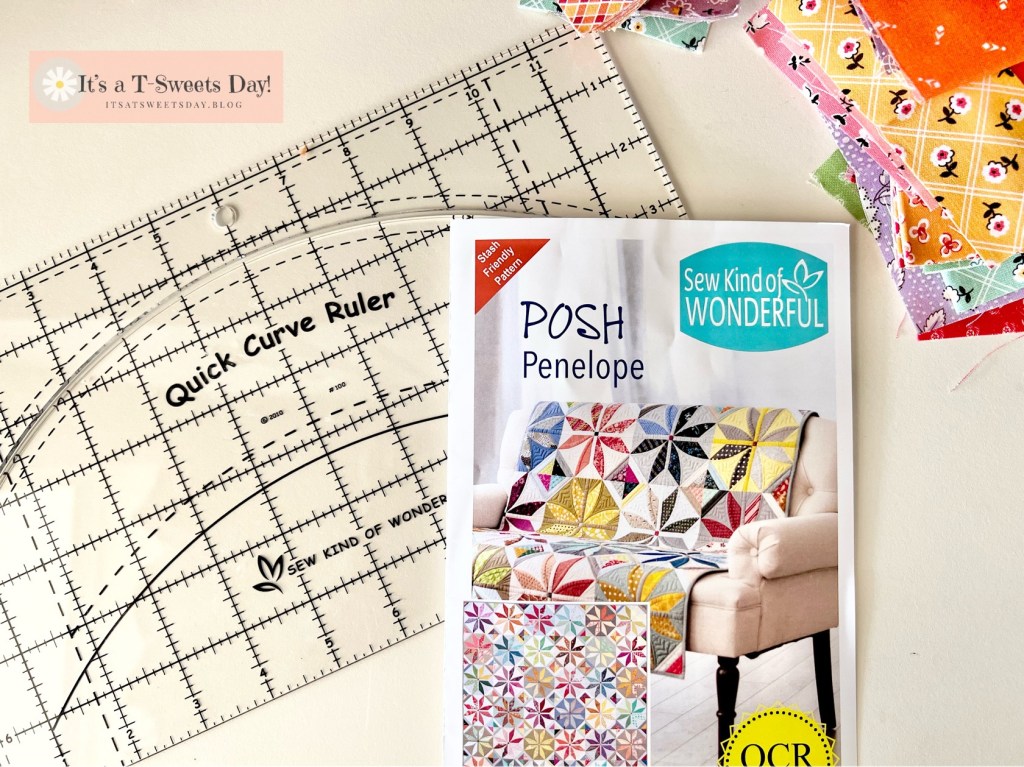
If you have ever been a bit leery of sewing curves, don’t worry. The ruler makes everything a breeze! You cut and sew leaving lots of room to trim down to size. There really is no room for failure. The curves sew up easy peasy. I promise!

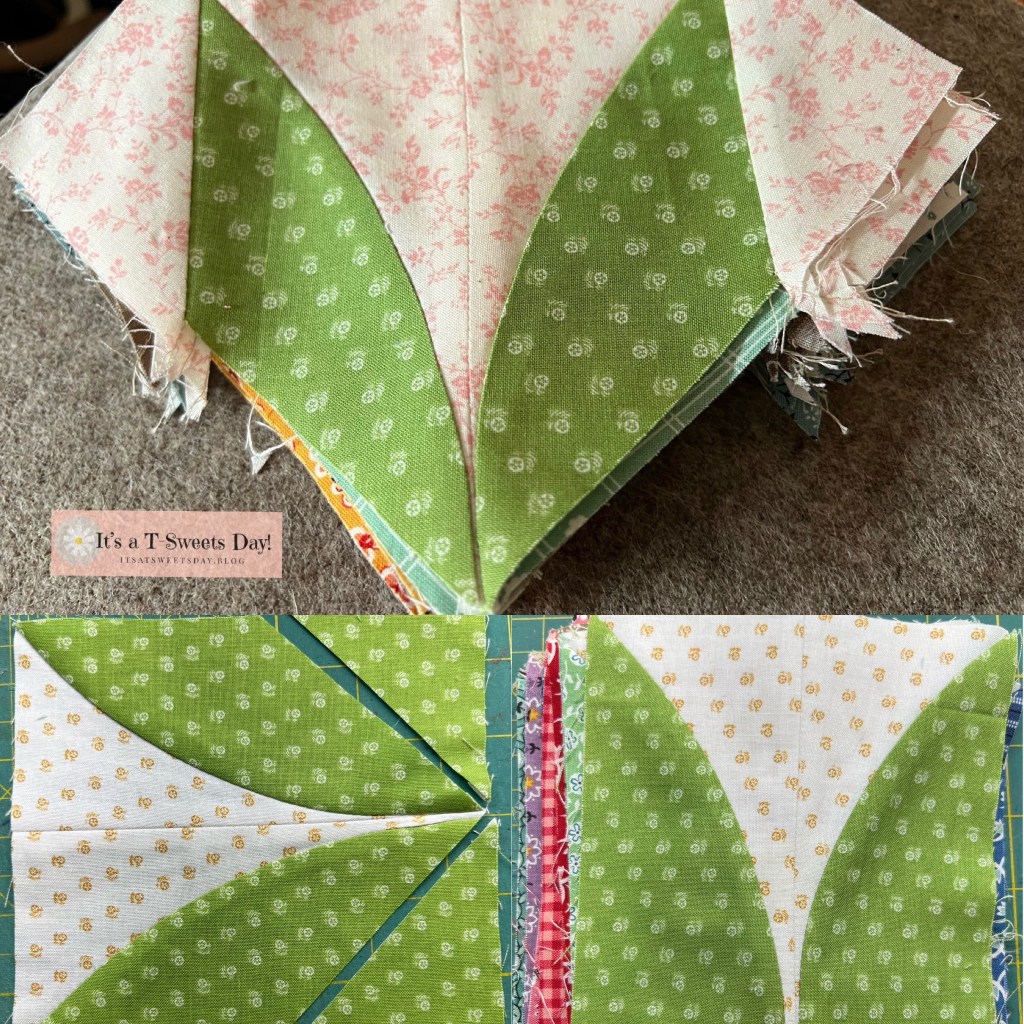
These little rectangles sew together to make squares that are then trimmed to a sharp point. And then “wings” are added on the side and then trimmed to a square
I like to sew and chain piece while listening to a podcast. It is my happy space for sure. I bet you have a happy sewing space as well.

Oh those lovely blocks!!! And when they are added together with some small 1” sashing strips, the end result is amazing! GORGEOUS!!

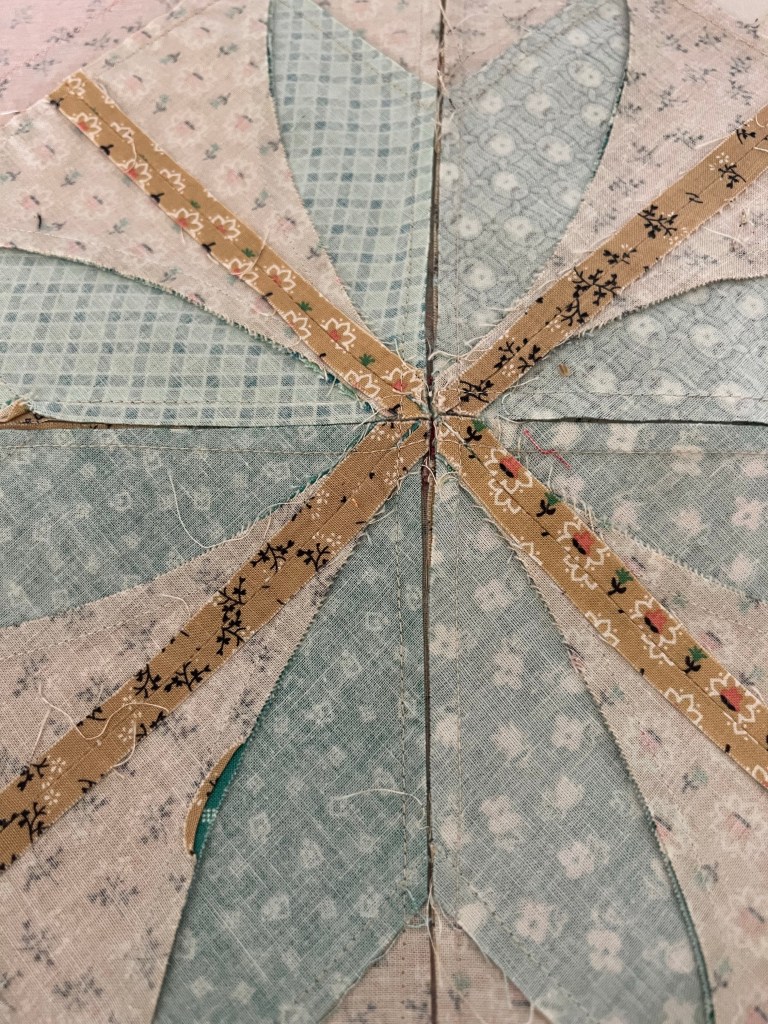
Even the back is a work of art:)
Now we are talking fun!!! I honestly can say that I have enjoyed every step of these blocks and that is saying a lot. I was surprised at how much background color fabric was needed. So if you decide to make your own Posh Penelope, be sure to buy more than you think of the background colors. I bought 1 fat quarter bundle for the colored fabric and 3 for the backgrounds


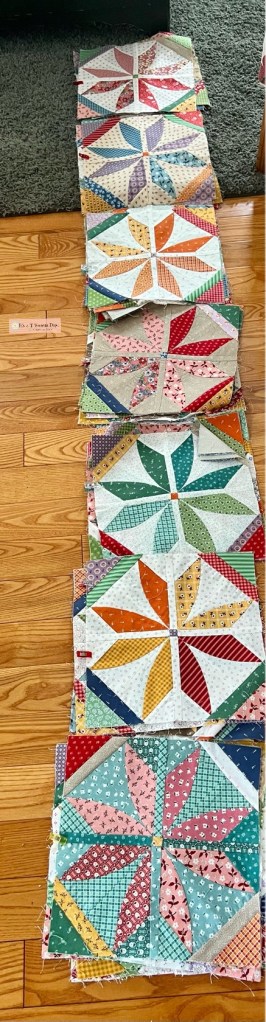
Once they were finished, I laid them all out and realized I need a few more and two of the blocks will not work because the center gets lost. Do you see the brown and purple ones? There is one on the left side and one on the bottom. They need to go.

I definitely think I need a few more white background blocks. Luckily, I don’t mind sewing these blocks. In fact, each one is a small mini quilt.

There it is!! Much better. The dark brown one near the bottom does stand out a bit, but the more I look at it, the more I like the added little pop of color. It adds interest and dimension.
Now it is time to gather these up and take them to my sewing machine to sew them in rows. I always mark each end with a clip and stack them in piles.
Next, I pile the stacks in order from top to bottom. This makes it super easy to take to my machine and sew each block and row in order. It makes for a simple way to keep my quilt organized.

Well, Im almost done. Hopefully within the next week or so I will be having a photo shoot of this beauty. I can’t wait!!

Until next time, I hope your days and gentle, creative, and SWEET!!


I’ve had this ruler and pattern for at least a year now. Wish I had time to pull it out and plan a new quilt but alas I have to get back to school next week. ☹️
LikeLiked by 1 person
Hi Lea! It does have a learning curve so a little bit of un rushed time is a good idea. Your turn will come:). Thanks for stopping by!
LikeLike
Wow! 😍😍😍😍 This is beautiful!
LikeLiked by 1 person
Thank you so much!! This is one of those blocks that changes with every little addition and each one is beautiful by itself. I’m so glad you stopped by. Have a super great day!! —Tracy:)
LikeLike
This is sooo pretty!! 😍 I love it!
LikeLiked by 1 person
Thank you Delia!! You would love making this one. It does need the ruler though. Even just one block would make a pretty pillow:)
LikeLike
It’s so great to see what you’ve been doing. I like the pattern. My brain can’t handle much new information right now, but I might try it when it can. Your back of block shows how precise you are!
LikeLiked by 1 person
Hi Susan!! Isn’t that back amazing? It was one of the really fun parts of the process . I hope you are doing well. It’s always nice to say hello!!❤️❤️
LikeLike
Gorgeous is an understatement. Your use of color is spectacular besides making curves look easy. This is by far a blue ribbon quilt …. love it!!!!!!!! Excited to see her finished
LikeLiked by 1 person
Thank you Sharon!! You are so sweet :). I am excited to see this quilt finished up. Maybe I will just put my own blue ribbon on it. Lol:). Have a nice evening!!!❤️❤️
LikeLike
That is gorgeous! The scrappy component is fabulous and those curves are a new dimension. Beautiful work as always Tracy!
LikeLiked by 1 person
Thank you Kathy! I’m excited to show the finished quilt next week:). — I hope you are safe and warm with all of the snow that has been falling. Take care my friend!
LikeLiked by 1 person
We had a nice sized dump of 12-14 inches here, but it stayed warm enough that it was melting underneath almost immediately. Patches of ground are showing now, so today should get rid of at least half of it. We are headed for the 50’s at long last, and the robins arrived just before the snow, so spring is coming!
LikeLike
Hi Tracy – on your newest post – the Penelope finish – I wasn’t able to leave a comment or like it. I got the ‘ooops something went wrong’ it might just be me or you might need to recheck – because Penelope is GORGEOUS and I want to tell you so 🙂
LikeLike
I like your colour scheme much better than the one shown on the pattern, and your piecing, as always, is immaculate. Great work and a gorgeous quilt!
LikeLike
Oh my goodness what cool blocks and what a beautiful quilt so far!
LikeLike
This is so pleasing to look at. You do beautiful work.
LikeLiked by 1 person