

It has been so fun watching this quilt come together. I am absolutely LOVING it! I hope you are too:)
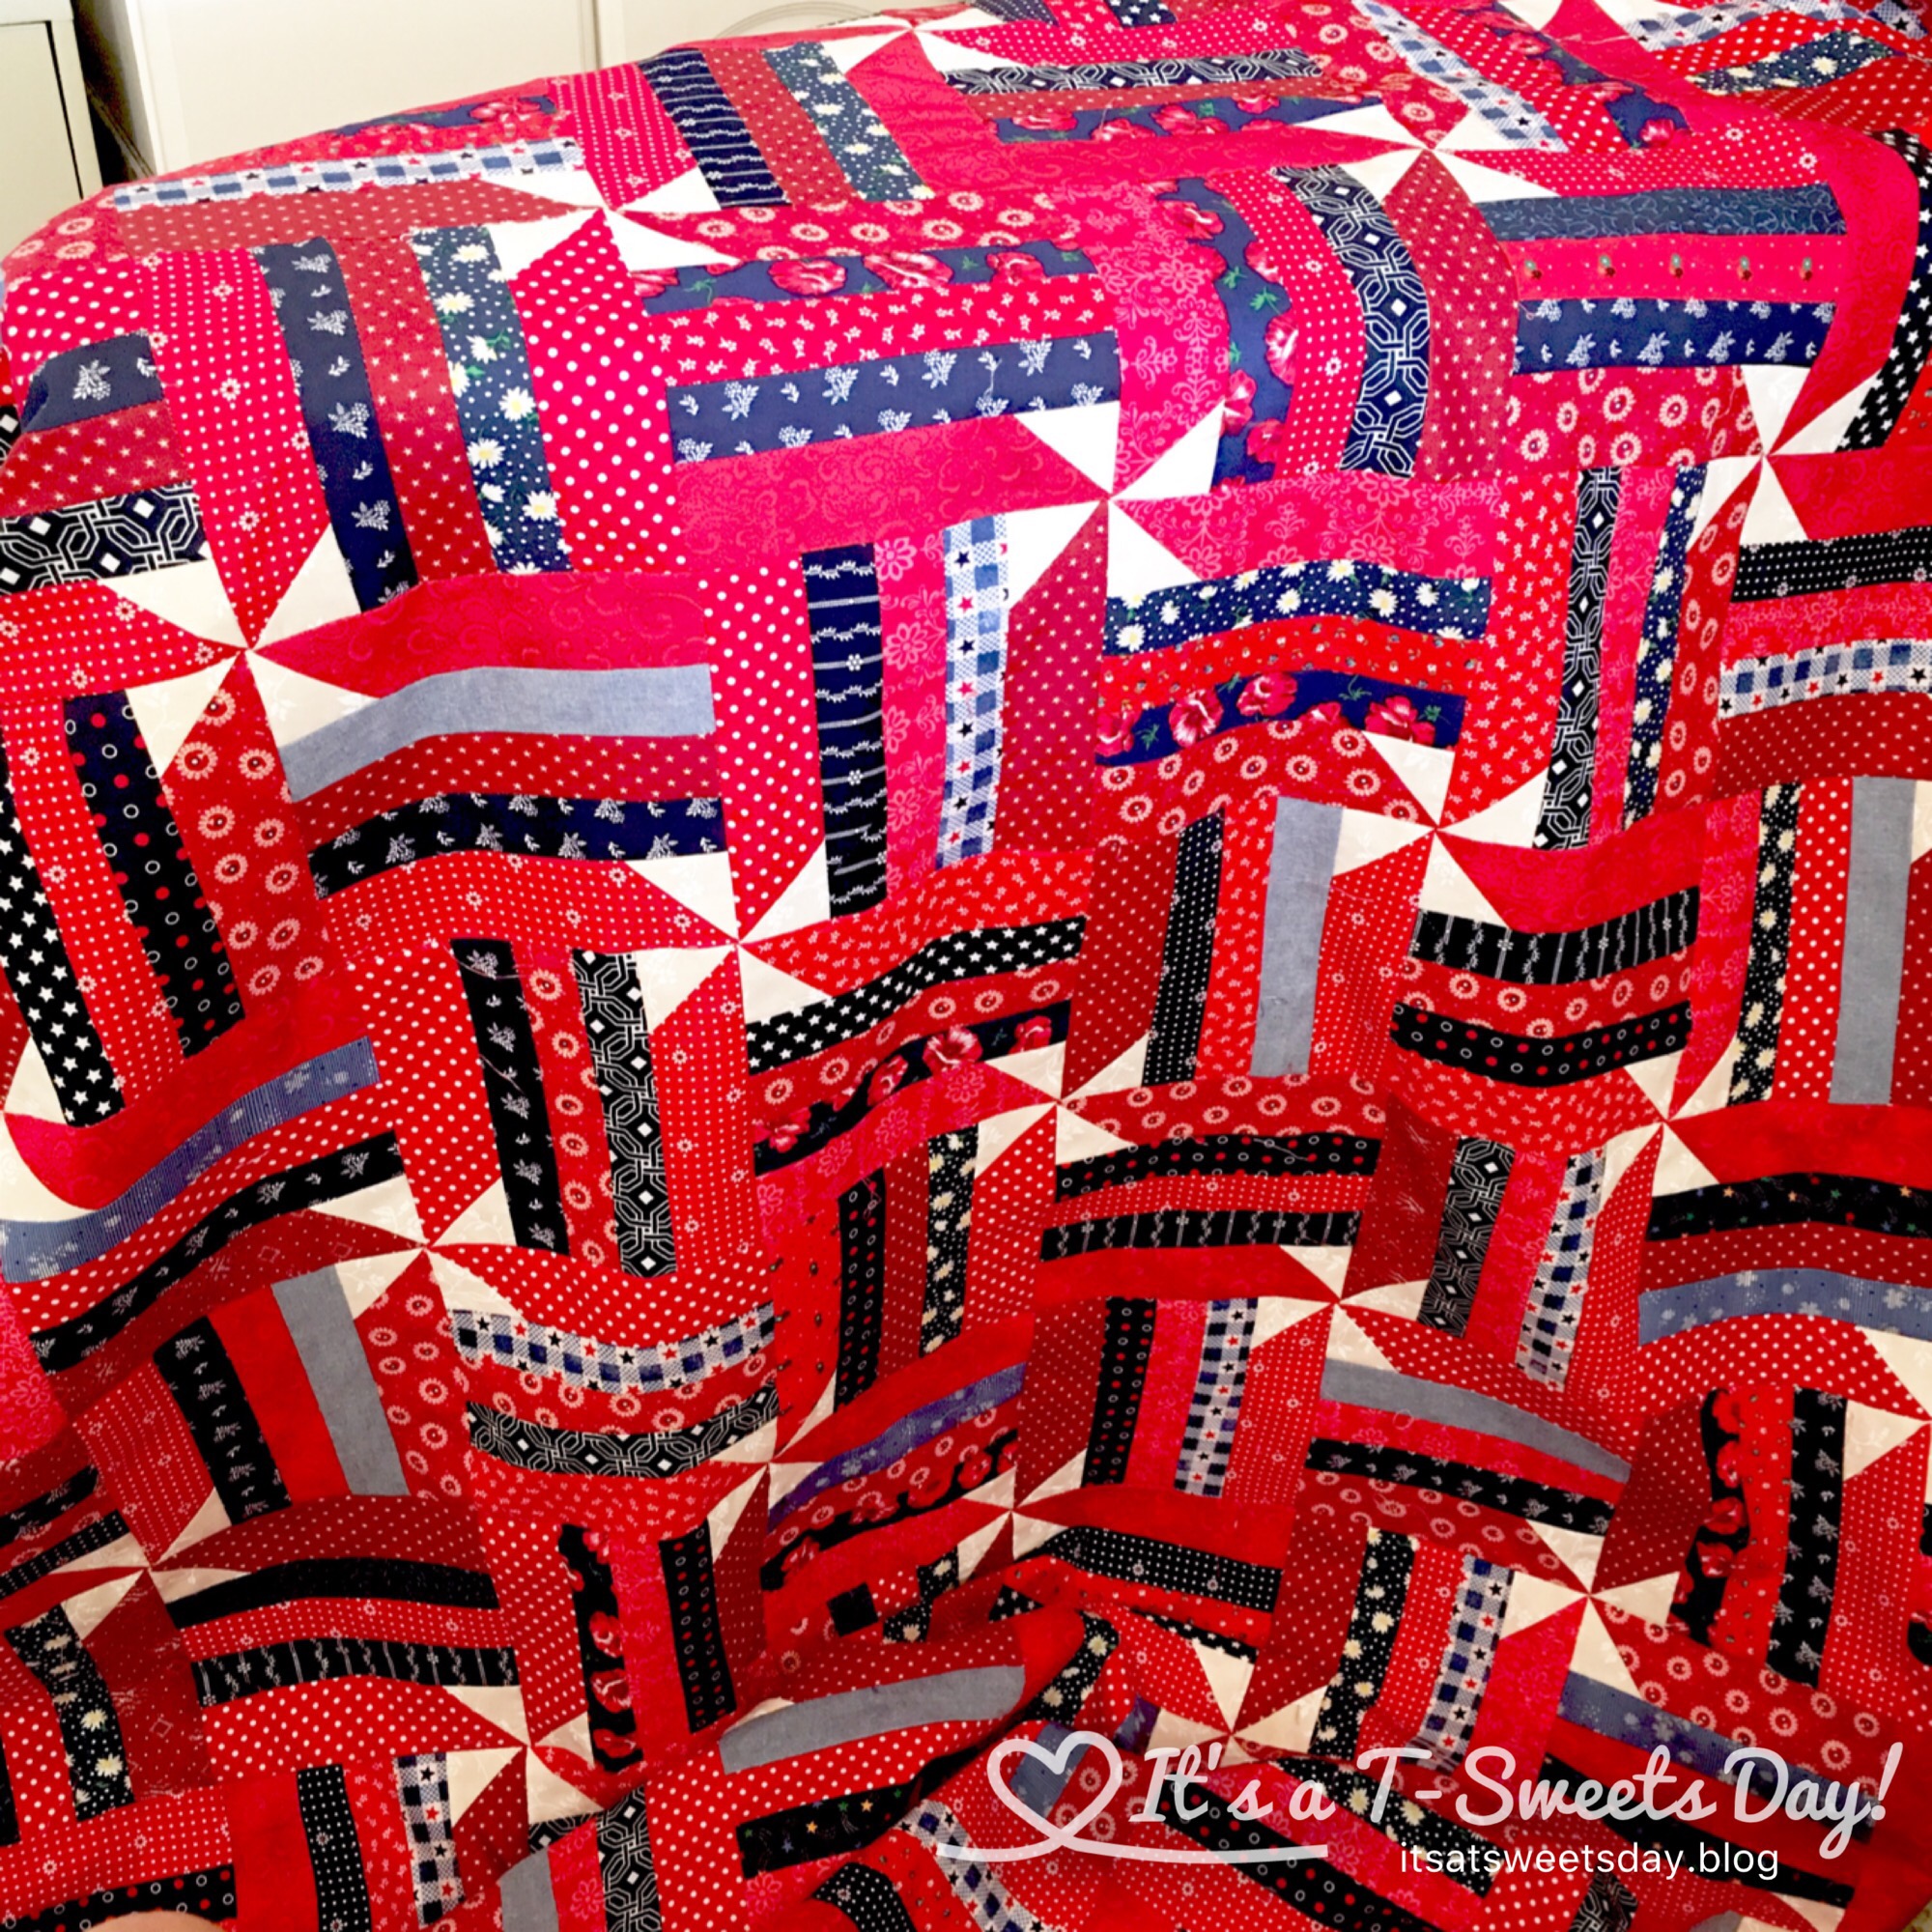
Last time we ended with all of our blocks all sewn together. Those pinwheels are just the cutest things!
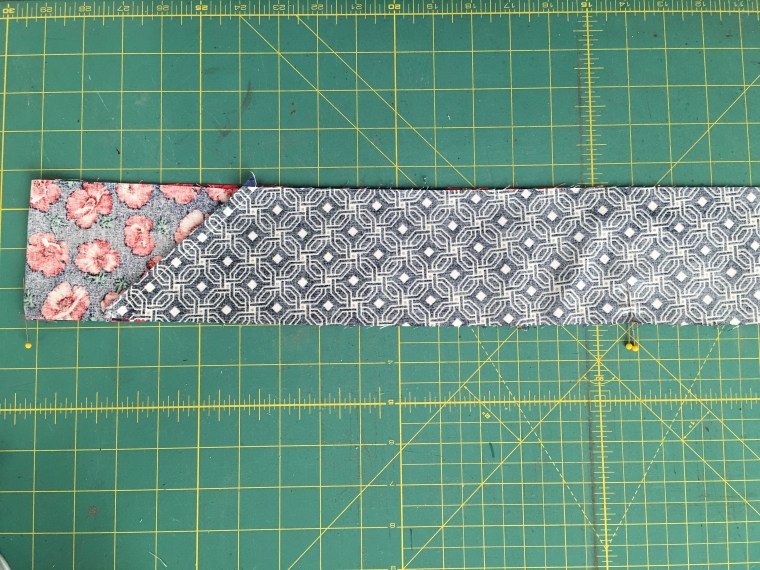
 Today we are going to add a border all around. Gather your leftover blue or color #2 fabric. We are going to cut 3.5″ strips out of it. At first I used the lighter blue as in the above picture, but took it out because it detracted from the pins. So word of advice, keep your border dark or all the same color:)

You can cut your 3.5″ strips all from one color, or make your border scrappy by using what you have. That’s what I did. Cut 8 – 3.5″ strips if you are cutting the full width of the fabric, or about 300″ if you are using scraps . Take them to your sewing area.
We are going to sew them all together into one long strip. Sew them together by butting the ends together for a straight join.

Just sew the short end of two pieces right sides together, and press
Now we need to measure our quilt. — Please don’t ever skip the measuring part of adding a border. If you just start sewing your long border strip around your quilt, you will end up with a wavy border and a wavy edged quilt.
Ok. The pictures I took of the folding of the fabric didn’t look like anything but a piece of fabric. So I will try to be clear with directions
- Fold your quilt in half.
- With a tape measure or your ruler measure the folded part of your quilt. In other words, measure the length of the fold, this is the middle of the short side or the long side of your quilt.
- Cut two pieces of your long fabric strip to this size
- Fold one strip in half and place a pin to mark the center. Fold it in half again and place pins to mark those centers as well. So… we are dividing our strip into quarters. Do the same with the other strip.
- Now divide the edges of your quilt into quarters the same way. Make sure you are working with the sides that you measured your strips for — long sides or short sides. Fold the edge your quilt in half and then in half again. Mark the quarters with a pin.
- Place your border strip on your quilt with the right sides together.

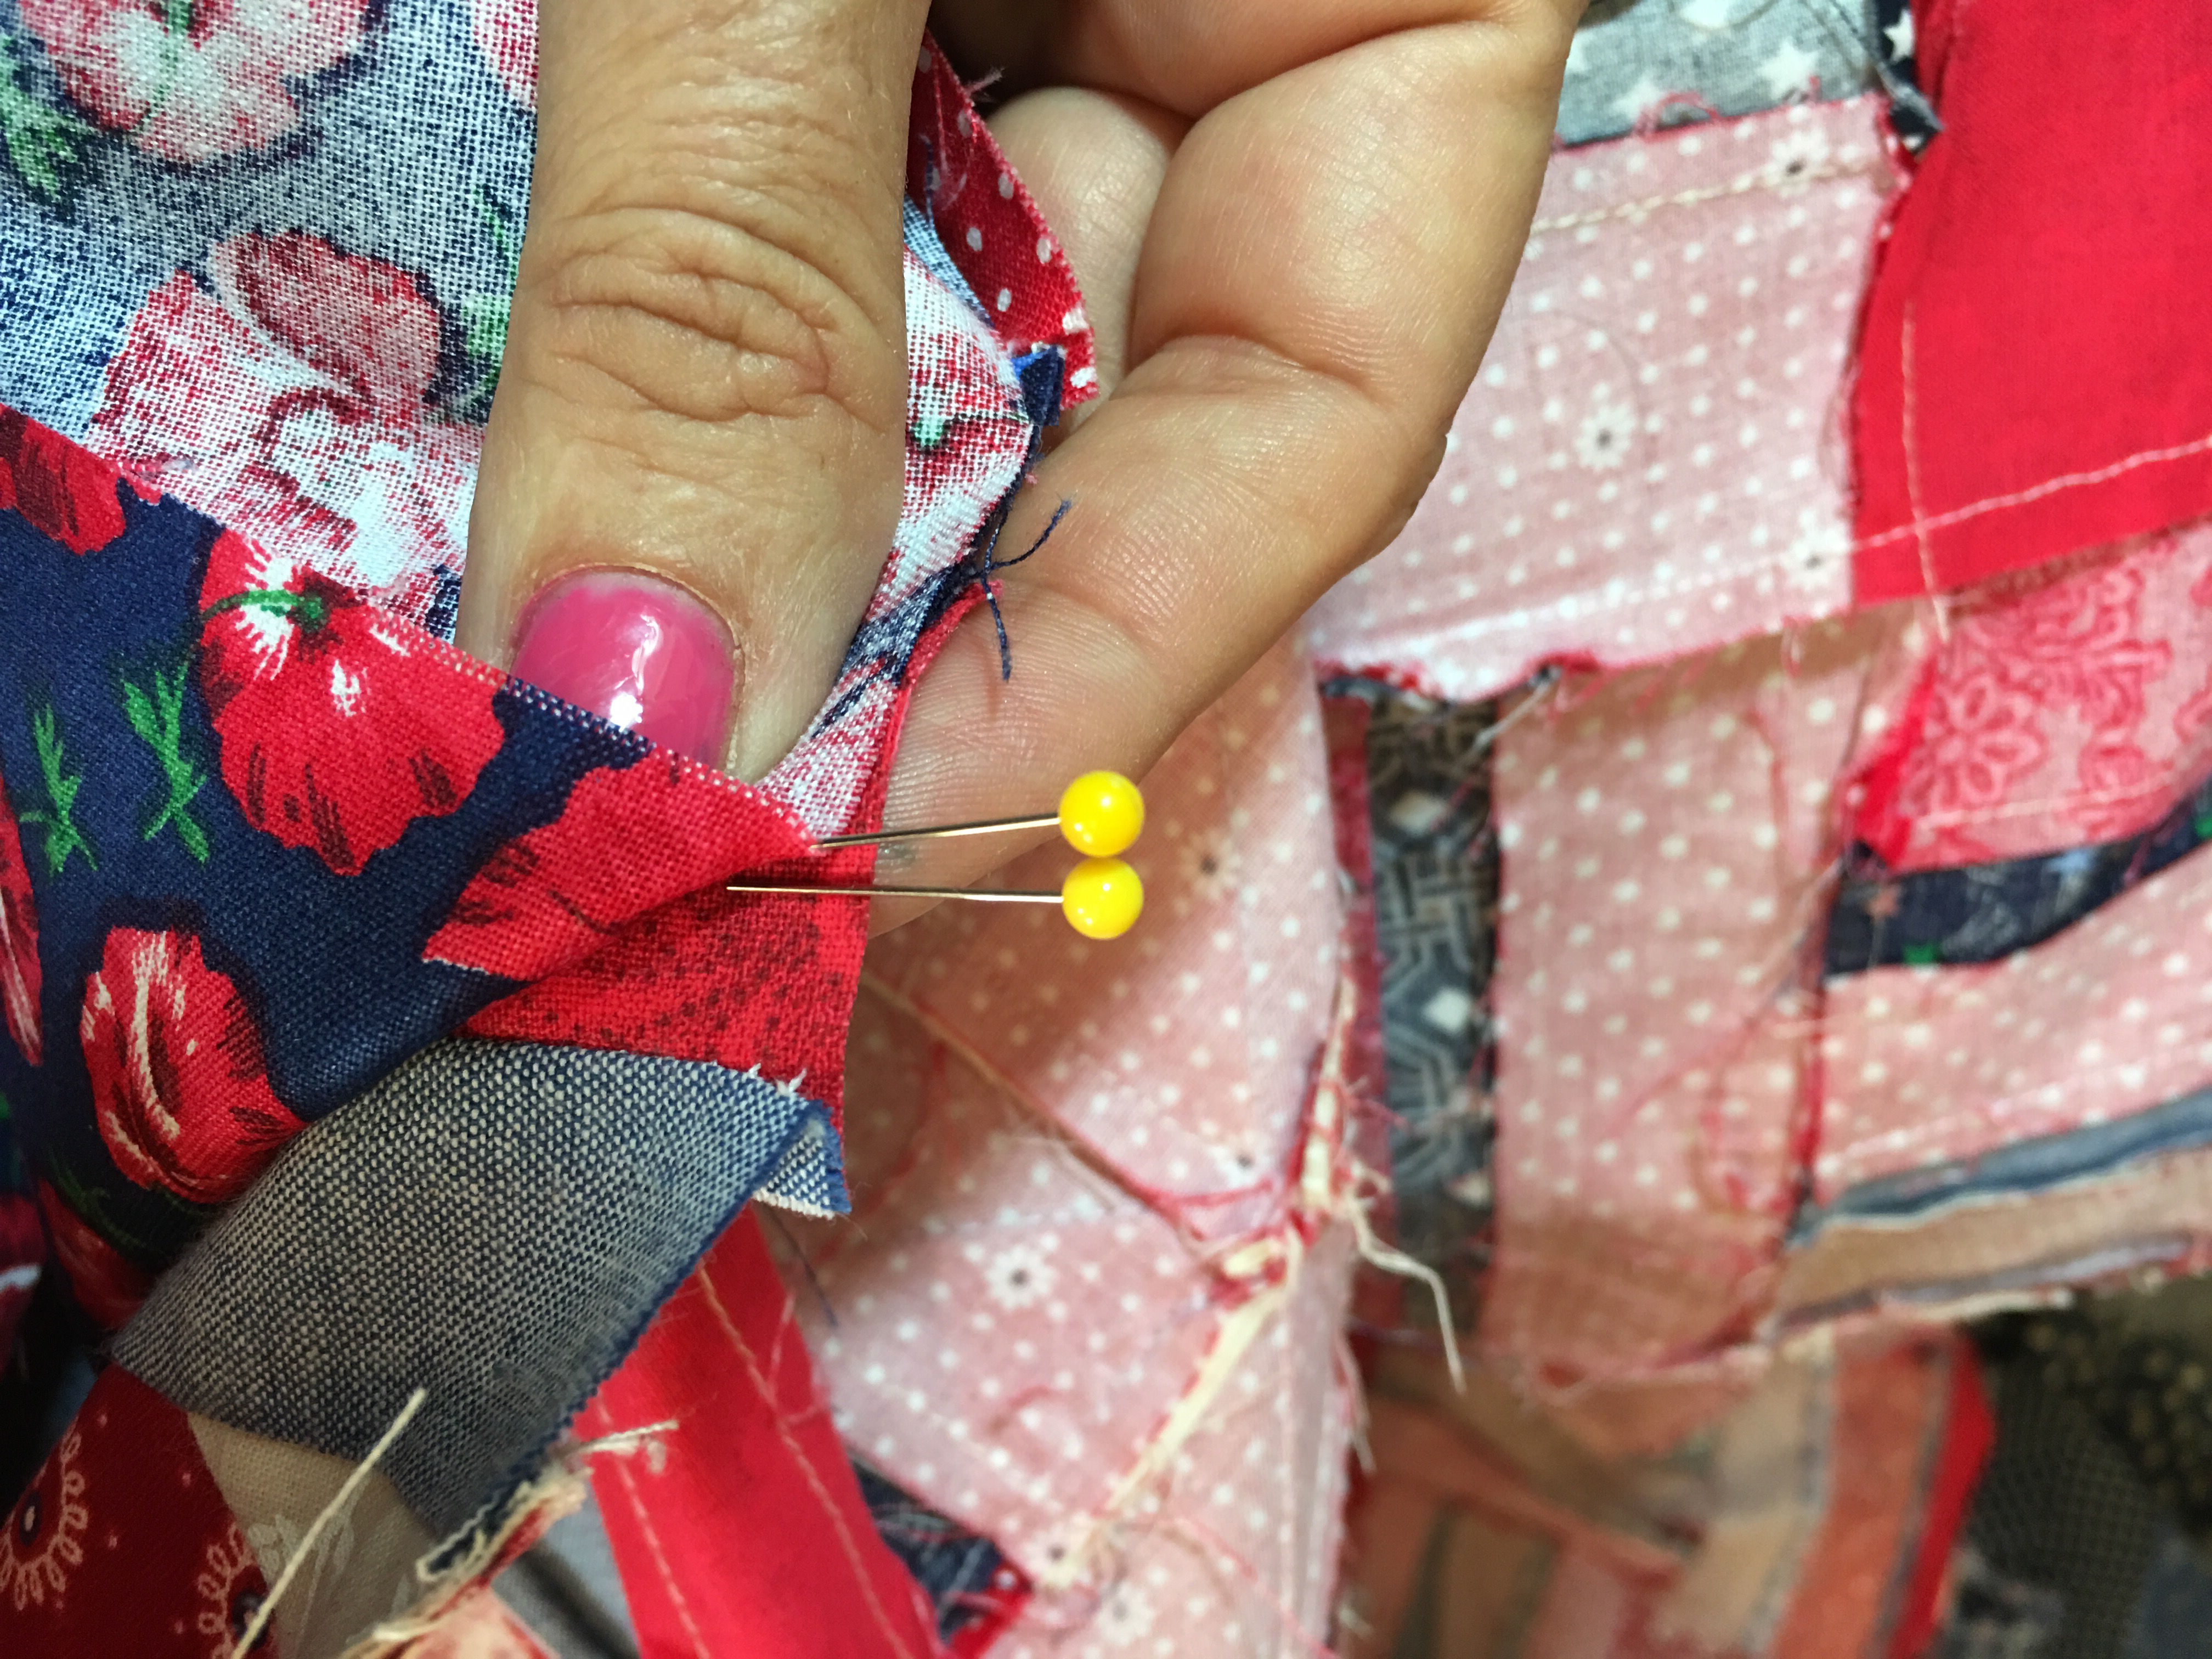
- Pin them together where you marked the quarters. This is VERY important! If you don’t match these points, your edges will not match in the end. Believe me, I know from experience, and then you have to become well acquainted with your seam ripper!

- Sew the pieces together using your 1/4″ foot. Hold the pins and remove them just before they get to the foot. You may need to pull slightly on the pin as you sew if your fabric is a little longer in the bottom than the top. The feed dogs will do the work of taking up the extra ease.

- Press the border strip open and repeat for the other side. Yea! Now we have two of our borders sewn on!
- Repeat steps 1-9 for the other sides of the quilt.


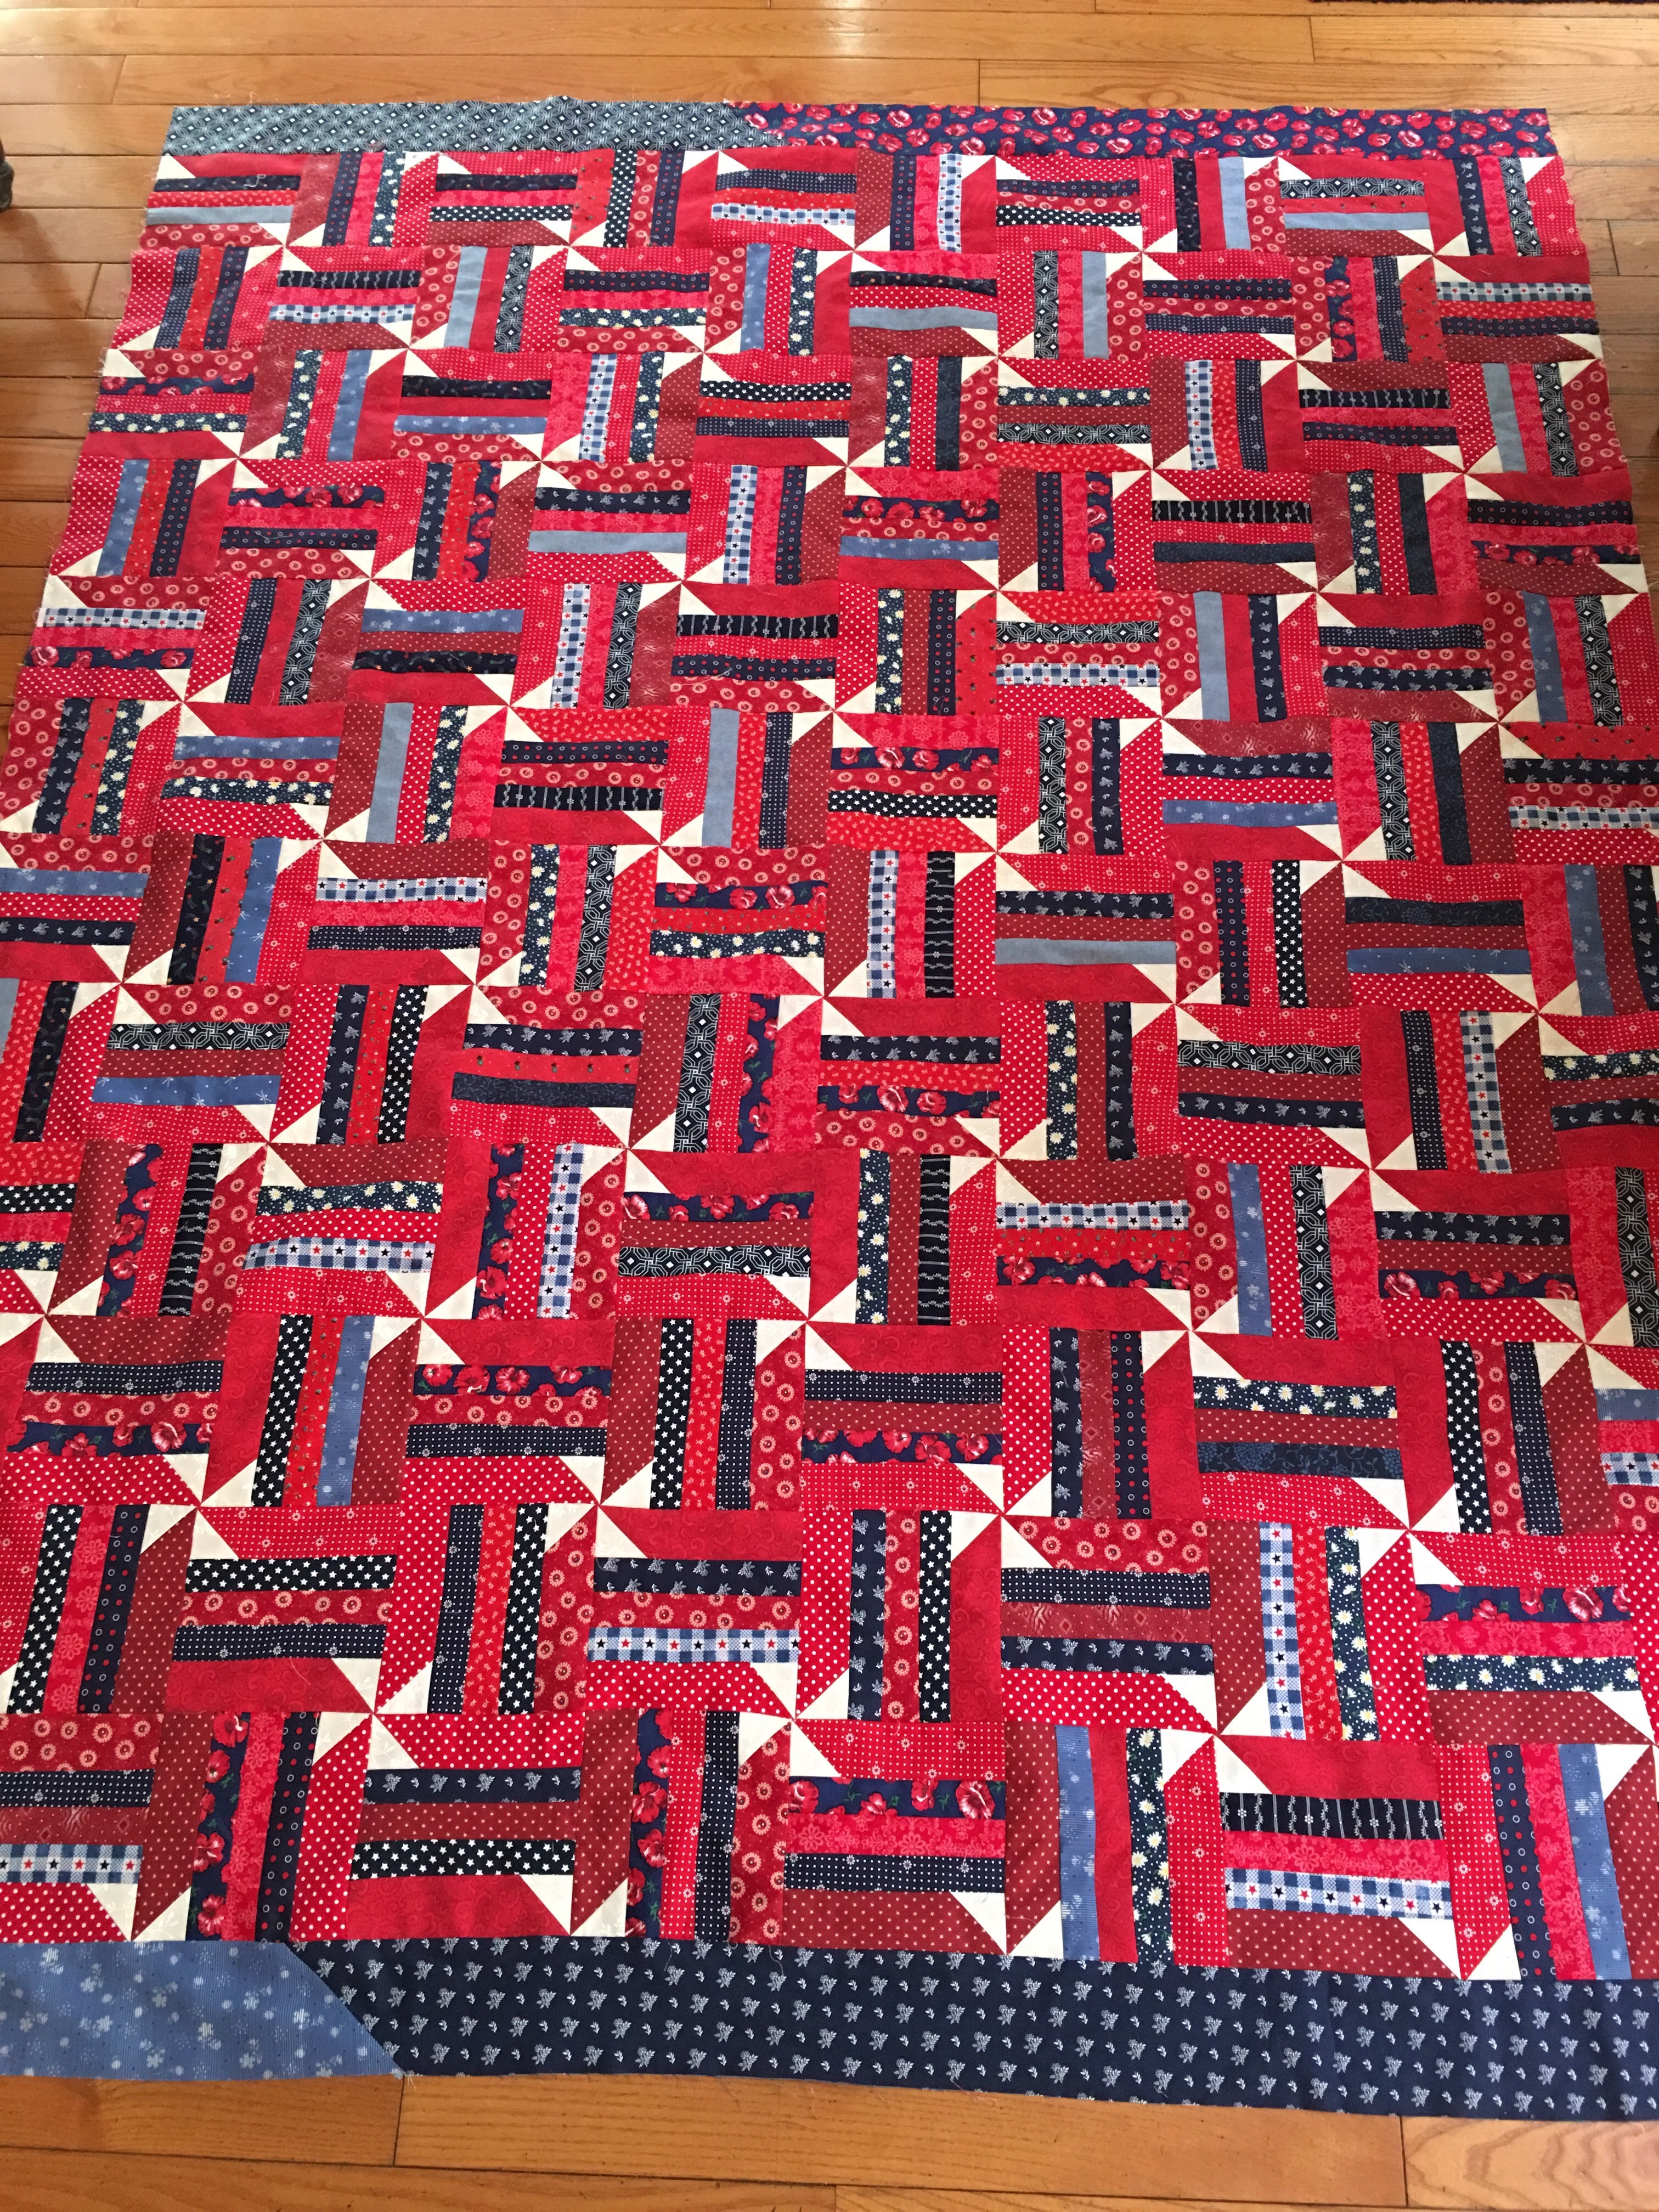

Woo hoo!!! Our quilt top is finished!!! Aren’t you proud of yourself? You should be:)
I am excited for our quilting, binding, and grand finish next time along with a SWEET photo shoot!
Until then:)
If any of you are just joining us, you can find the previous lessons here:
- Lesson #1 – Planning
- Lesson #2 – Fabric preparation
- Lesson #3 – Chain Sewing
- Lesson #4 – Stitch and flip
- Lesson #5 – Lay Out
Don’t forget to post pictures of your fabric and progress on Instagram #pinsandstripesqal I will be giving away a jelly roll to someone who posts a picture from all seven lessons and a picture of themselves with their new quilt by the end of July 2017!!

The perfect quilt for the upcoming July 4th holiday!!! Really is a great/cute pattern design!!!
LikeLiked by 1 person
Thank you/). I’m feeling picnics and fireworks:!
LikeLiked by 1 person
Me, too!!!!
LikeLike
Eeek!!! So pretty! I absolutely love it 😍 I’m a bit sad though, still haven’t found my iron to get started 😢
LikeLiked by 1 person
I’m glad you like it Emma:). Don’t worry, these lessons aren’t going anywhere. They will be here when you find your iron. In fact, your time is way better spent working on those FANTASTIC socks:)!
LikeLiked by 1 person
haha I’m definitely working on those socks! It’s been bad (or good?) actually, I can’t put them down! I will get a quilt done though eventually, and definitely be following your instructions, they are just so clear and the pattern inspires me 🙂
LikeLiked by 1 person
Longarm quilters everywhere are cheering because you said to measure your borders in the middle of the quilt! Biggest problem longarmers face is wavy borders! I once had a quilt which was SEVEN inches longer on one side than the other. Not a thing you can do will help that much!
LikeLiked by 1 person
7″! Holy cow! They must have left out a whole block.! You are right, there is nothing you can do with that. Start those good habits early:)
LikeLike