

So here we are at Lesson #3 of this 7 part Learn to Quilt series. We are almost halfway done with our Pins and Stripes Quilt. Yea!

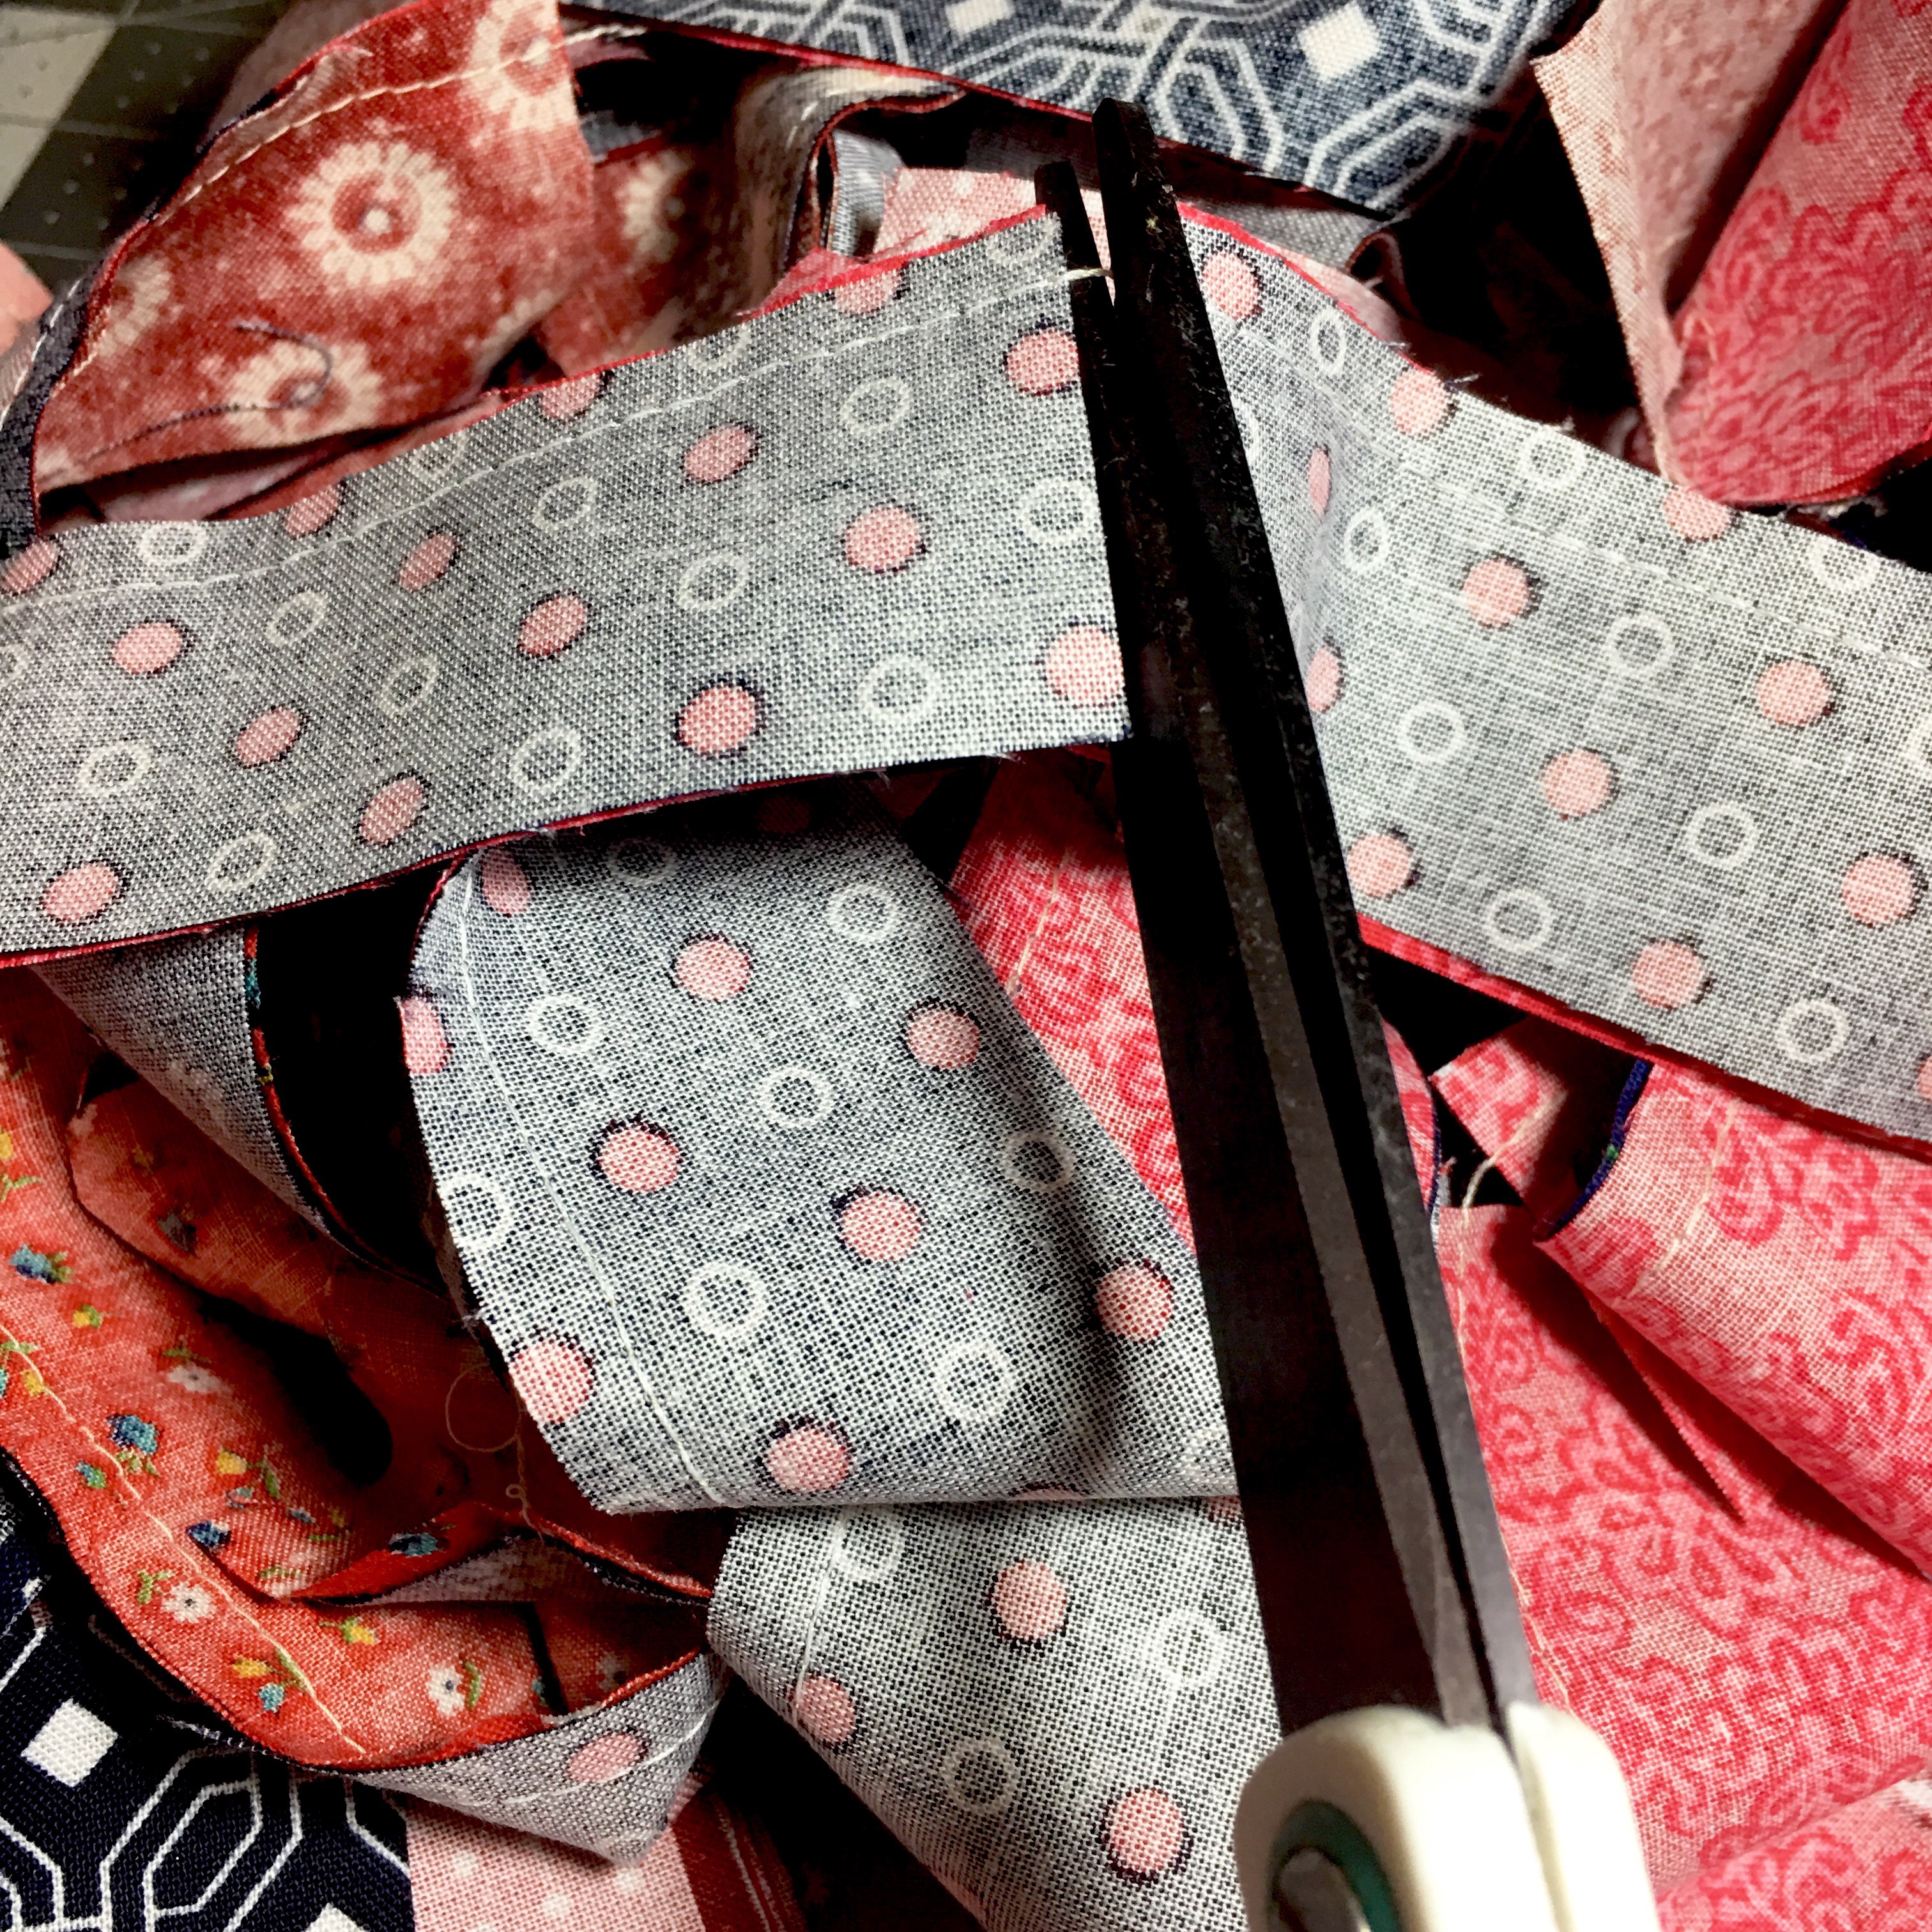
After our last lesson, we finished cutting all of our rectangles and squares. It always makes me so happy to look at neatly stacked fabric that is patiently waiting to be all sewn together. They are so pretty!

We will be sewing the center three strips of our blocks together today. We will use all of the blue and red 1.5″ rectangles.

Go ahead and take all of them over to your sewing space. But before we start sewing, we have a few things to get ready ready first.

- It is always a good idea to wind a few extra bobbins before sewing. You will be happy you took the time to do this at the beginning. When your bobbin runs out, you can quickly pop in another and keep right on sewing:)
- Thread your machine

- Place a 1/4″ sewing foot on your machine.

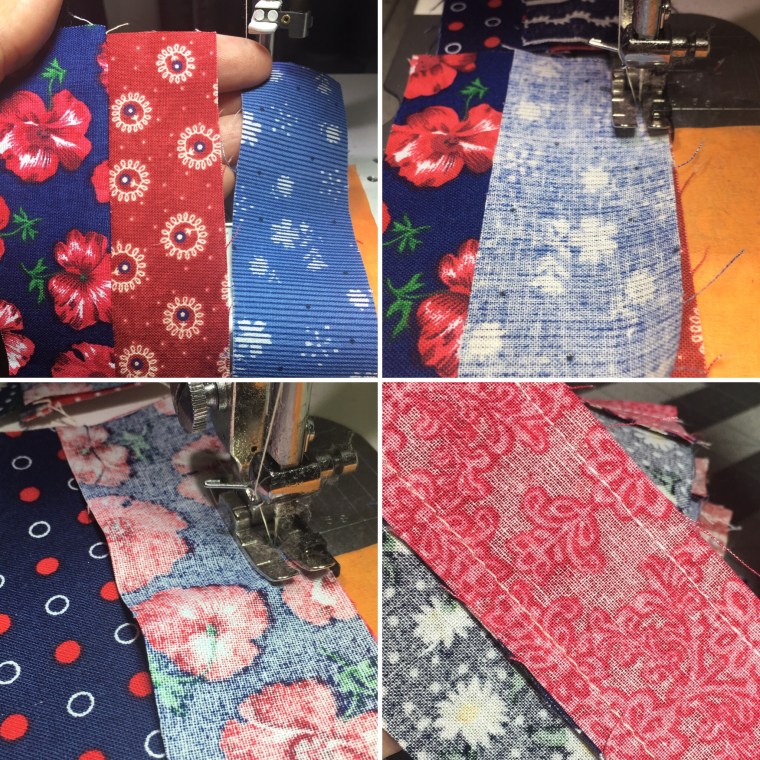
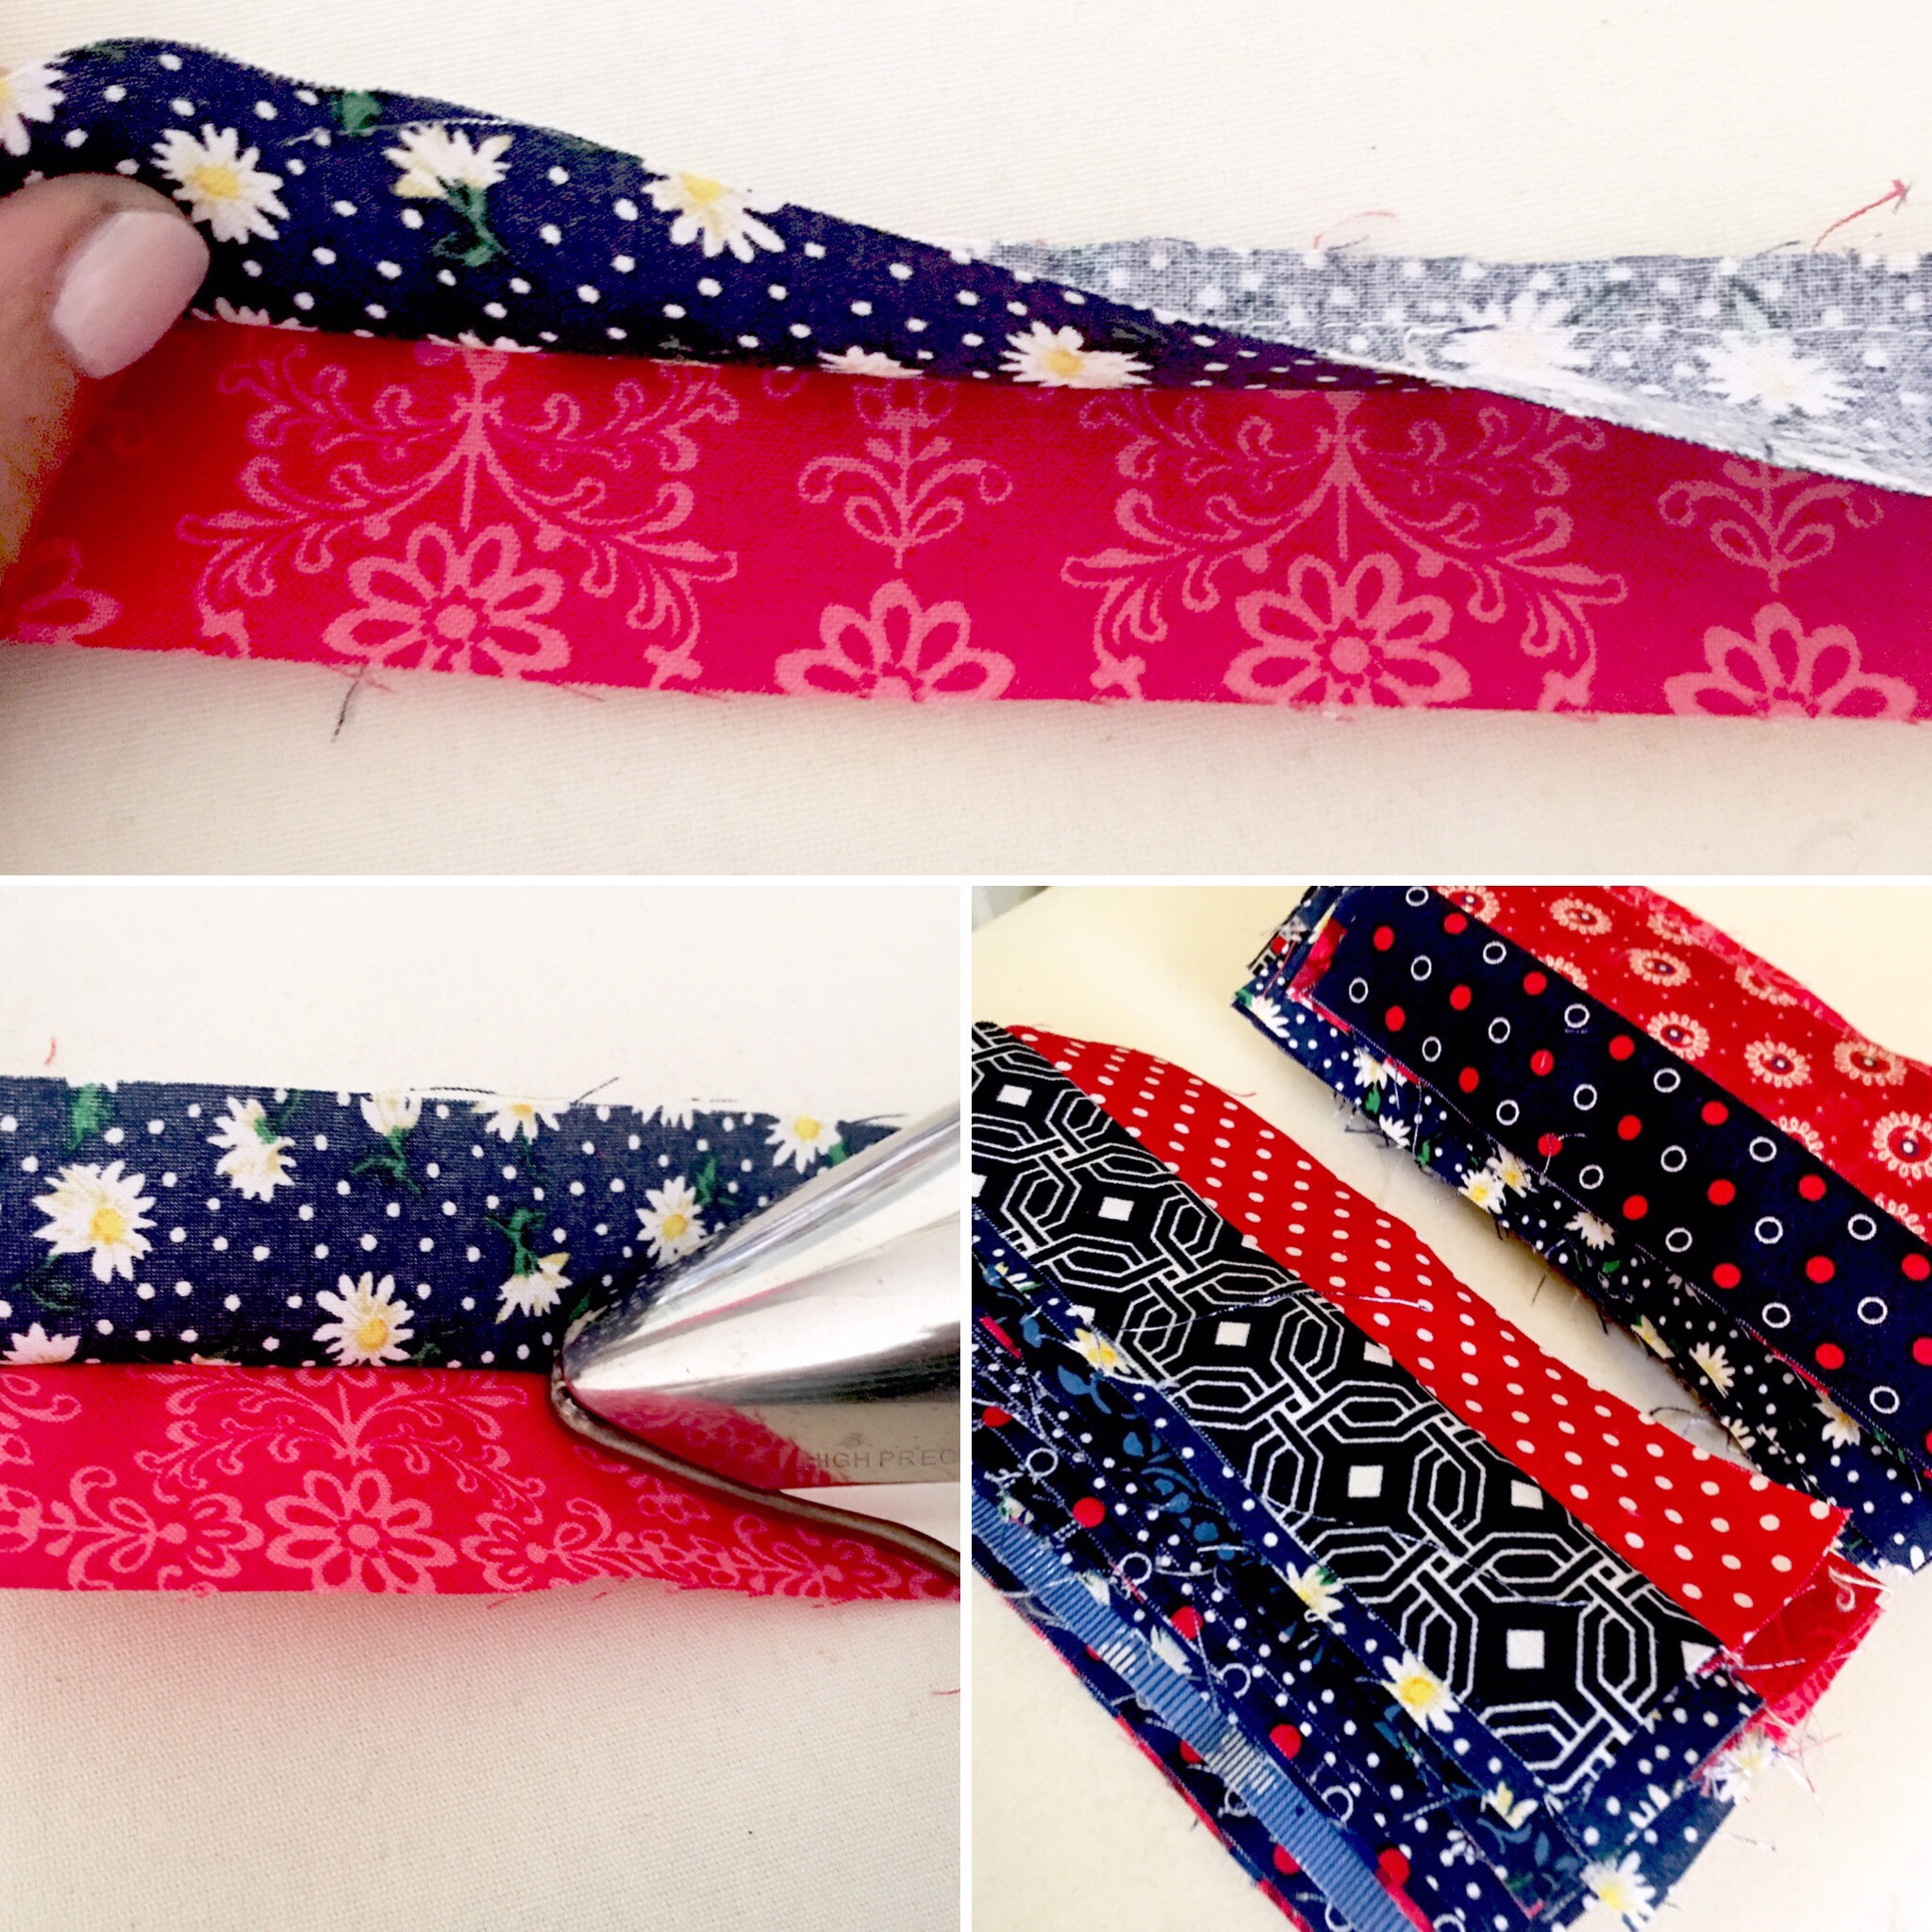
Now we are ready to sew! Take one rectangle of each color and place them right sides together. Make sure the edges are even all the way around.
- Place your layered fabric under the presser foot with the long edge butting up against the 1/4″ marker plate on your foot.

- Chain sew all of the red or color #1 rectangles to a blue color #2 rectangle. You do not need to stop after each rectangle. Just ease another fabric set under the foot at the end of the previous set.

- There will be a very large bundle of fabric pairs all chained together at the back of your machine as you sew along.

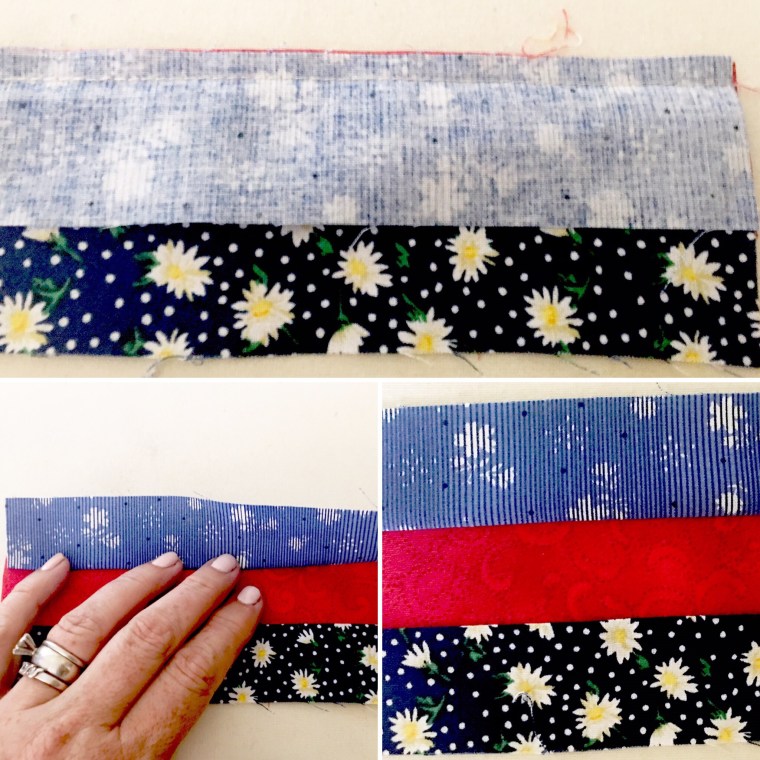
- Cut all of these apart and take them to the ironing board.

- Place the lighter or red fabric on the bottom with the darker or blue fabric on the top.
- Press the blue fabric up which will cause the seam allowance to be towards the darker color. Be careful here. It is easy to not open the fabric completely. Use your left hand to finger press the seam open as you go.
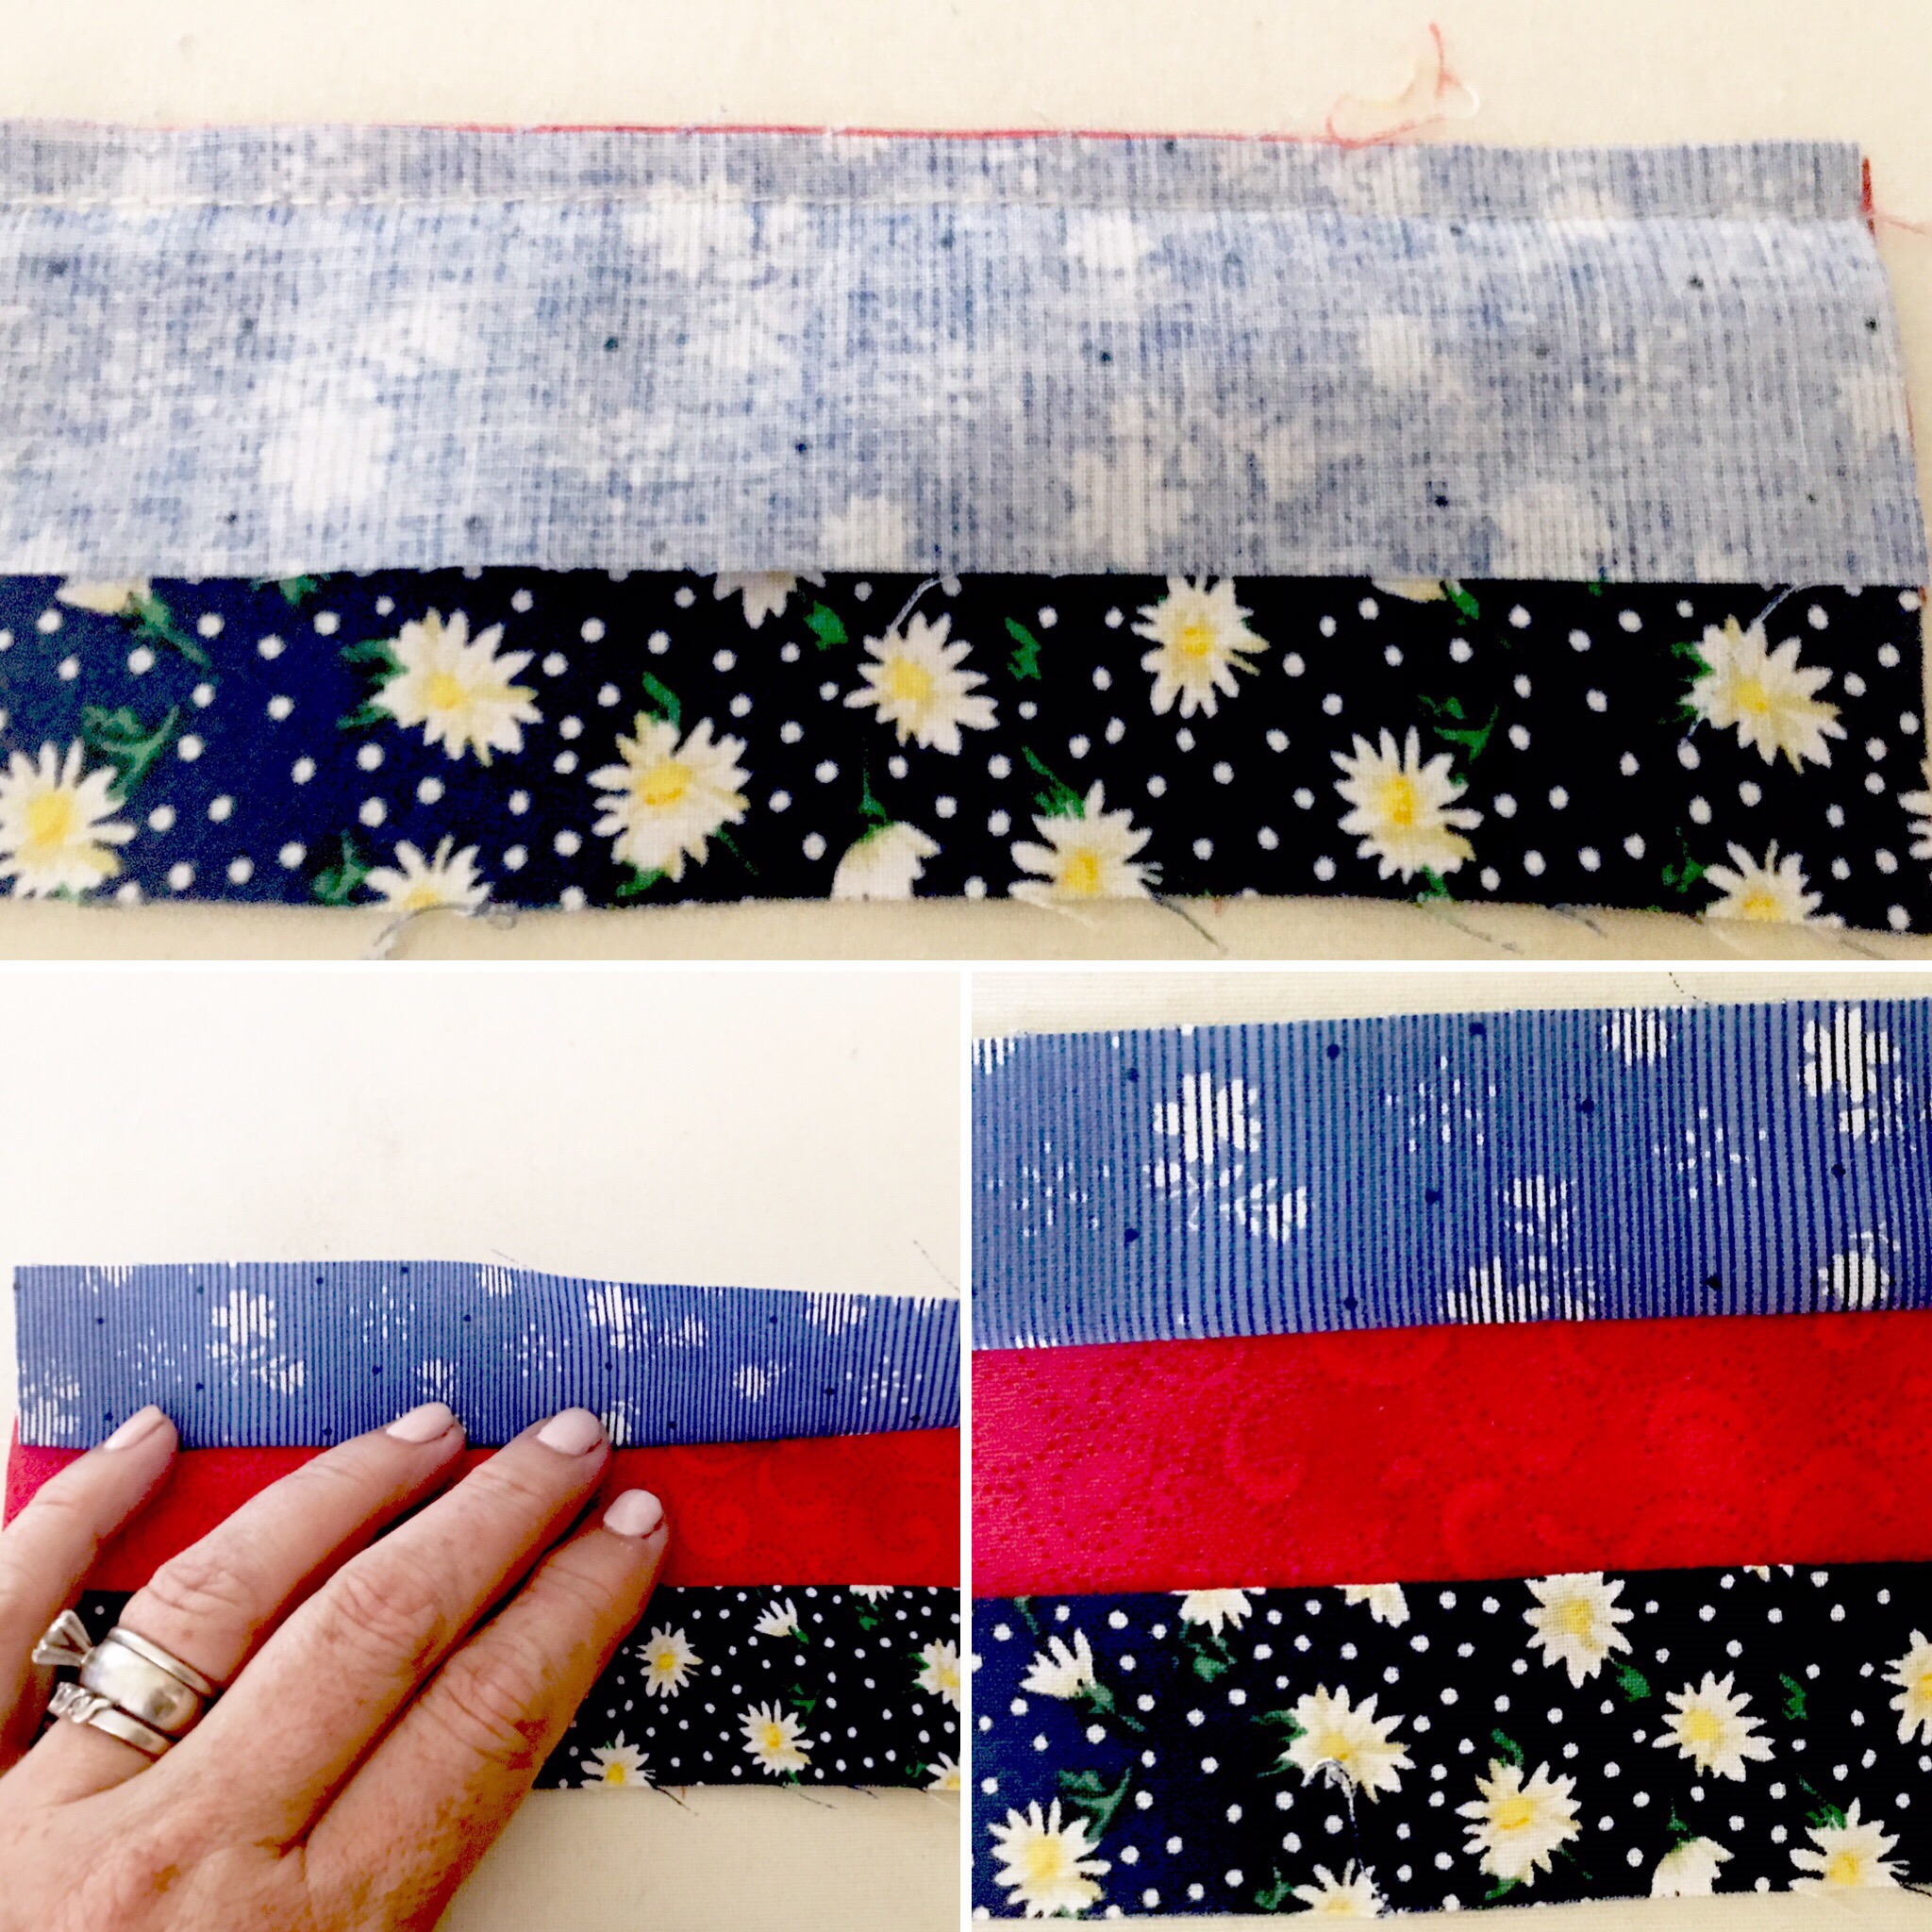
- You will have 120 blue and red rectangles. Now, back to the machine!
- Match the remaining blue rectangles to the other side of the red rectangle. This will sandwich the red between two blues.
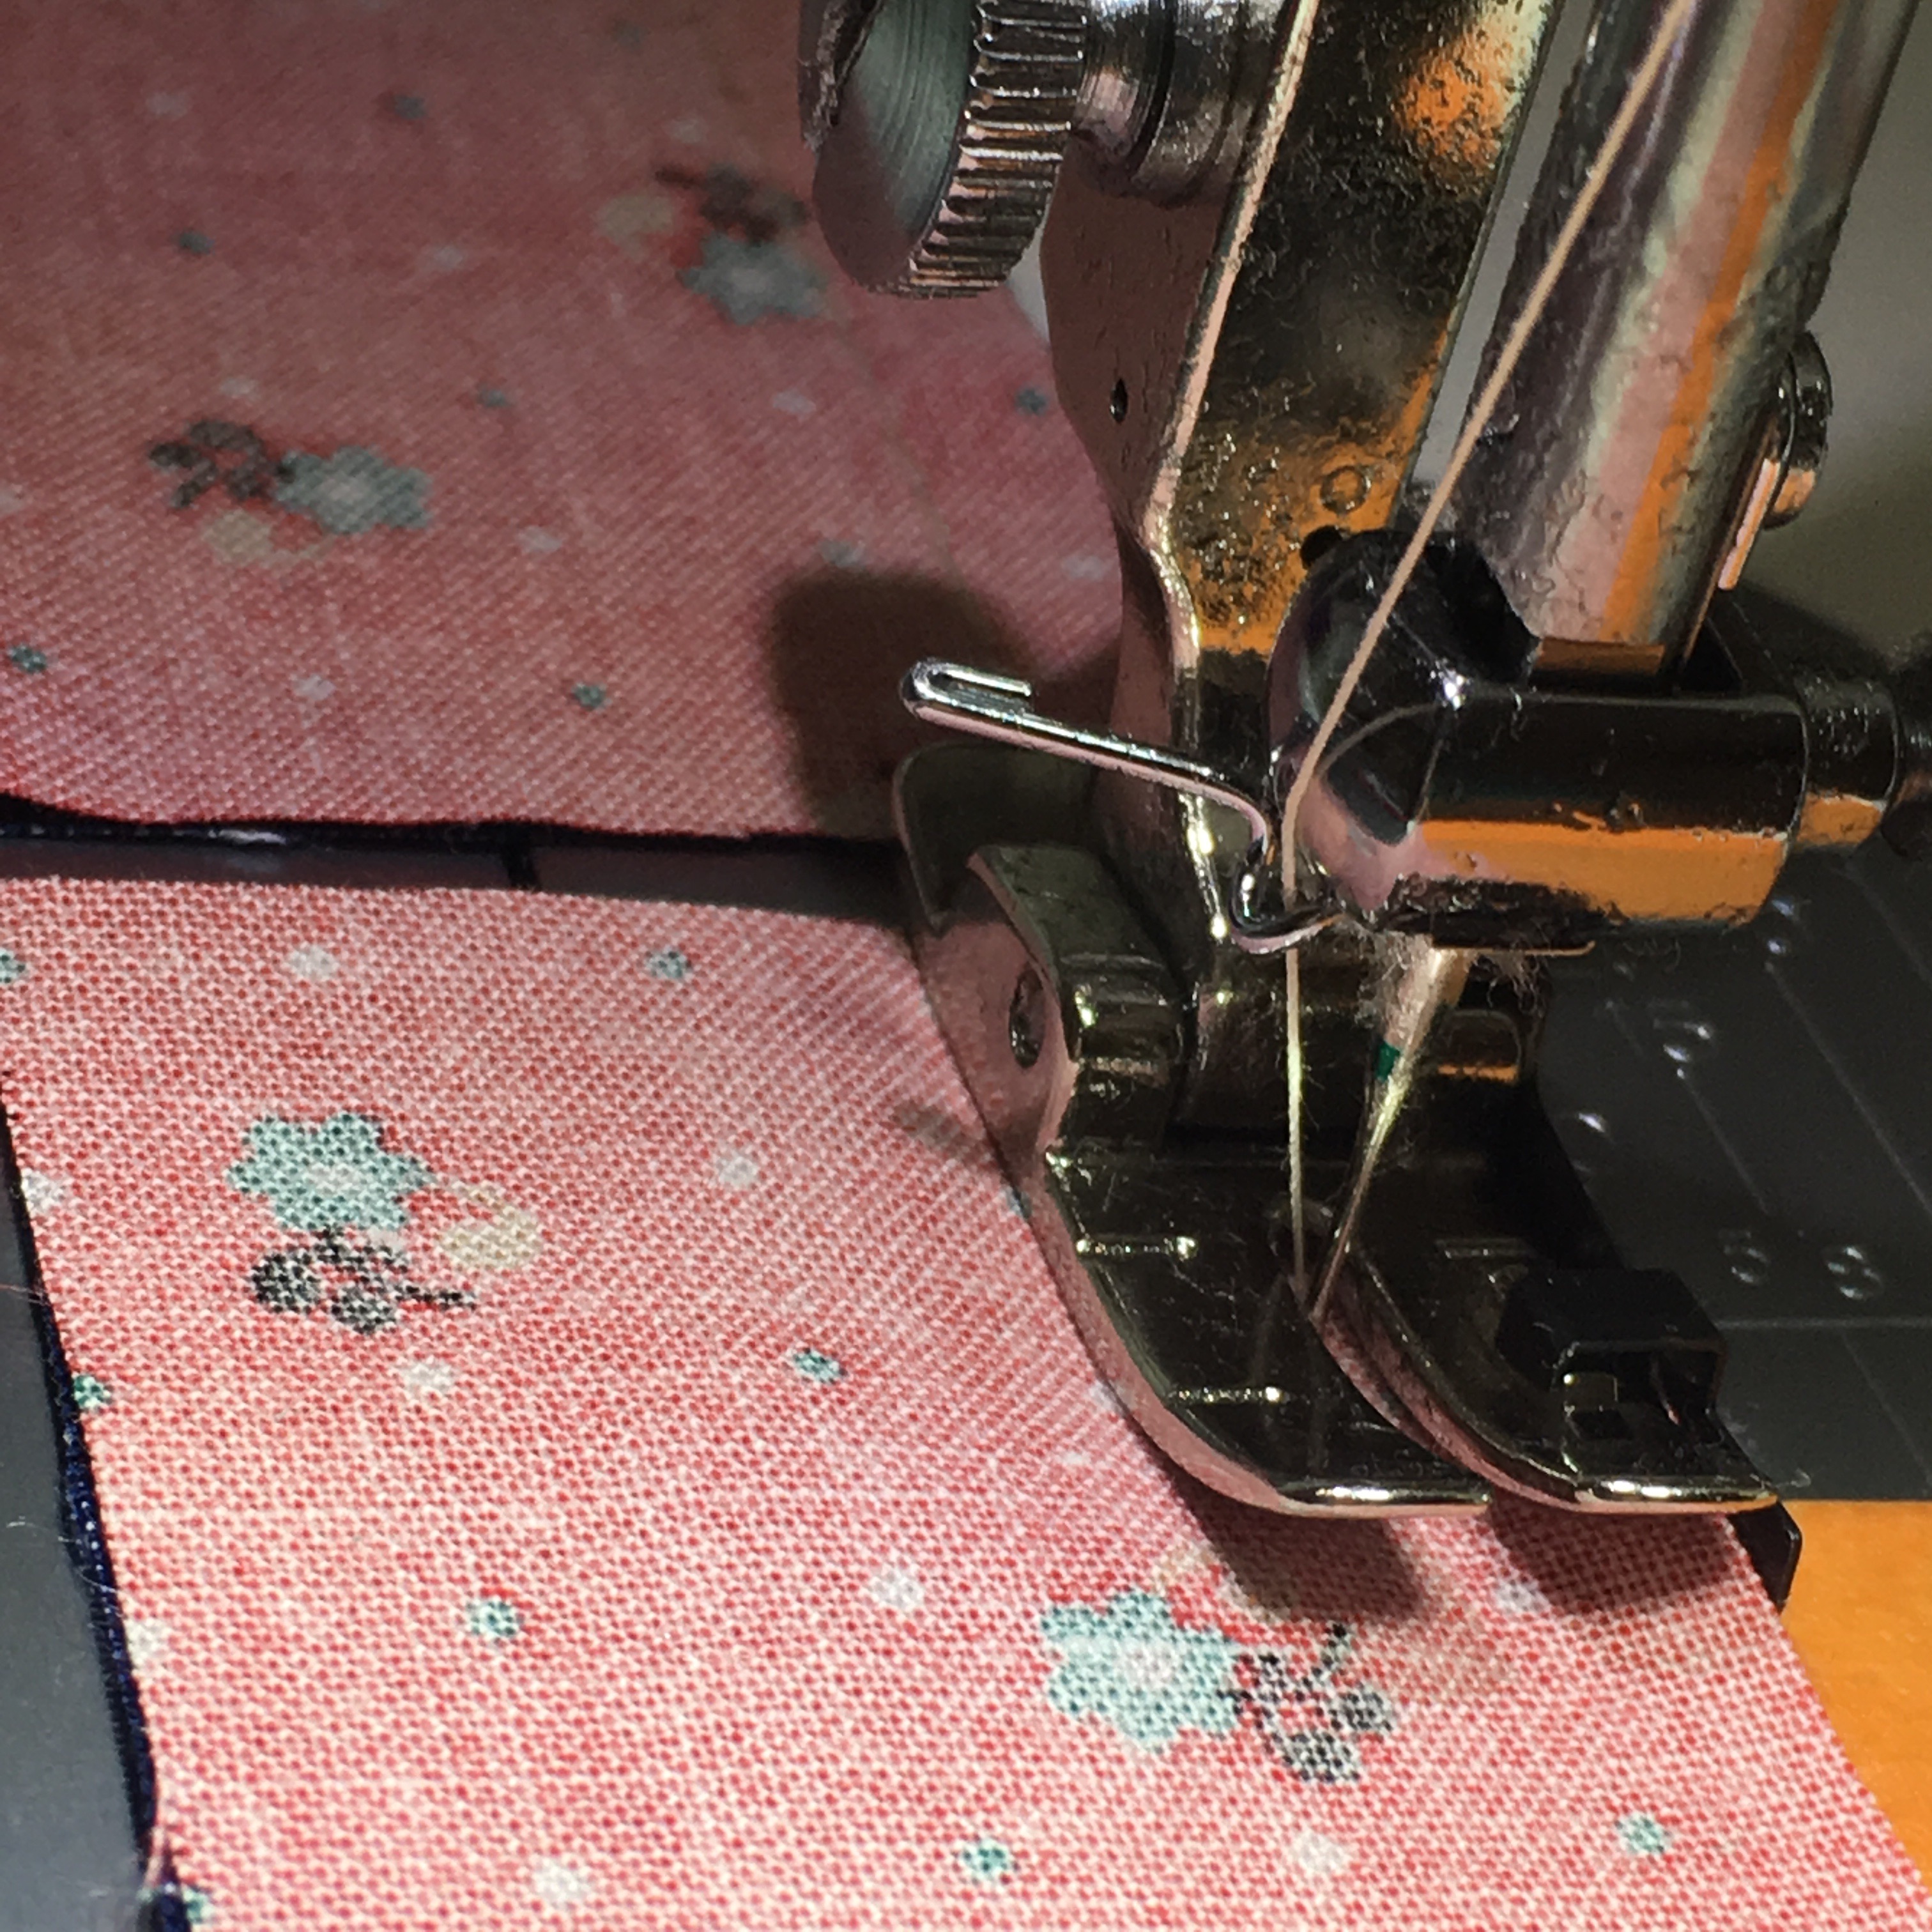
- Chain sew all of the 120 blocks the same as before using the 1/4″ foot as your guide.
- The center piece should have a 1/4″ stitching line on both sides.
- Pressing is a very important part of quilting. It is imperative that the seam is fully opened. If it isn’t, your finished block will not be the right size.
- So once again, finger press the blue up and iron press it open.
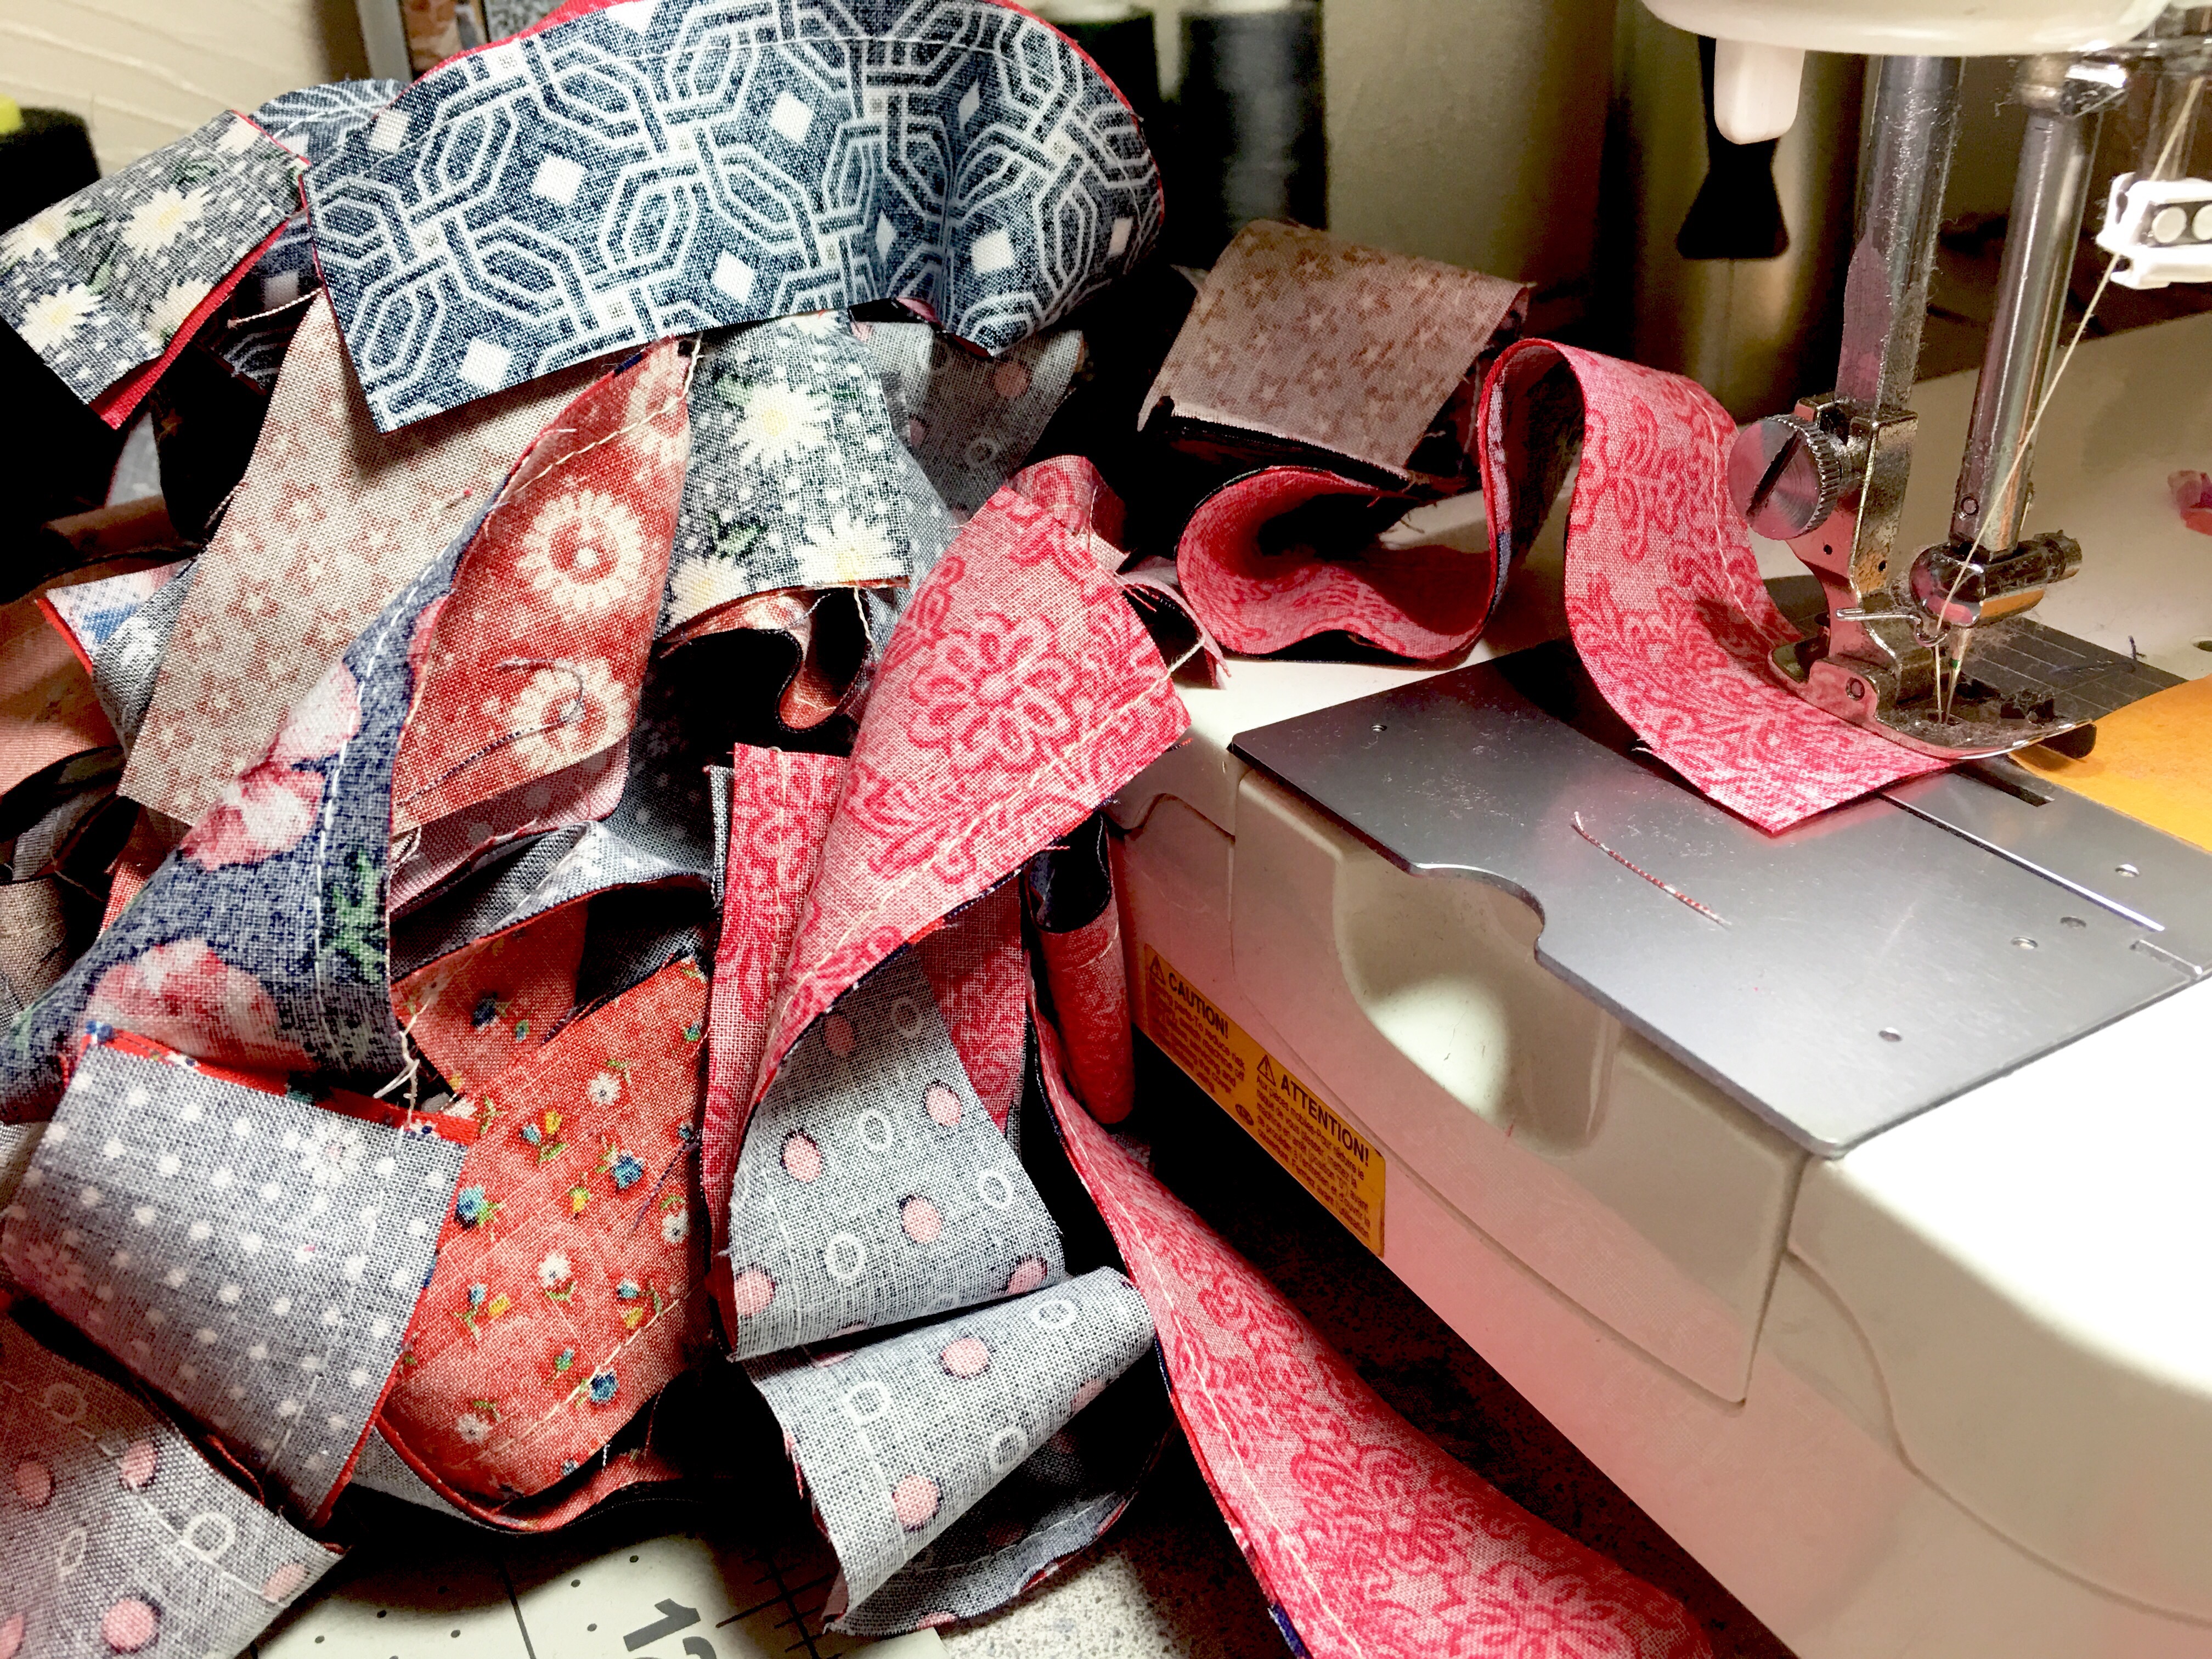

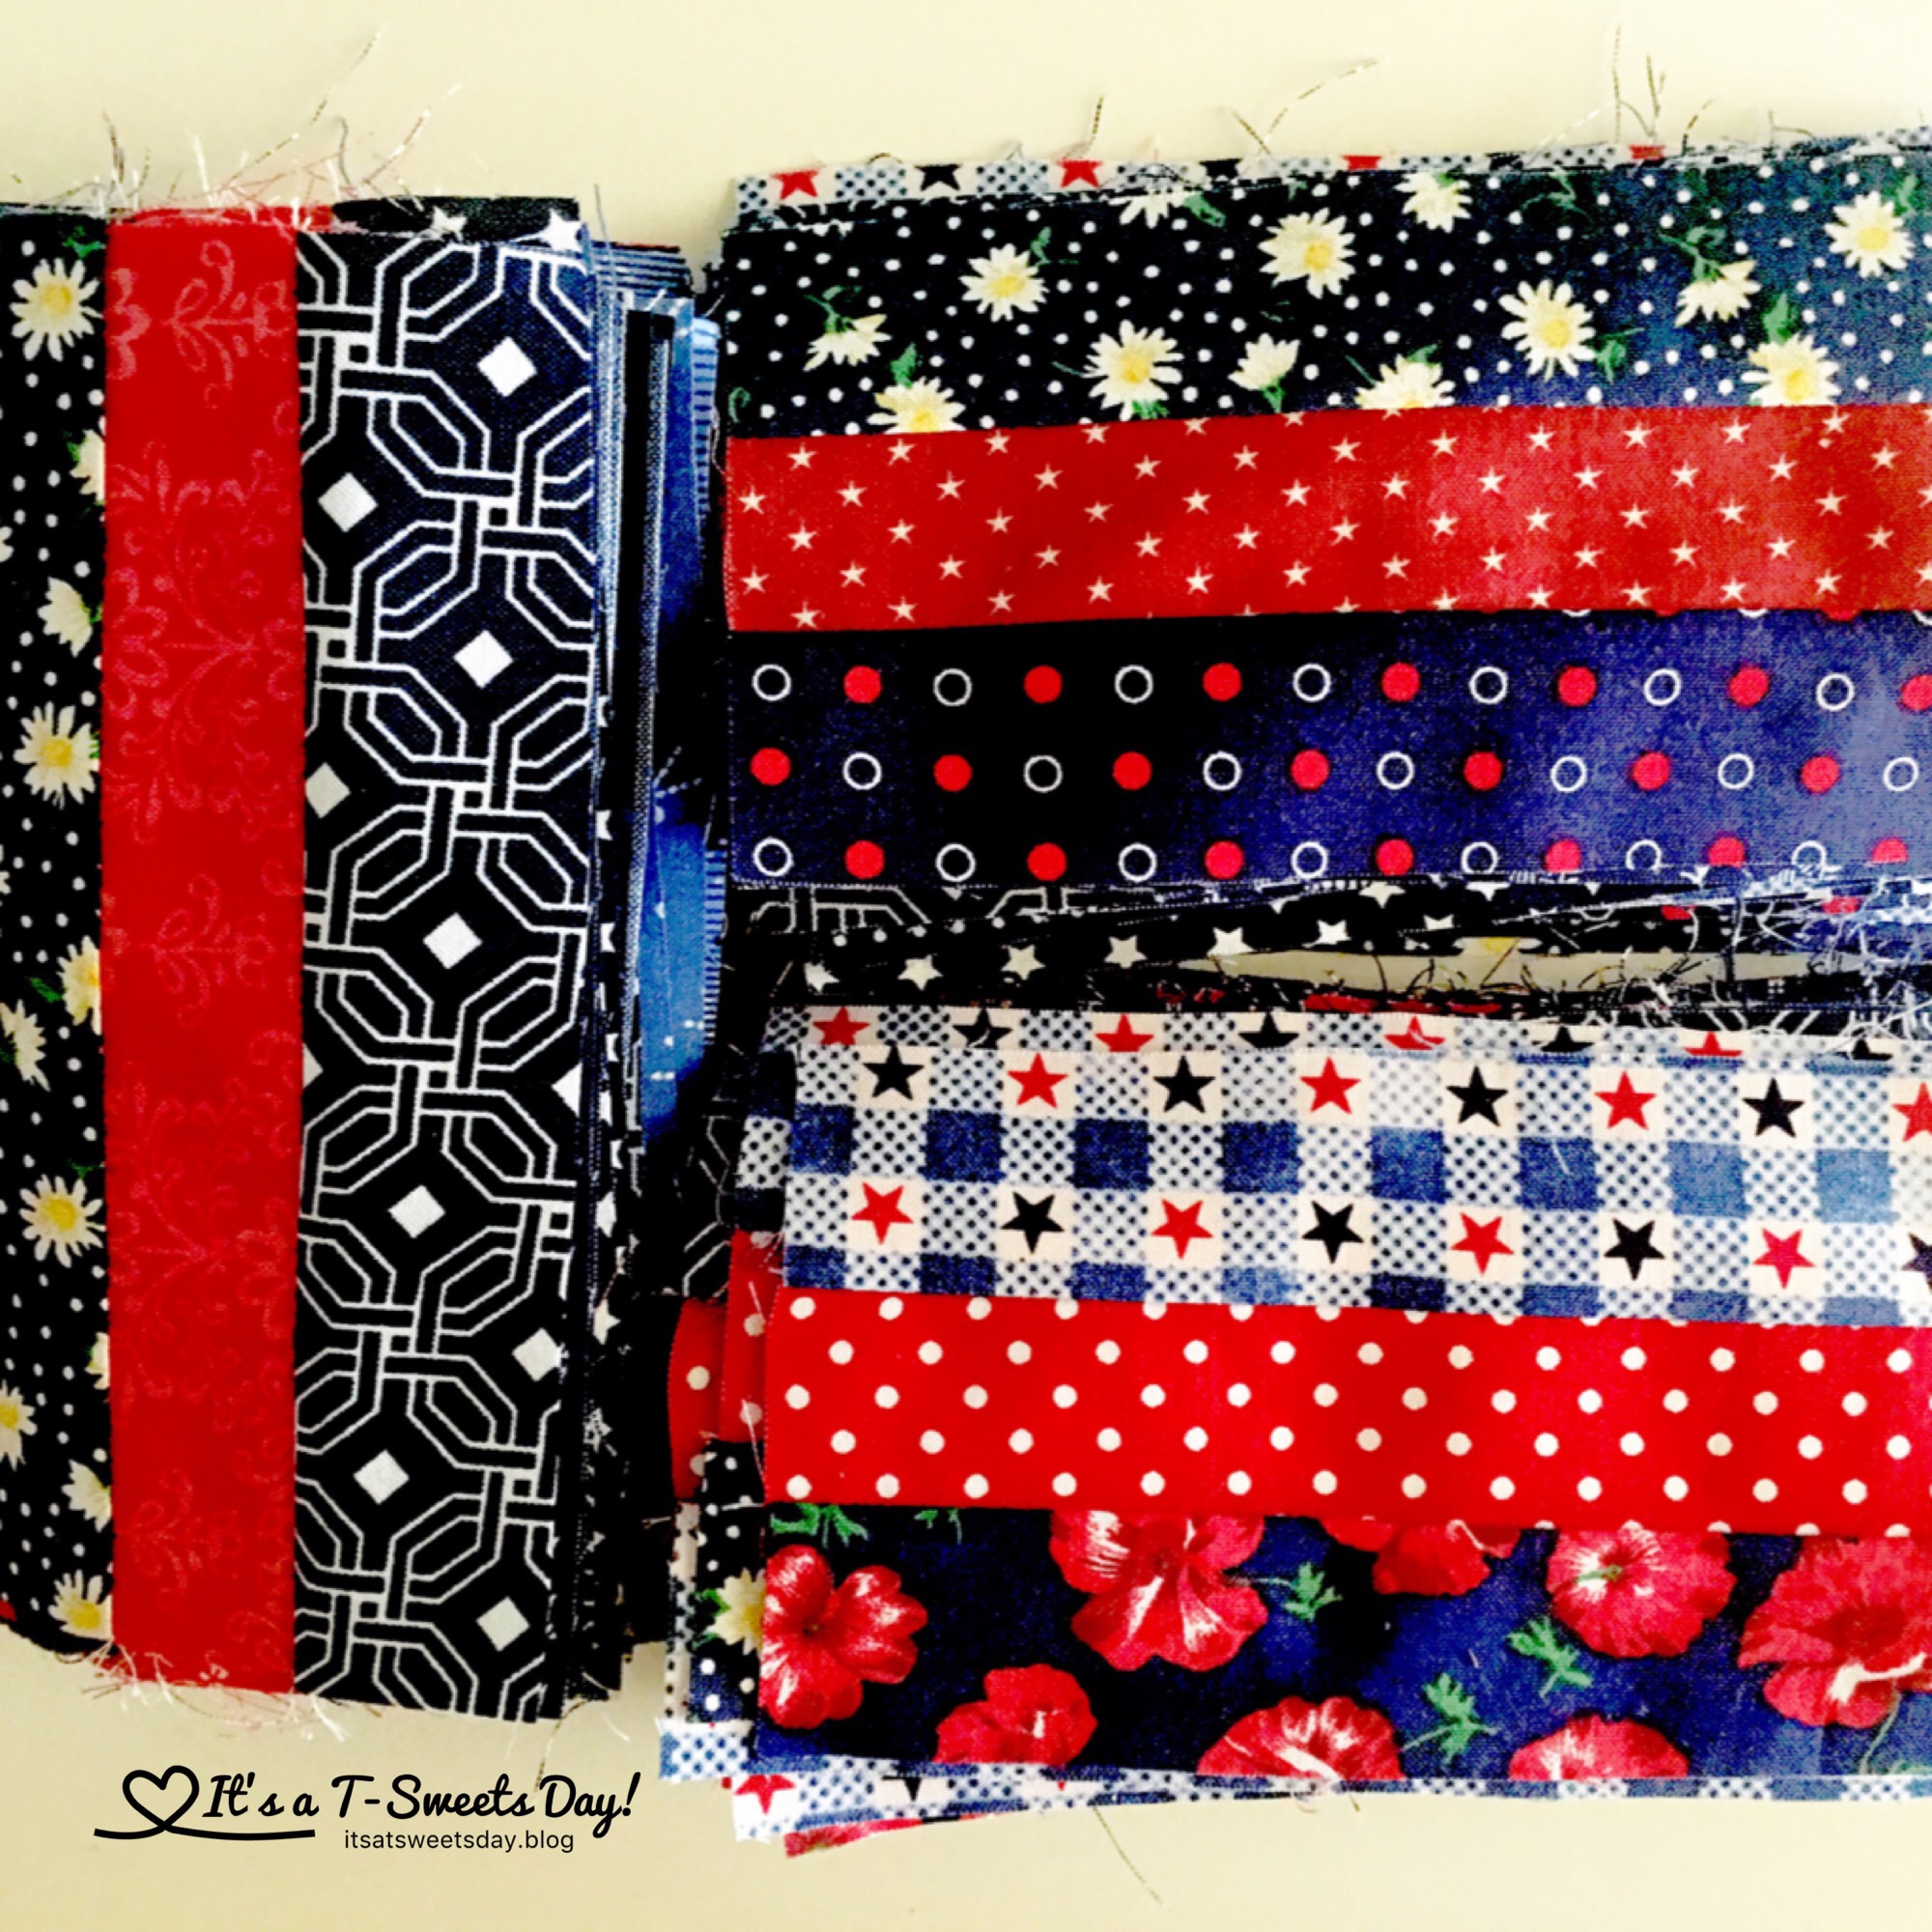
Done!! Just look at how perfect these turned out:). You are doing a fantastic job! Isn’t this fun?!

We will be sewing the squares and larger rectangles next time. I can’t wait!
Until then,

Don’t forget to post pictures of your fabric and progress on Instagram #pinsandstripesqal I will be giving away a jelly roll to someone who posts a picture from all seven lessons and a picture of themselves with their new quilt by the end of July 2017!!
Here are the links to the lessons if you are wanting to join along:
- Lesson #1 – Preparations
- Lesson #2 – Cutting Fabric
- Lesson #3- Chain Sewing
- Lesson #4- Stitch and Flip
- Lesson #5 – Lay out

Great instructions.
LikeLiked by 1 person
Thank you Peggy:! It is a very fun quilt project:)
LikeLike
I’m still excited about this…I just need to finishe getting my pieces cut so that I can do this lesson before Monday!
LikeLiked by 1 person
It’s all good;). Take your time and enjoy the journey. The sewing goes fairly quickly💗
LikeLiked by 1 person
That does look pretty easy when you make it! I have to look for my iron (it got lost somewhere during our move) and try to make this quilt, it looks amazing! I hope I can actually do it 😊
LikeLiked by 1 person
Oh, I would LOVE to have you join us! It really isn’t hard. Yes, you CAN do it😊
LikeLiked by 1 person
I’ll look for the iron tomorrow then and rummage my bag of stashed fabric! I should probably find my rotary cutter too actually! Lol
LikeLiked by 1 person
If I cut out an entire quilt at one time, I’d have to have a huge table to lay the pieces out and mark what every one was for so I didn’t lose track of what I was doing! Ask me how I know that. =P Great directions. I haven’t seen a 1/4″ foot quite like that one. I presume it’s the one specifically for your machine?
LikeLike
Lol;)! This is a very simple tutorial. I’m sure you wouldn’t get lost. My foot is a juki foot:)
LikeLike