
I have had several of my readers mention that they wish they could quilt, but didn’t know how to begin. So I am happy to start this 7 part series in beginning quilting.

I will be posting a new lesson each Monday and Thursday for the next 3 weeks. We will be learning how to make a beginning quilt that I designed just for this series. It will introduce easy, beginning techniques that will ensure success. We will Quilt Along or QAL together:).
So, if you are ready, let’s get started! —
Since it is summer here in the States, I thought it would be fun to make a Stars and Stripes type of quilt. I have named it Pins and Stripes because of the obvious pinwheels and stripes:). It finishes to 66″ x 78″.

Mine is red, white, and blue, but you can make yours in spring colors, fall colors, Christmas, scrappy happy, or even black and white. It will look great in any color scheme you choose.
Step 1- Choose a Pattern — Pins and Stripes
Step 2- Gather Your Supplies —

- A Good Cutting Mat – Invest in the nicest mat you can afford. It will give you years of service. I have several boards in different sizes. Look at your space and buy the largest one that will fit in the area you have. Always store it flat. If a mat is stored upright, on an uneven surface, or in the heat, it will warp.
- A Rotary Cutter – It has been many years since quilters have had to draw shapes on fabric and cut them out with scissors. Rotary cutters make life so easy. There are different sizes from large to small. A nice medium 45mm one will work fine.
- A Clear Quilting Ruler
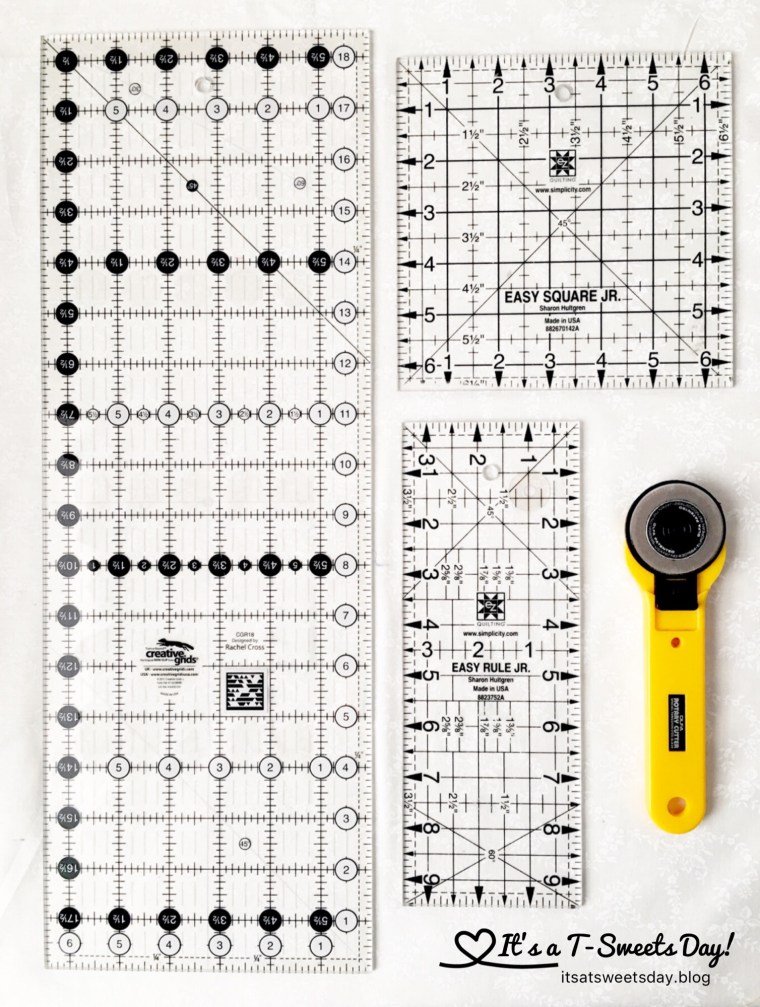 If you can only get one ruler, make sure it is 6.5″x 18.5. That size will work for most projects. I like to have a 6.5″ square and a smaller ruler as well. As you get going, you will learn that there is a special ruler available for almost EVERY type of block:). It is easy to spend a lot of money on rulers!
 - Thread- Choose an all cotton thread that matches your fabric. I like to stock up on creams and grays because they tend to match almost everything.
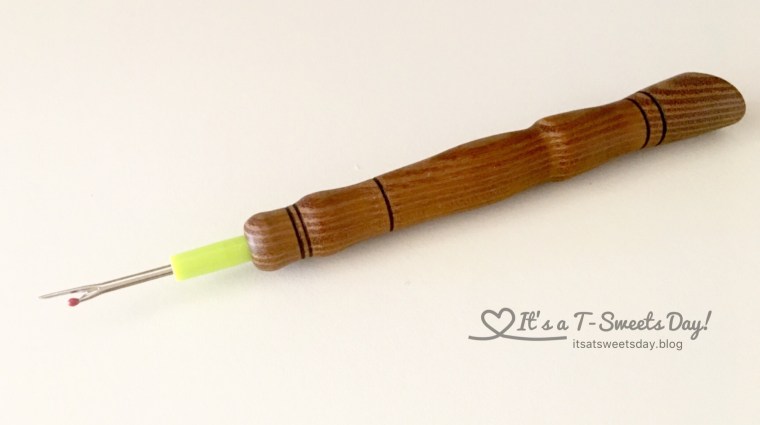
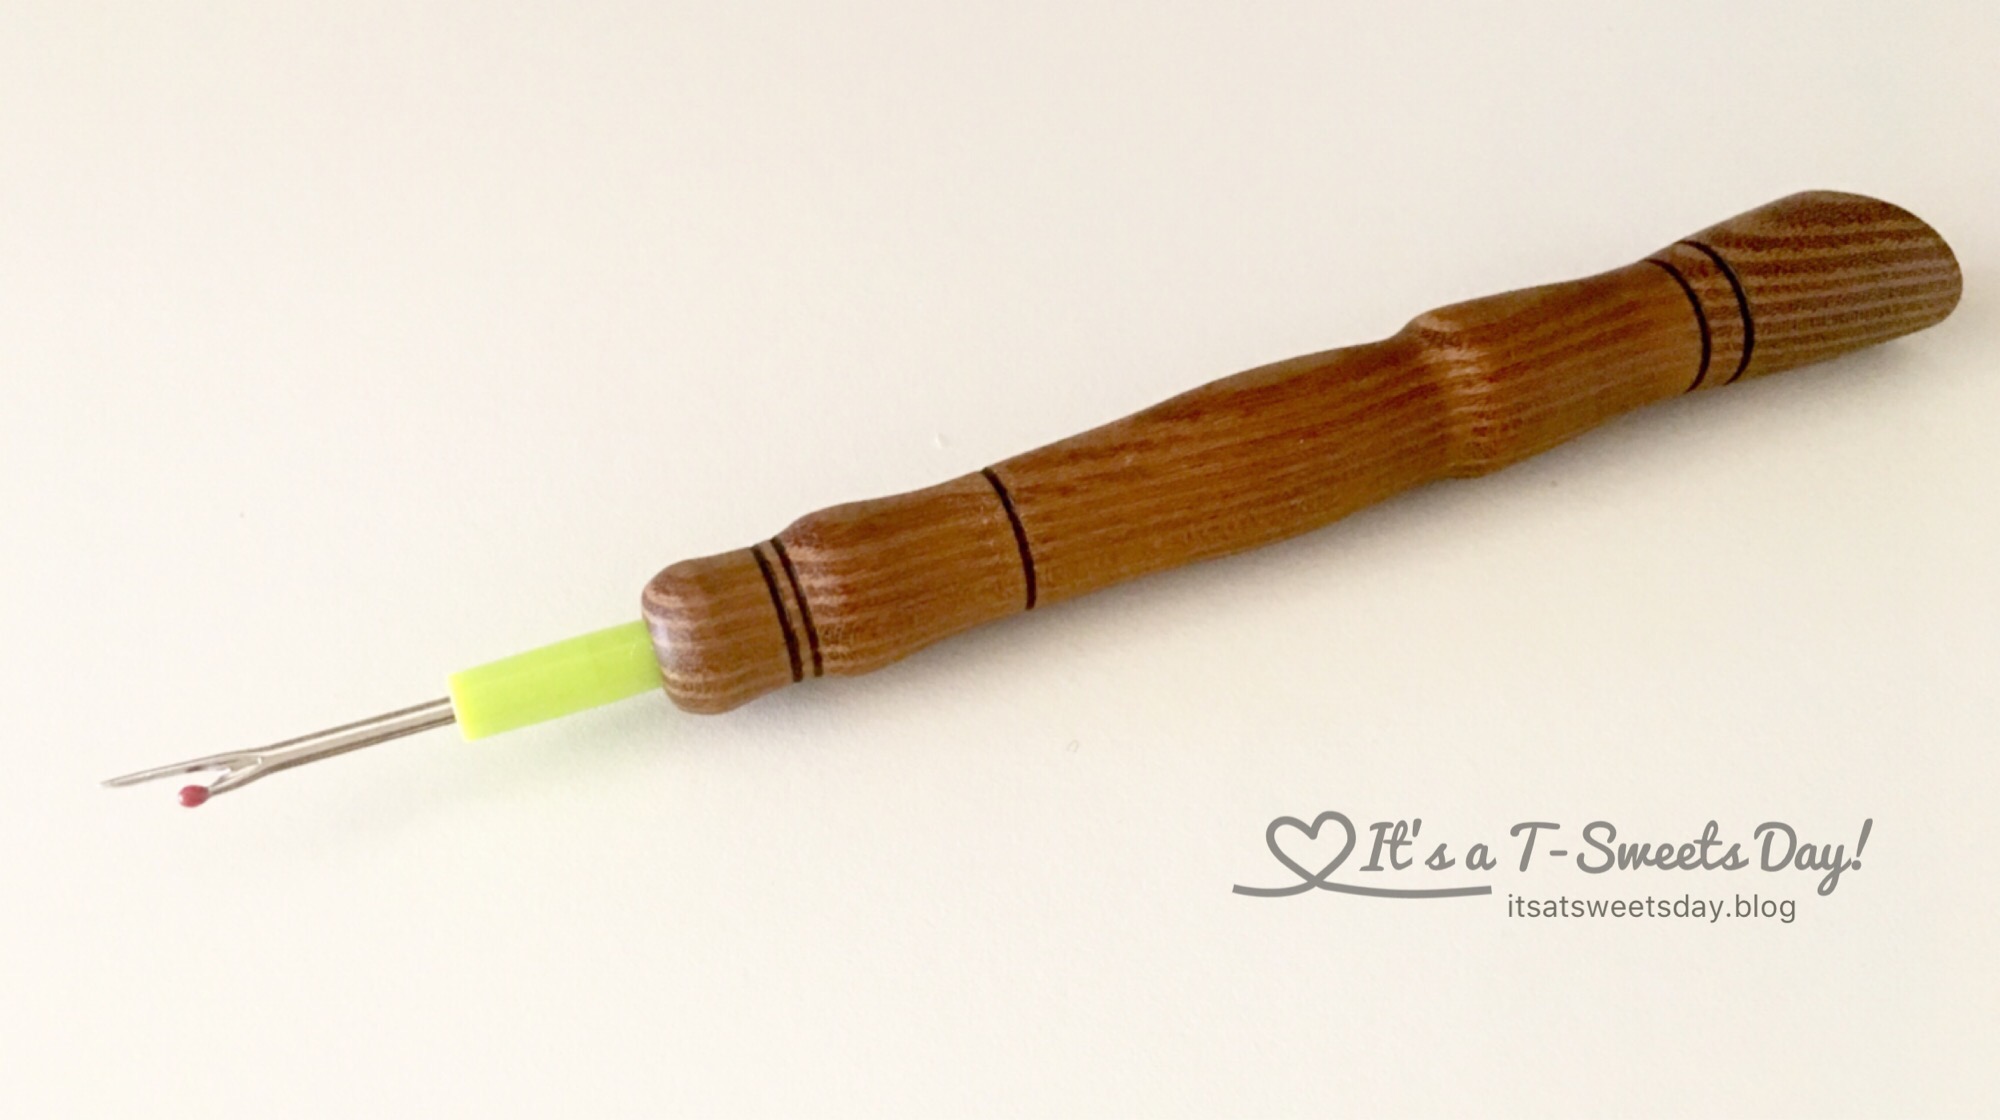
- A Seam Ripper– “un” sewing is a necessary part of any sewing project. It is never the favorite part, but plan on it and don’t get too worried about it if you become good friends with your seam ripper like I have with mine:)
- Pins– You may find that pinning your seams together helps match those points. As you get better, you will be able to feel the matching seams and finger pin them as you sew.
- A Quarter Inch Sewing Foot– This is really a must. A lot of machines come with this foot as a standard accessory. If yours didn’t, you can find one online or at your local sewing shop.

- Painter’s Tape— We will be using this to mark our machines to help with a few stitches.
- Fabric- There are so many beautiful precut fabric lines out there. It is easiest to get a perfectly matching quilt by using one of them. I use them all of the time. If you have a large fat quarter stack, go ahead and use it. But I know that many of you want to start quilting because you have a bunch of old shirts or dresses from grandma or fabric that your mother gave you that you want to use. So for this project I will not be using pre-cuts.
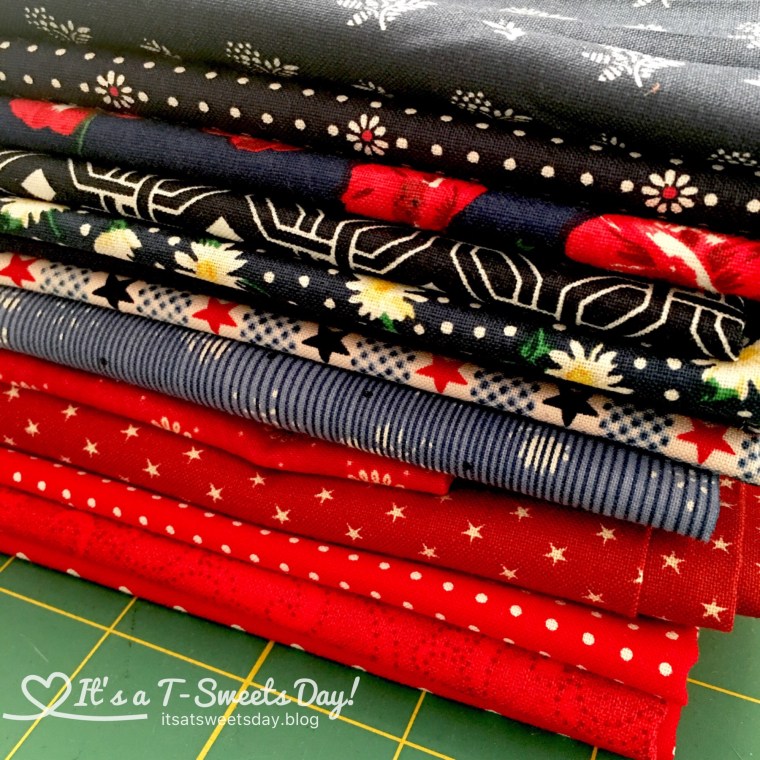 This is my fabric. I had some of it in my stash and I bought a few of them at my local store.


Here are the amounts you will need to make our quilt:
- 3 yards of assorted reds- color #1
- 2.5 yards of assorted blues- color #2
- 1 yard of cream- color #3
- 5 yards of coordinating fabric for backing
- A twin size batt (the soft warm stuff in the middle)
This is all that is needed for our quilt. You now will have a few days to gather all of your supplies before we get started on the cutting of our fabric. I can’t wait to see what scraps and colors you all choose!
If you are just starting, here are links to all of the lessons:
- Lesson #1 – Planning
- Lesson #2 – Fabric preparation
- Lesson #3 – Chain Sewing
- Lesson #4 – Stitch and Flip
- Lesson #5 – Lay out
Post your the pictures of your fabric and progress on Instagram #pinsandstripesqal. I will be giving away a jelly roll to someone who posts a picture from all seven lessons and a picture of themselves with their new quilt by the end of July 2017!!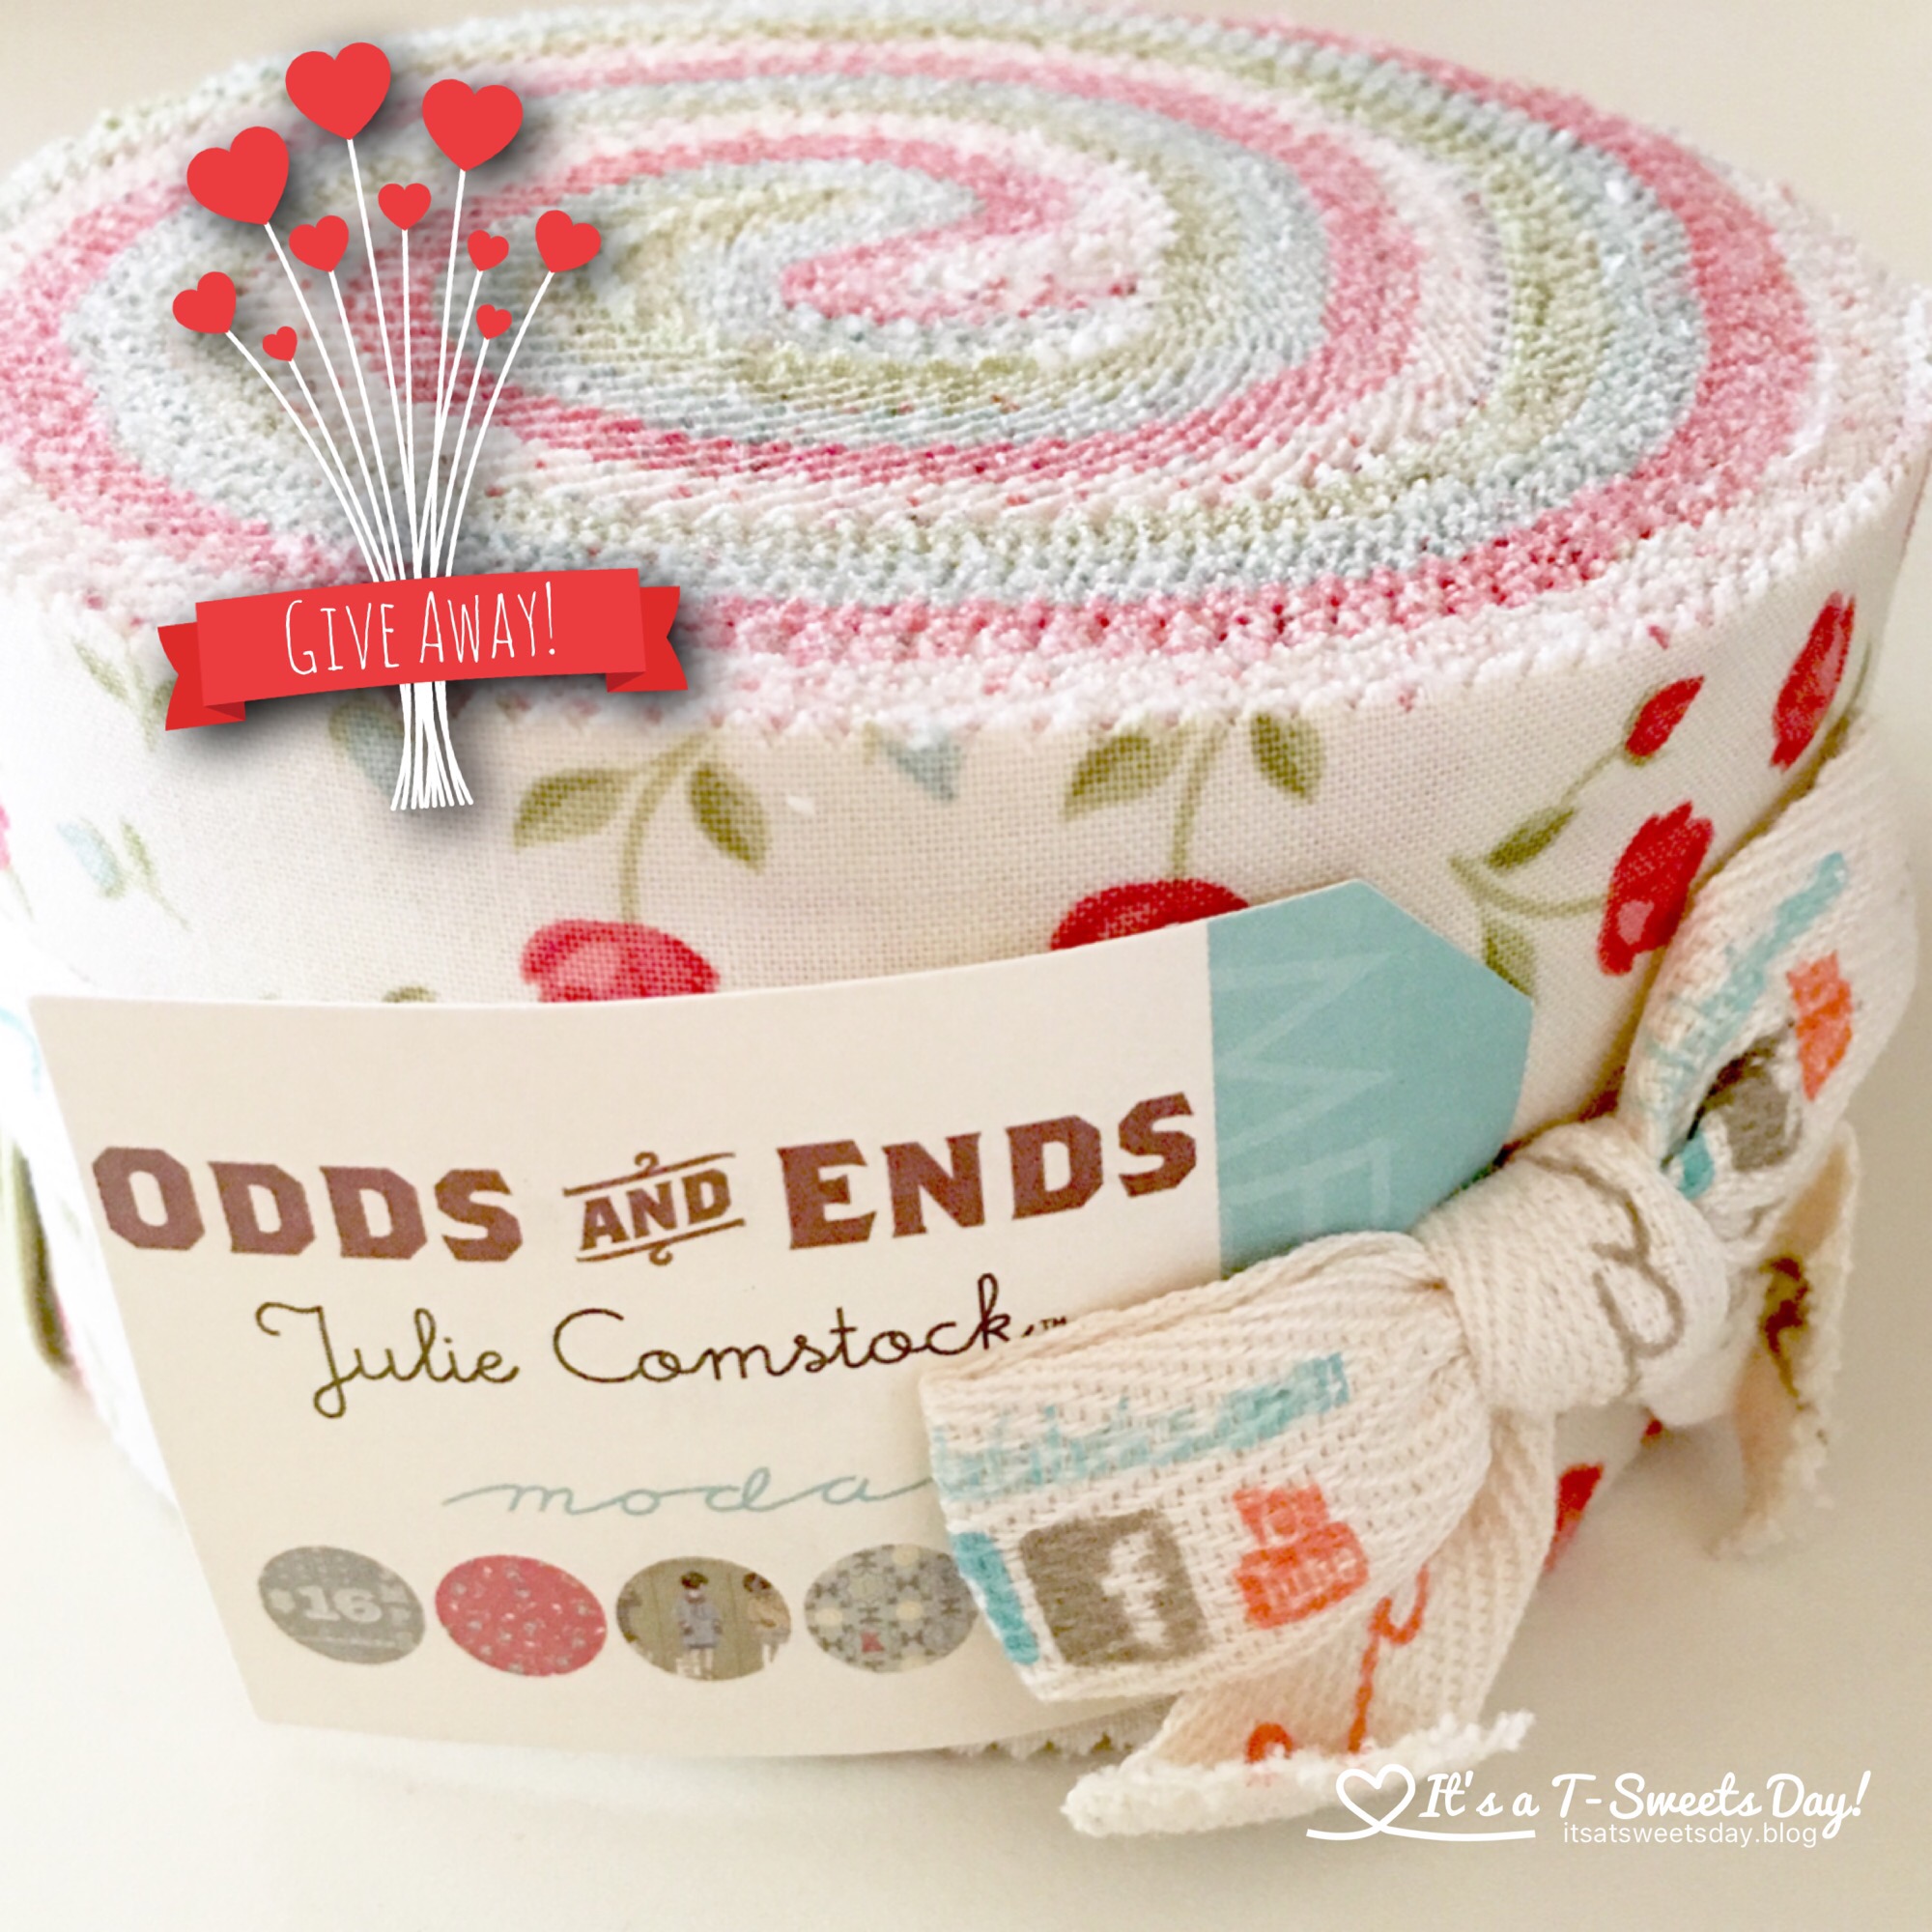
We are going to have so much fun!!! See you on Monday!
SWEET!

Thank you!!
LikeLiked by 1 person
You’re welcome:). I hope you will be able to join the fun!
LikeLike
I don’t think I’ll be able to join you on this, but I’m fascinated with the quilting process and will definitely be reading!
LikeLiked by 1 person
I’m so glad to have you read along Brenna! It will be waiting here if you ever decide to give it a try:)
LikeLiked by 1 person
Thanks Tracy! I’d love to give quilting a try someday when I have a little more time 😊 It’s a beautiful art!
LikeLike
Thanks for doing these posts Tracy!! I have my crafty plate chock full right now but I am making a special email folder named “Tracy Quilting Class” and tucking all of these in there!! 😀
LikeLiked by 2 people
Wonderful Tami!! I hope you will be able join along in the future!
LikeLiked by 1 person
Great idea Tami, I just did the same so that I don’t lose the links.
LikeLiked by 1 person
This is a great post for those wanting to learn how to quilt. Quilting can be so addictive 😍🤗
LikeLiked by 1 person
Yes it can!! We quilters are a colorful group:). Thank you for stopping in!
LikeLiked by 1 person
I guess I need to go shopping this weekend, and dig out my sewing machine!
LikeLiked by 1 person
Wonderful!!! I am excited to see what you choose:). It’s going to be a fun adventure!
LikeLiked by 1 person
I hope I can keep up. I’m falling behind on all my projects because I’ve had to work some overtime lately. It’s not usually an issue but the past couple of weeks has been crazy so I’ve had very little time for crafting.
LikeLiked by 1 person
I have made the lessons fairly small. Each can be done in an hour or so….. I hope:). If you get behind, the lessons won’t be going anywhere. I know that work can be demanding. A little craft time can help relax and soothe the spirit:)
LikeLiked by 1 person
Looks like fun! I posted this on Quilt BOM, to get a little more publicity for the QAL.
LikeLiked by 1 person
How very nice of you Suz! I hope that it can help someone over there:). You are the BEST!!
LikeLike
Hello Tracy – wanted to pop in and let you know I nominated you for the Liebster Blog Award. Details on my blog!!!!
LikeLiked by 1 person
Oh my goodness! I’m so excited and honored:). Thank you! I will go check it out now:)
LikeLiked by 1 person
You deserve the nomination. Your blog is wonderful!!!
LikeLike
I am really excited to try this! Do I need to get something for in between the top and bottom of the quilt, like batting or something? Also, how big will this quilt be when finished?
LikeLiked by 1 person
Oh I’m so excited you will be joining in the lessons Delia! The finished Quilt is 68×78″. A twin batting will work. You are the second person to ask me those same questions m. I will update the post now:). This is going to be so much fun!
LikeLike
Thank you! 🙂
LikeLike
One more question: Should I wash and pre-shrink all the fabric before cutting?
LikeLiked by 1 person
It isn’t necessary. Most fabrics you buy today are color safe. And the little bit of shrinkage is minimal and adds to the puckery happiness of a washed and well loved Quilt. If you are using vintage fabric, definitely wash it. Great question Delia:)!
LikeLike
Okay, awesome, thanks!
LikeLike
So I am VERY beginner!! does it matter how much of each fabric or just that I have that total amount in each fabric? I am so excited!! I have always wanted to learn to quilt!!
LikeLiked by 1 person
Hi Christie! These are just the lessons for you:)! You are going to LOVE it! You just need a total amount of that yardage. If you are cutting from scraps, you will just keep cutting until you get the amount of pieces necessary so just have a lot of scraps to cut from.
LikeLike
I’m excited to have you joining in the lessons! We’re going to have so much fun:)!!
LikeLiked by 1 person
Look at you go!! I love those beautiful stacks of gorgeous fabrics all sewn together so neatly:). Great job!!
LikeLike
Beautiful Tracy!!
LikeLiked by 1 person
Thank you Kelley!! This is such a fun and easy Quilt to start a love of quilting on. I know you are a busy bee, but if you ever want to broaden your many other talents, I hope you will give this one a try:). Thank you for dropping by and I hope you have a SWEET DAY:)!
LikeLiked by 1 person
Tracy, Years ago, seems so long ago, I made a quilt for my king Bed. It was fun, and I really enjoyed it. I then started making them baby size. Great gifts for new parents for friends! Your work is so beautiful!
LikeLiked by 1 person
Oh Kelley, you are right:). Baby quilts make the BEST gifts! Thank you for your comment. It is always fun to make a new friend:)❤️❤️
LikeLiked by 1 person
I so enjoy your creations….so beautiful!
LikeLiked by 1 person
Thank you Kelley! ❤️❤️
LikeLiked by 1 person
😉
LikeLike
Thank you Tracy…love your posts!!
LikeLike
You are doing FANTASTIC! ❤️❤️❤️
LikeLike