
It is Scrap Happy Time and I have just the project for you!
Moving cut scraps from the cutting board to the sewing table can be a bit tricky. The pieces can shift and move or even fall to the floor! I like to place my pieces on a fabric covered board as I cut and design my block.
The batting makes it so I can design my block and move it with ease. How cool is that?!
I have been using my old design boards for over five years and they are still going strong. They have quite a few strings attached, but that just shows that they are well used and well loved.

A reader of mine asked me about them a day or so ago and I thought that maybe a few more of you might be interested in learning how to make one or two of these fantastic boards for yourself. Plus, I was just thinking I could use a few more boards. They are so quick and easy!
The items needed are probably all just lying around your house anyway, so why don’t you gather them up and let’s get started? 🙂

- A large cardboard box
- Scraps of leftover fabric and batting
- A marker
- A razor blade
- Clear packing tape
- Spray glue
Now that’s not much, is it? This is going to be EASY!

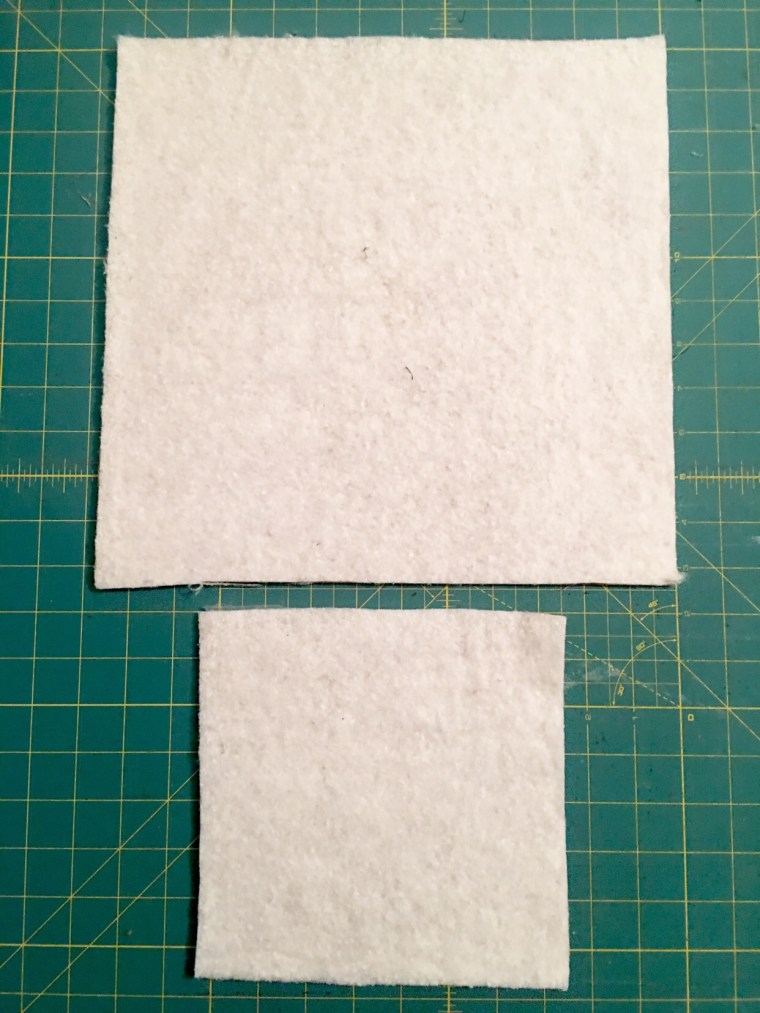
- First choose a box with a piece that is large enough to cut a square from.
- Mark the size of square you would like. I cut two. One is 12.5″ and the smaller one is 7.5“
- With a ruler and a razor blade, cut your squares out
- Next we will be using the packing tape

- Cover one entire side of the square with packing tape. This is so you can layer them on top of each other without the fabric sticking to the cardboard back of the board above.

- Now we are going to be using our scraps of batting and spray glue.
- Cut your batting the size of your boards
- Lay a piece of scrap paper down to cover your work area
- Spray the non shiny side of your board with glue
- place your batting on top of the glue on the board
They will look like this. Now it is time to make some binding from your fabric scraps

- Cut 2″ strips the width of the fabric.

- Sew the strips together by placing the fabric together as shown above and sewing from corner to corner.

- Fold the edges to meet in the middle and press.
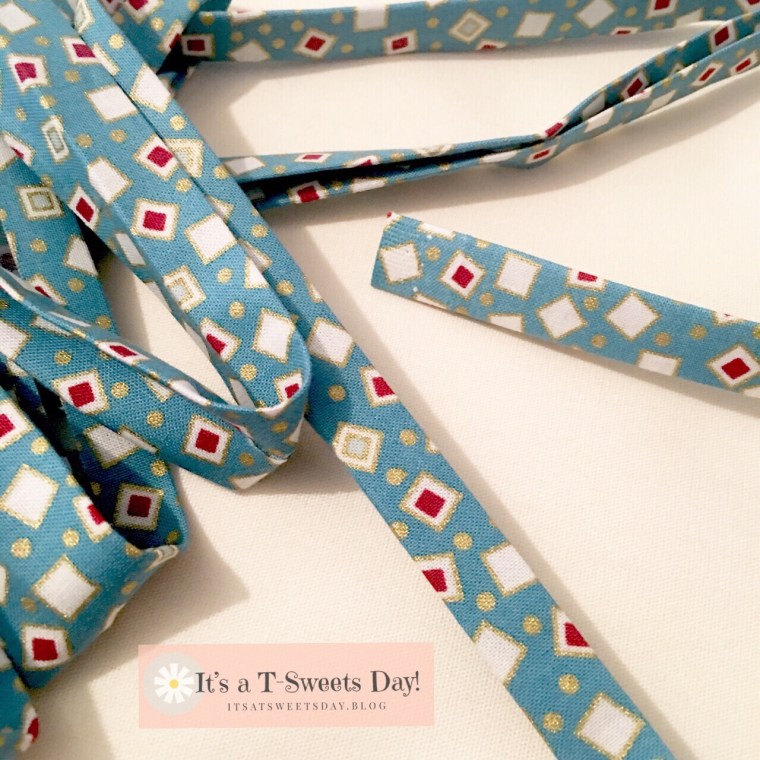
- Fold the strip in half and press to make binding.
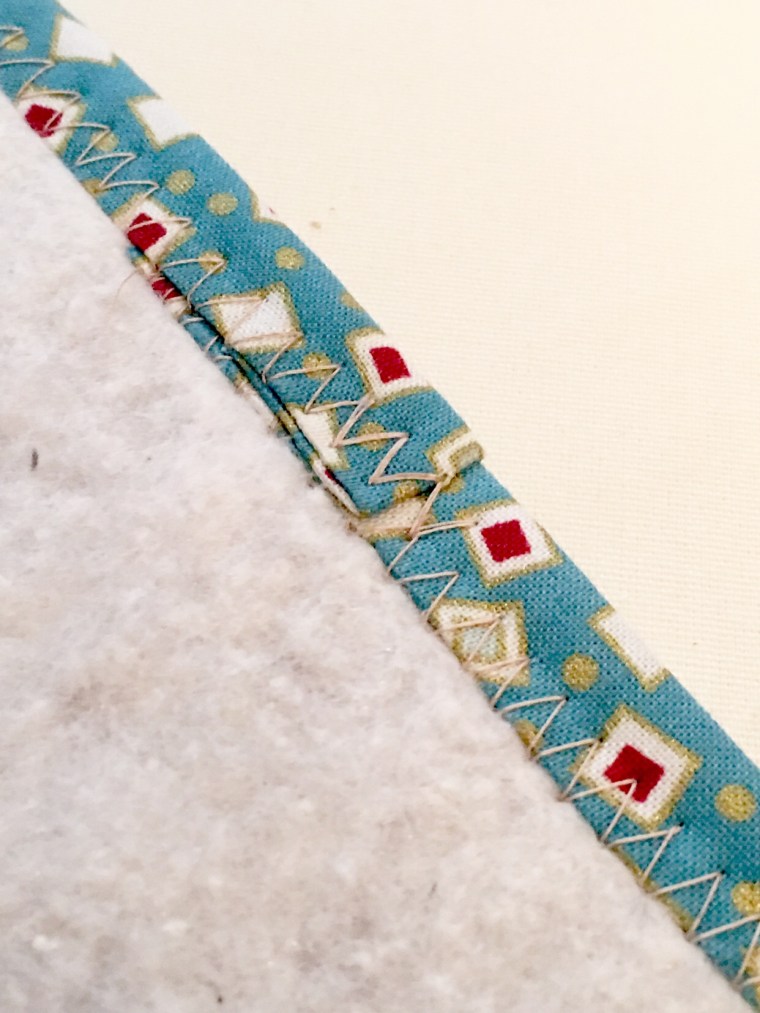
Next we are going to be sewing the binding to the boards. You will be sewing through the cardboard. Don’t worry, it will work! 🙂

- Set your machine to a wide zig zag stitch and starting in the middle of one side, fold the fabric over the board. Stitch through the fabric and board. If the left side of your stitch is at the edge of your binding, it should easily catch the back of the binding as well.
- Stitch just to the edge of the board. Back stitch and cut your thread
- Pictures 3 and 4 go together. Lift the board and pull the fabric down on the next side making a miter. You may want to add a drop of glue to hold the corner in place. I just held mine. Sew the next side down . Repeat for all four sides.
- When you come to the end, cut the binding about 1.5″ over the starting point. Fold the binding back on itself and stitch to the end.
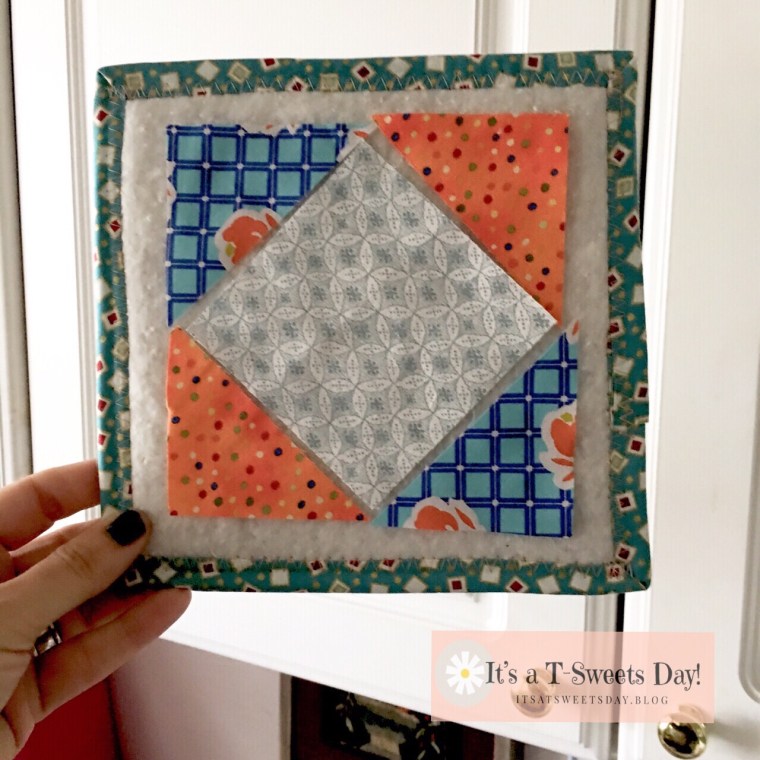
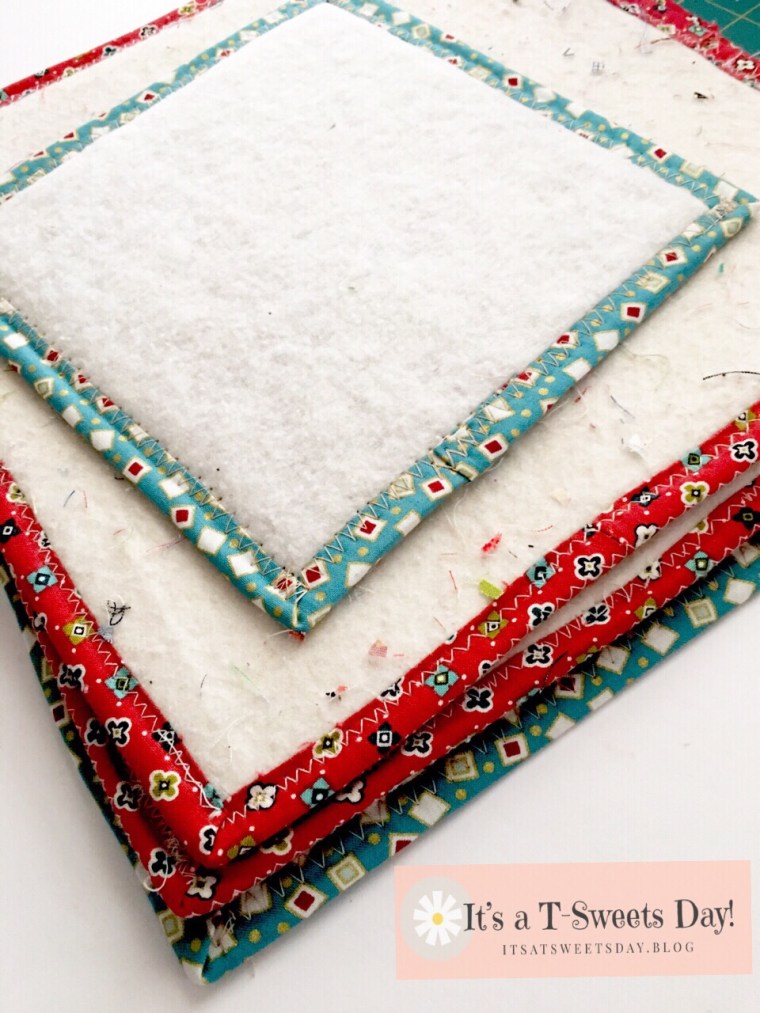
Yea! You are finished! Don’t they look great?!

I can’t wait to use them with my next Delilah project. There are always so many pieces to cut and carry!
And how do I store all of these boards? I have a fun Totally Tipster tip for you today as well. SWEET!
I have a letter holder next to my wall that holds my favorite rulers and these boards. 
It takes very little space and they are all ready to be used at any time. I just love multipurpose objects!
I hope you will make a few of these boards for yourself. I would love to hear about it if you do:)
Until tomorrow!