

Last Friday I was lucky enough to go to Hatch, NM and buy some roasted green chiles. You may remember my overly joyous post about them last week.. lol!
Well, after eating as many as we could as chile rellenos and in omelettes and tacos, the day has come to can the rest and have them happily waiting to be used the rest of the year. I am sure this will not be a year supply, but it will be a small, delicious reminder of Hatch and summer until next year:)
Here is how I can mine. Of course, always check your canner instructions to be sure that it is set up correctly. You may also want to wear gloves. Be very careful not rub your eyes or nose. Ouch!

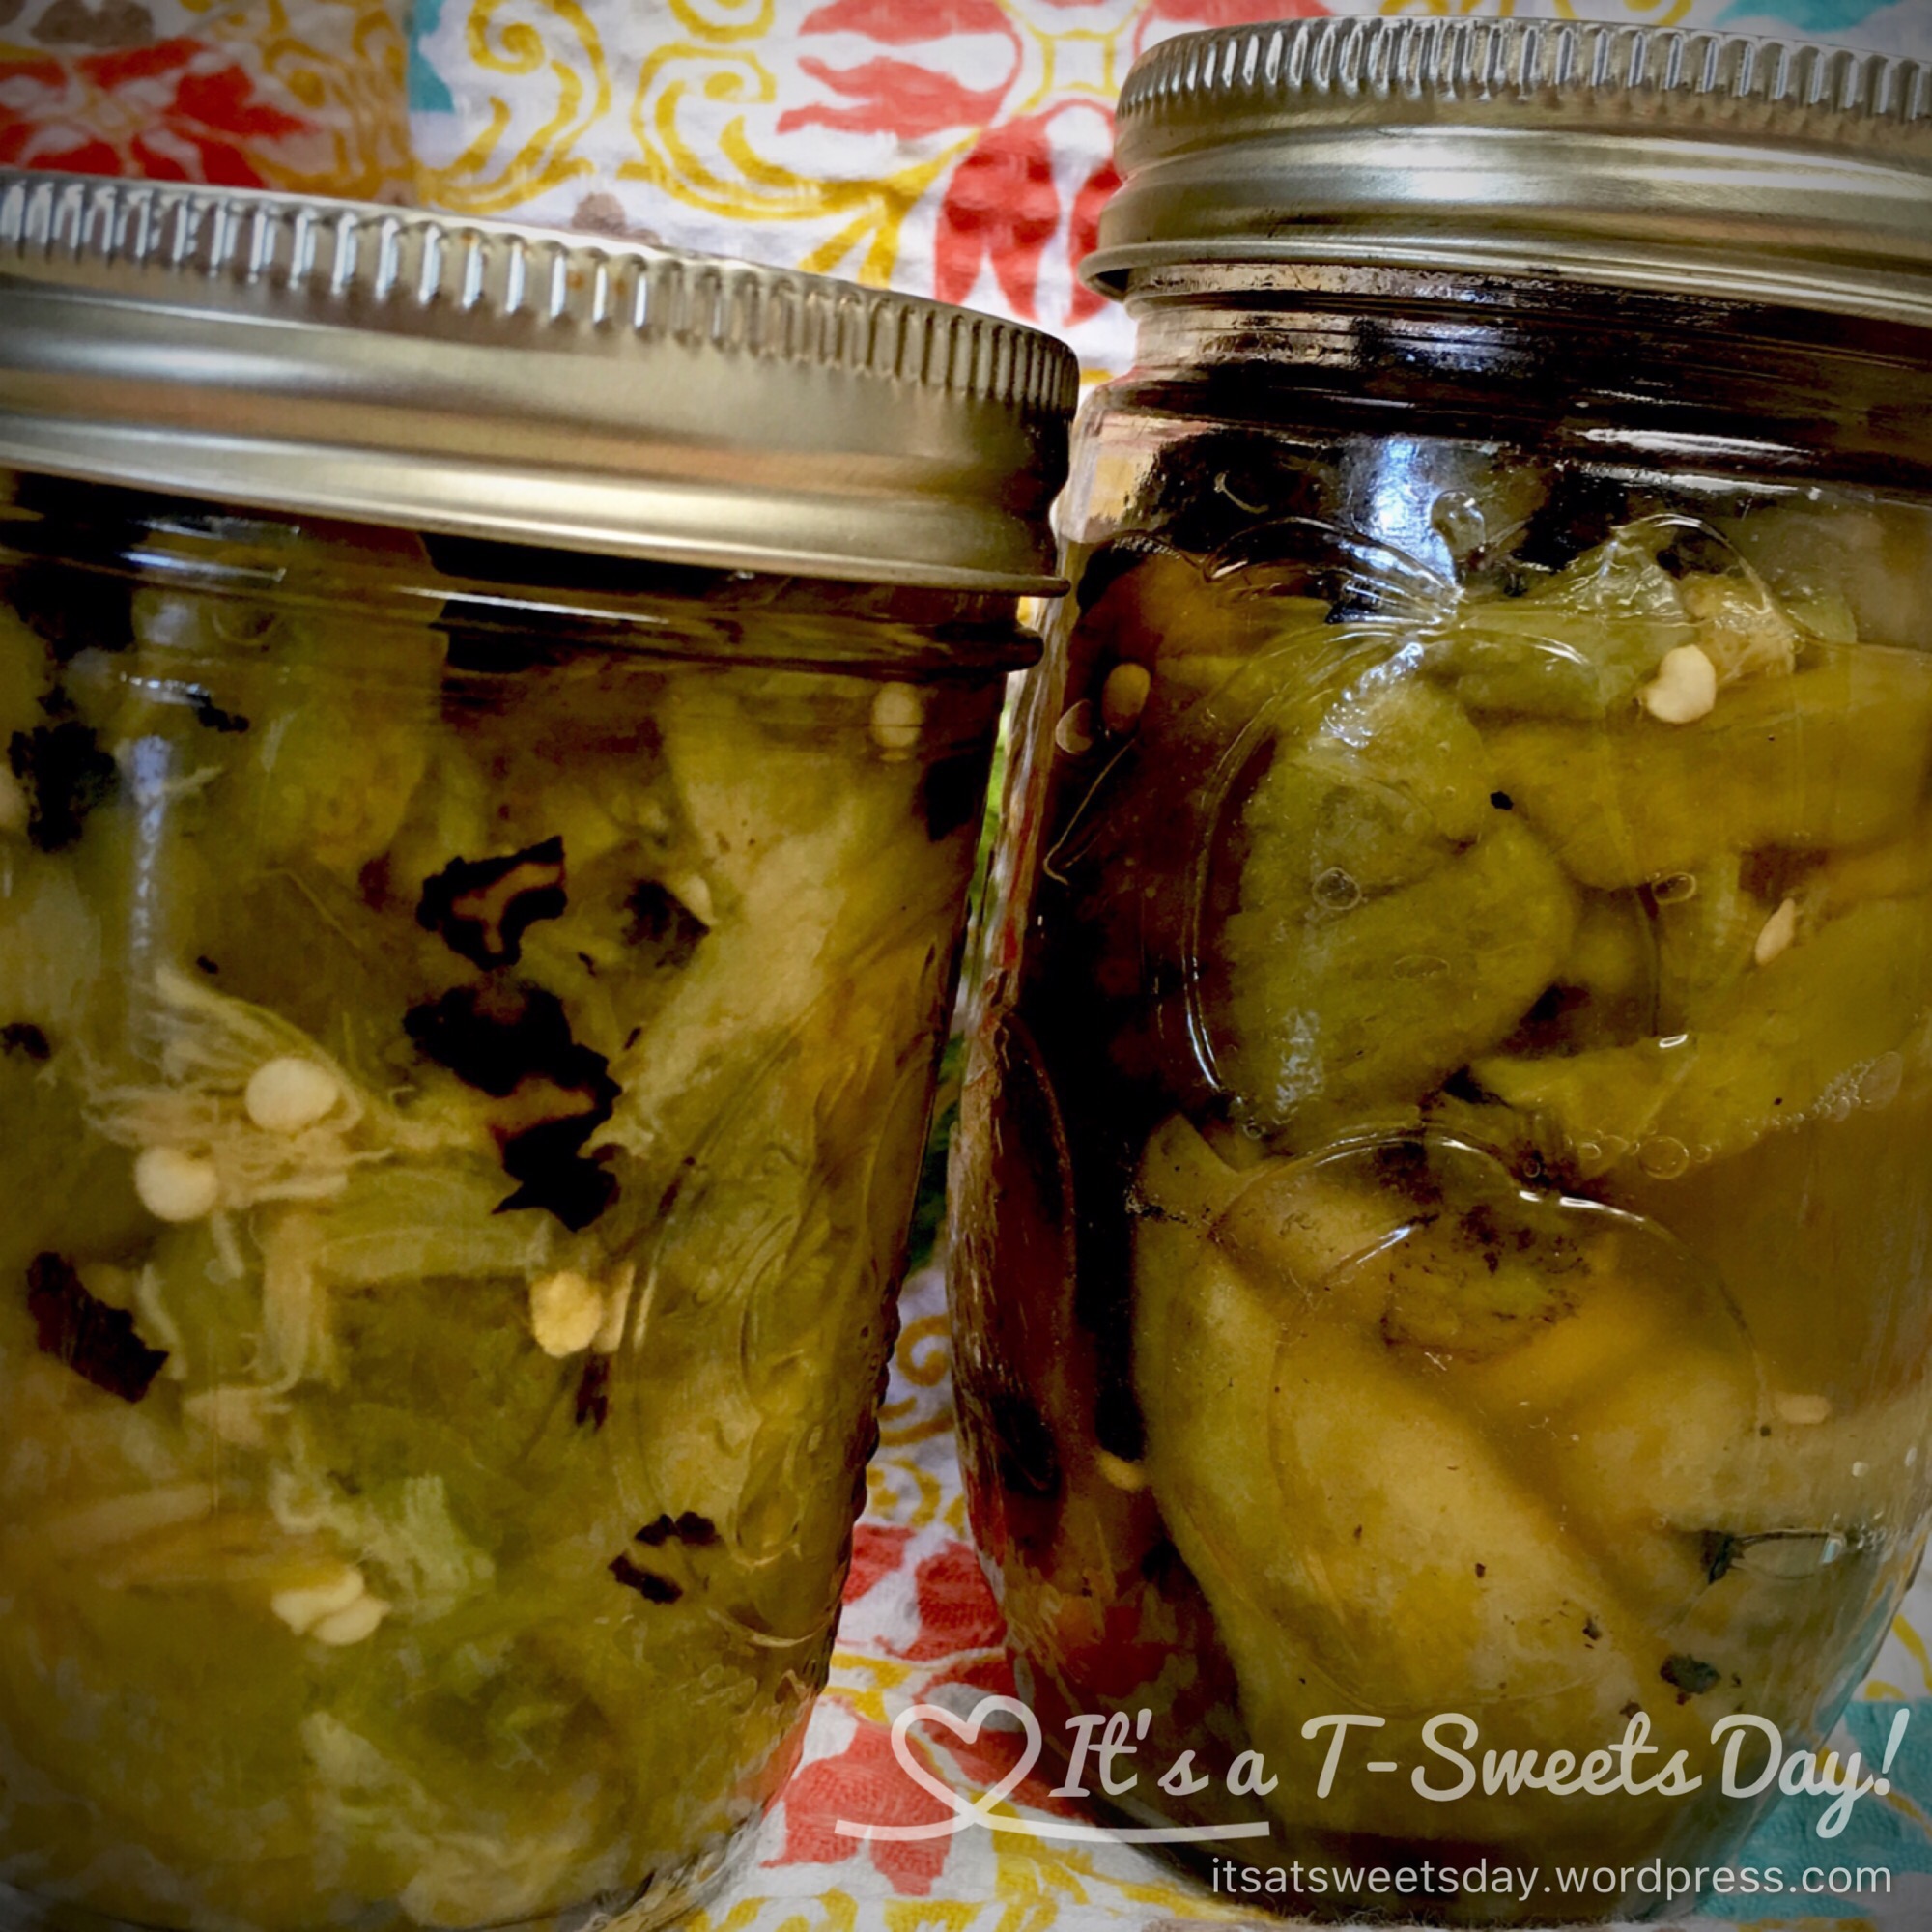
- I gather my beautiful green chiles that are roasted and peeled
- I put some of them whole in pint sized jars filling to about 1/2″ from the top.

- I take others to a cutting board that I place in a cookie sheet to prevent the seeds and juices from getting all over the counter.
- I cut the stems off and then rinse out the seeds and chop the chiles into small pieces.

- I place the chopped chiles in 1/2pint jars. I add left over juice and water to fill about 3/4 full. Don’t they all look so pretty standing together waiting to be canned?

- I run a knife along the inside to get out any bubbles and wipe off the rim and sides to leave it nice and clean
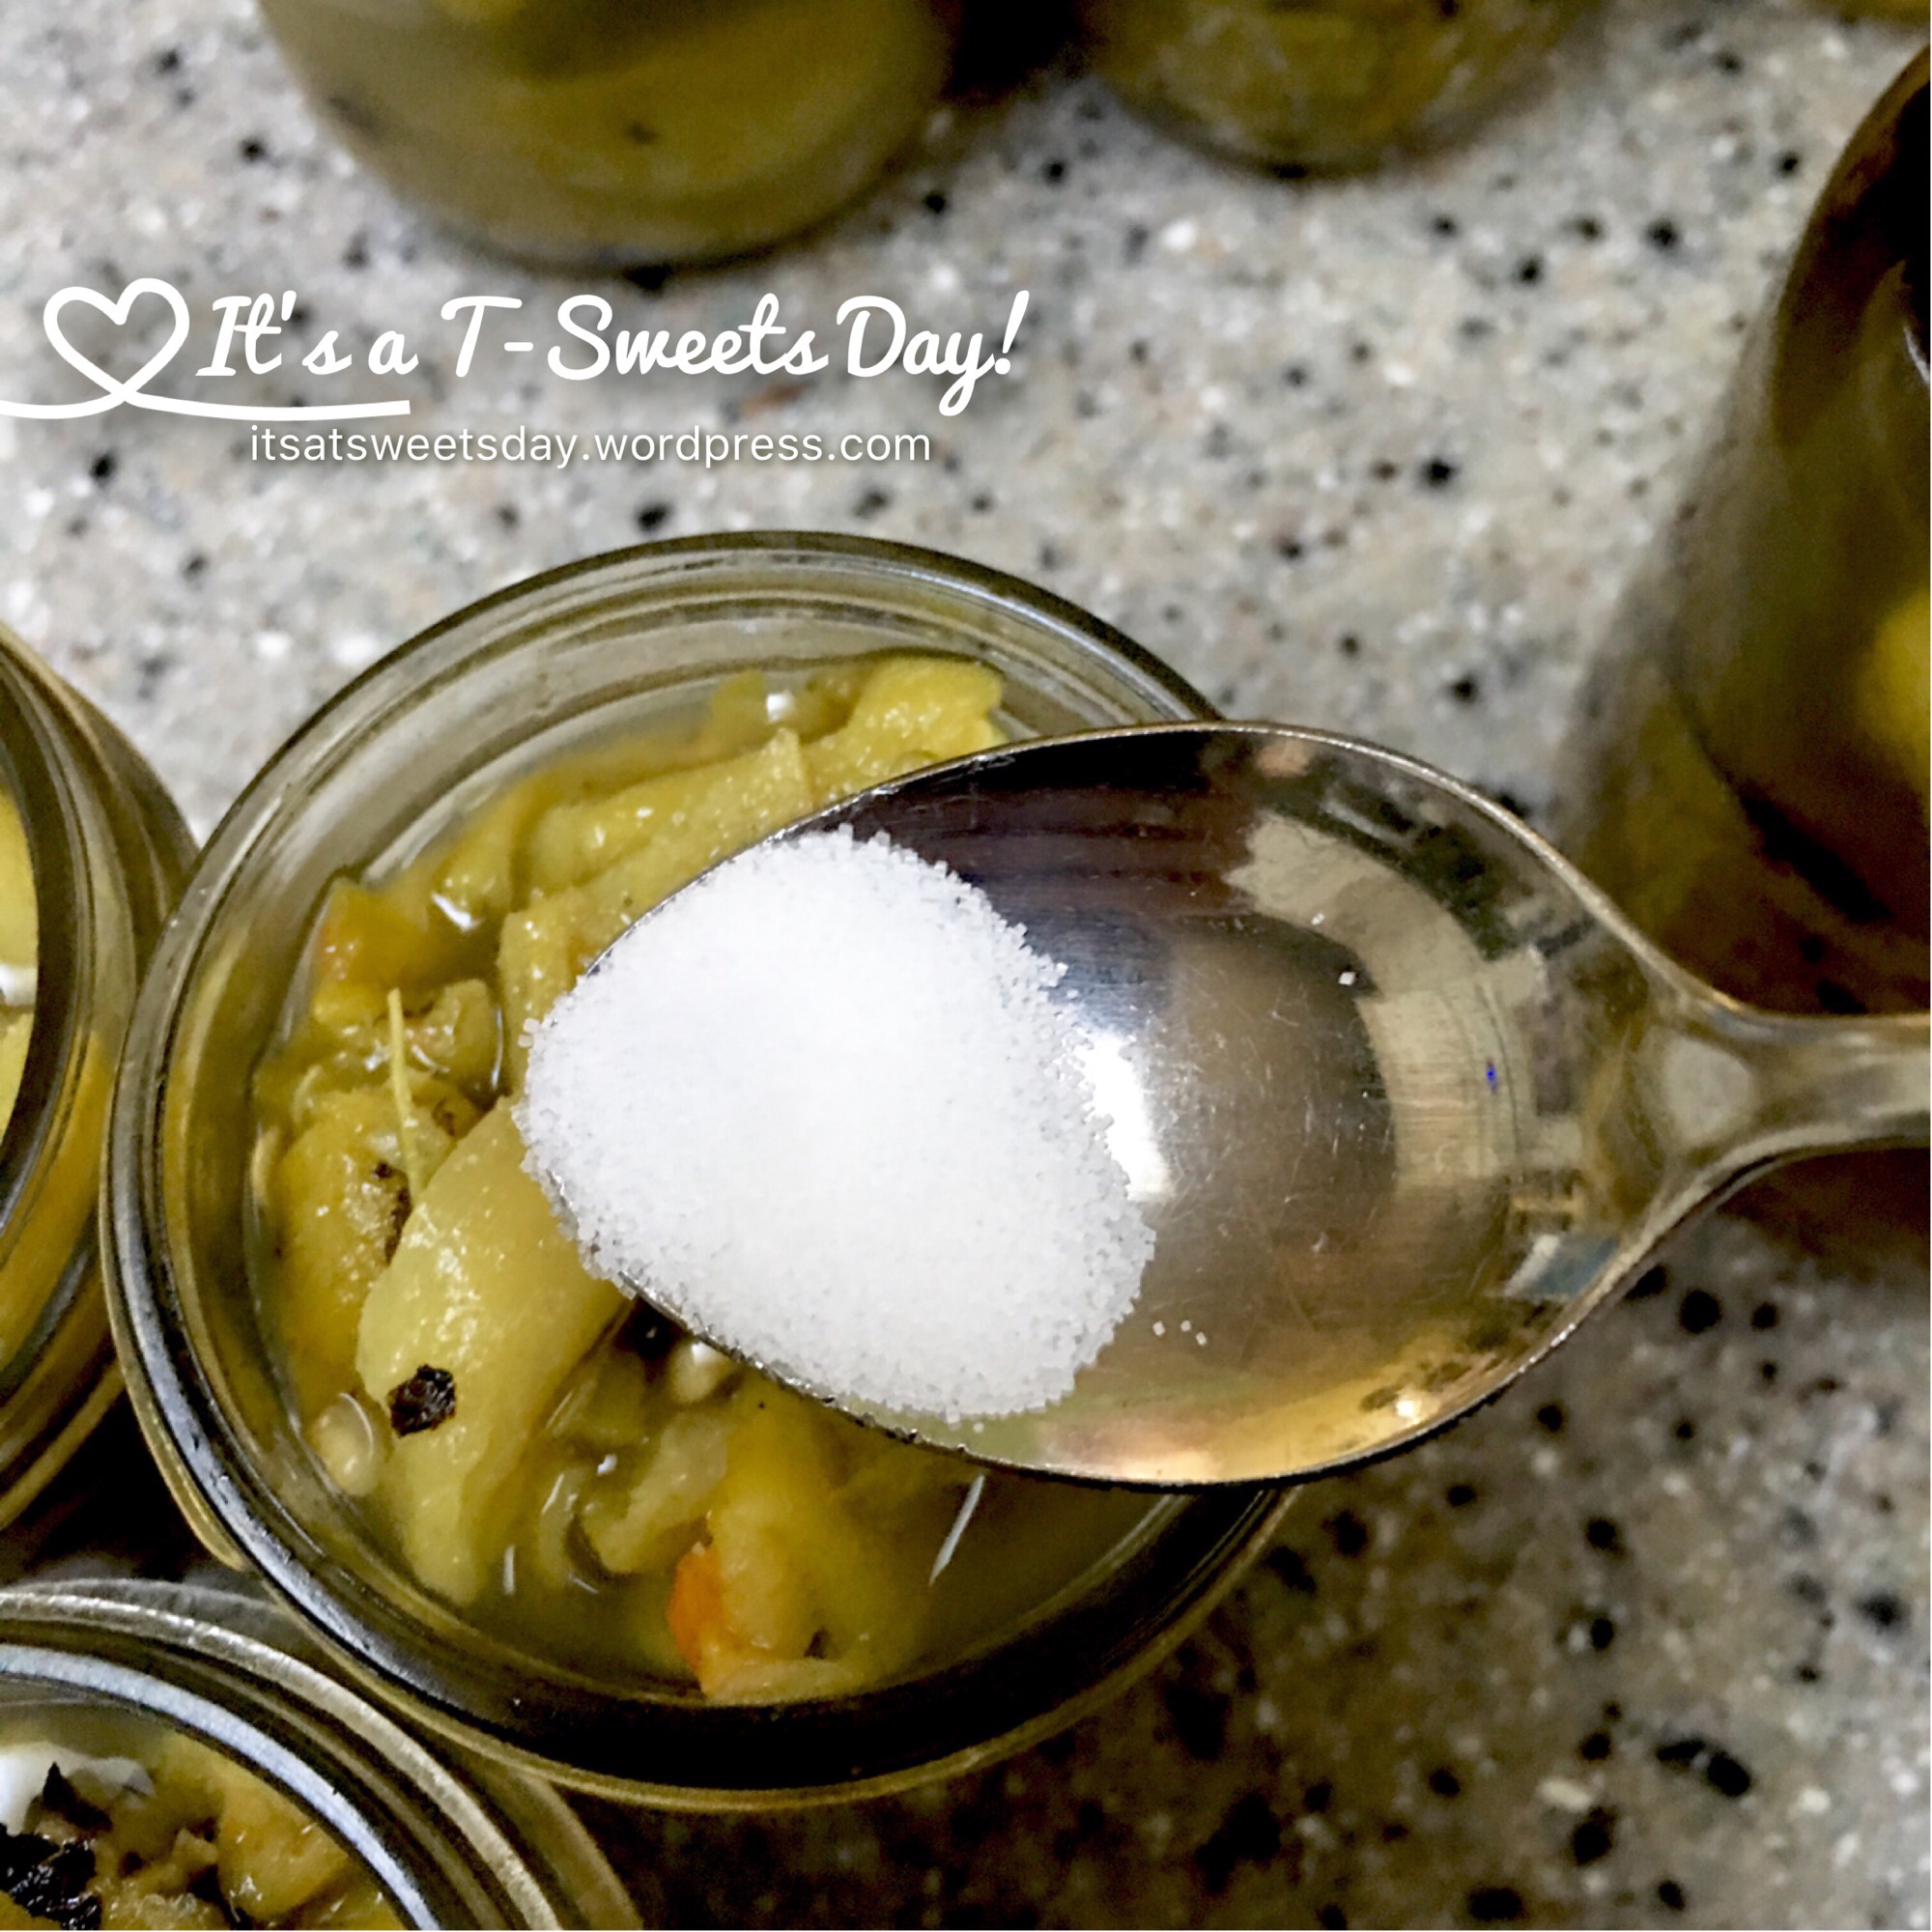
- I add 1tsp salt to the pints and 1/2tsp to the small 1/2 pint jars.
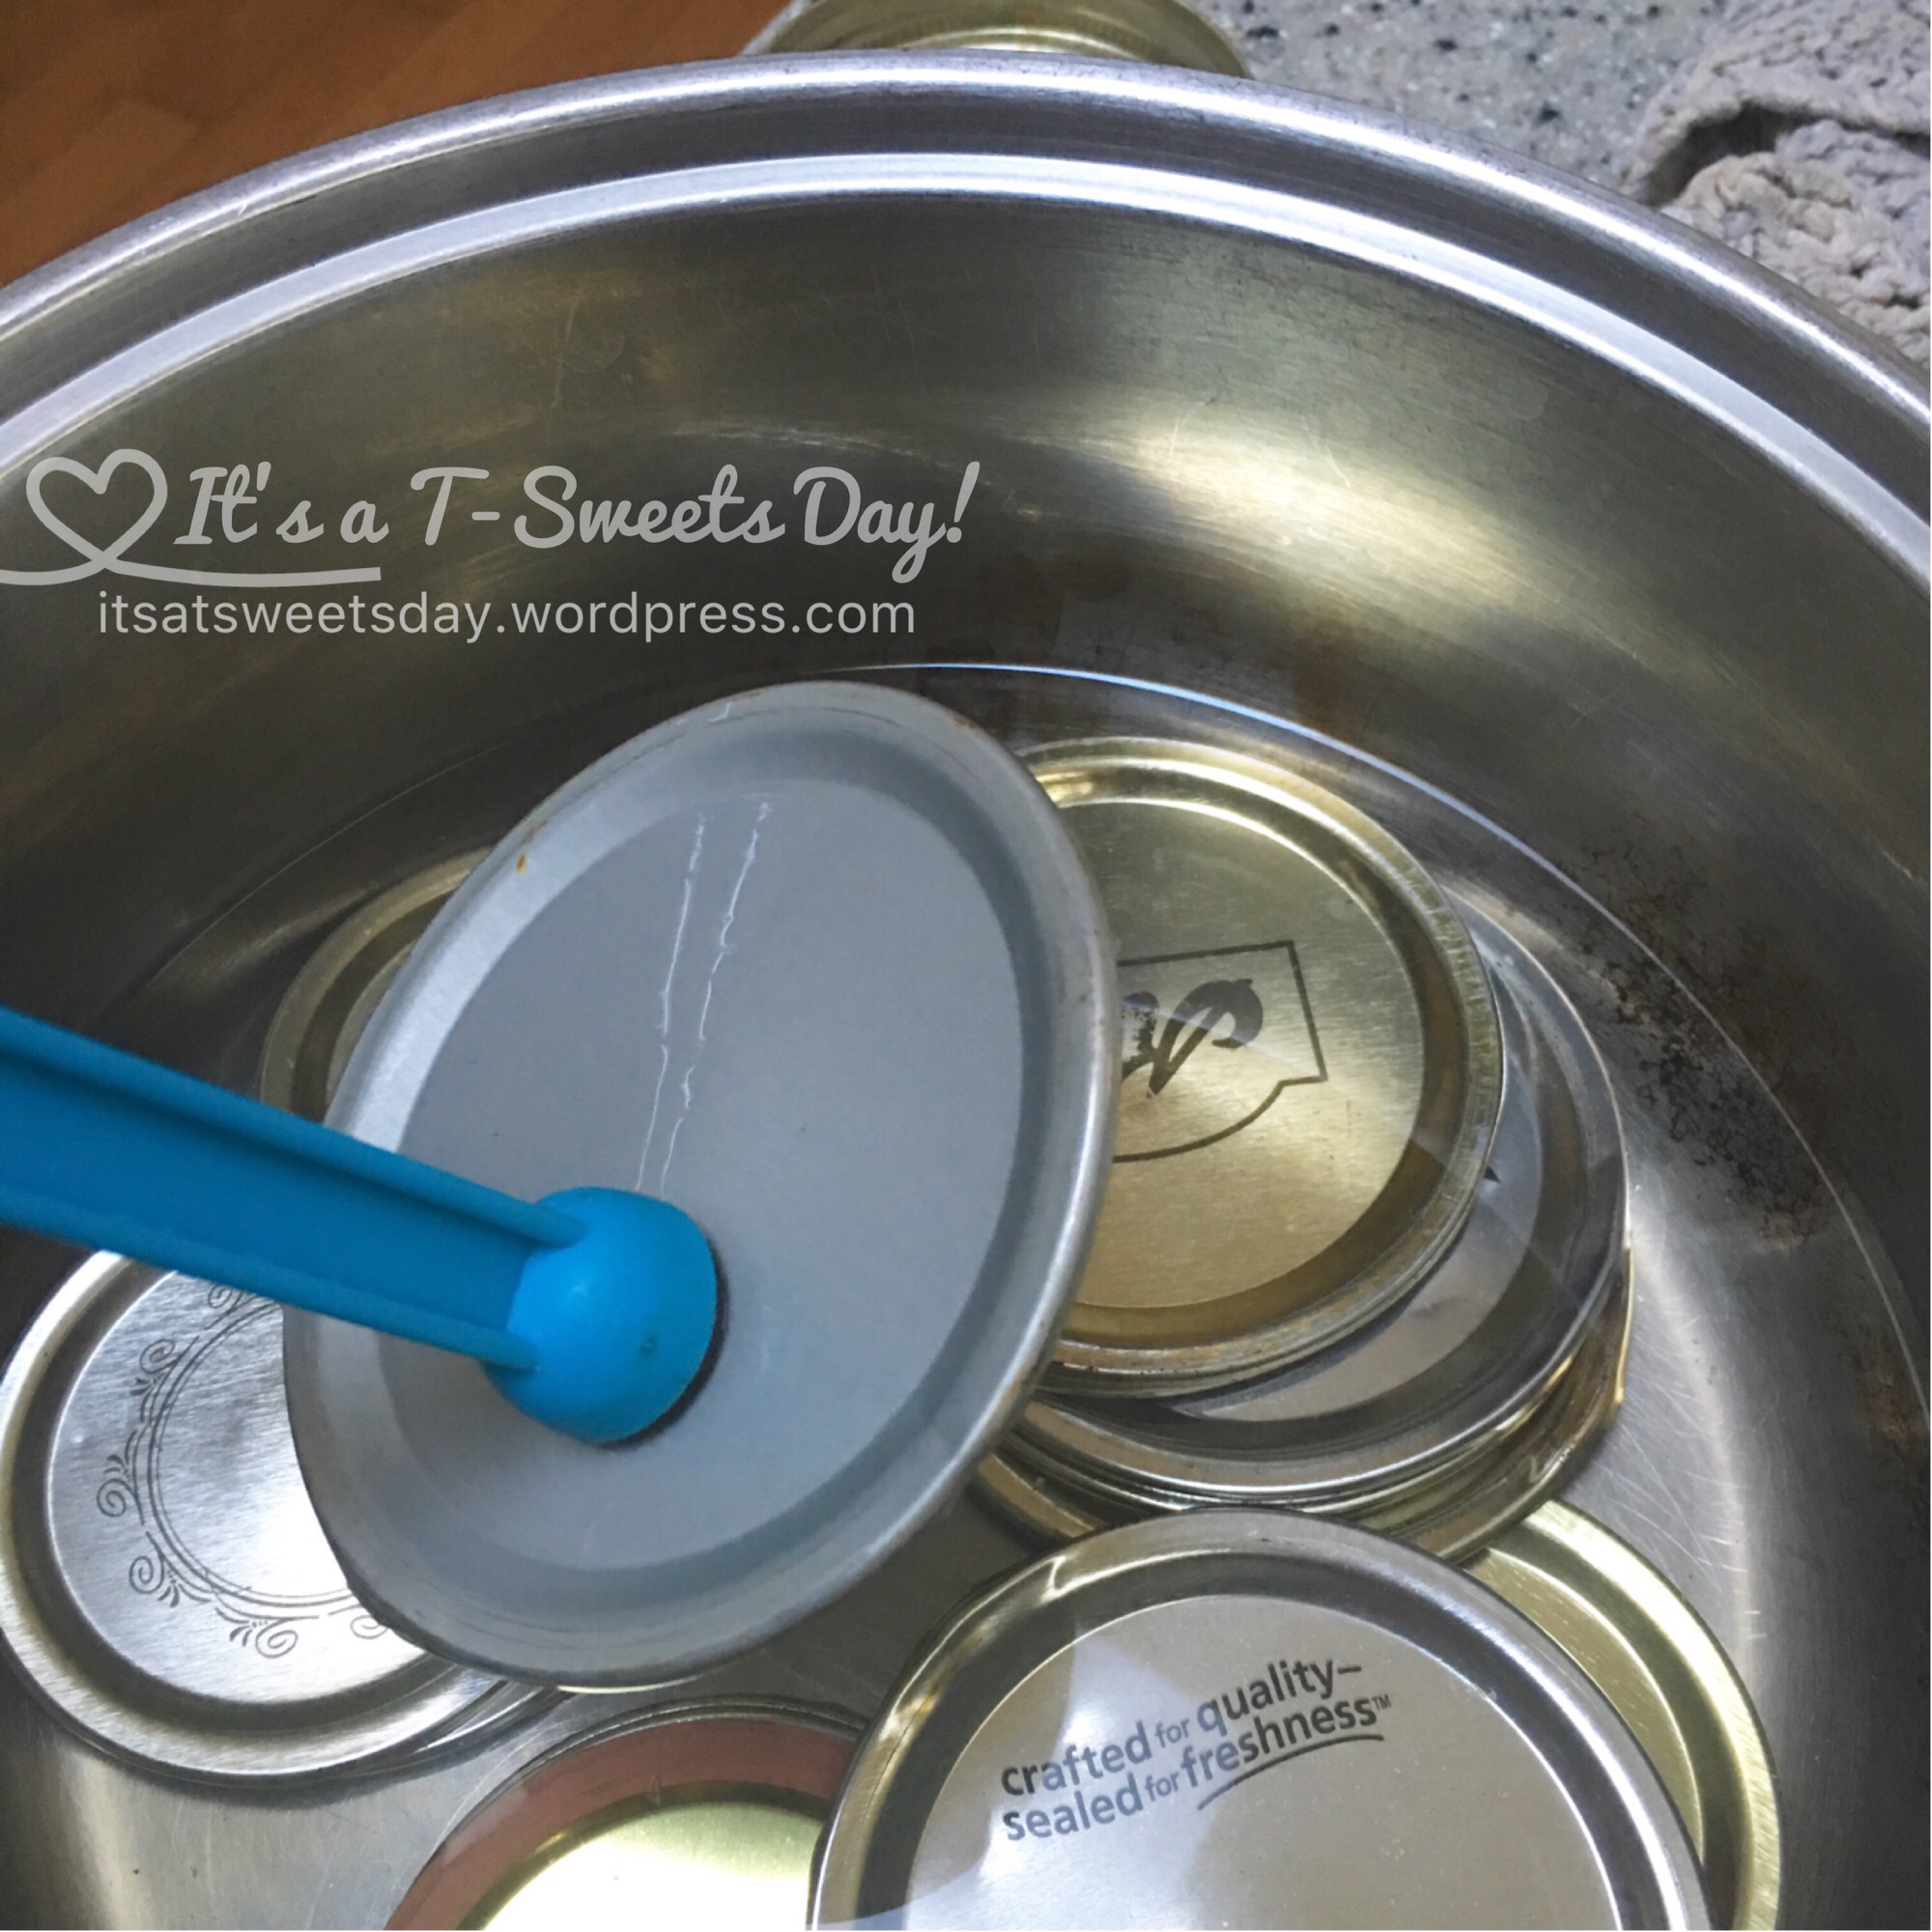
- I boil the lids for 5 minutes and place them on the jars and screw on the rings.
Now for the actual canning–
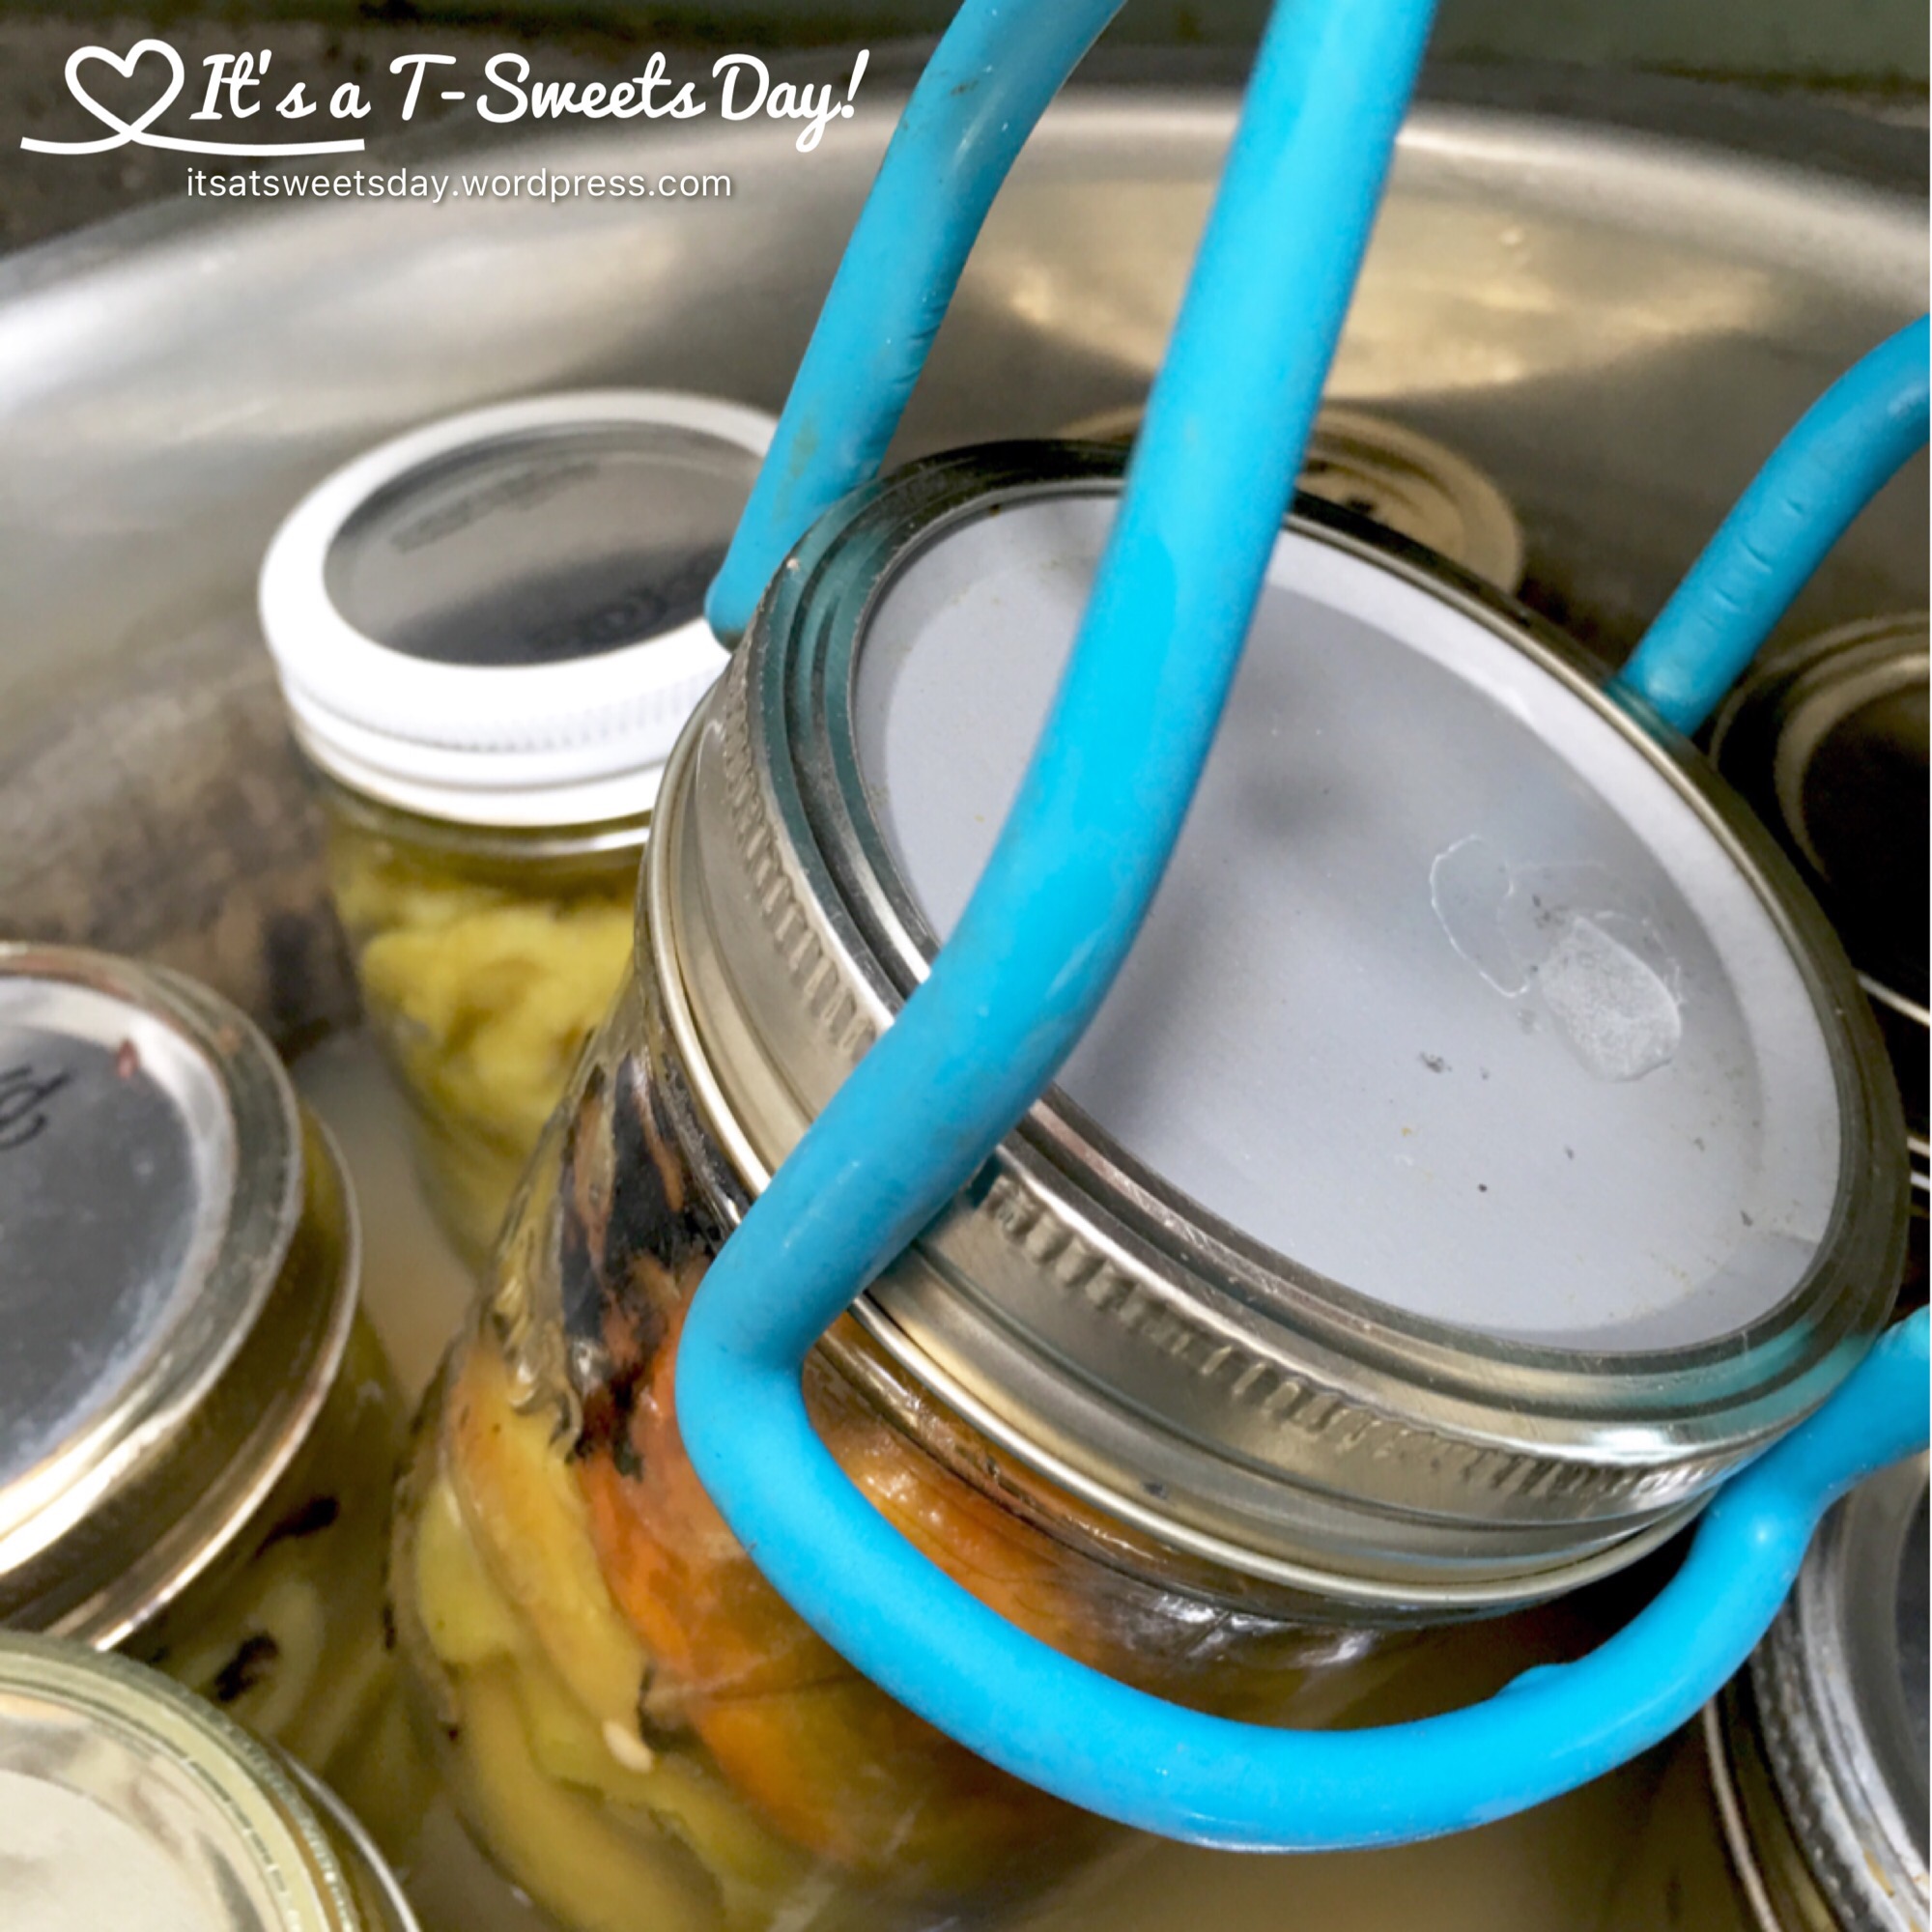
- I add a few inches of hot water to my pressure canner and place my jars in, cover and start to cook on high heat.

- I wait for the steam to come out of the top and then set my timer for ten minutes.
- I place my 15lb weight on and wait to hear a jiggling sound. And then lower the heat until it jiggles once or twice every minute or so.
- I stay nearby, but I can clean or write a post on my blog while my chiles pressure cook at 15lbs of pressure for 35min. Oh my house smells so good!!
- Turn off the heat and let the canner cool until the sealed canner pot lid turns on its own. This can take up to an hour or so. Sometimes I leave them here overnight and take them out in the morning, but today I want to do multiple batches, so I will wait.
- I always open my canner with care, facing the lid away from me so the steam will not burn my face or hands.
- I take the VERY HOT jars out of the canner and quickly place them under a towel.
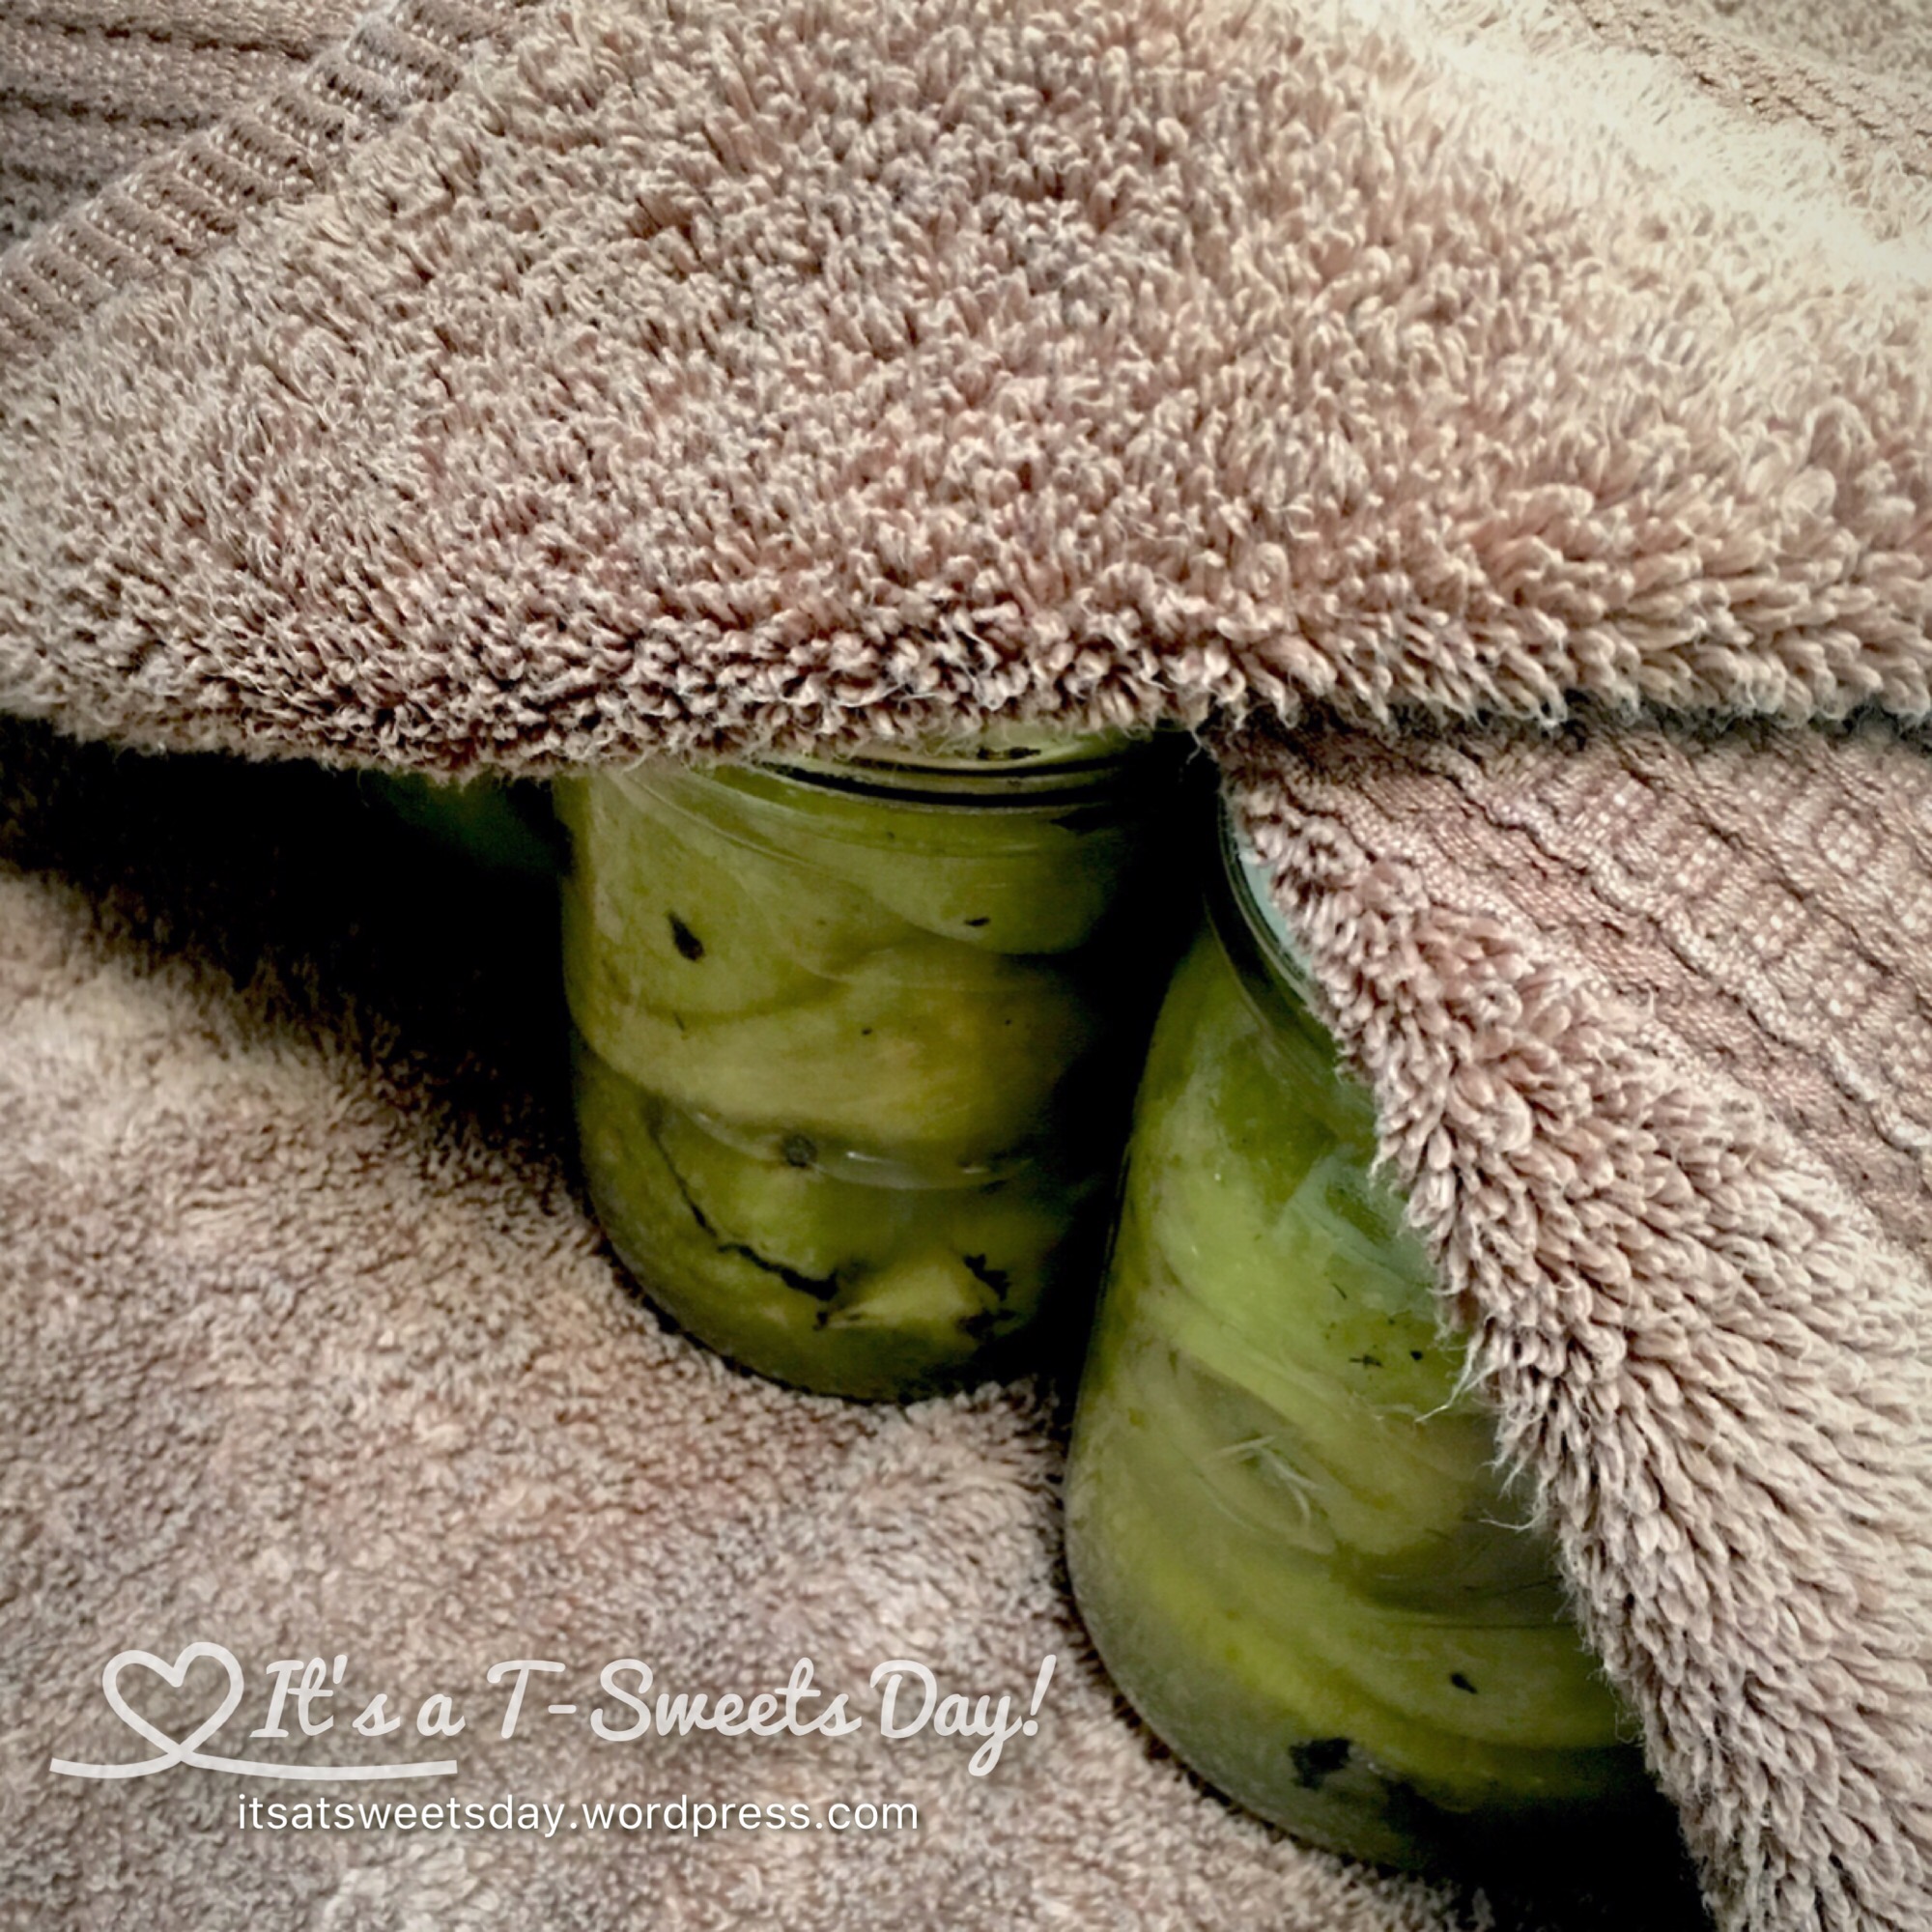
- Extreme temperature change can cause the jars to crack.
- I cover them and let them cool. I love to hear the popping sounds of the lid pulling in on itself and creating that perfect seal. Popping is a great sound sound–cracking is not.
- I know they are sealed when I push on the center and it doesn’t move at all. There is definitely no popping sound. The lid is tight and quiet:)

And now they are all done! It’s really not hard at all to preserve a bit of the summer with your canner. If one jar doesn’t seal, I don’t stress. I put it in the fridge and make tacos with it. No worries. It’s all SWEET, spicy goodness!
–Tracy:)
