

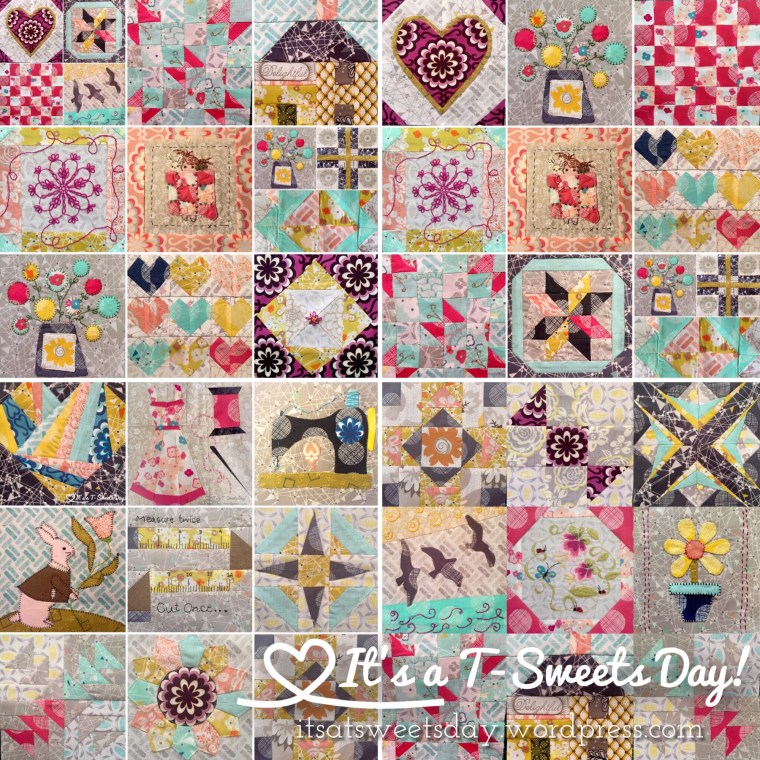
I have been playing catch up in the Splendid Sampler QAL, but I’m almost there. Yea! Just in time to fall behind again as I am going on vacation next week to Lake Powell lol:)
The 4 blocks I worked on were lessons in technique. I did two applique blocks and two paper piecing blocks. For the two applique blocks I tried two different techniques.
Applique Blocks–
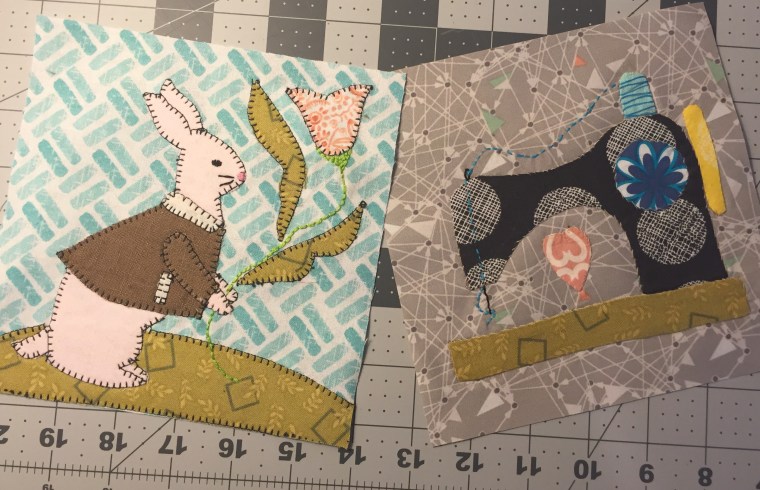
The first was the very easy, tried and true fusible web technique: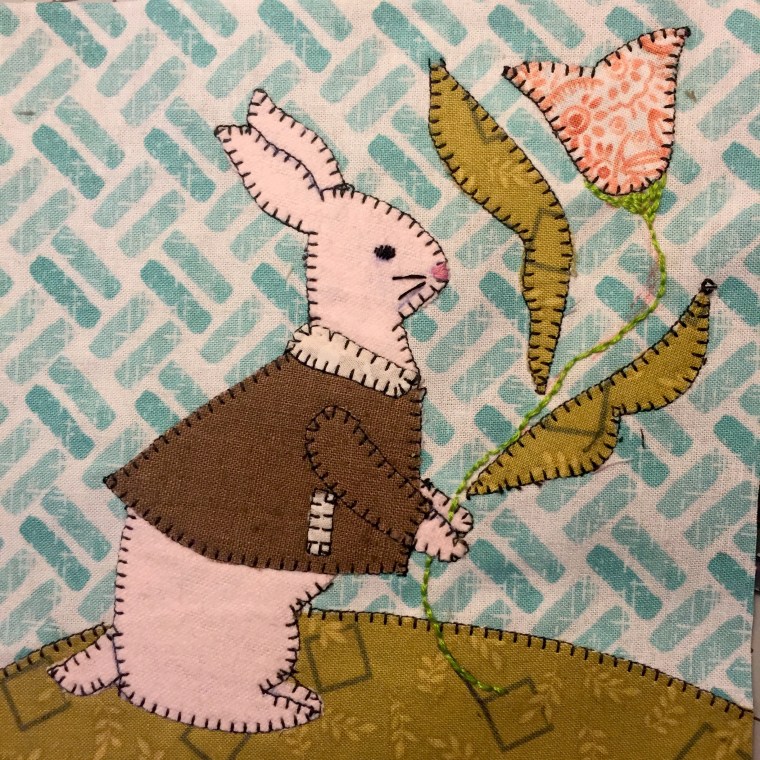
- I traced the pattern on the fusible web
- I ironed it on the wrong side of my fabric.
- I cut it out and peeled off the backing paper
- I ironed it to my background block
- I placed a paper towel behind it for stabilizer and machine botton hole stitched around it.
Easy easy, but it doesn’t look like that beautiful hand applique that grandma used to do. But it was fast and very clean looking.
On the next applique block I tried a new method that Nanette @quilting quandary was so generous to share with me. She does AMAZING, museum quality work. I am sad to say that have a long long way to go, but I gave it a try.
- Trace the pattern to the back side of the background block. – I found this to be difficult because fabric is not transparent . A bright window is what I used. I assume some people have a light box. Maybe some nice transfer paper would work as well. I think I might try tracing on a dryer sheet and pinning it to my block and then baste over that. The dryer sheet could even stay in the quilt.
- Hand baste a piece of fabric that is larger than the section you are sewing to the front of the fabric. Use the marking on the back as your guide. Trim around the basting. Isn’t it pretty? – I probably should have done one piece at a time, but I was so excited. All of the layered fabric made it a little tricky to get my needle in for the hand sewing.


- Time to needle turn applique. I removed a few stitches and started my hand sewing. I thought I remembered reading somewhere that my thread should match the background color. Nope, I think I would have liked it to match the applique piece better. Oh well, I’m learning:)
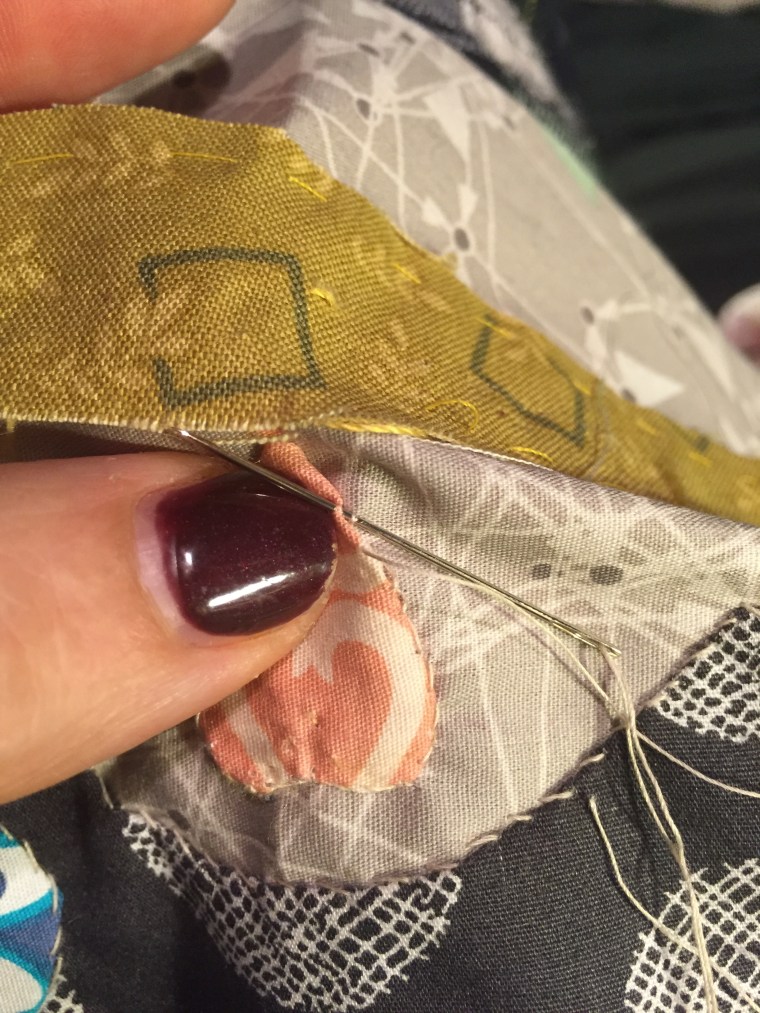
You can see the marks where I should have sewn. I should have clipped it so I could have reached the inside point I found this part easier than I thought it would be. The basting stitches left holes that were guides to show where I was going.
This technique was definitely slower than the fusible method, but it is the real deal and it ended up looking pretty good. I am probably going to redo the heart with a different fabric so it shows up better. I can definitely say I learned something with this block. I am no Nanette to be sure, but hey, we all start somewhere right?
Paper Piecing Blocks— The paper piecing blocks should have been a lot easier, but the dress block really tested my edges. The designer, Charise from Charise Creates, had us cut the pattern apart and then sew the fabric to the paper without the seam allowances. I don’t know why, but this seemed to really make it tricky to get the fabric the right size I have definitely learned to be more than generous with my fabric when paper piecing.
I am very pleased with how it turned out though. I added a pretty little sash with a blue embroidered flower and French knot buttons in the bodice. Wouldn’t it be fun to have a dress like this to wear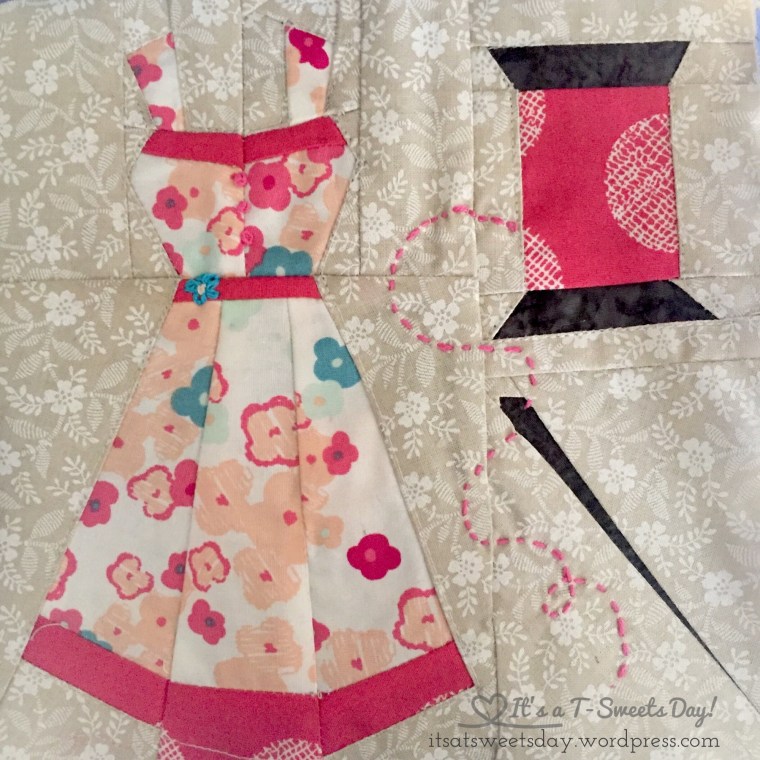
The Scrappy Happy Heart block was a breeze after this dress block. I really do like paper piecing. The points come out so sharp and crisp.
I know my colors look a little odd, but I think they are going to all work together in the end.
Have a super SWEET day!!
–Tracy:)
