
Good Afternoon! It is my #1 son’s birthday today:). Happy Birthday!! A few months ago, as I was cleaning out his room making space for my quilting machine, I came across his old counselor shirts from working at our church’s youth camp. He had quite a bright collection of them.:)

I knew immediately that these could not be thrown out or given away. It was T-shirt Quilt time to be sure:)!

I fussy cut around the embroidery by placing a small cutting mat inside of the shirt and rotary cutting around it. I used my Quilt in a Day 4.5″ fussy cut ruler. A fussy cut ruler makes the cutting easy!
I cut the logo, saved the buttons, cut the inside logo, and cut the shirt. The shirt I cut into strips to use as the logs for the square.
Now, the problem with T-shirt quilts is that the fabric is very stretchy so it needs to be stabilized. This part takes time and a lot of iron on interfacing. If you decide to make a t-shirt quilt, please please don’t forget this step. You will be sorry if you do. You will have a wonky quilt in the end.
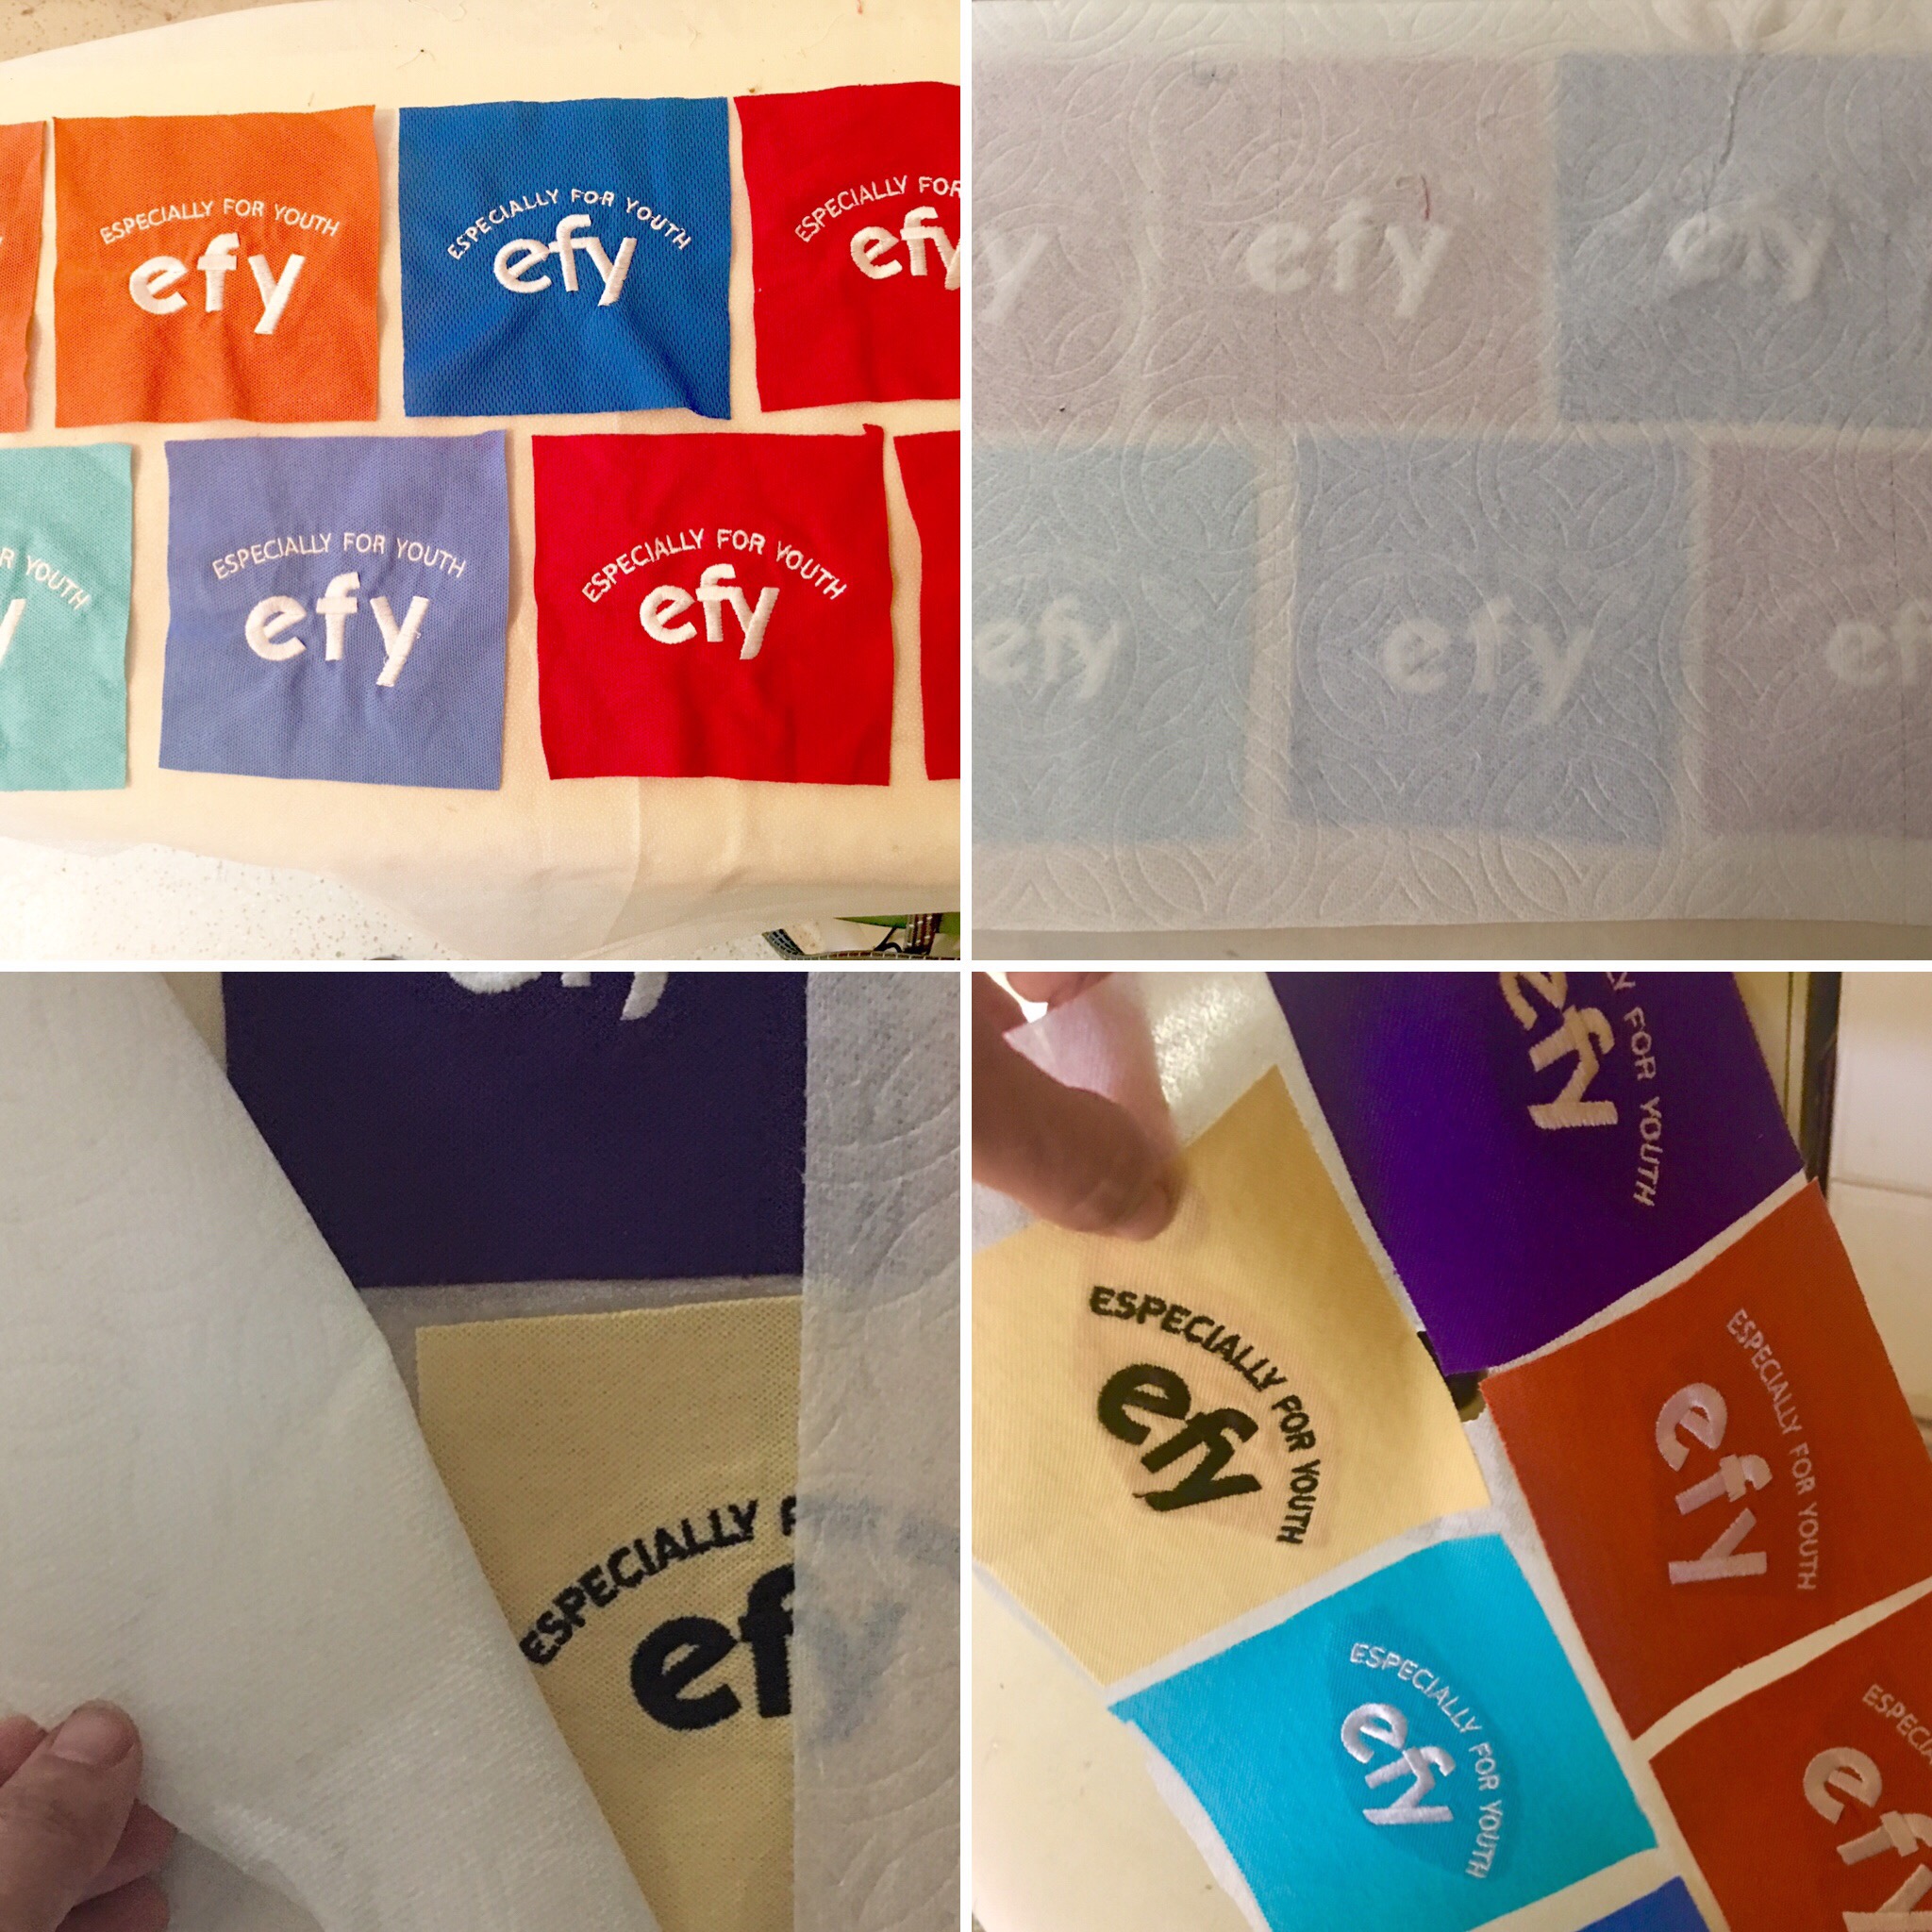
- I find it easy to lay my interfacing with the sticky side up on my ironing board and then lay my pieces right side up on top of it.
- Place a paper towel over all of the piece and iron away.
- Peel the paper towel off
- Magic! All of my pieces are stabilized!
To make things even stronger, I cut some old, scratchy fabric that I save just for backing stabilizer into 14.5″ squares. I wish I would have cut them into 16″ squares because no mater how straight and centered I get the center square, in the end they seem to be a bit off and hang off the end. So next time I will remember to cut my square bigger and trim down in the end.
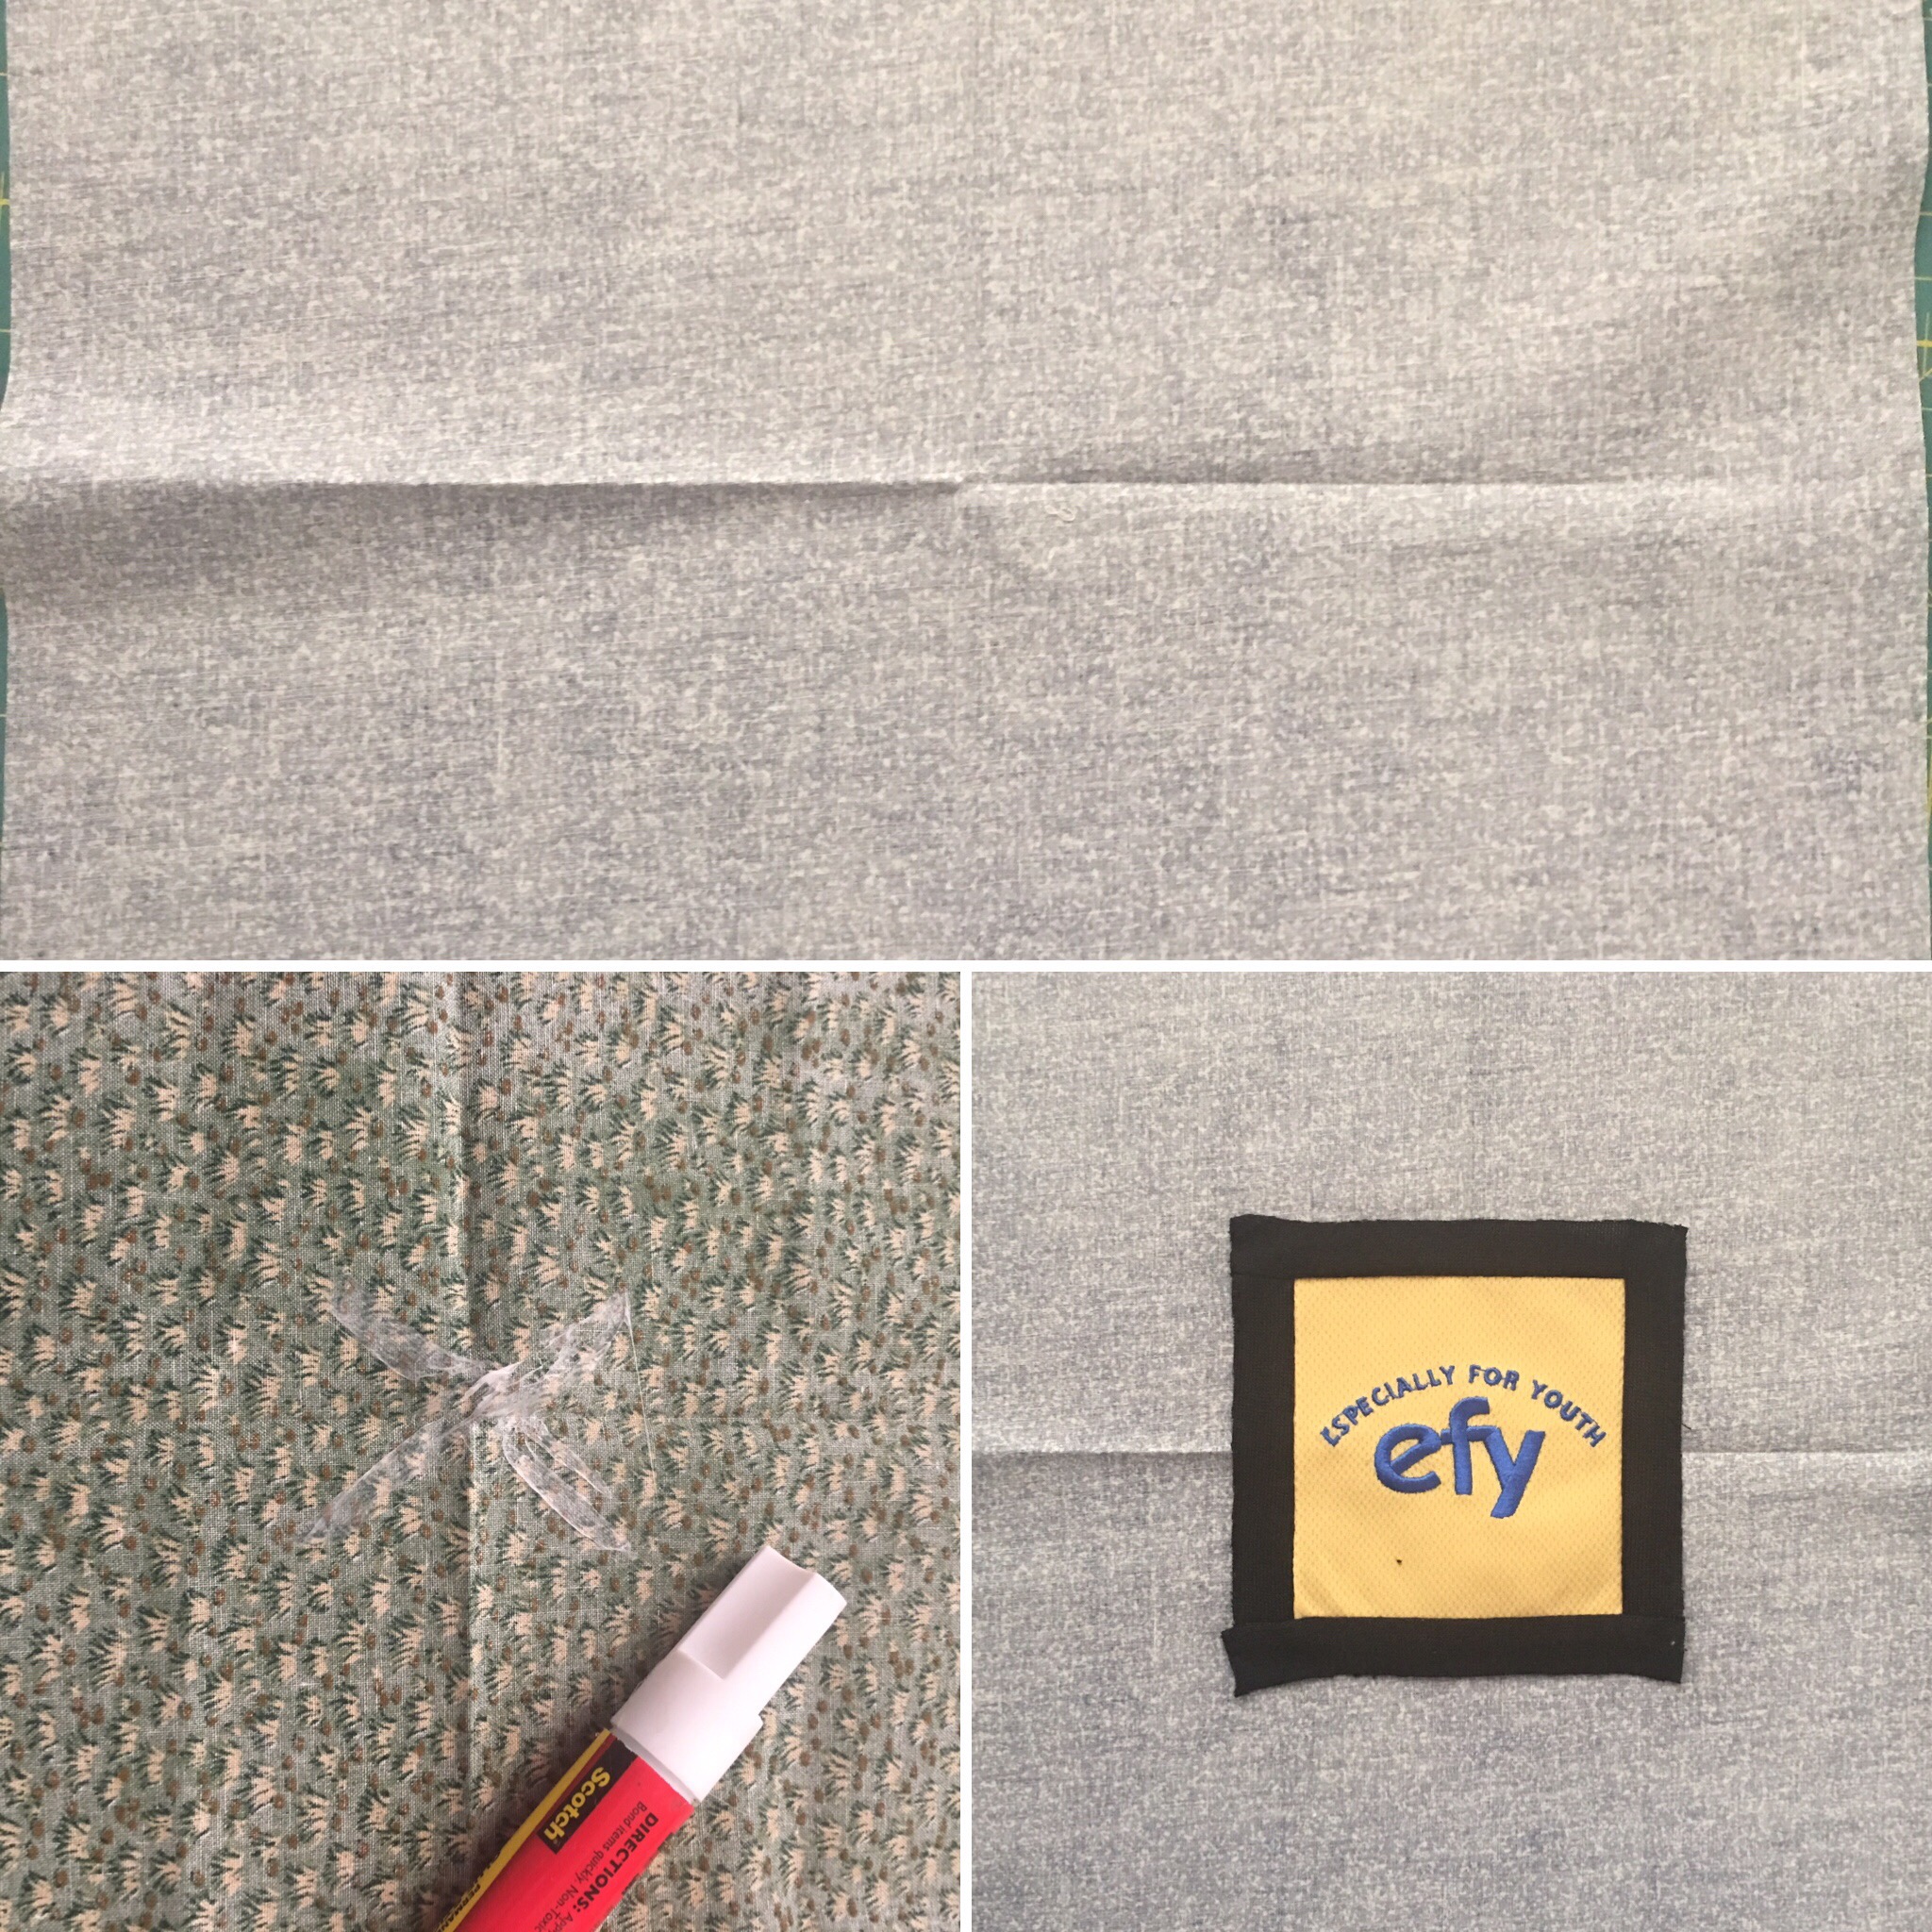
- I pressed the center mark of my fabric,
- Put some glue in the center
- Placed the center square on top.
As you can see in the photo, I went around the embroidery square with a 1″ black strip to add an accent to it. I used a knit here, but wish I would have used a quilting cotton. Live and learn, right?
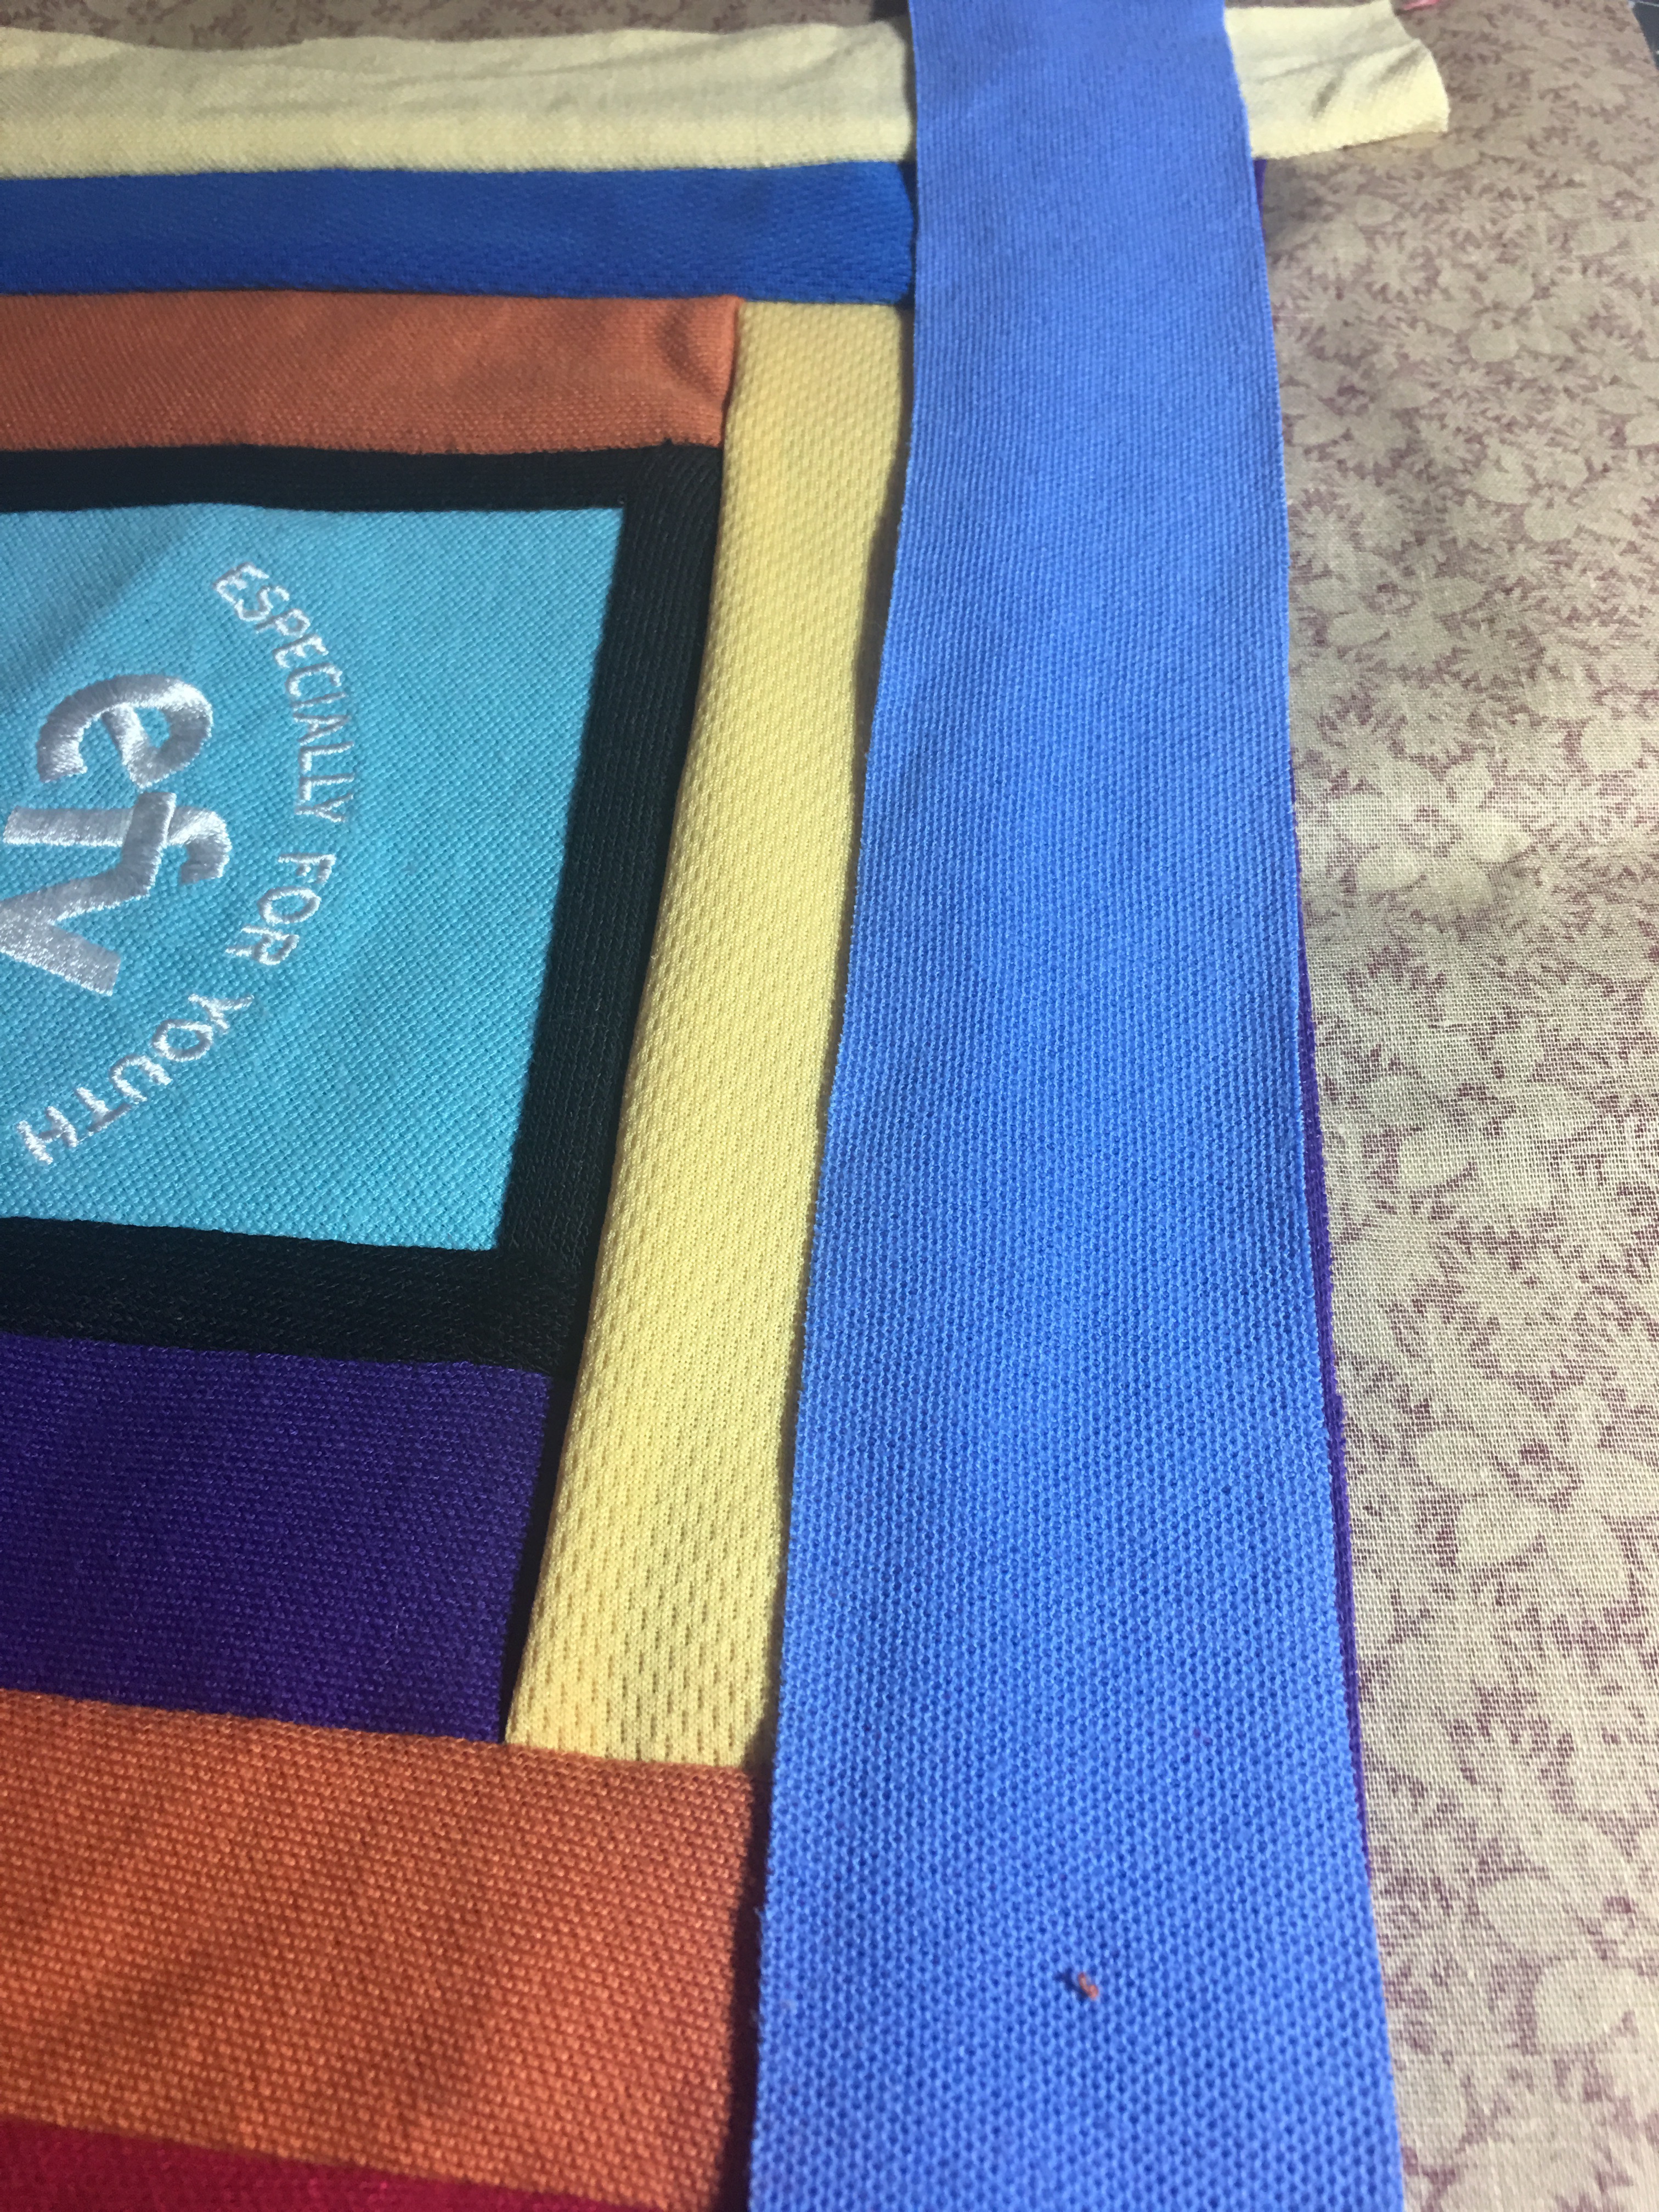
I stitched and flipped my log strips around my center square. Every now and then I added another 1″ black round to give an added dimension and a bit of wonkiness to this fun, active quilt. I moved this round to different places on the different squares.
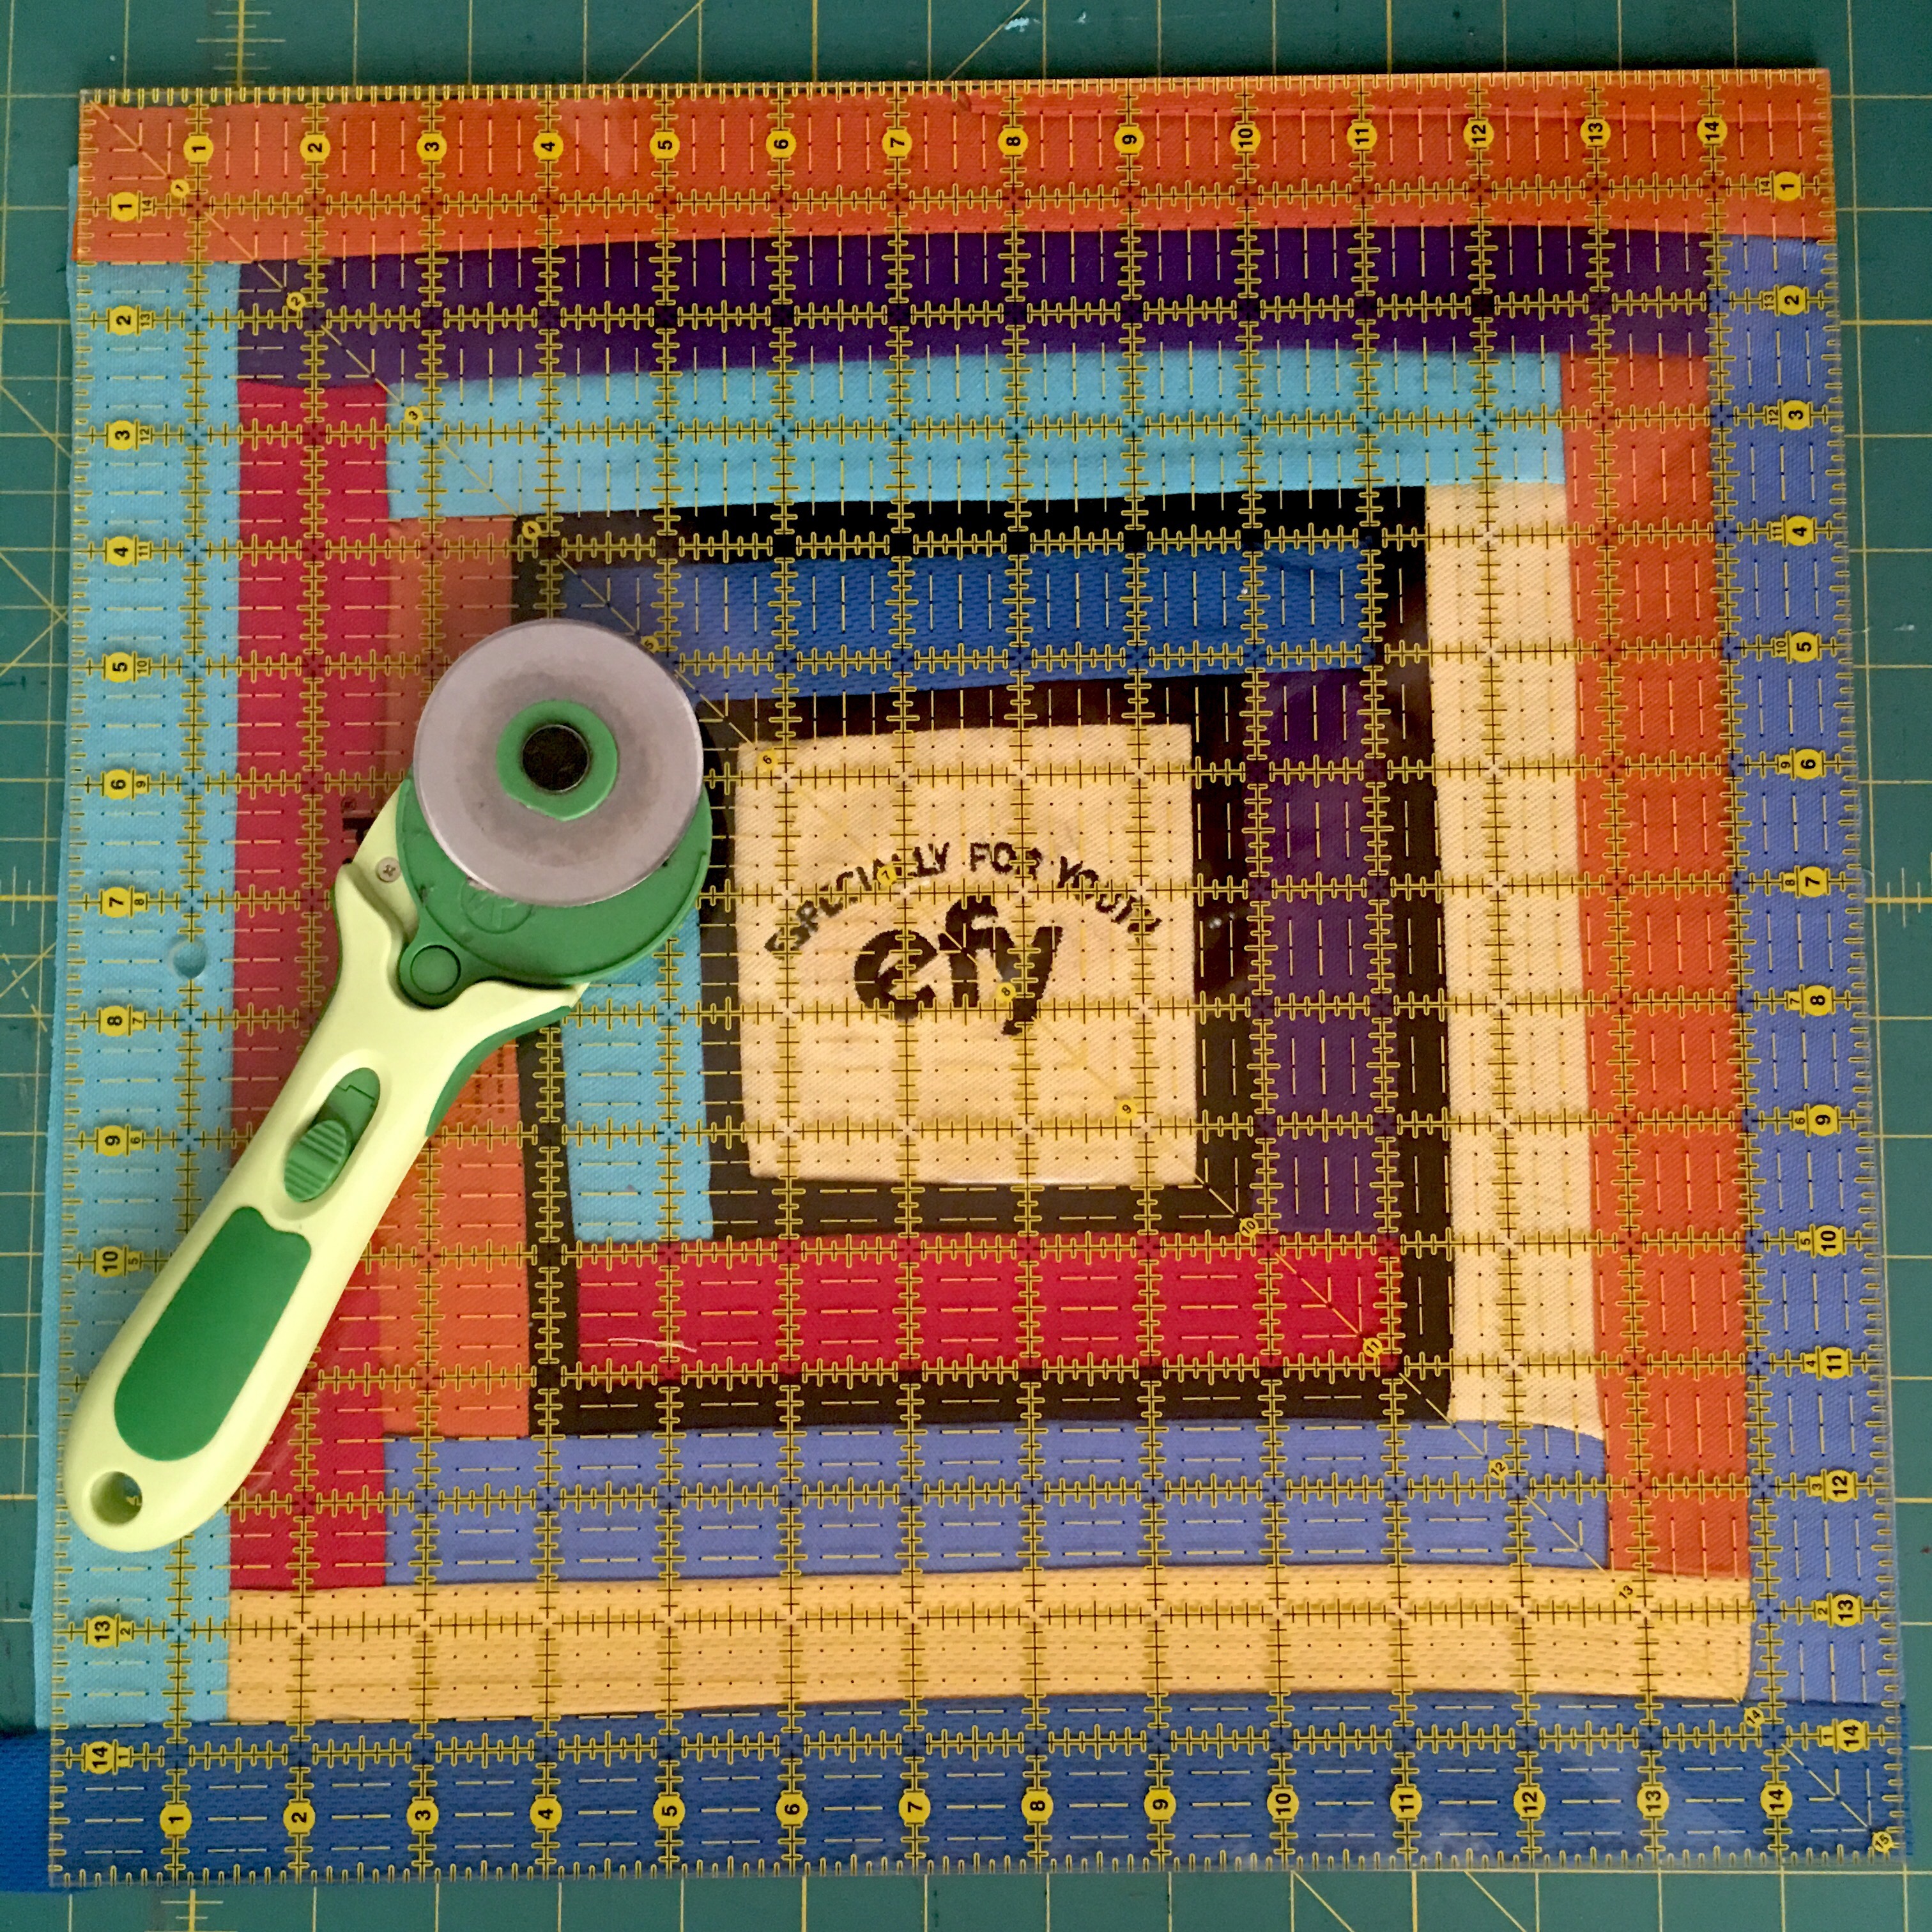
I always love the squaring up part of a stitch and flip stabilized block. Pretty!!
I sashed the blocks with black and a colored corner stone. 
I love all of the bright colors! I even stitched the buttons on!

He had 12 shirts, so there are twelve sets of buttons. Yep, it must be love because I had sewed 36 buttons on a quilt in the Arizona summer!

It was worth it though. I really like how they look, how they add another dimension to the quilt, and how I used every part of the shirts.. These are some really cute buttons!

I used the inside logo as an accent on the back. How cute is that?!

I really like how this quilt turned out. And while my son does not NEED another quilt, I know he is going to love it:)❤️.

Thank you so much for stopping by and sharing in my creative journeys. I hope you have a SWEET rest of your day:)!

