

Half square triangles are the staple of quilting. It is a technique that is a must learn for anyone who wants to quilt. There are so many ways to get a beautiful square, and I have tried A BUNCH of them! In fact, I use a bunch of them.
There are special rulers and special papers that are designed just for half square triangles. Making a bunch of triangles all the same color uses a different technique than making scrappy, all different squares.
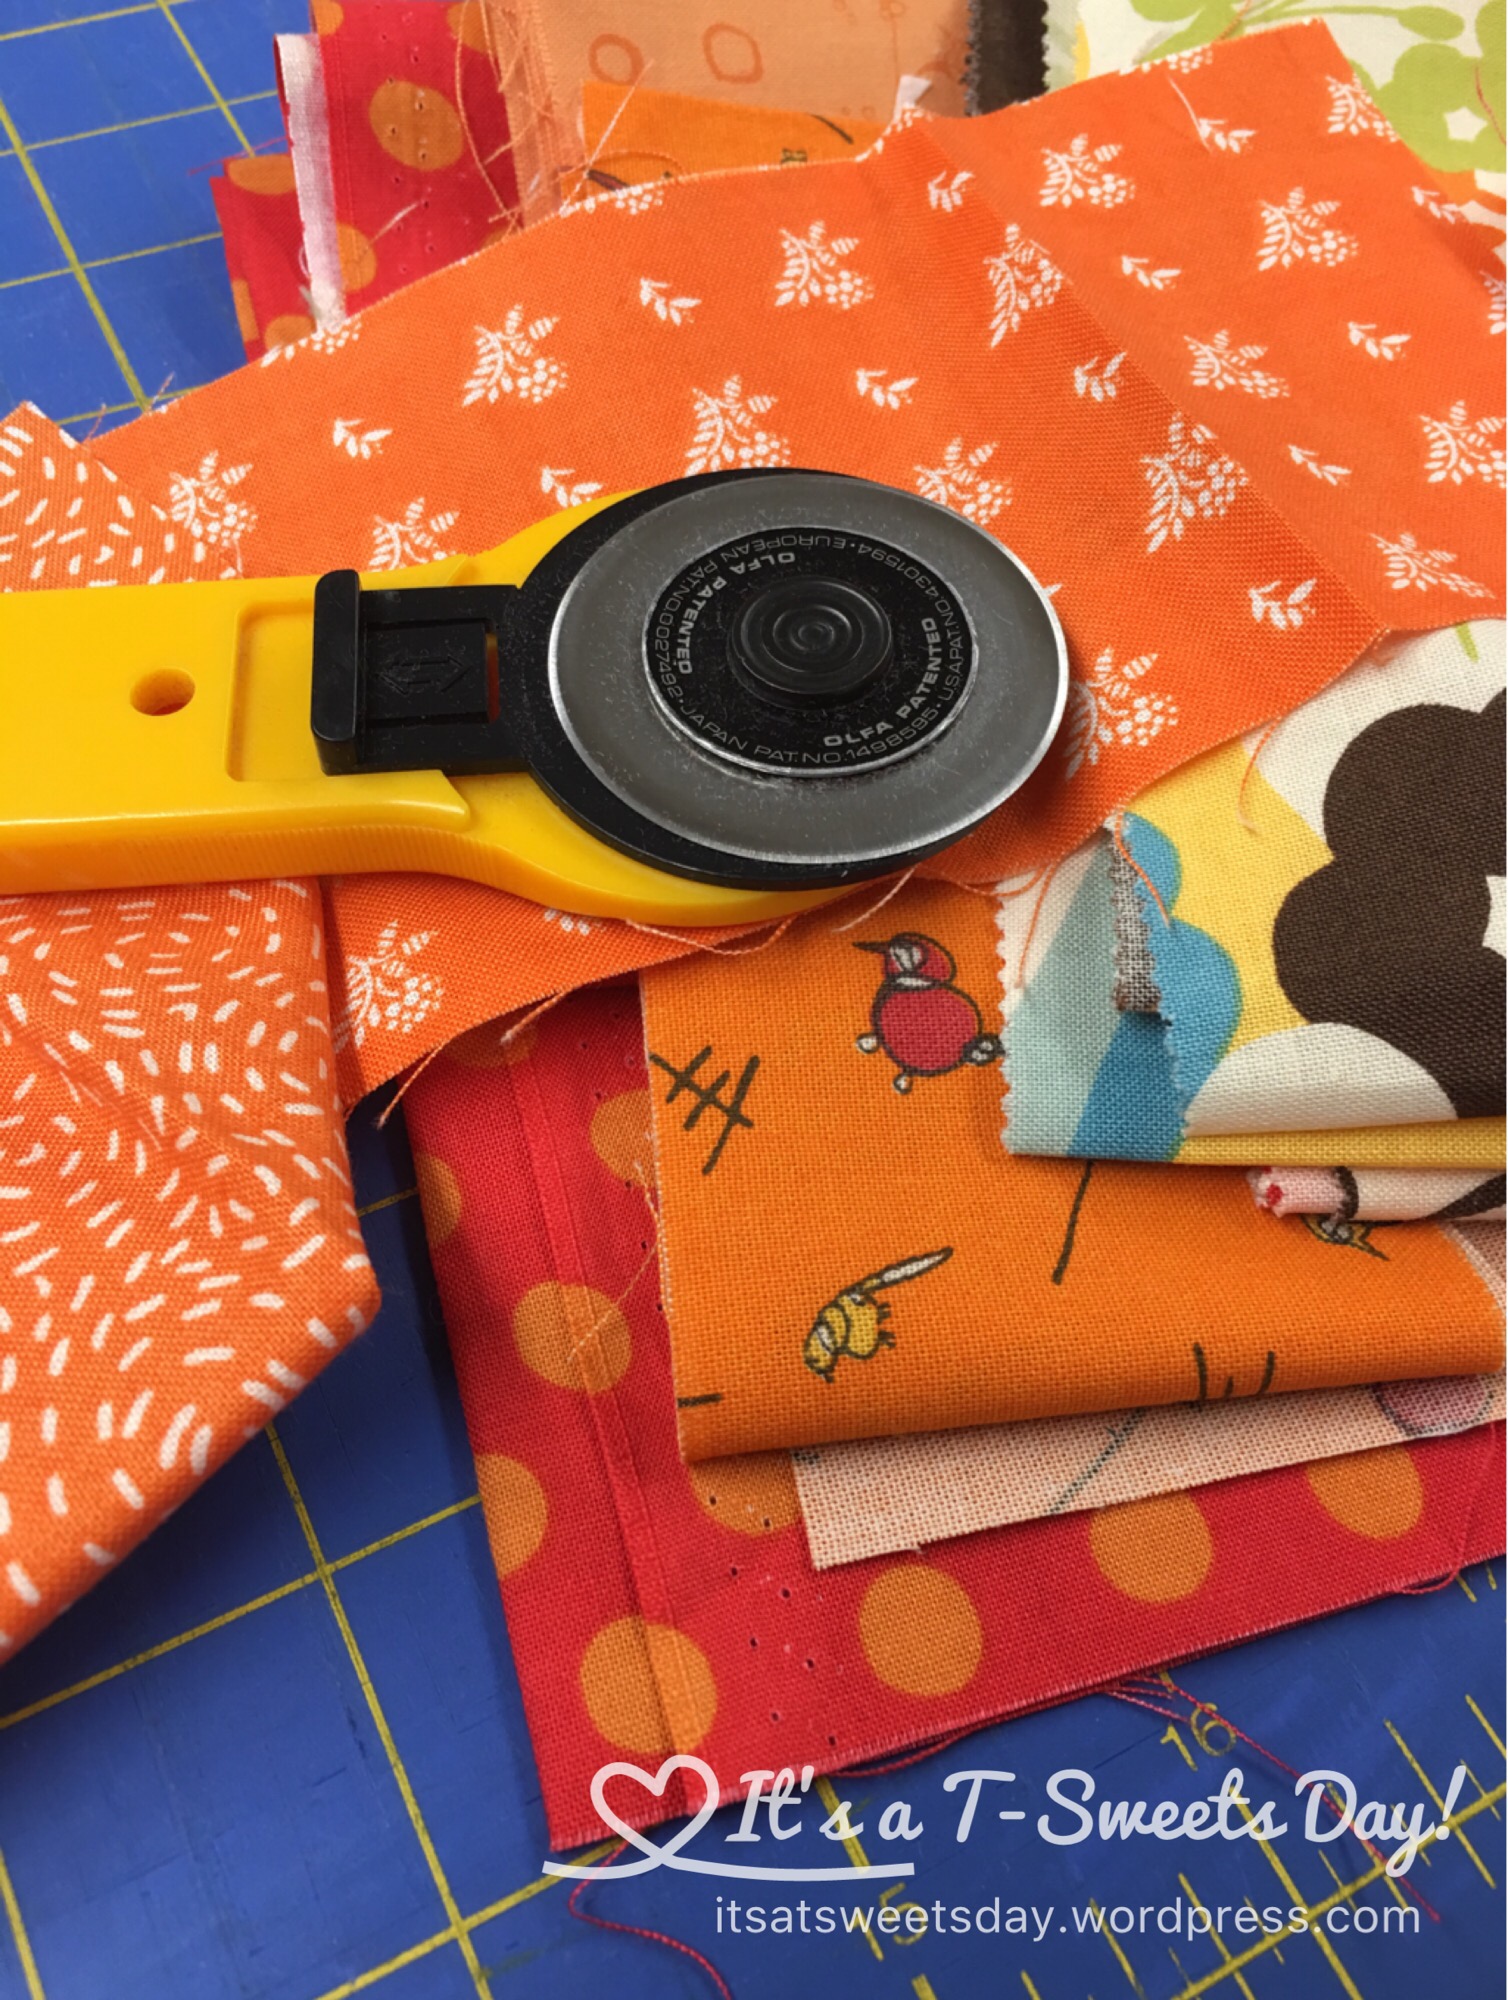
Today I needed the scrappy kind for chapter 7 of my Dear Daughter quilt. I gathered my fabrics and cut them into 2.5″ squares. I needed a matching light for every dark square.

Some patterns tell you to put them together in pairs of light and dark and then mark on the back from corner to corner and sew 1/4″ on each side of the line. While that way does work, I like to skip that part. Its just an added step that I find tedious.
There is a great product called Tiger Tape that can attach to your machine and gives a nice 1/4″ guide on both sides of the needle.


But you don’t have to have special tape to get the same result. Here is the easy, thrifty way. Did you know that painters tape is a quilters must have quilting tool?
- Take your ruler and measure 1/4″ to the LEFT of the needle and place your tape edge there.
- Put your square in sets of two with a light and a dark, right sides facing together.
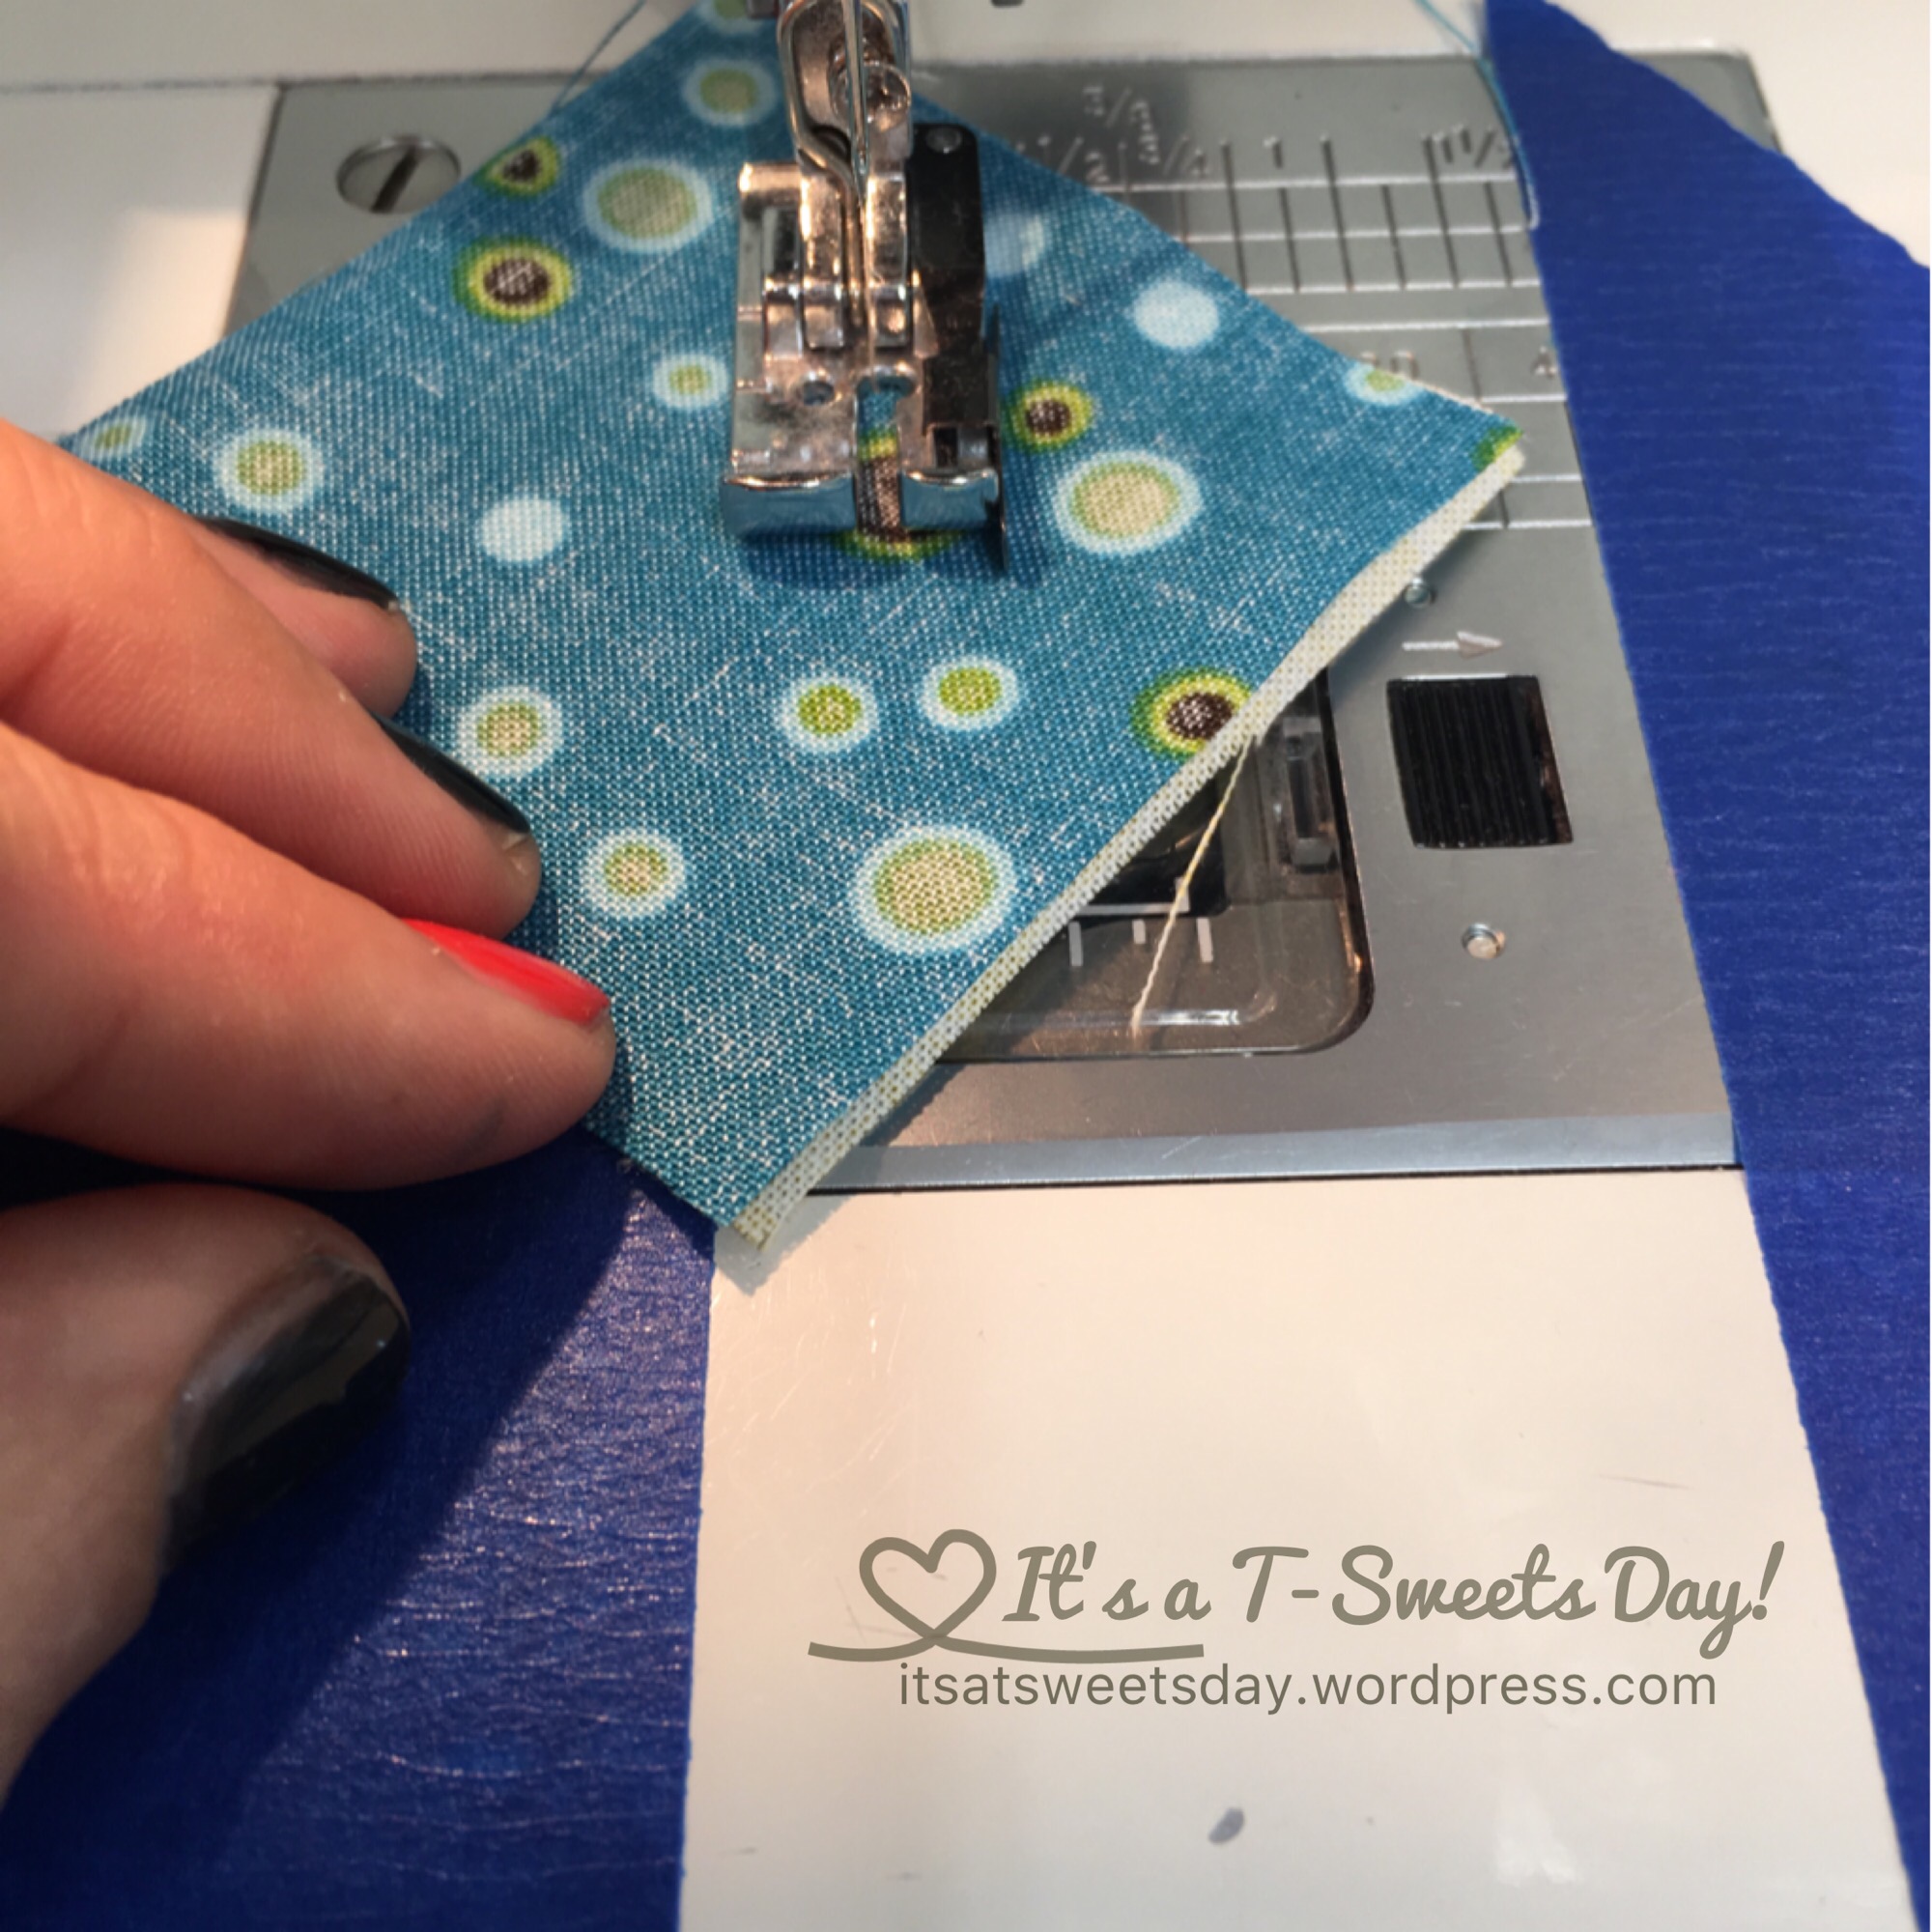
- Put your layered square on point next to the tape you just put down and place another line of tape on your machine as the right side guide.
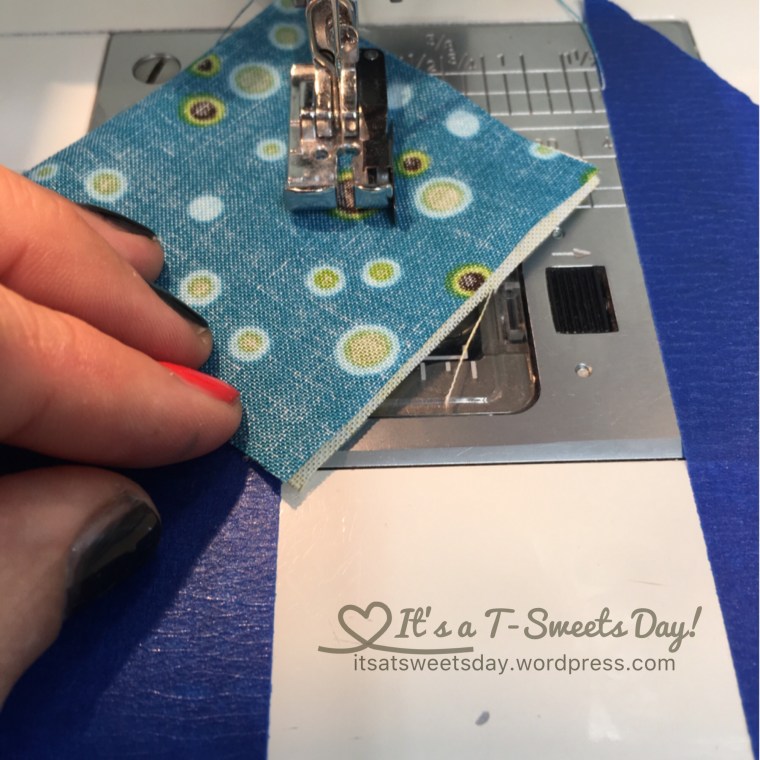
- Begin sewing using the left tape as a guide for the corner tips. You can chain away here sewing one right after another:)

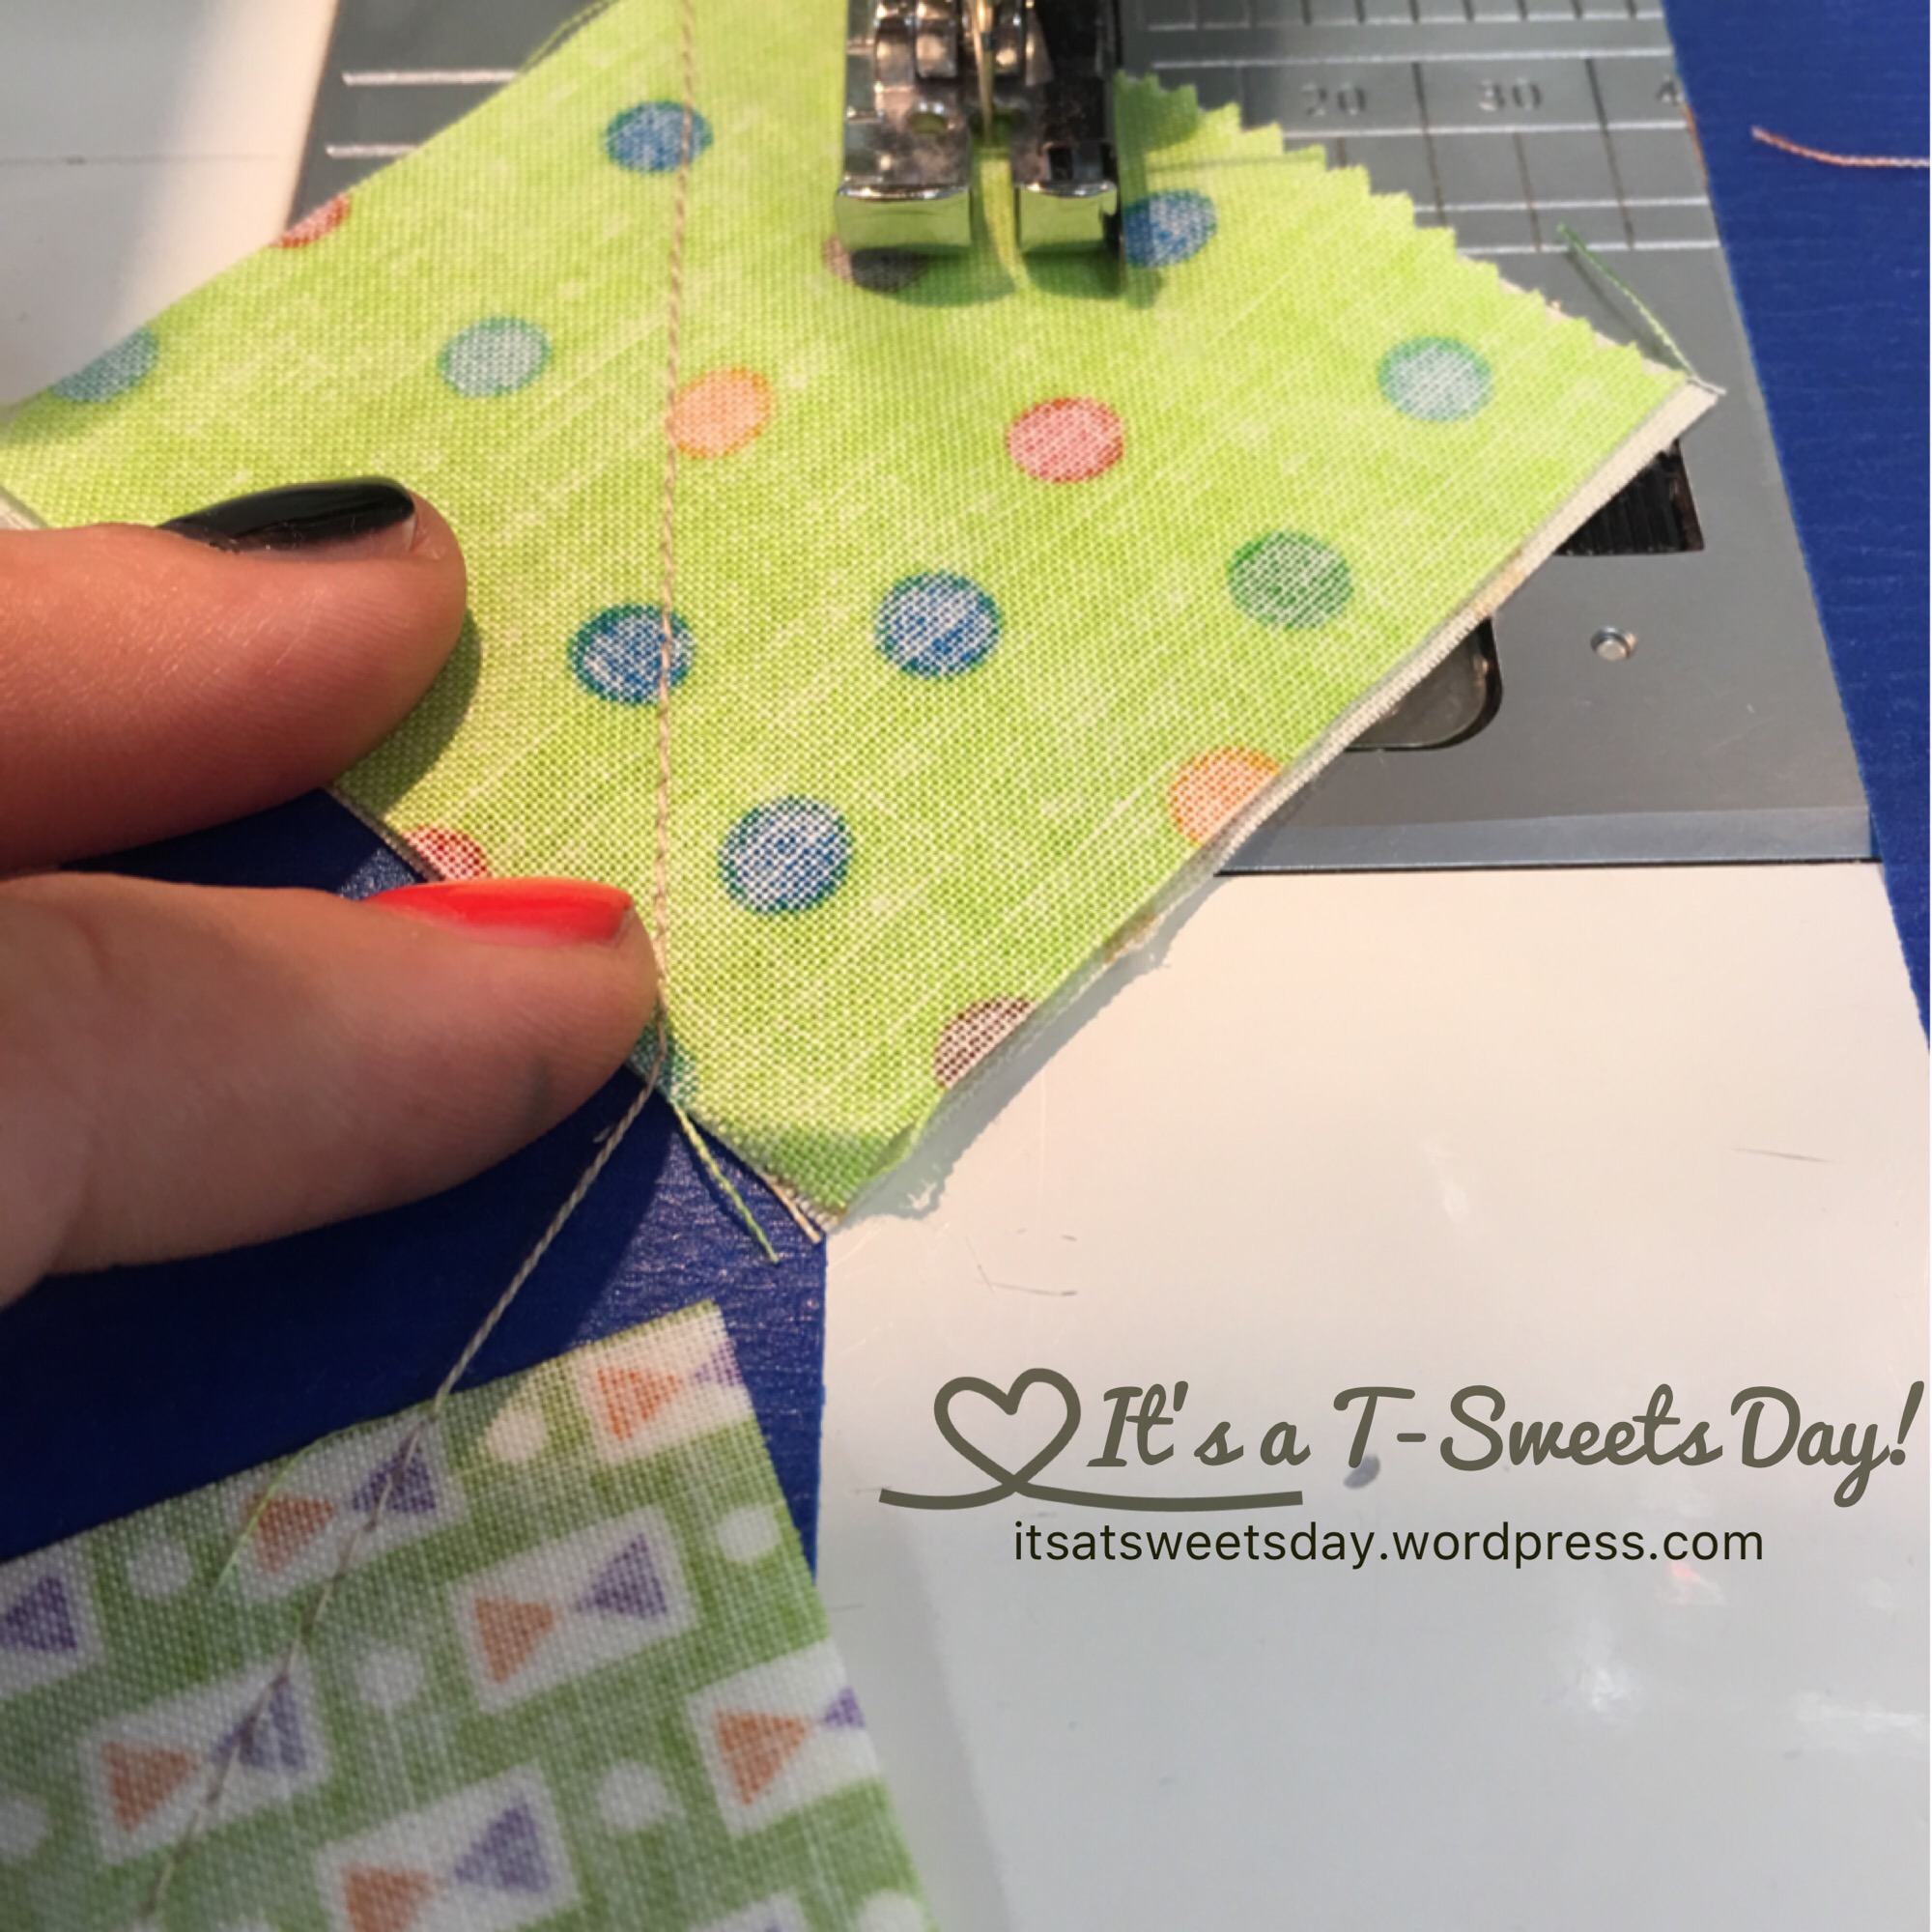
- Flip the chain over and sew down the other side of the square from corner to corner
- Cut the chain apart into individual squares
- Cut from corner to corner between the stitching
- Press the seams open

- Using a square ruler, trim the square to your desired size. Mine was 2″. (It is always a good idea to make your squares a smidge bigger than you want so you can trim them down to a perfect square)

Now wasn’t that easy? And no special tools or fancy rulers were needed!
My squares turned into these beautiful pinwheels.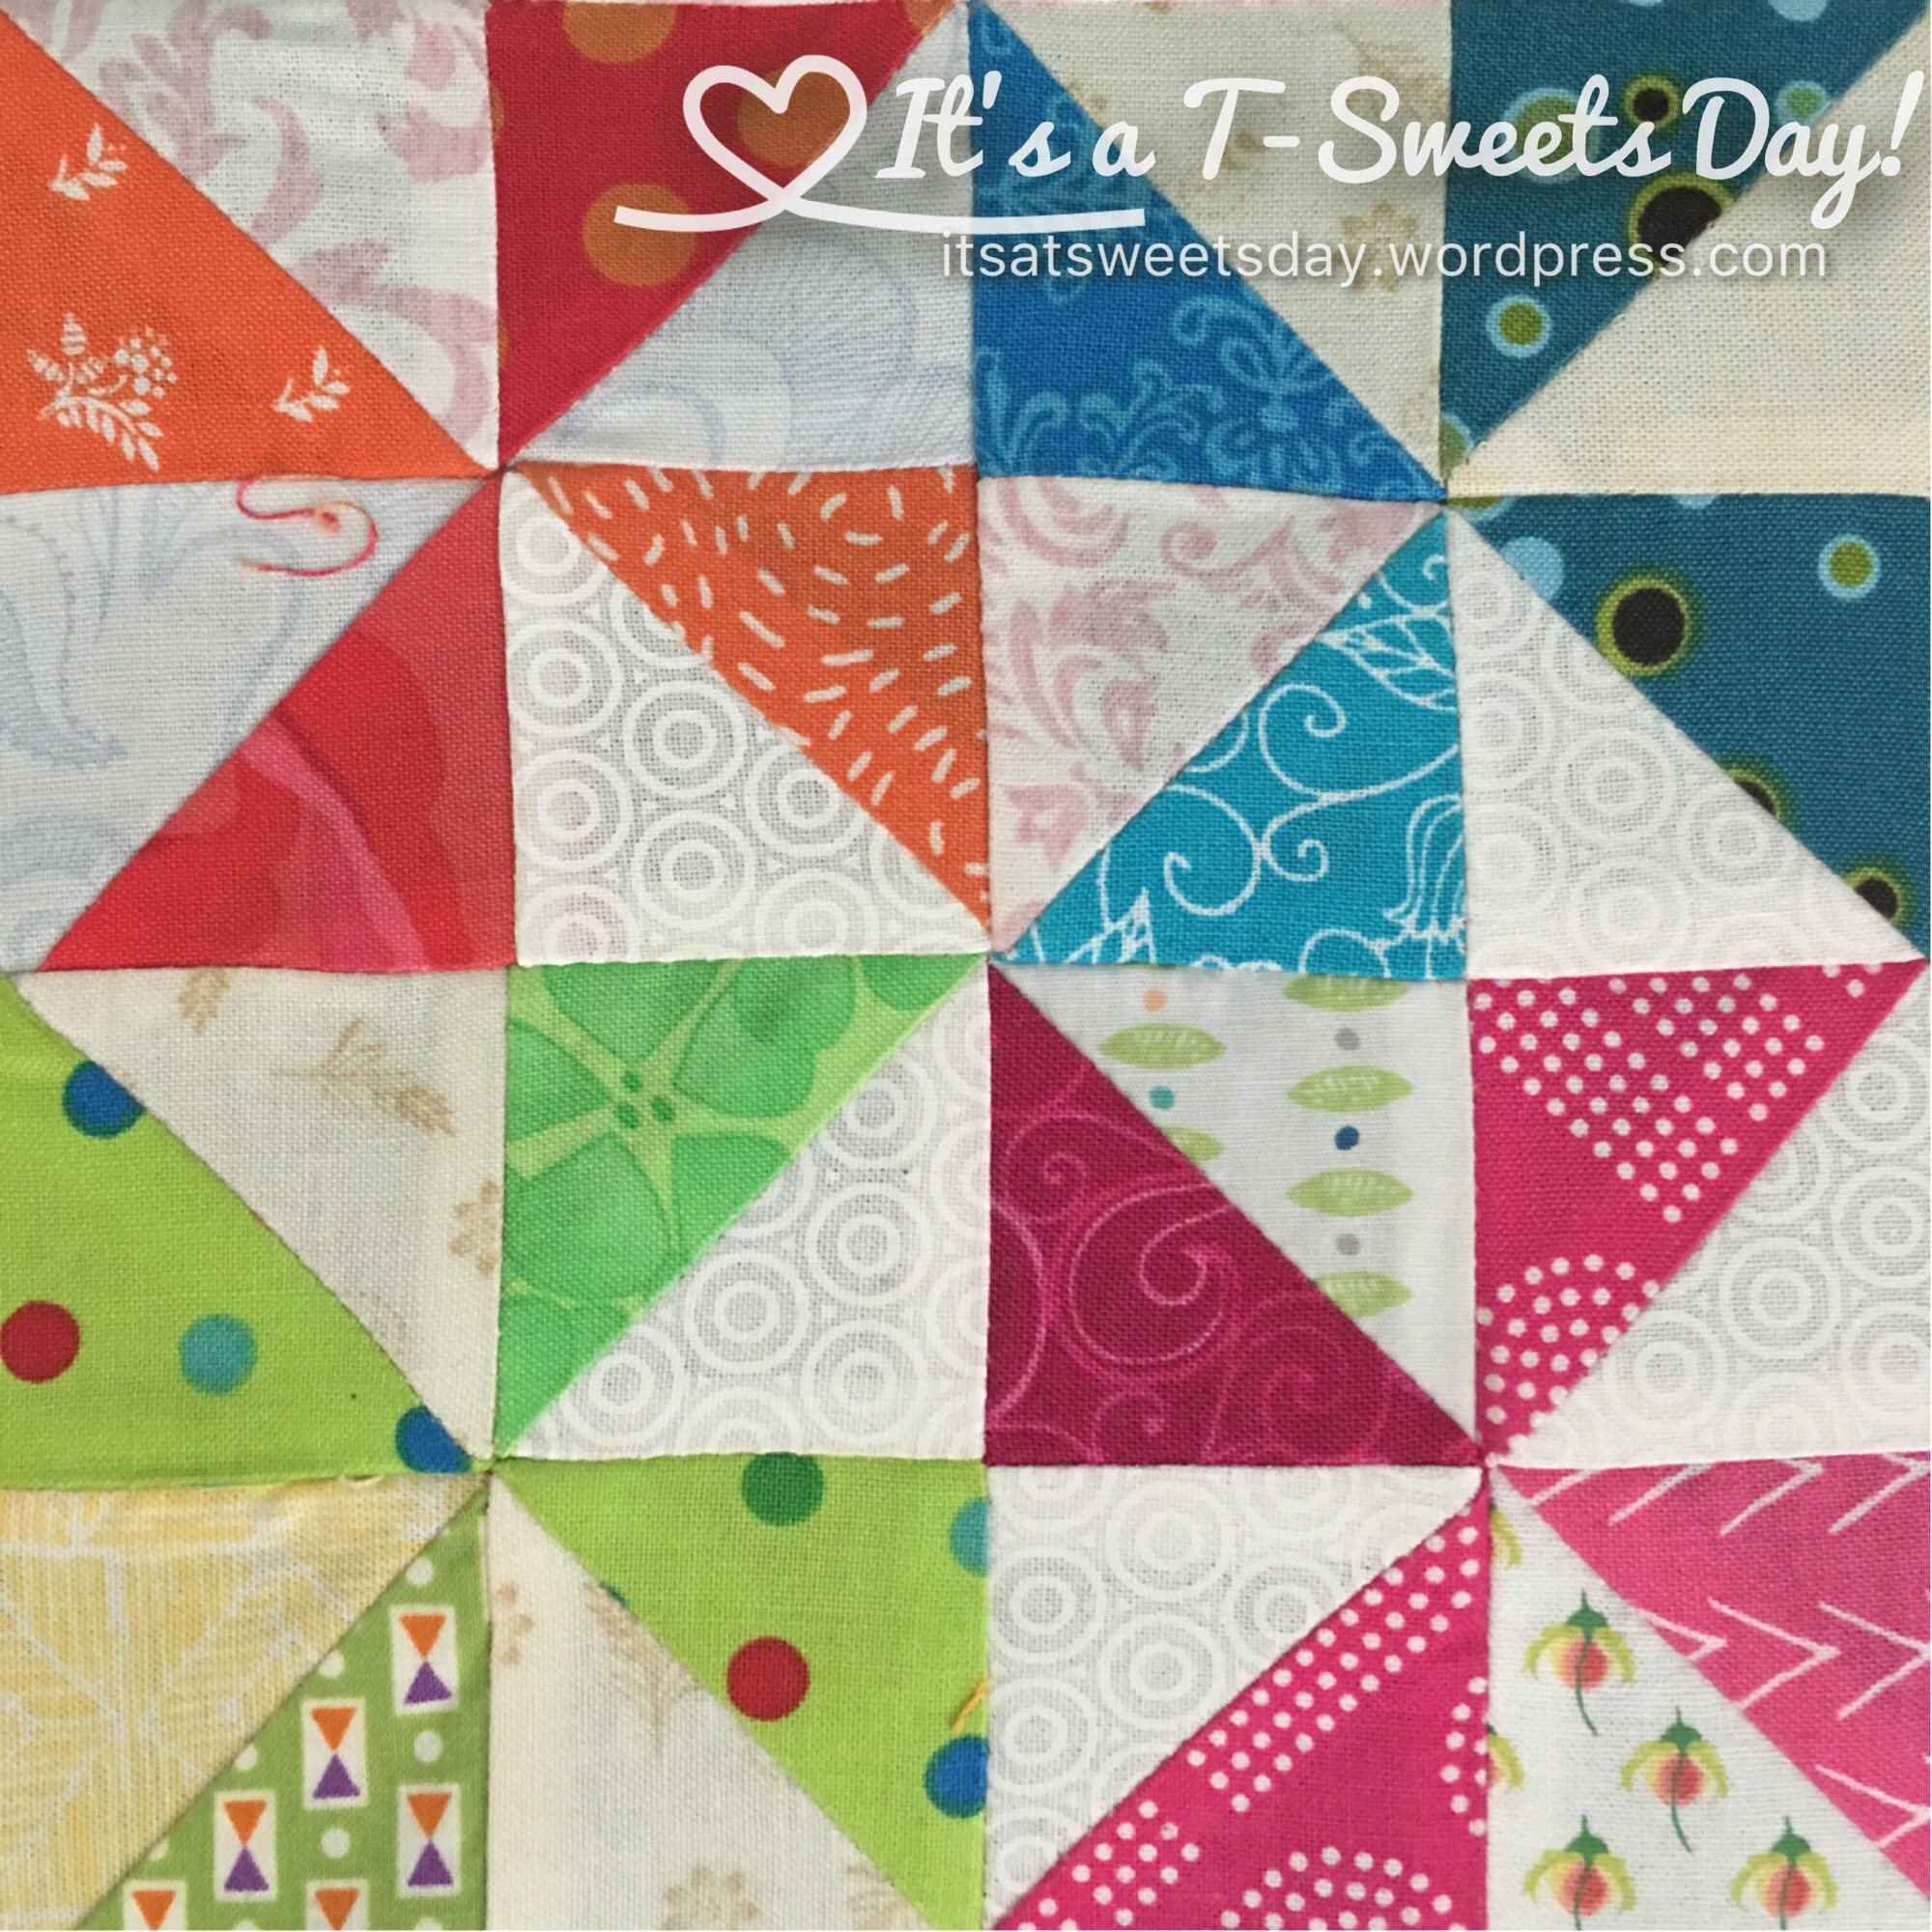
And this block became part of this happy chapter 7:)
 Isn’t it so fun?!
I have just realized that I did not post about chapter 6. So here is a picture of that finished section.
It is definitely a SWEET day at my house! I hope yours is too:)
–Tracy
