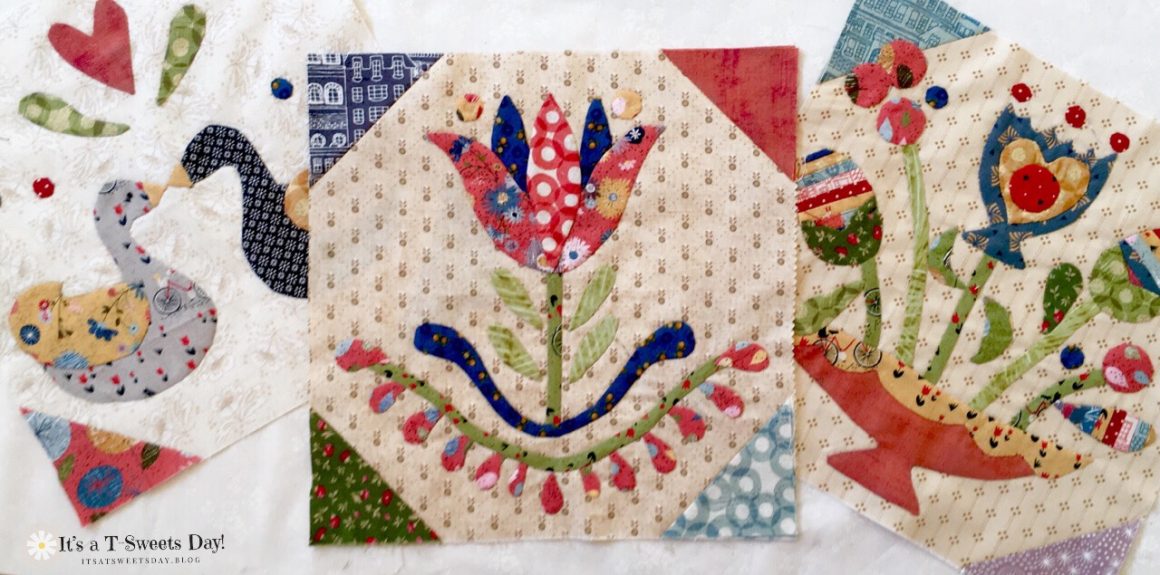

I love buying yarn and fabric on a trip and then coming home and stitching something up to always remind me of the fun times we had on our adventures. Maybe you do too!

I bought this bright and crazy “Hippie” yarn at Mendels on Haight Street in San Francisco. I love the groovy colors! For my memory project, I designed a set of easy, fun potholders. Here is the pattern if you would like to stitch up a set of your own .
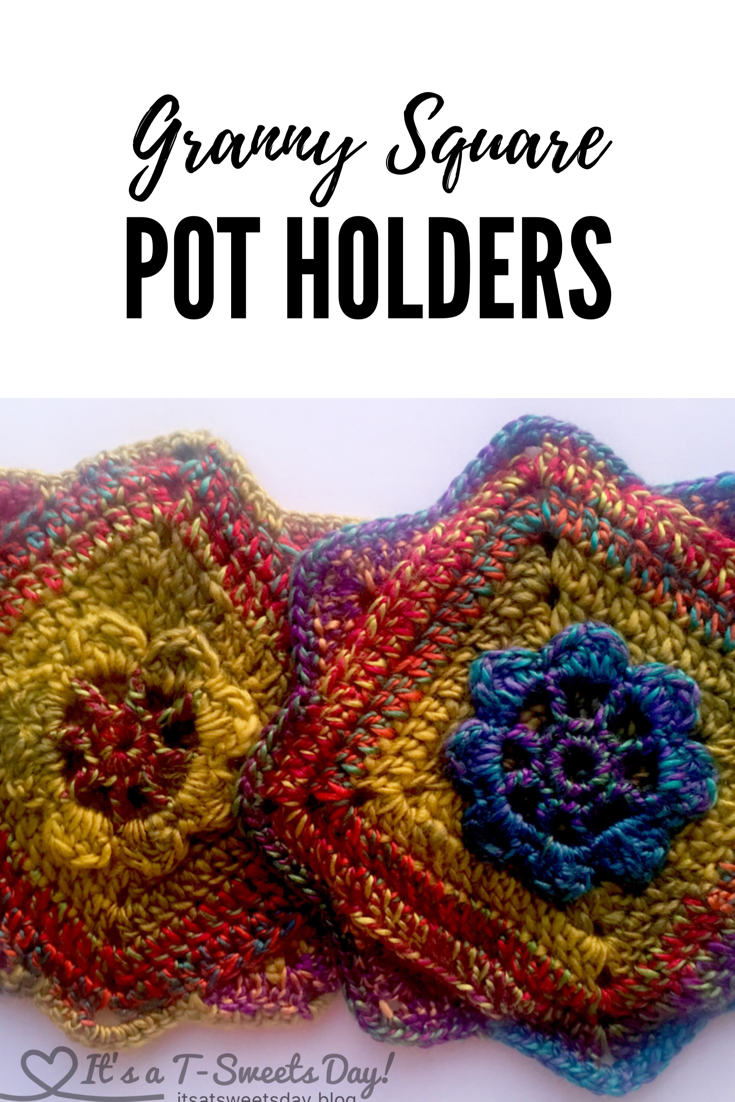
Granny Square Potholders – Pattern designed by Tracy @It’s a T-Sweets Day!
Materials Needed:
- 2 skeins of worsted weight coordinating yarn (cotton makes the best yarn for Potholders, but I don’t mind a some what toasted yarn pot holder, so I am using acrylic)
- Size G or 4.5mm hook
- Large eyed yarn needle
- Scissors
- 8 stitch markers
These instructions have you change colors at the end of Round 4 but you can change the colors on as many rounds as you like. Just use the same technique
Instructions:
Make two squares for each pot holder.
 Start by making a magic circle.
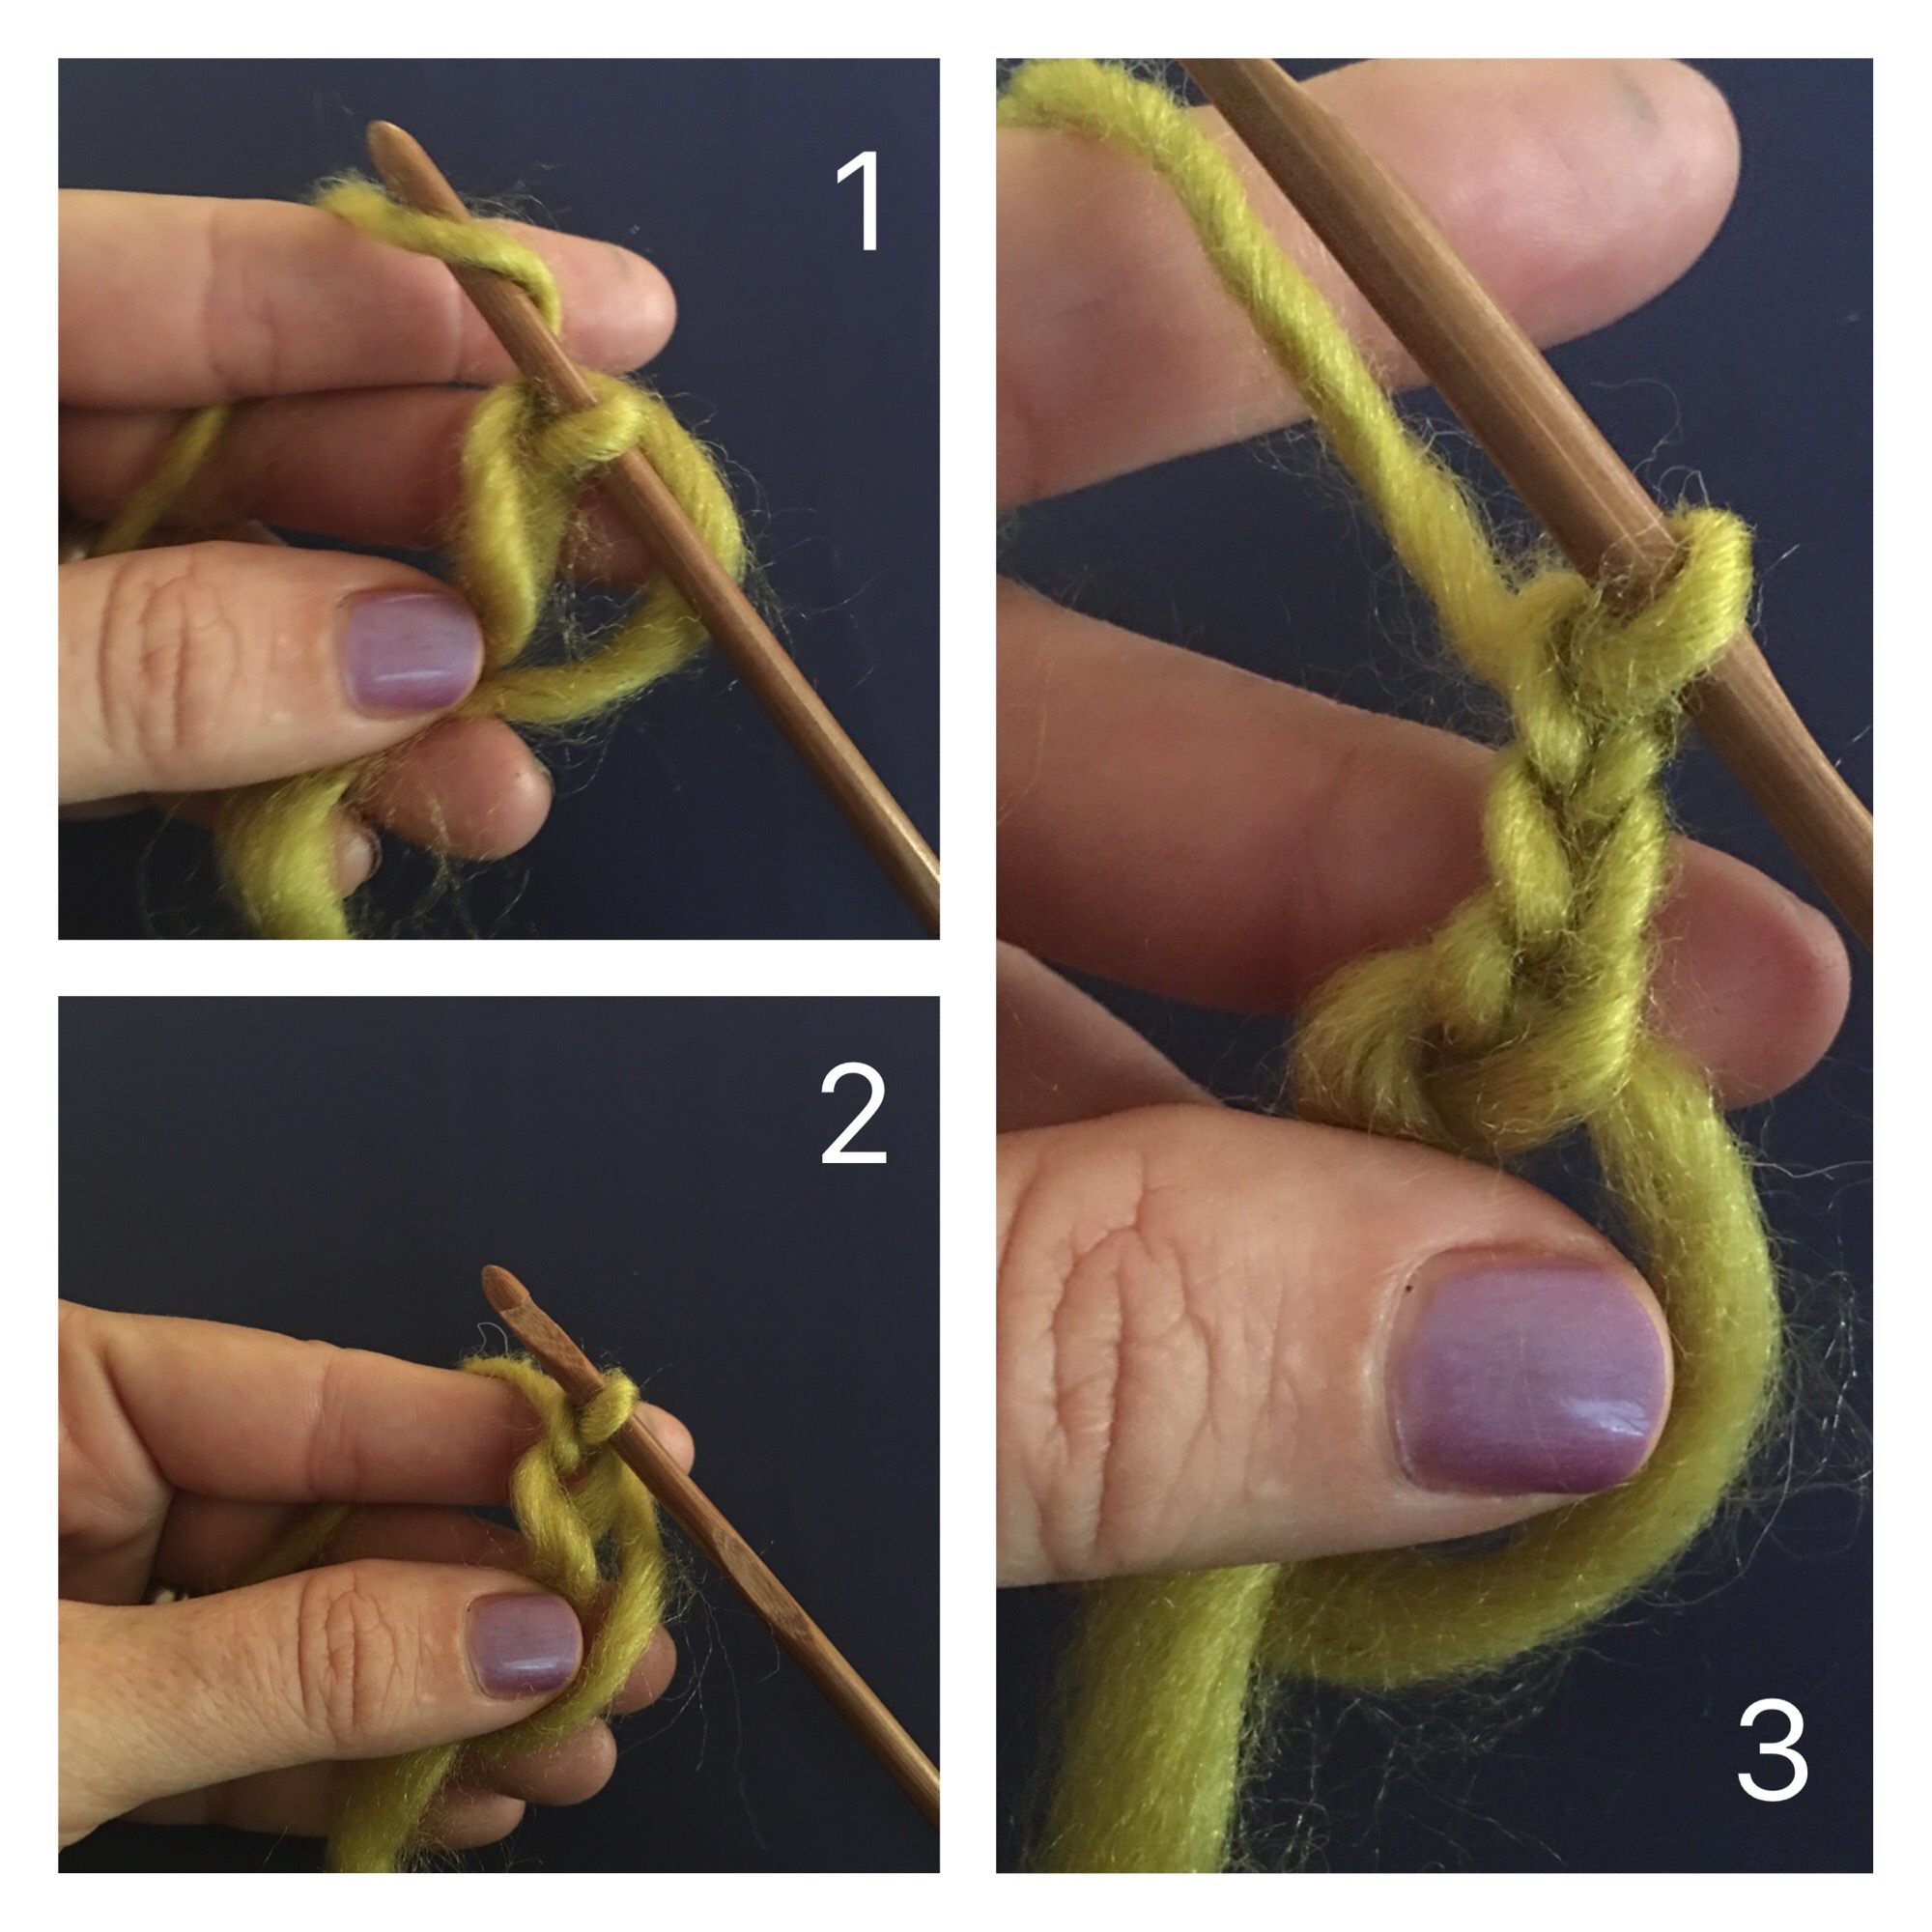
Round 1 – Working in magic circle, Ch 3, counts as first dc, 2 dc, ch 2, *3 dc, ch2, repeat from* 2 more times, 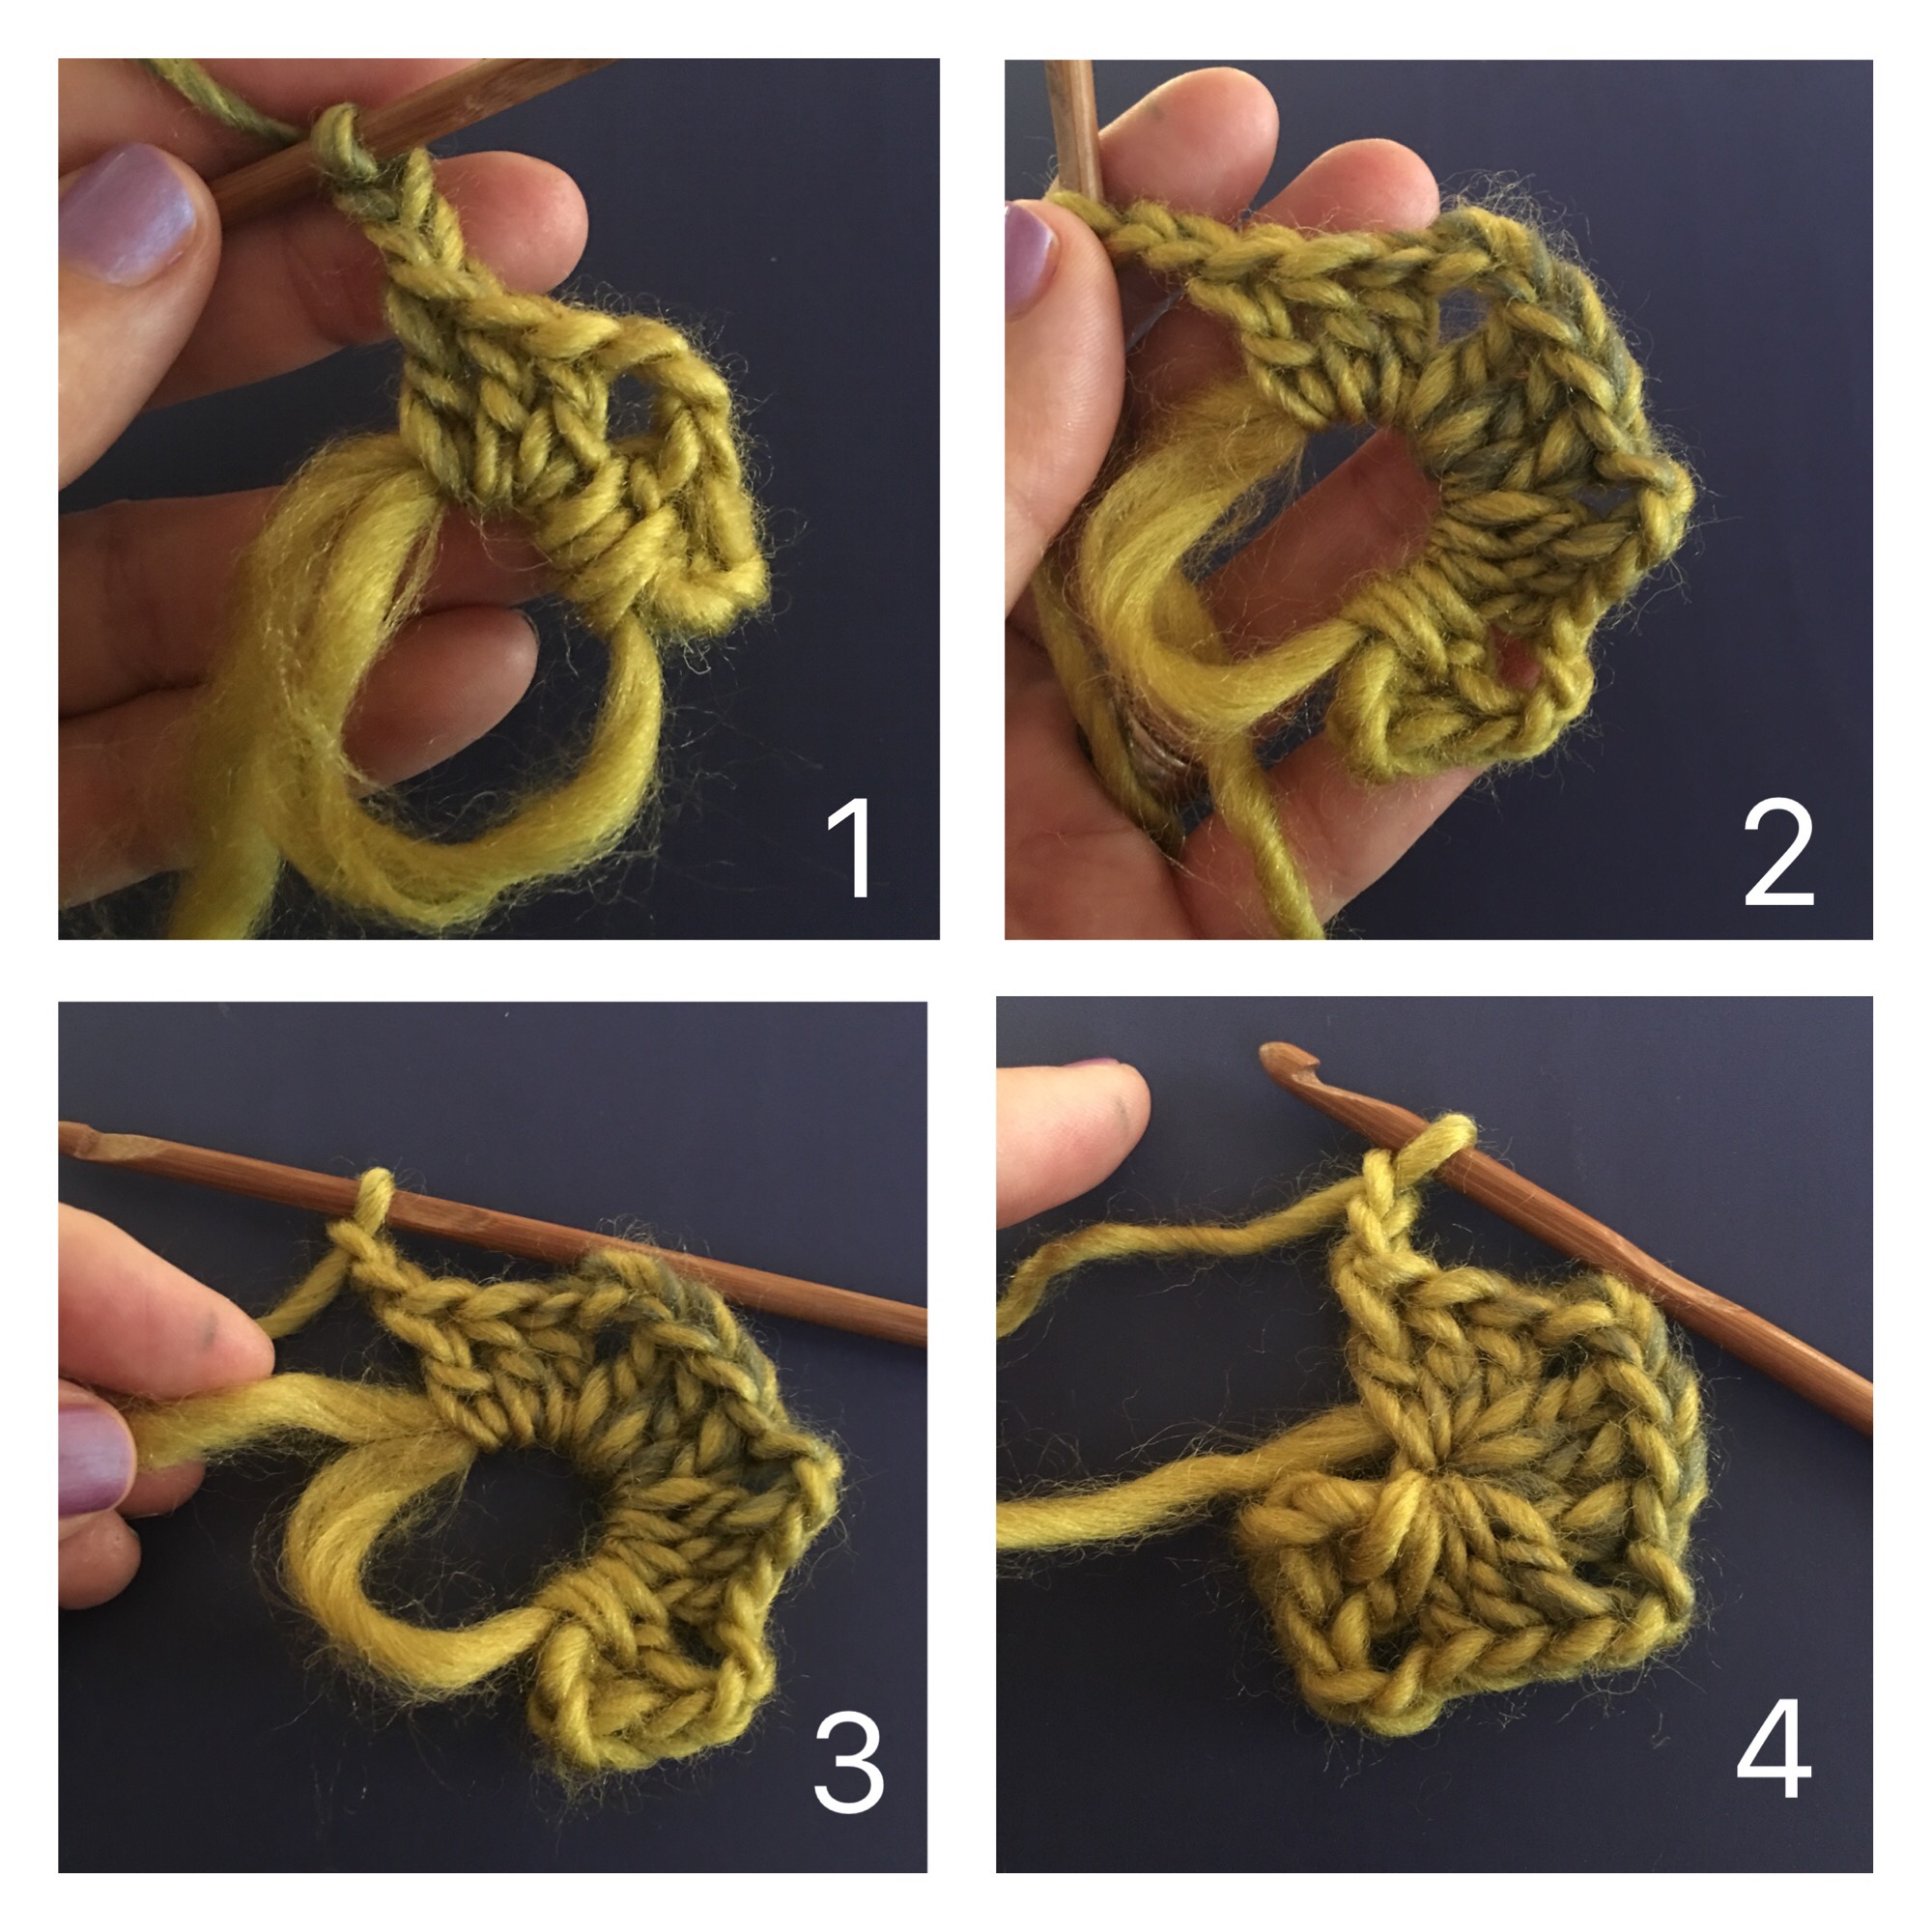 close your magic circle, join with a sl stitch to the 3rd chain of the beg. Ch3.
 You now have 4 cluster stitches and 4 ch2 corners.
Round 2 – Ch3, counts as first dc, dc in next 2 st, (2dc, ch2, 2dc) in corner ch 2 sp,
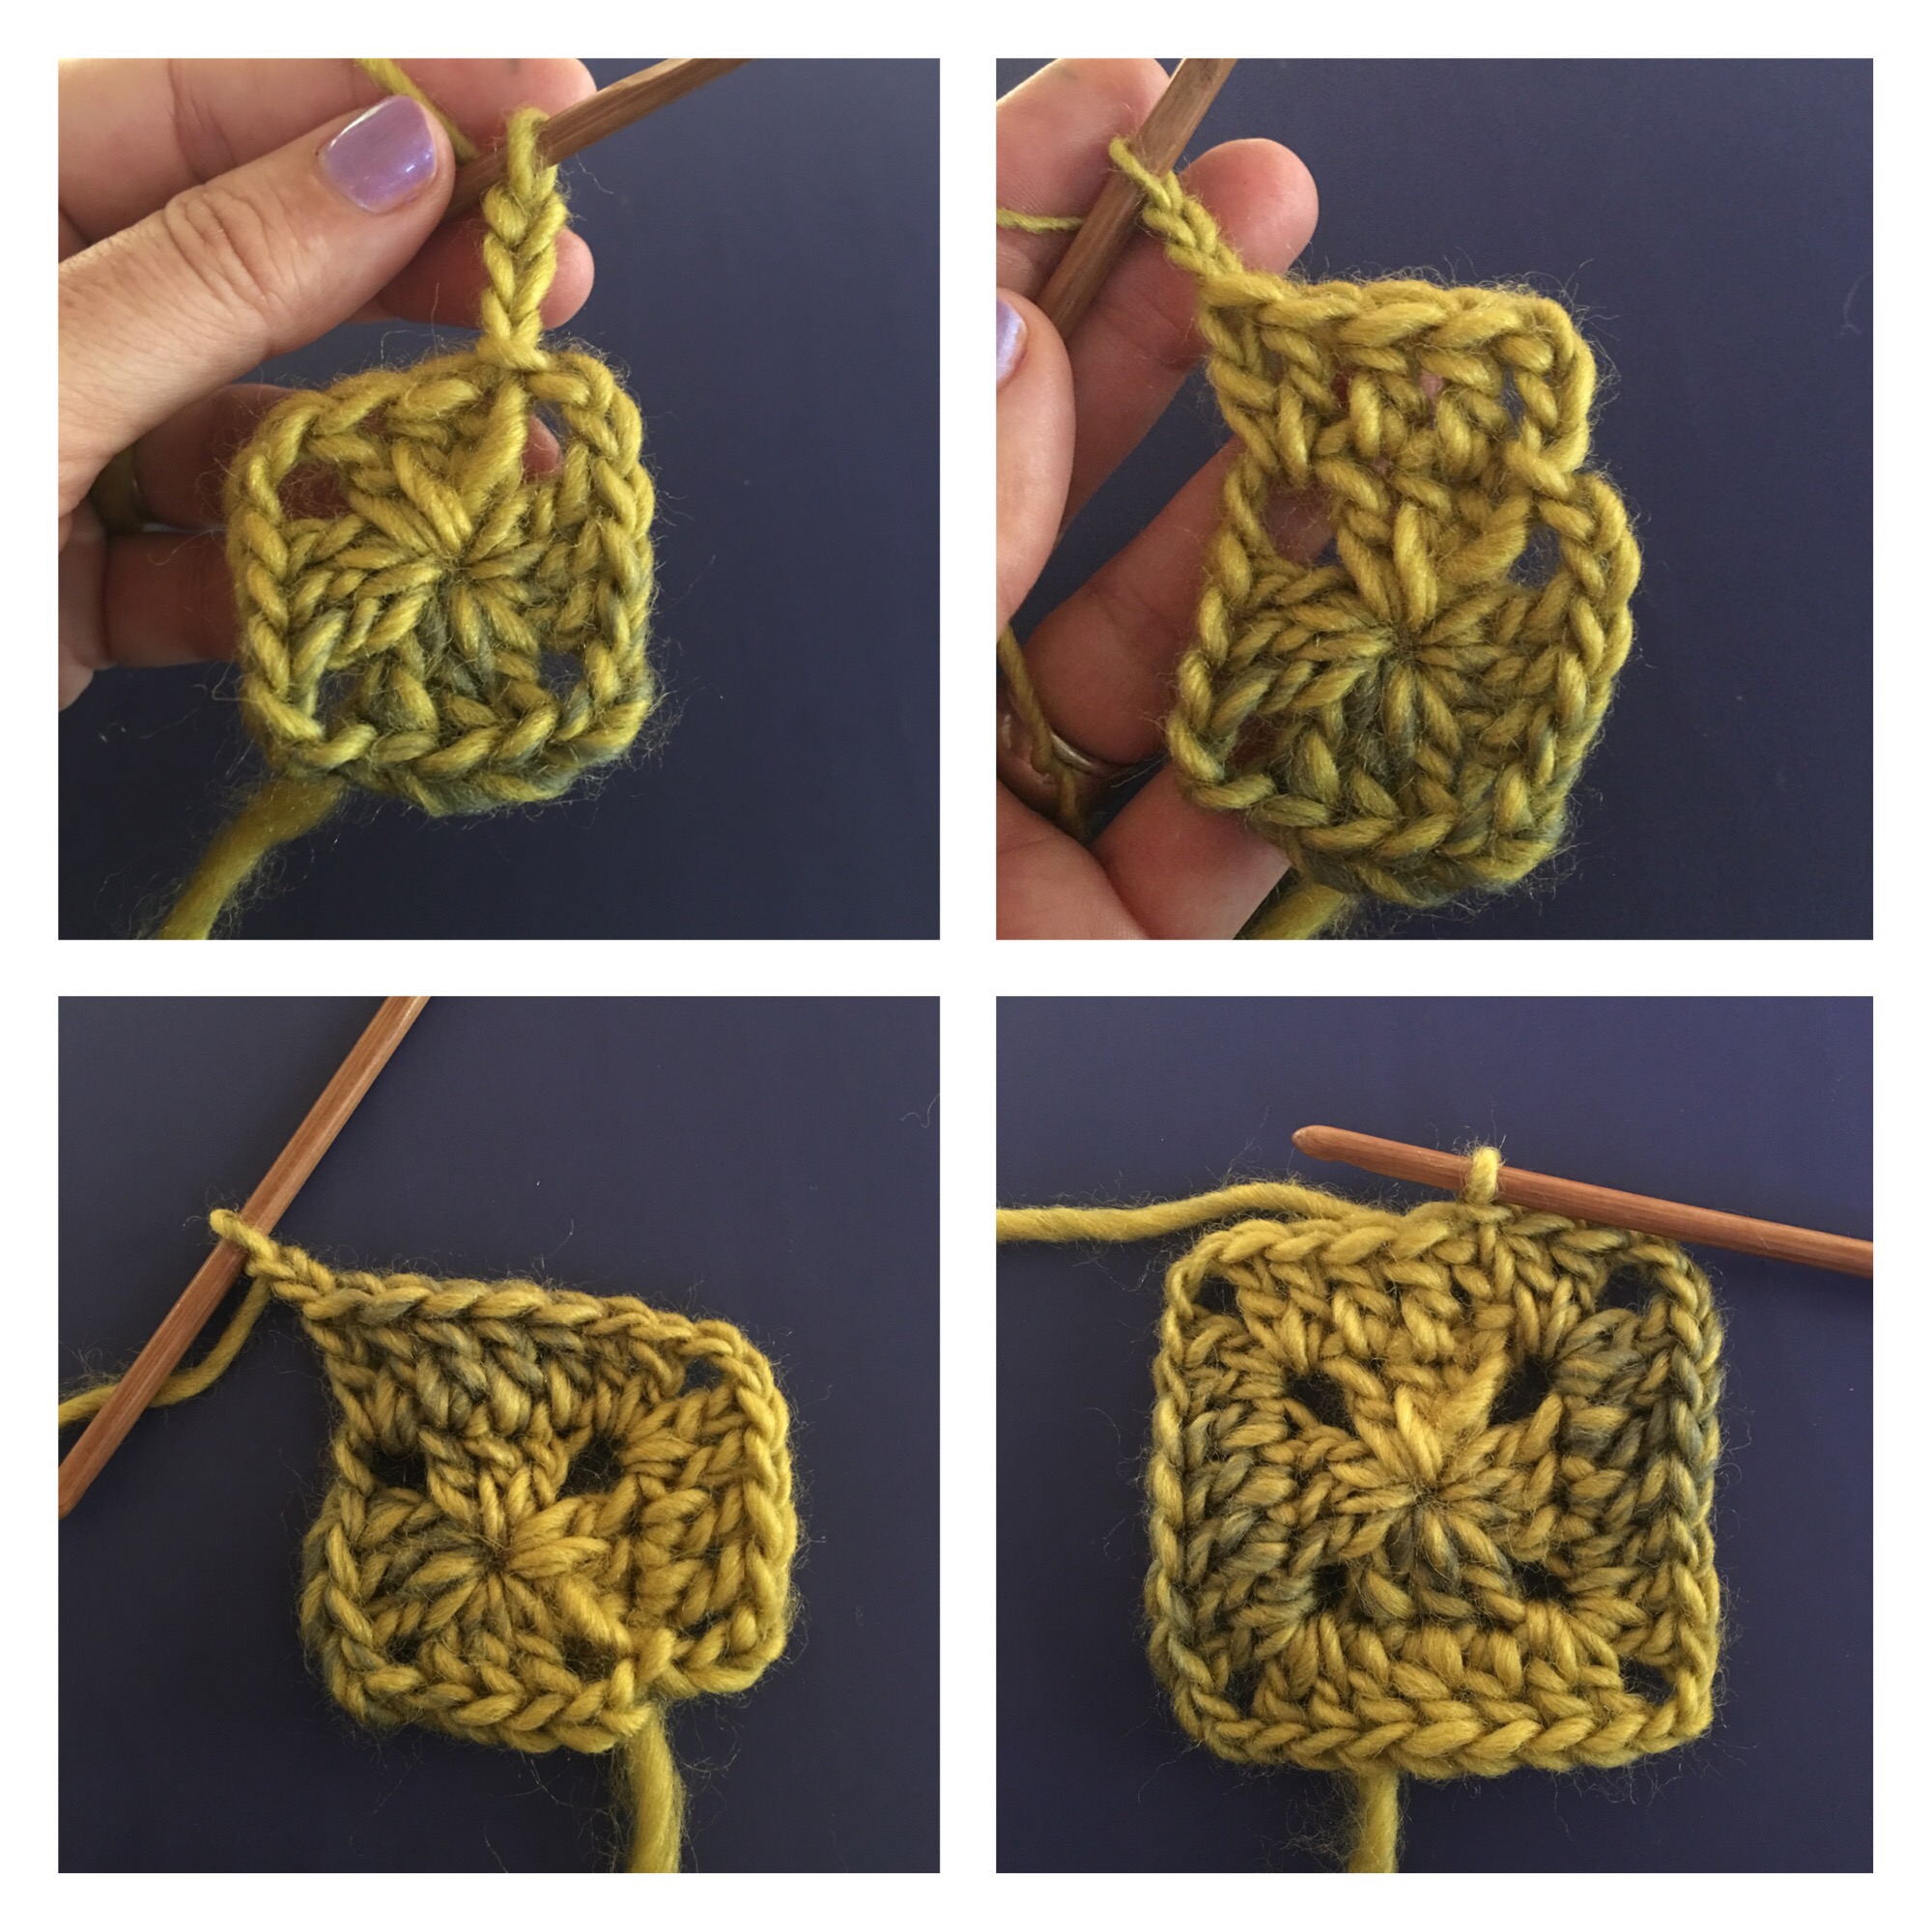 *dc in next 3 st, (2dc, ch2, 2dc) in corner ch2 sp, repeat from * 2 more times, join with a sl st to the 3rd ch of the beg. ch3. You now have 7dc on each side
Round 3 – Ch3, dc in next 4st, (2dc, ch2, 2dc) in corner ch 2 sp,  *dc in next 7st, (2dc, ch2, 2dc) in corner ch 2 sp, repeat from * 2 more times, dc in next 2st, join with a sl st to the 3rd ch of the beg. ch3. You now have 11dc on each side
Round 4 – Ch3, dc in next 6st, (2dc, ch2, 2dc) in corner ch 2 sp, *dc in next 11st, (2dc, ch2, 2dc) in corner ch 2 sp, repeat from * 2 more times, dc in next 4st,  Change color– to change color, cut the main color leaving a 6″ tail, insert your hook into the the 3rd ch of the beg ch3, pull the new color through and PUL the hanging yarns tight on the back (You now have 15dc on each side)
Round 5- Ch3, dc in next 8st, (2dc, ch2, 2dc) in corner ch 2 sp, *dc in next 15st, (2dc, ch2, 2dc) in corner ch 2 sp, repeat from * 2 more times, dc in next 6st, join with a sl st to the 3rd ch of the beg. ch3. (You now have 19dc on each side)
Round 6– Ch3, dc in next 10st, (2dc, ch2, 2dc) in corner ch 2 sp, *dc in next 19st, (2dc, ch2, 2dc) in corner ch 2 sp, repeat from * 2 more times, dc in next 8st, join with a sl st to the 3rd ch of the beg. ch3, cut yarn leaving a 6″ tail and pull through to finish. (You should have 23dc on each side)

On the back side of the square, thread a yarn tail into a large eyed needle and weave the tail in by sewing up a few stitches and back down a few stitches two or three times. Cut the thread close to the square. Weave in all of the yarn tails.
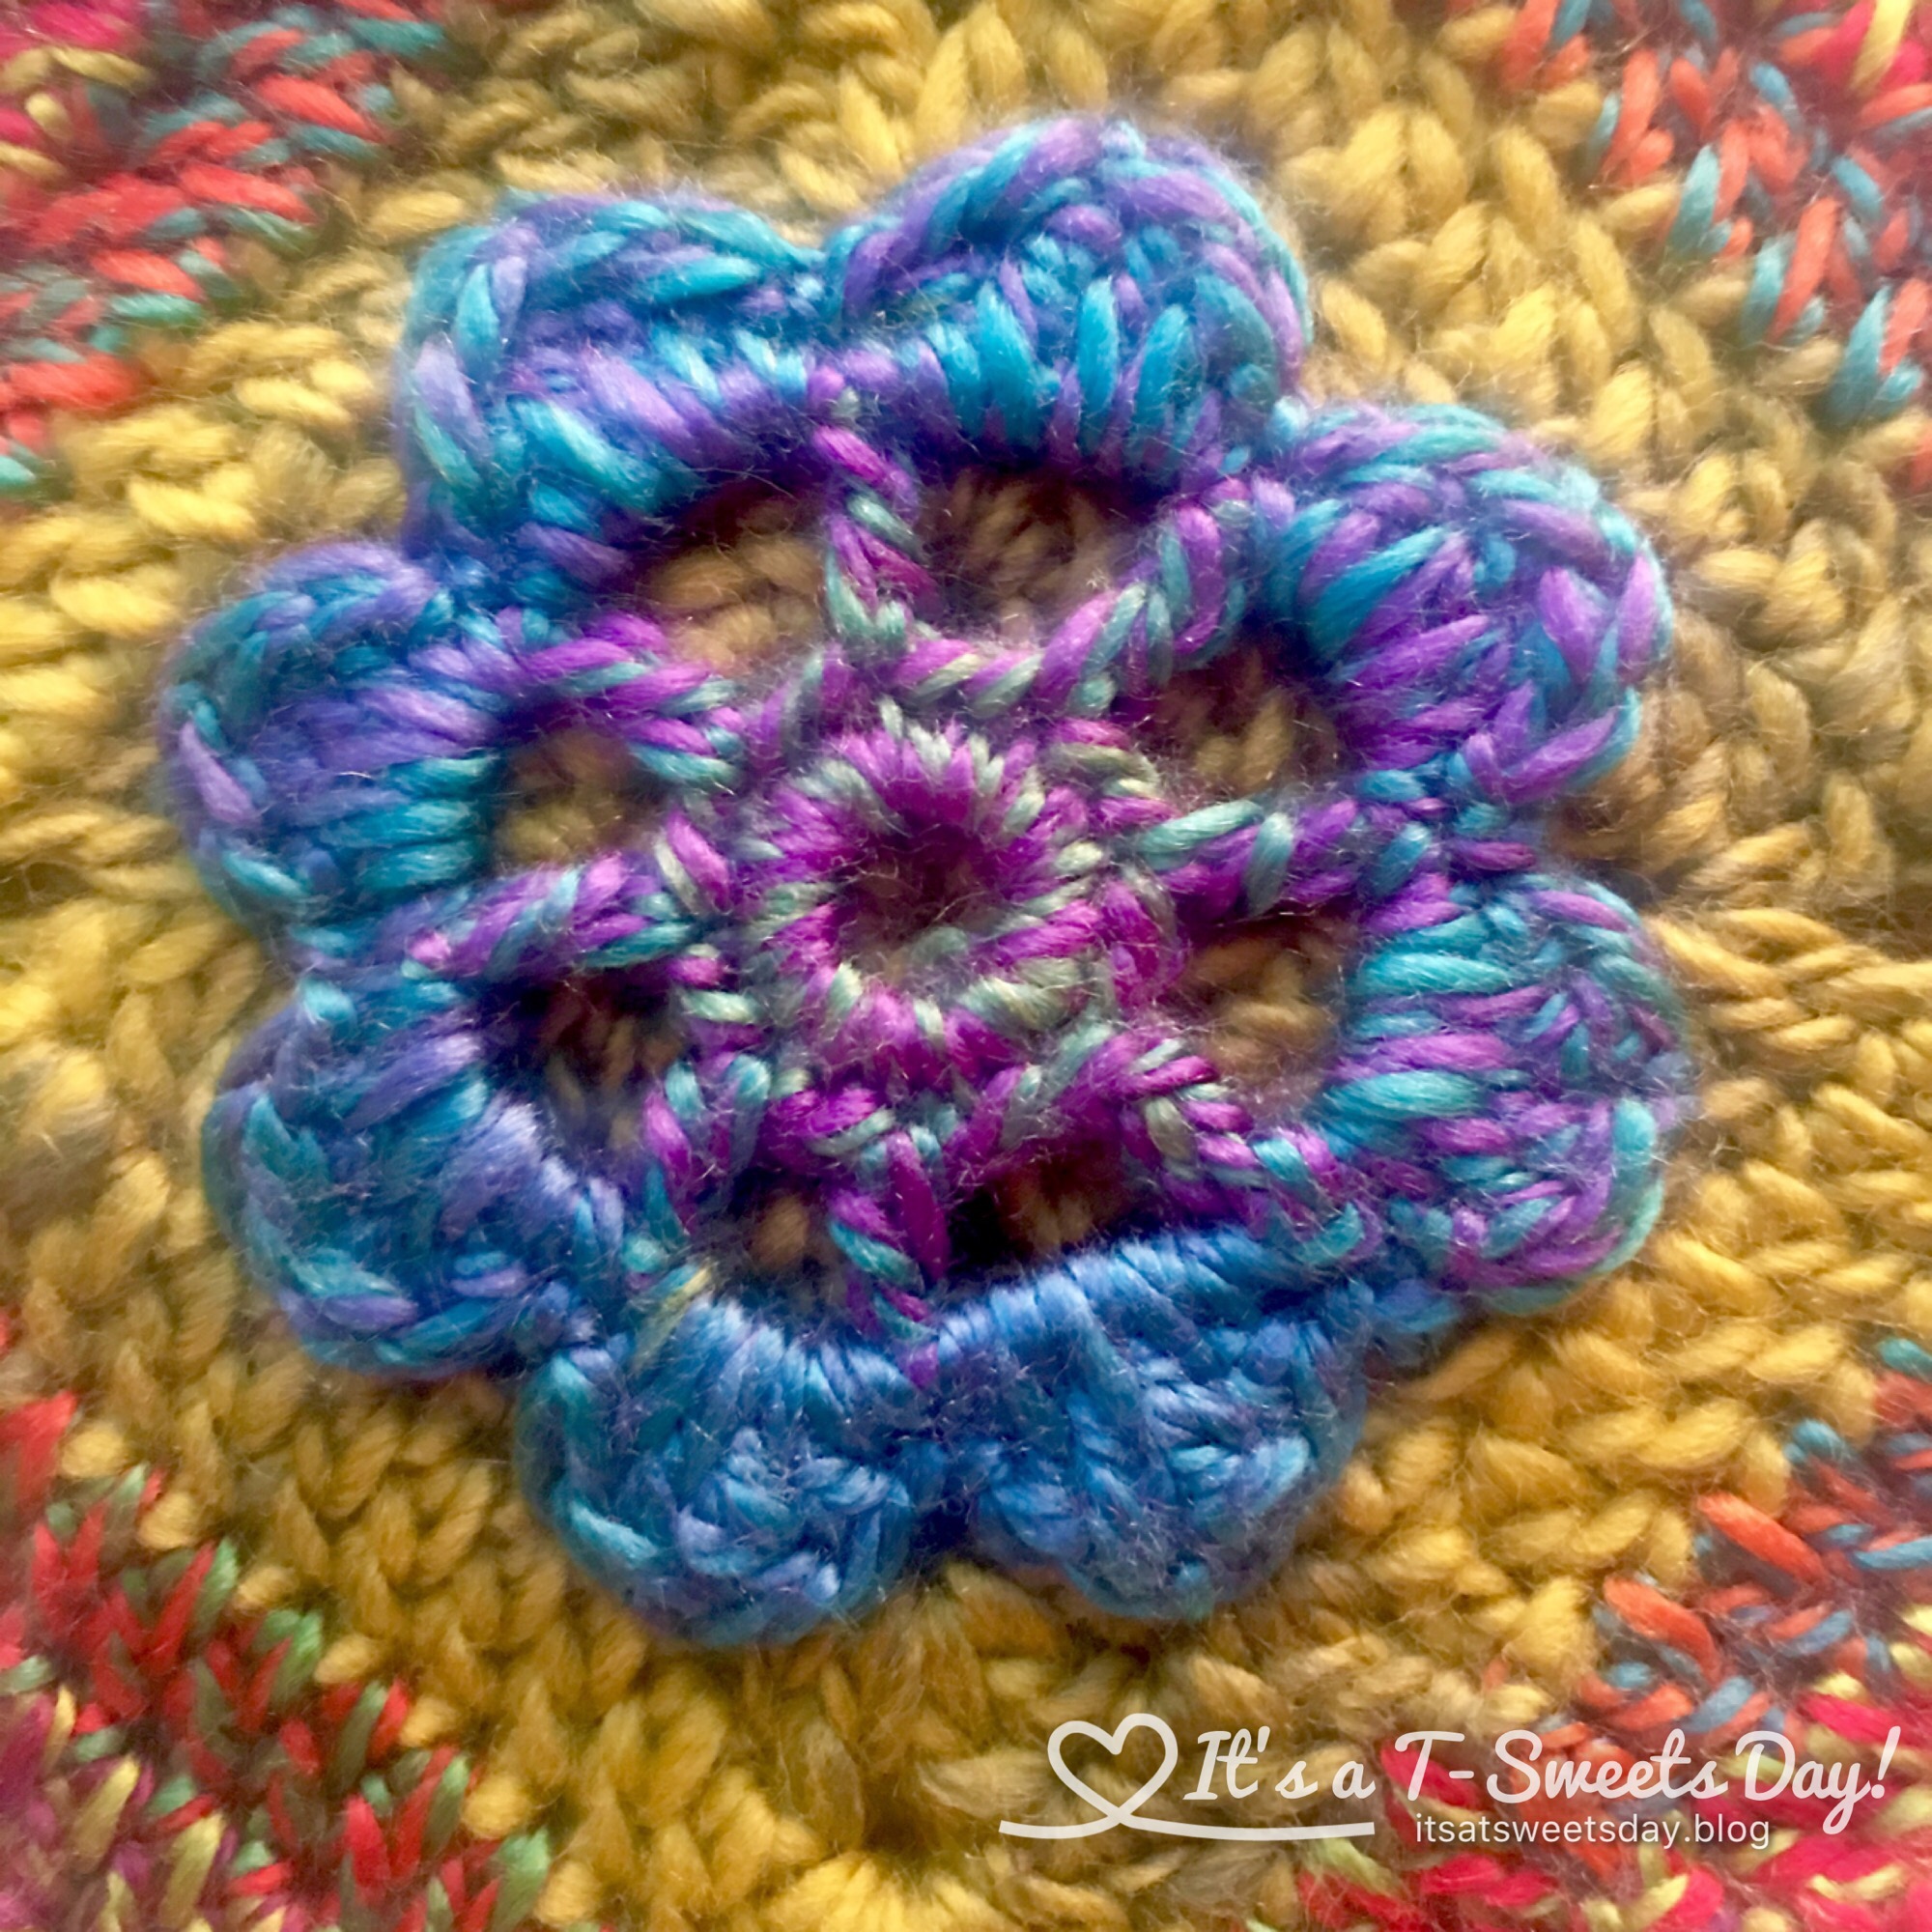
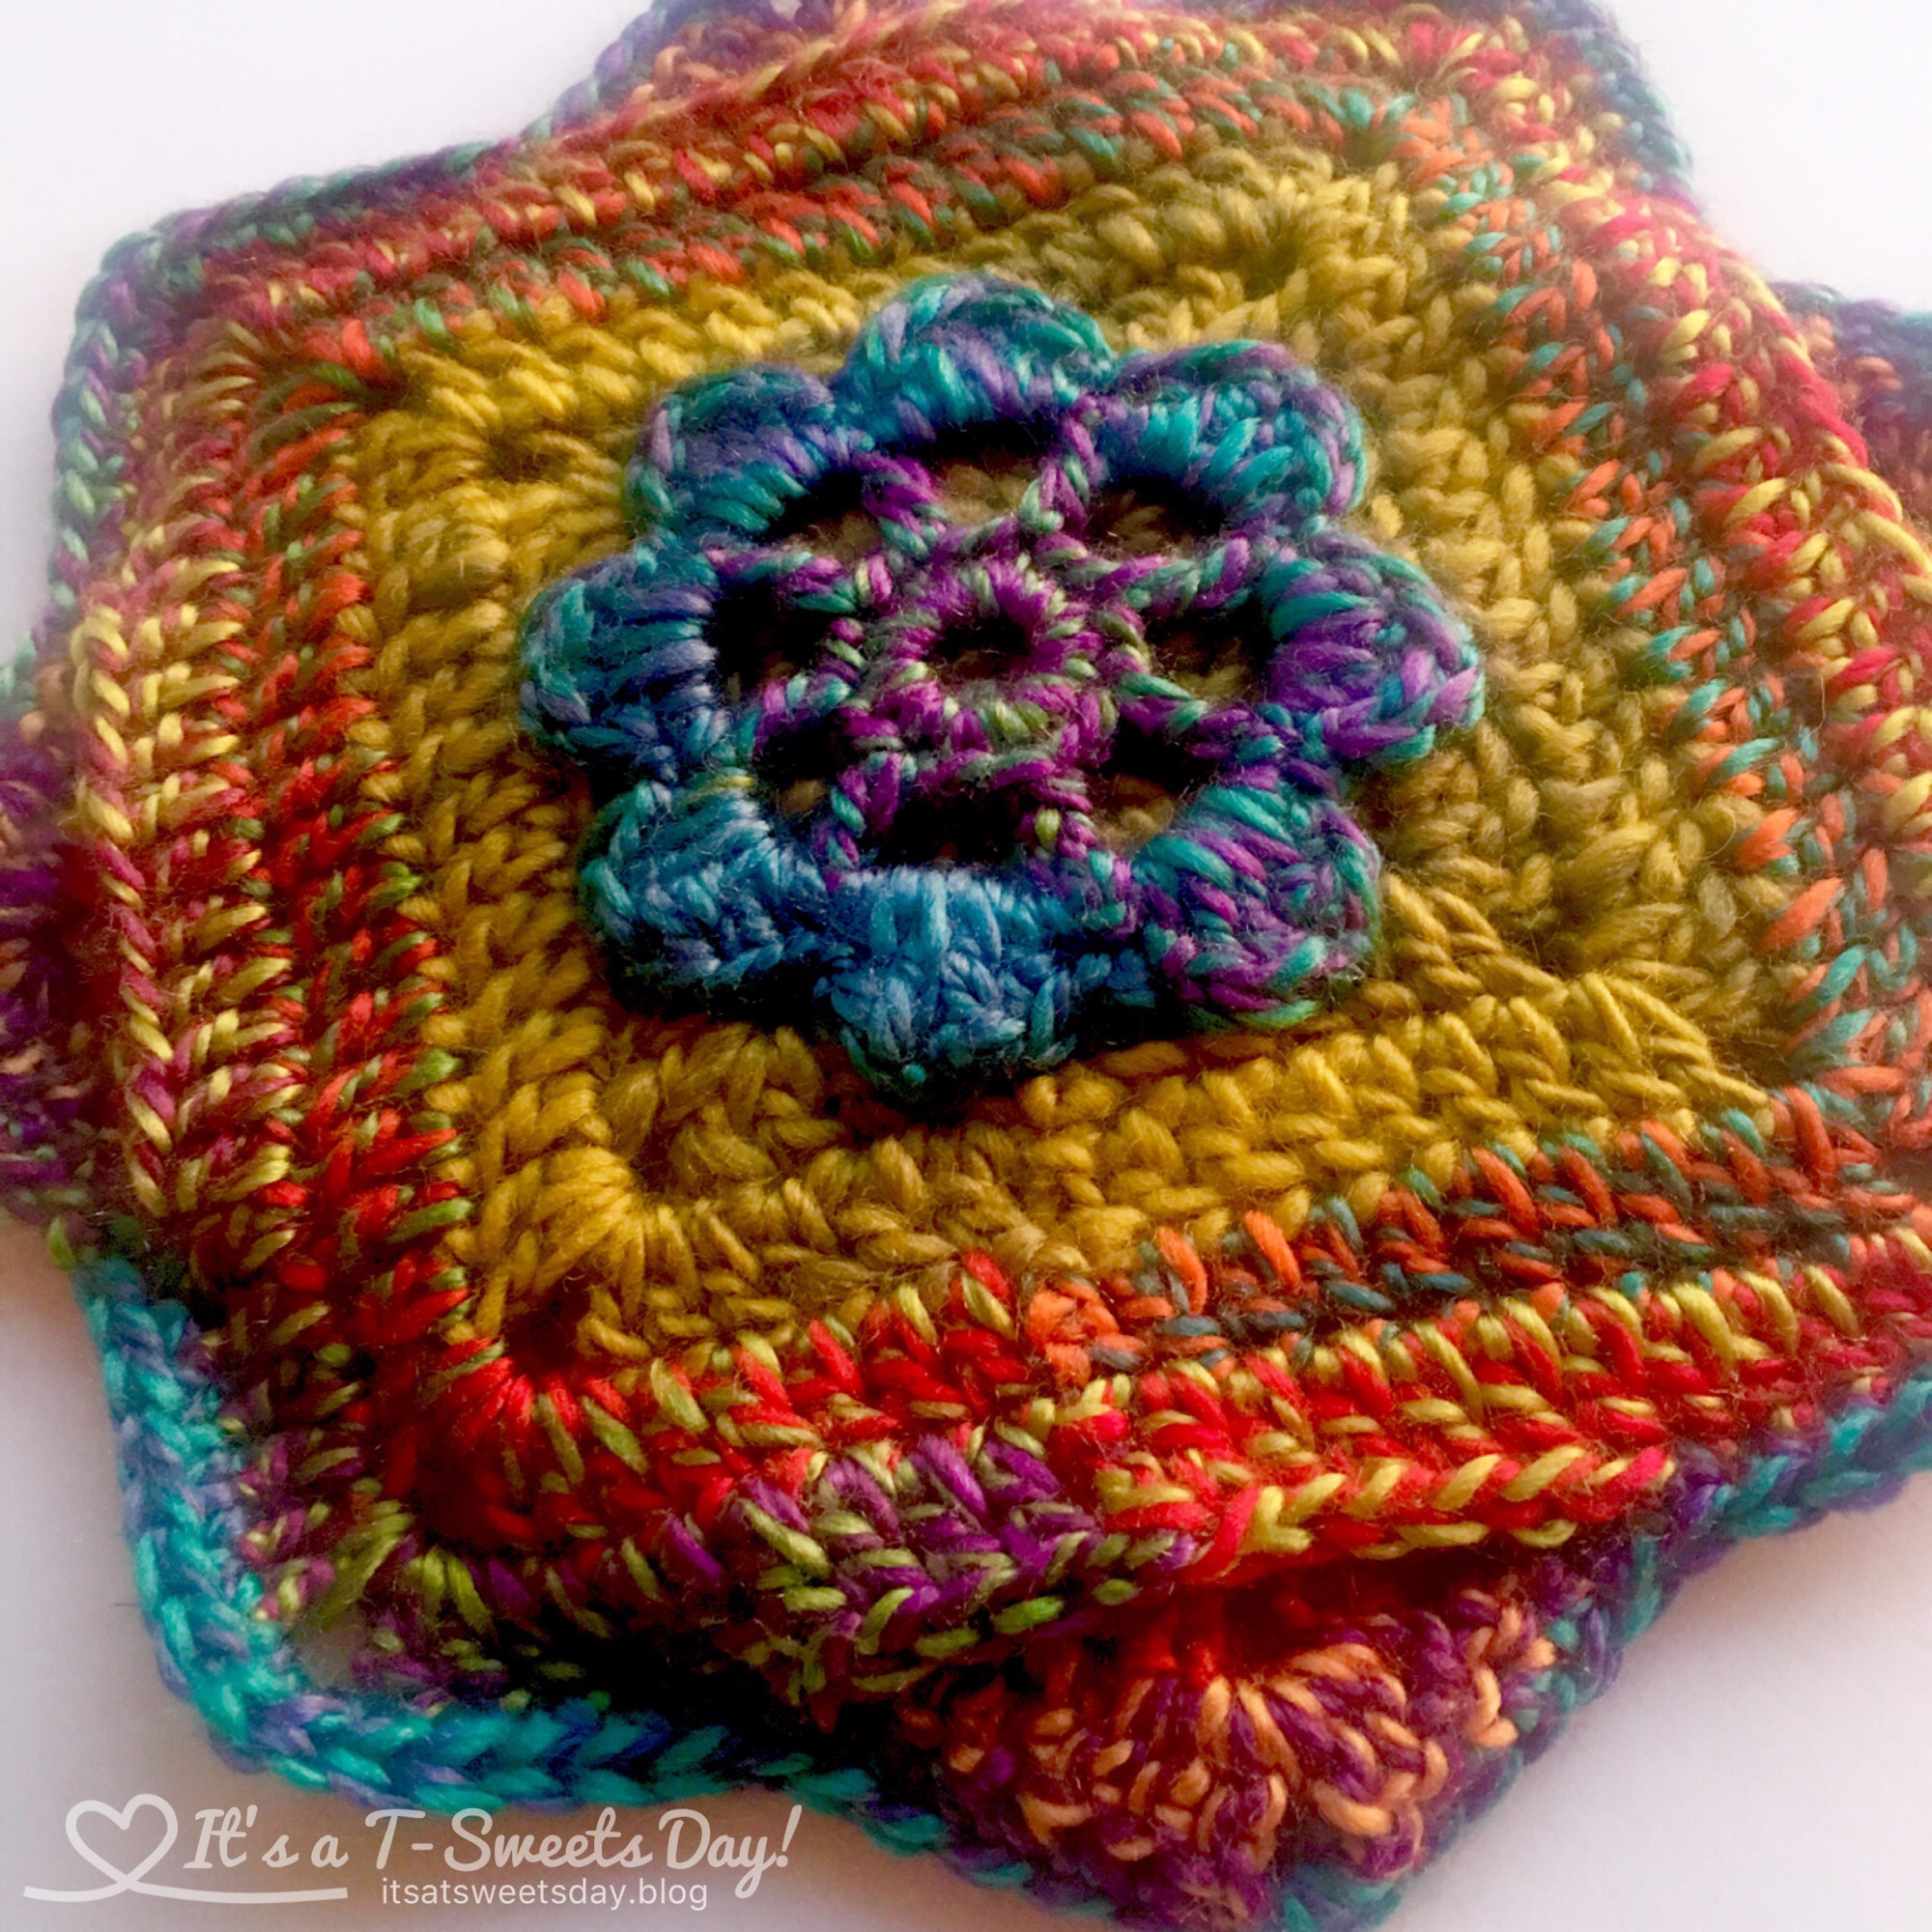
Optional flower: Make one for each pot holder
Round 1 – Make a magic circle. Ch 1, does not count as a st, 16sc in the circle, join to the first sc. Close the magic circle by pulling on the back thread.
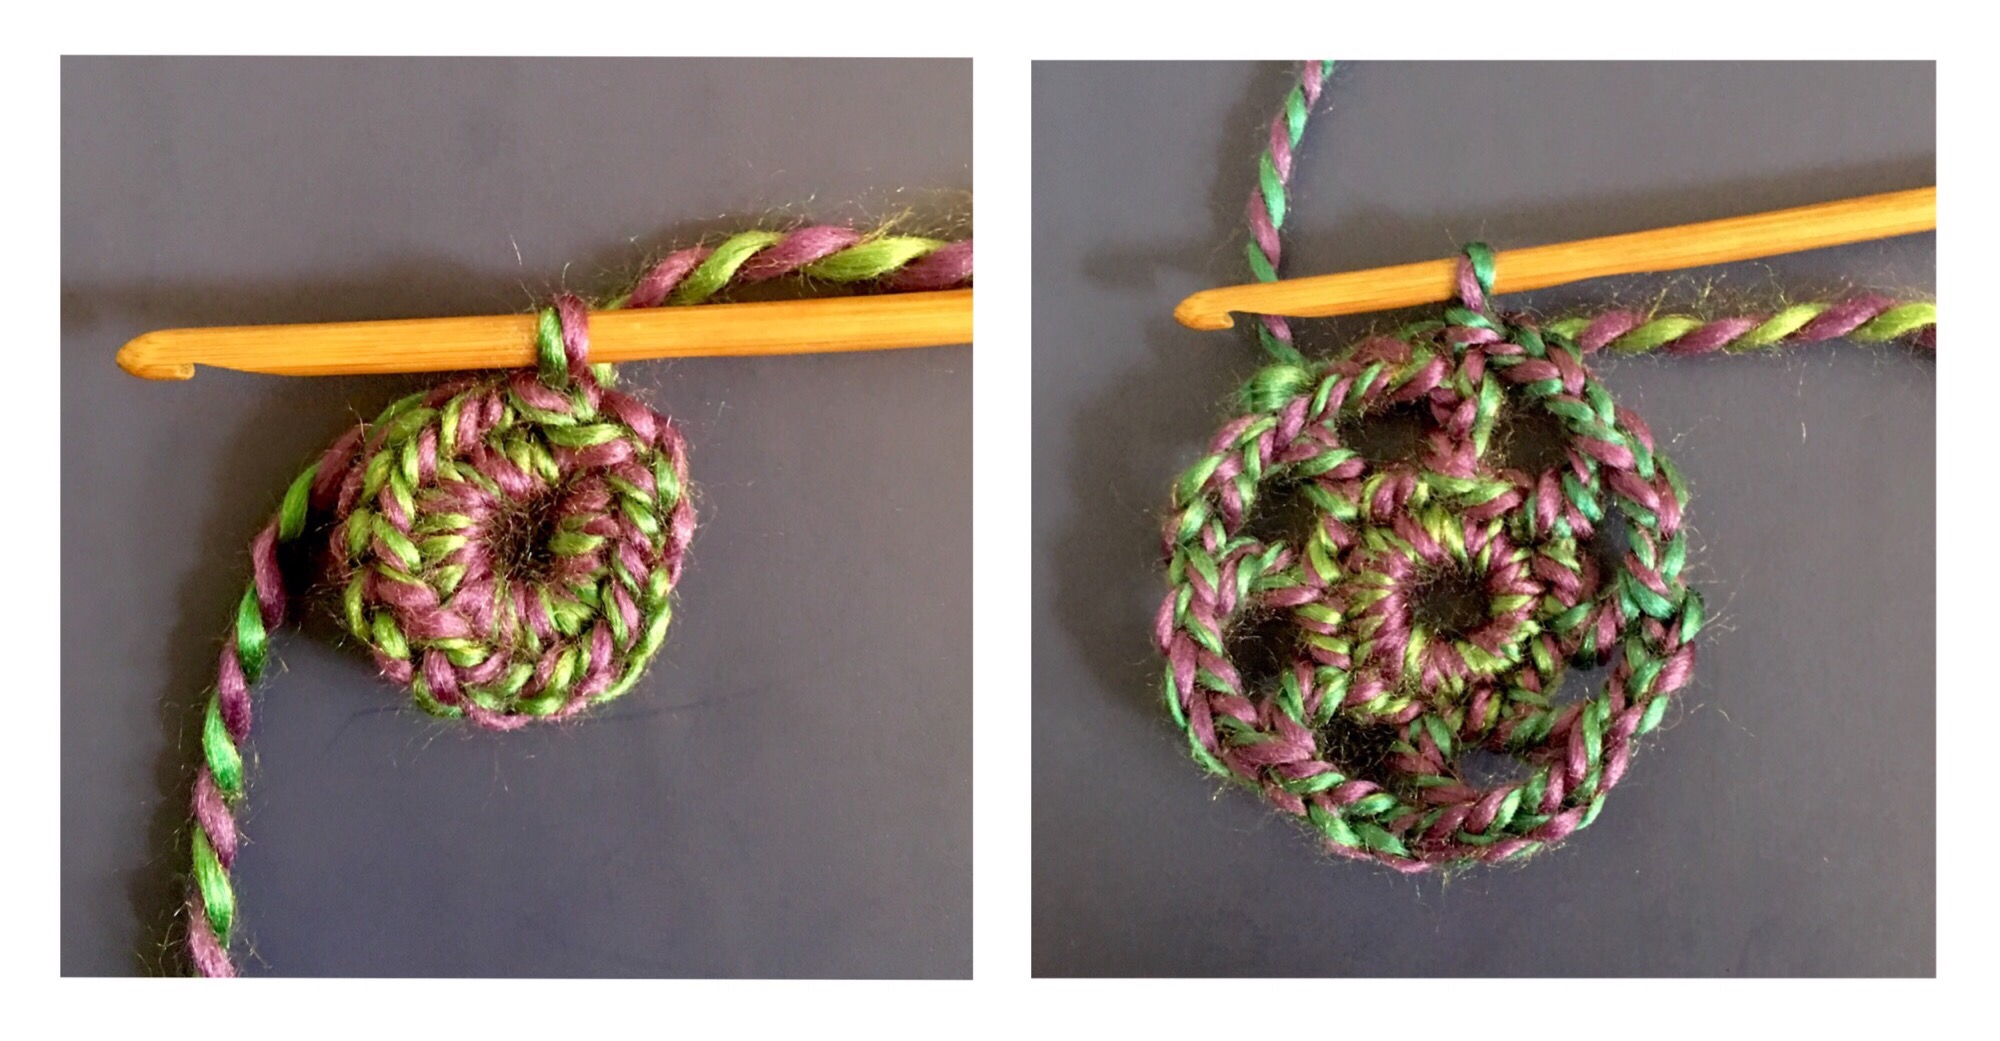
Round 2- ch6, counts as dc and 3ch, *sk next st, dc, ch3, repeat around., join with a sl sr to the 3rd ch of beg ch st. You will have 8 posts and 8 ch3 spaces.
Round 3- sl st into ch3 sp, ch1, *(sc, dc, 2trc, dc, sc) in ch 3 sp, sk next post dc st, repeat from * around. Join with a sl st and fasten off leaving a 24″ tail. You will have 8 petals.
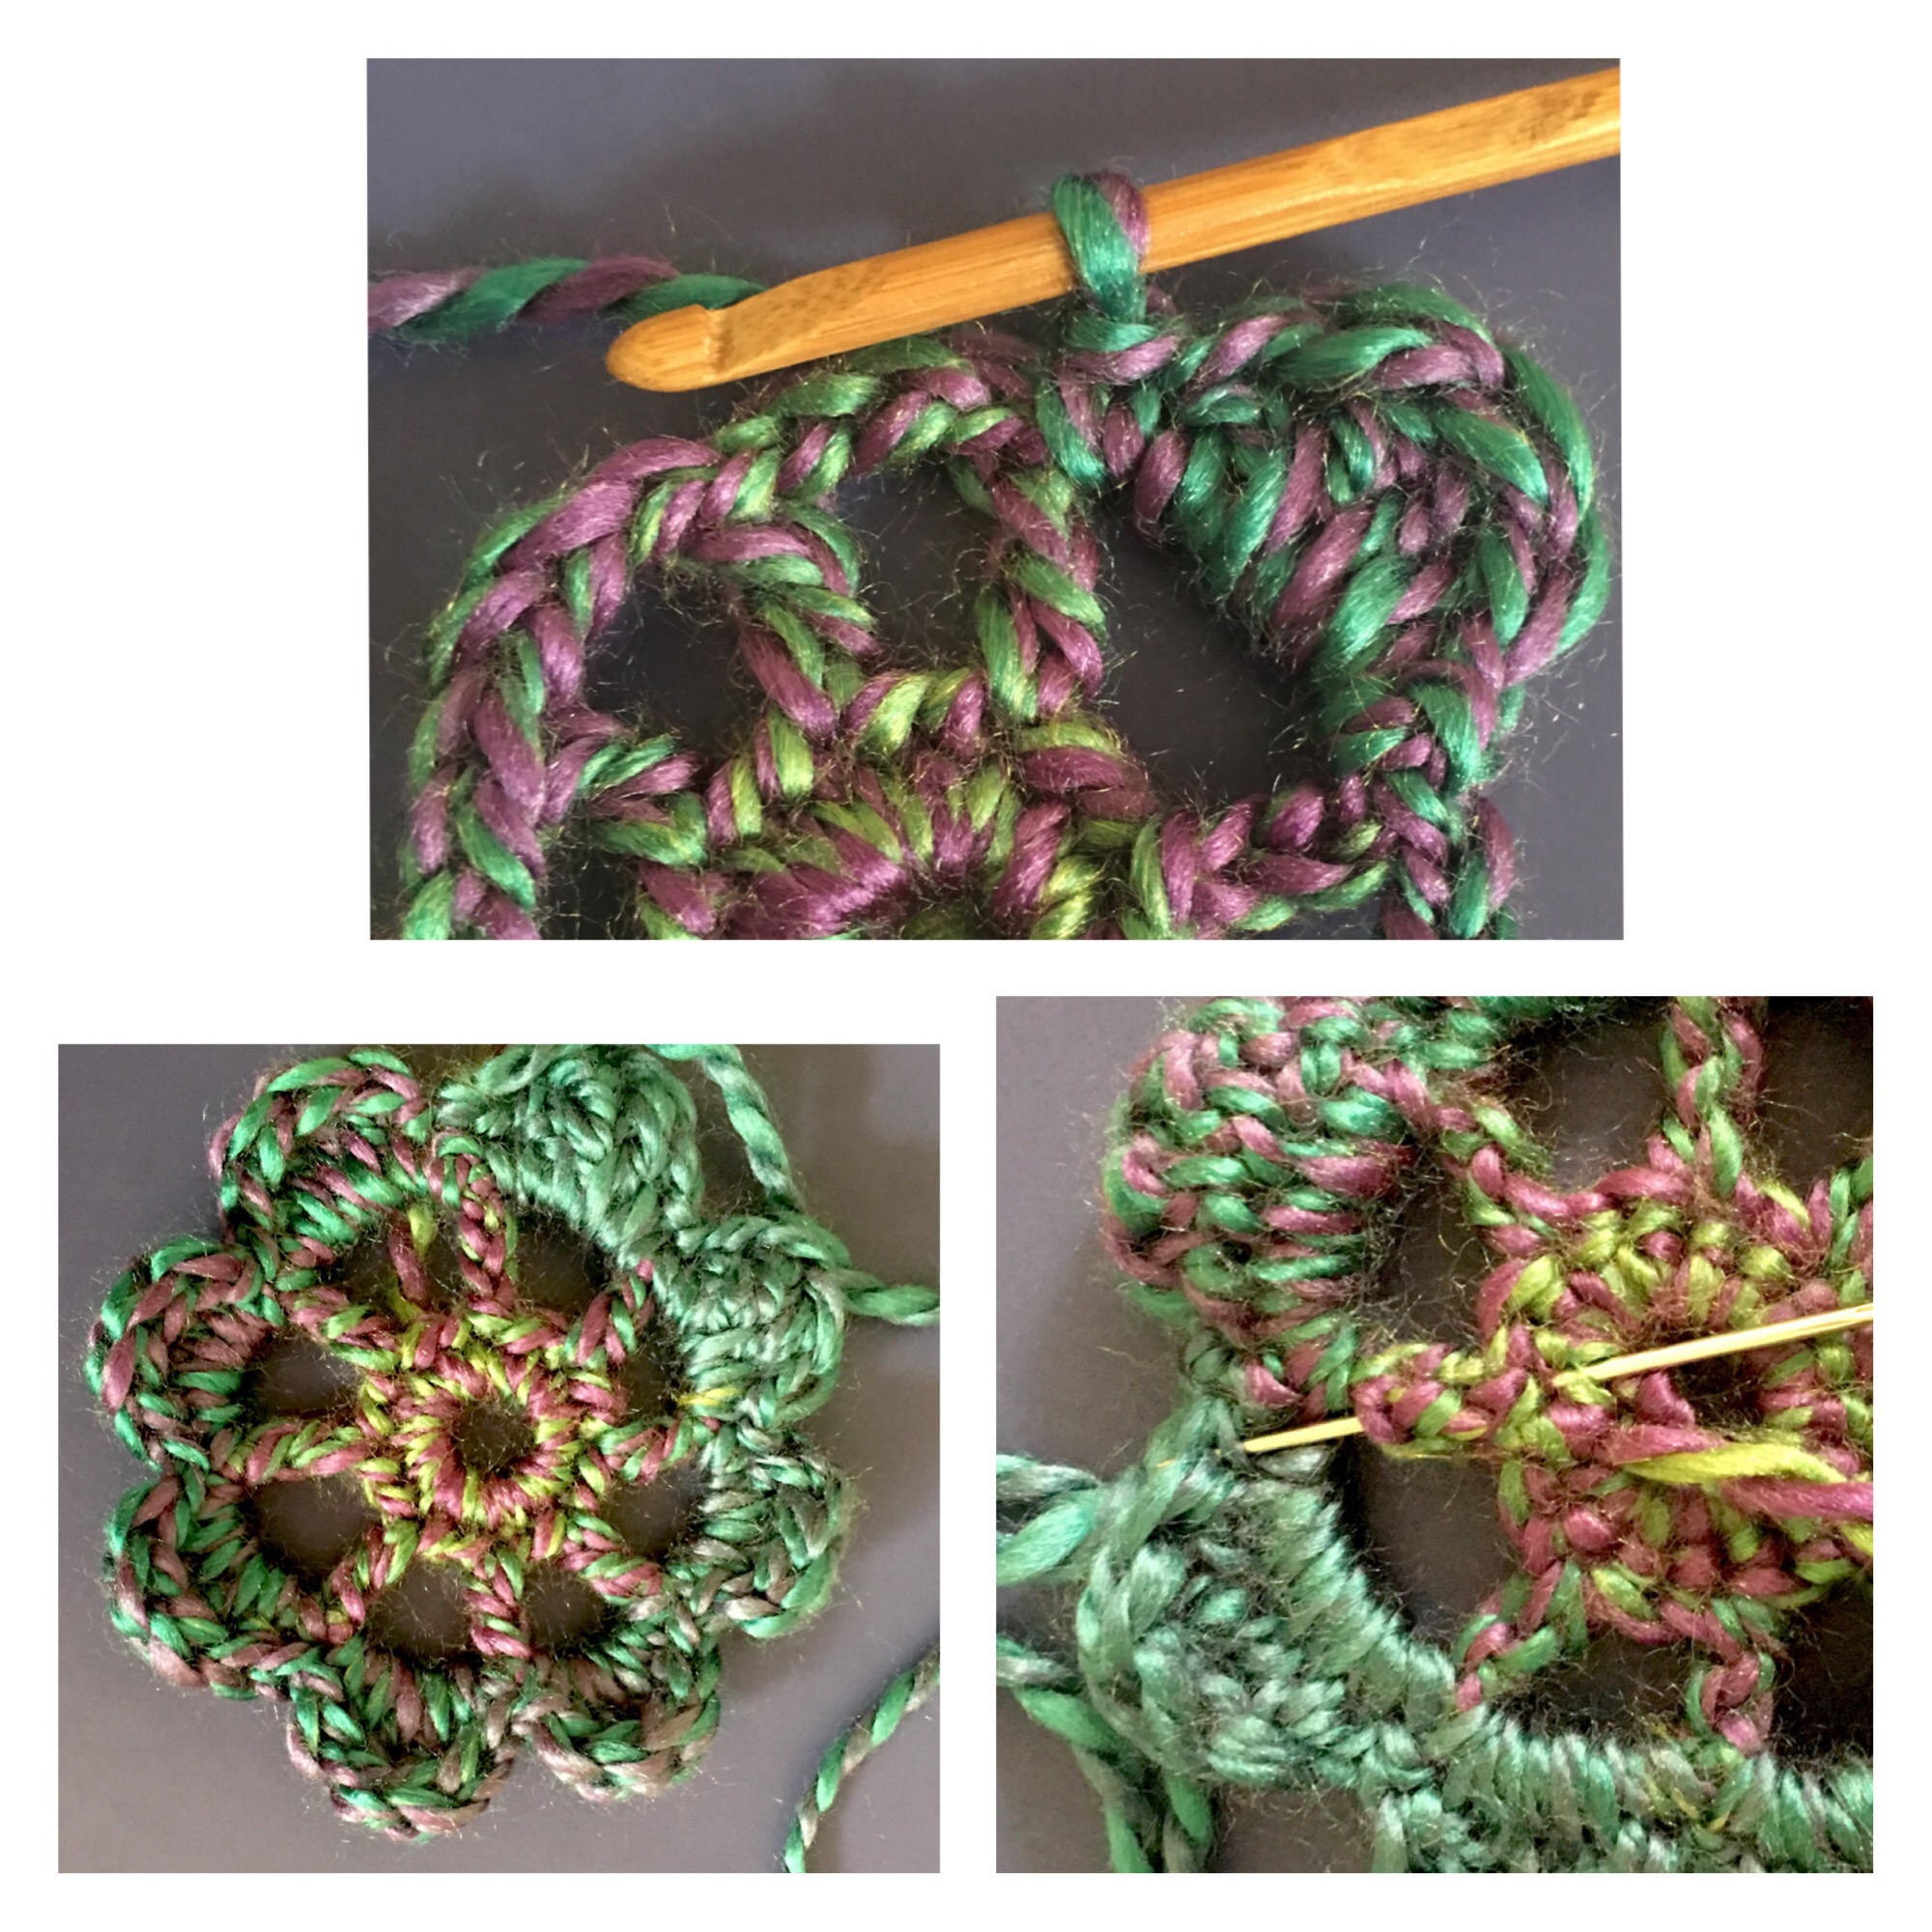 Weave the magic circle tail thread into the back of the flower.
Thread the long 24″ tail thread onto your needle. Place your flower in the center of your granny square.  Sew a small st in the valley and the tip of each petal to attach the flower to the square. Weave the remaining thread into the back to finish off.
Constructing Your Pot Holder–
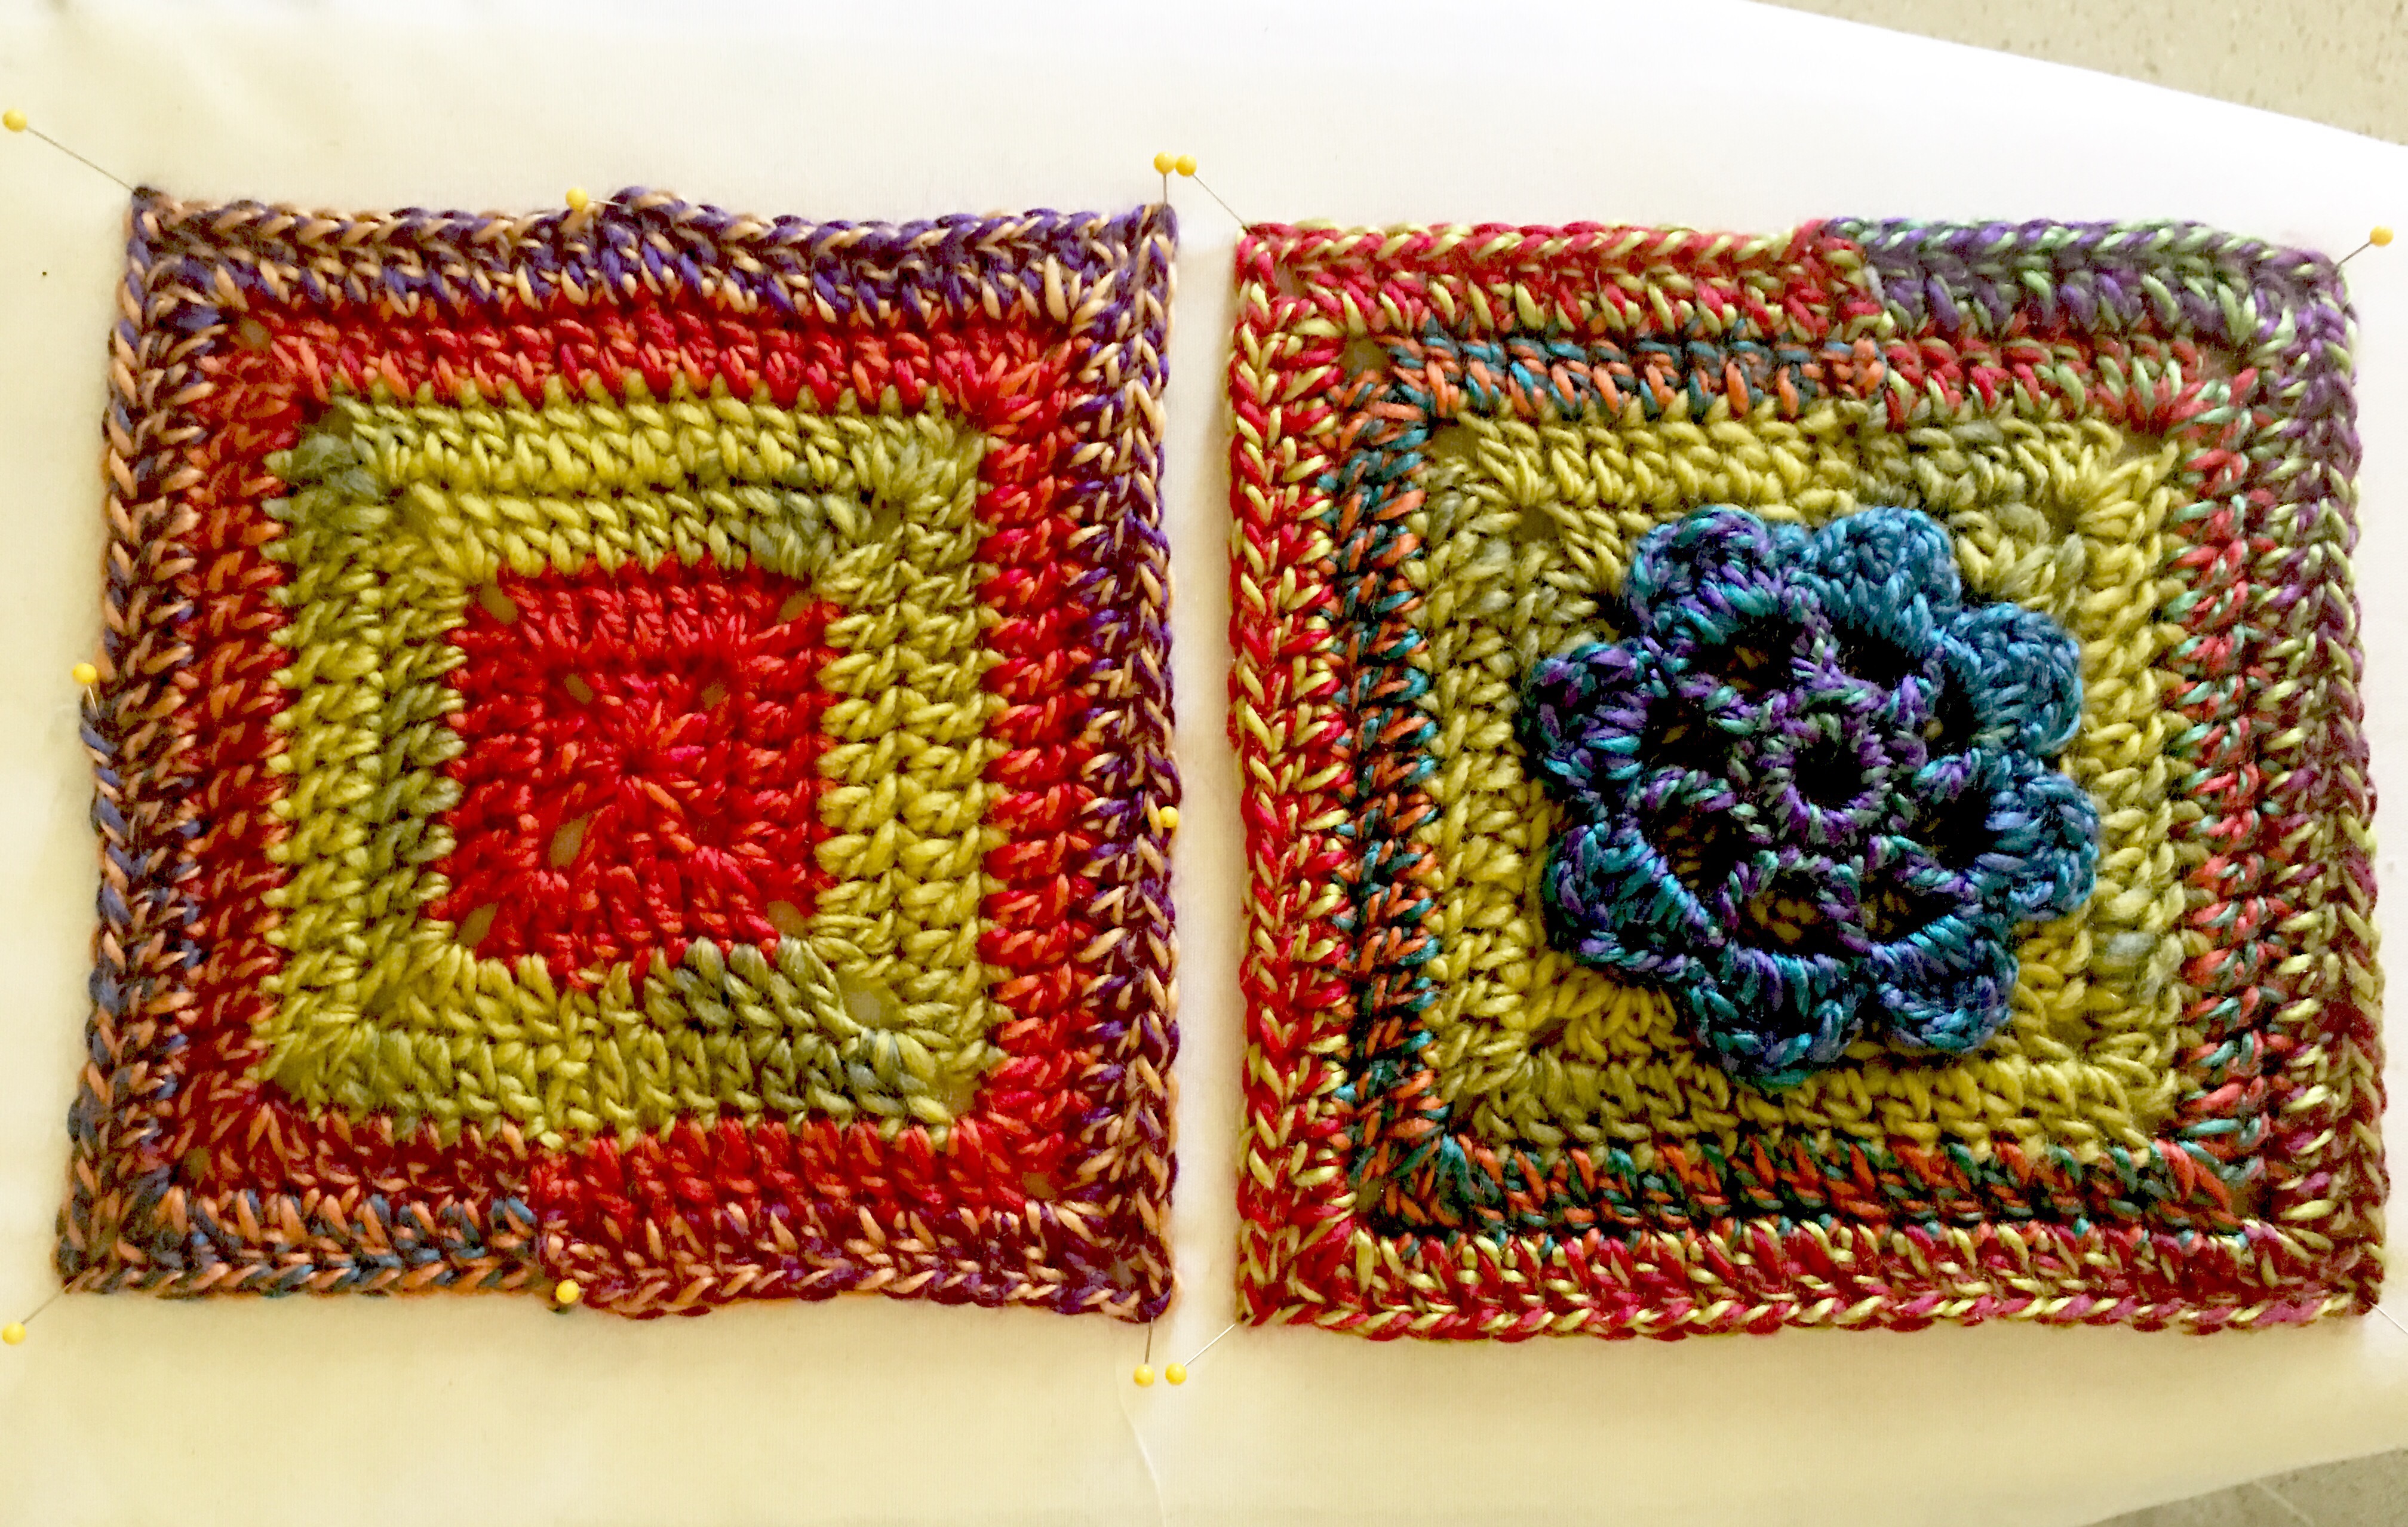
Block your squares by pinning the squares the same size and steam with an iron. DO NOT PRESS OR TOUCH THE IRON TO THE YARN! You want it to look fresh and pretty for gift giving or for a photo shoot:)
—Put the put holders together with the back sides together. Place one square at a diagonal and the other straight like a square. –place a stitch marker in the 6th dc from the corner of each square and connect them in the “valley” of the star. Place a stitch marker in all of the valleys. There will be 8 markers holding your two blocks together.
–with the color of your choice, attach your yarn in any stitch marker stitch. Place your hook through both the top square and bottom square stitches and pull a loop through. Be sure to leave a 6″ tail on the back to weave in at the end.
 –ch1, sc in the same valley st, *sc in next 5st, 3sc in the corner chain, sc in the marked stitch going through BOTH squares, sc in the next 5st of the BOTTOM square, 3sc in the corner chain sp, sc in next 5 st, sc in in the next marked st going through both squares, repeat from * around, join with a slip st to the beg sc and fasten off leaving a 6″ tail. Weave in your tails.
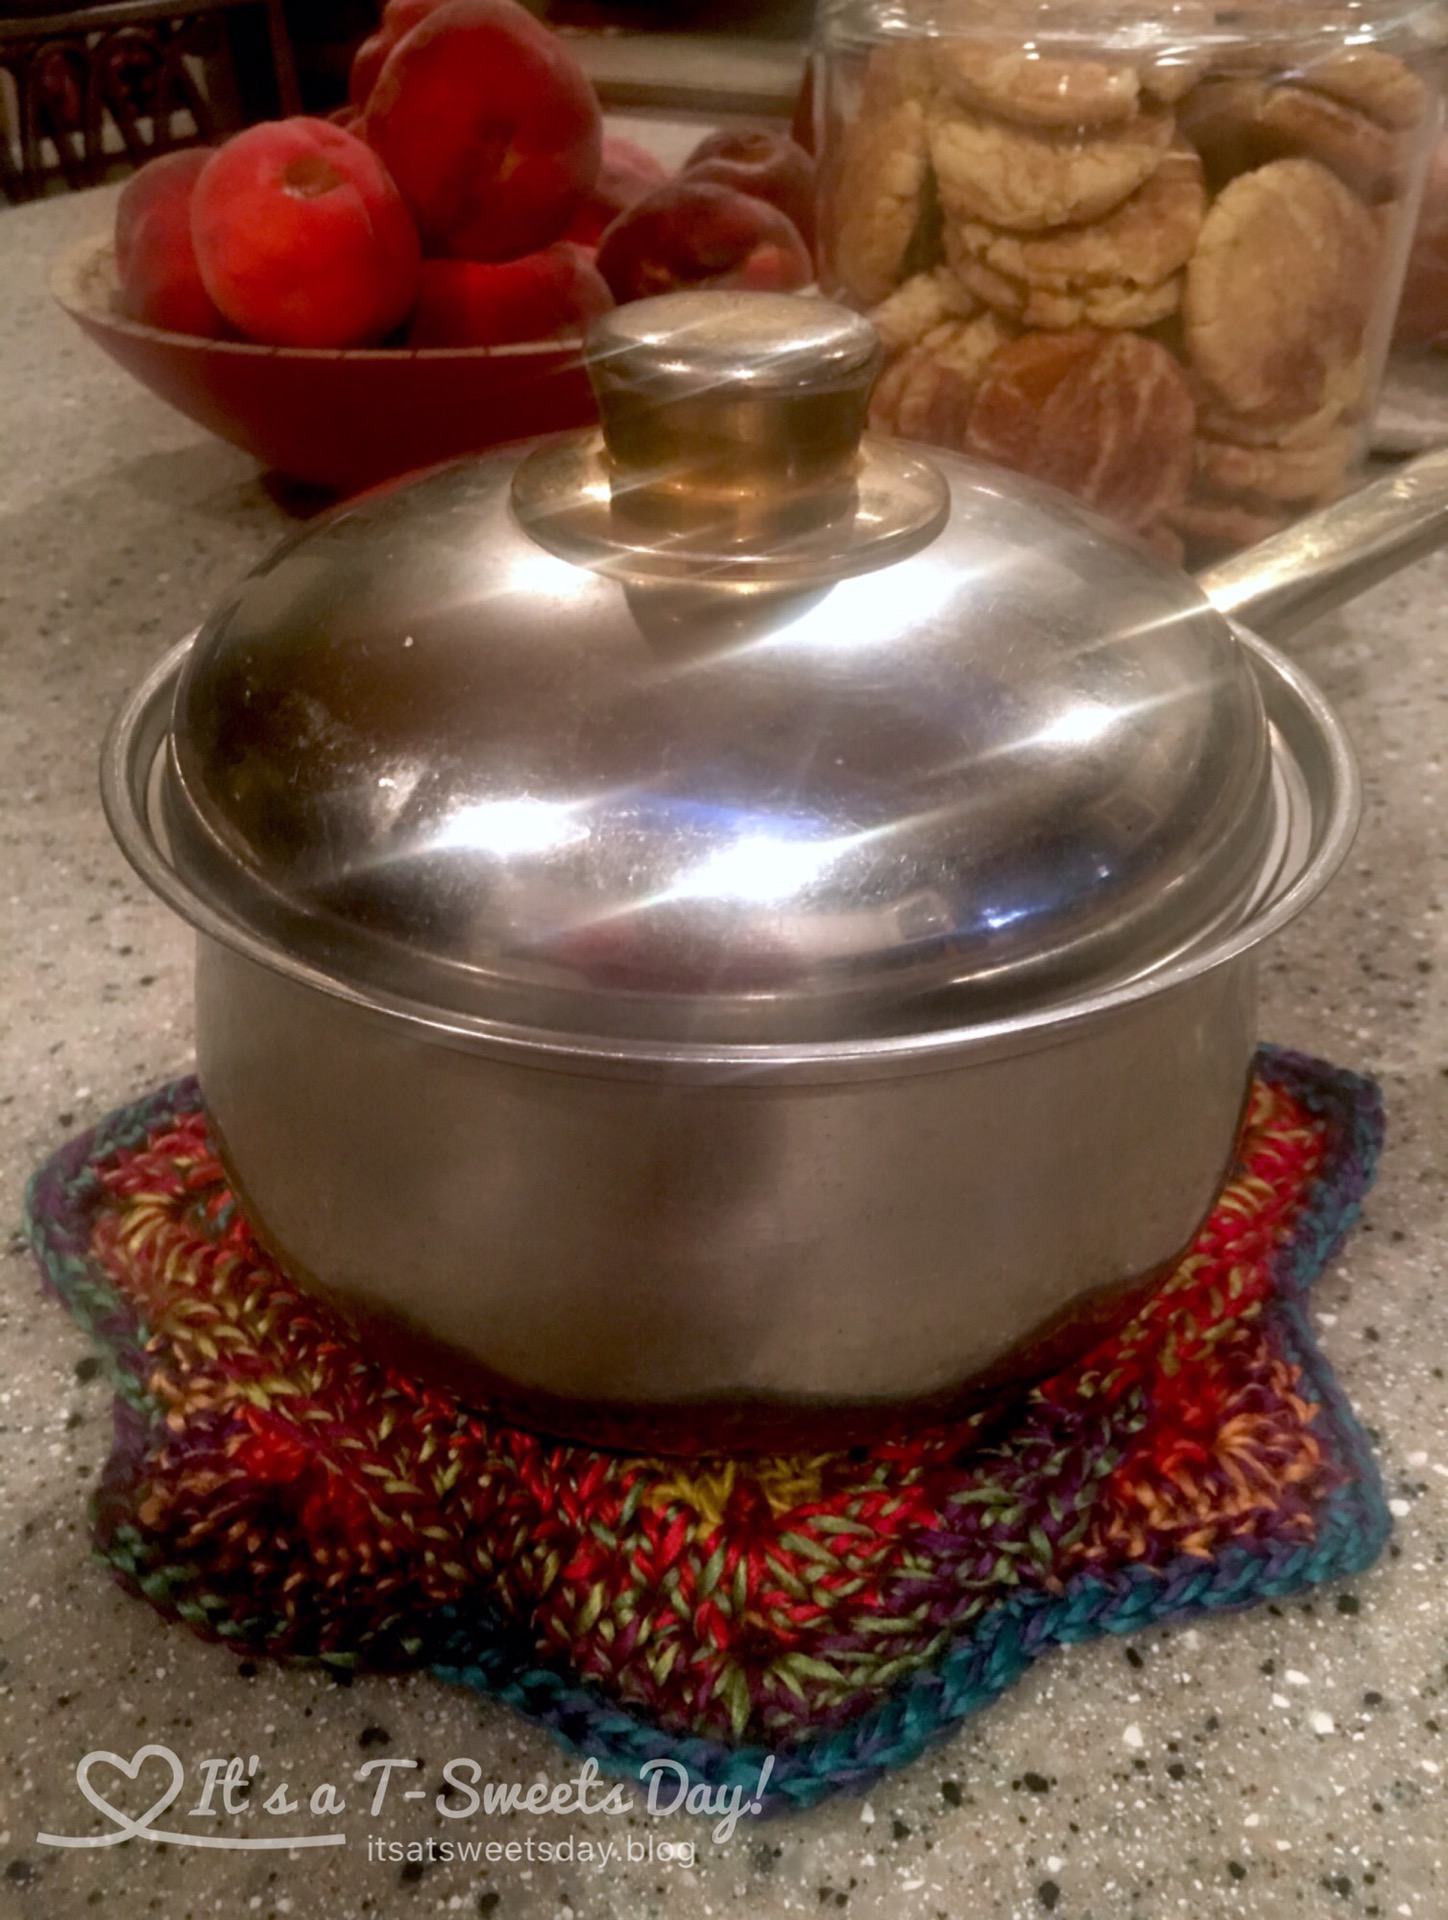
Finished! Far out and Groovy!! But if you use soft, light colors the words, Fresh and SWEET, might be more appropriate:)
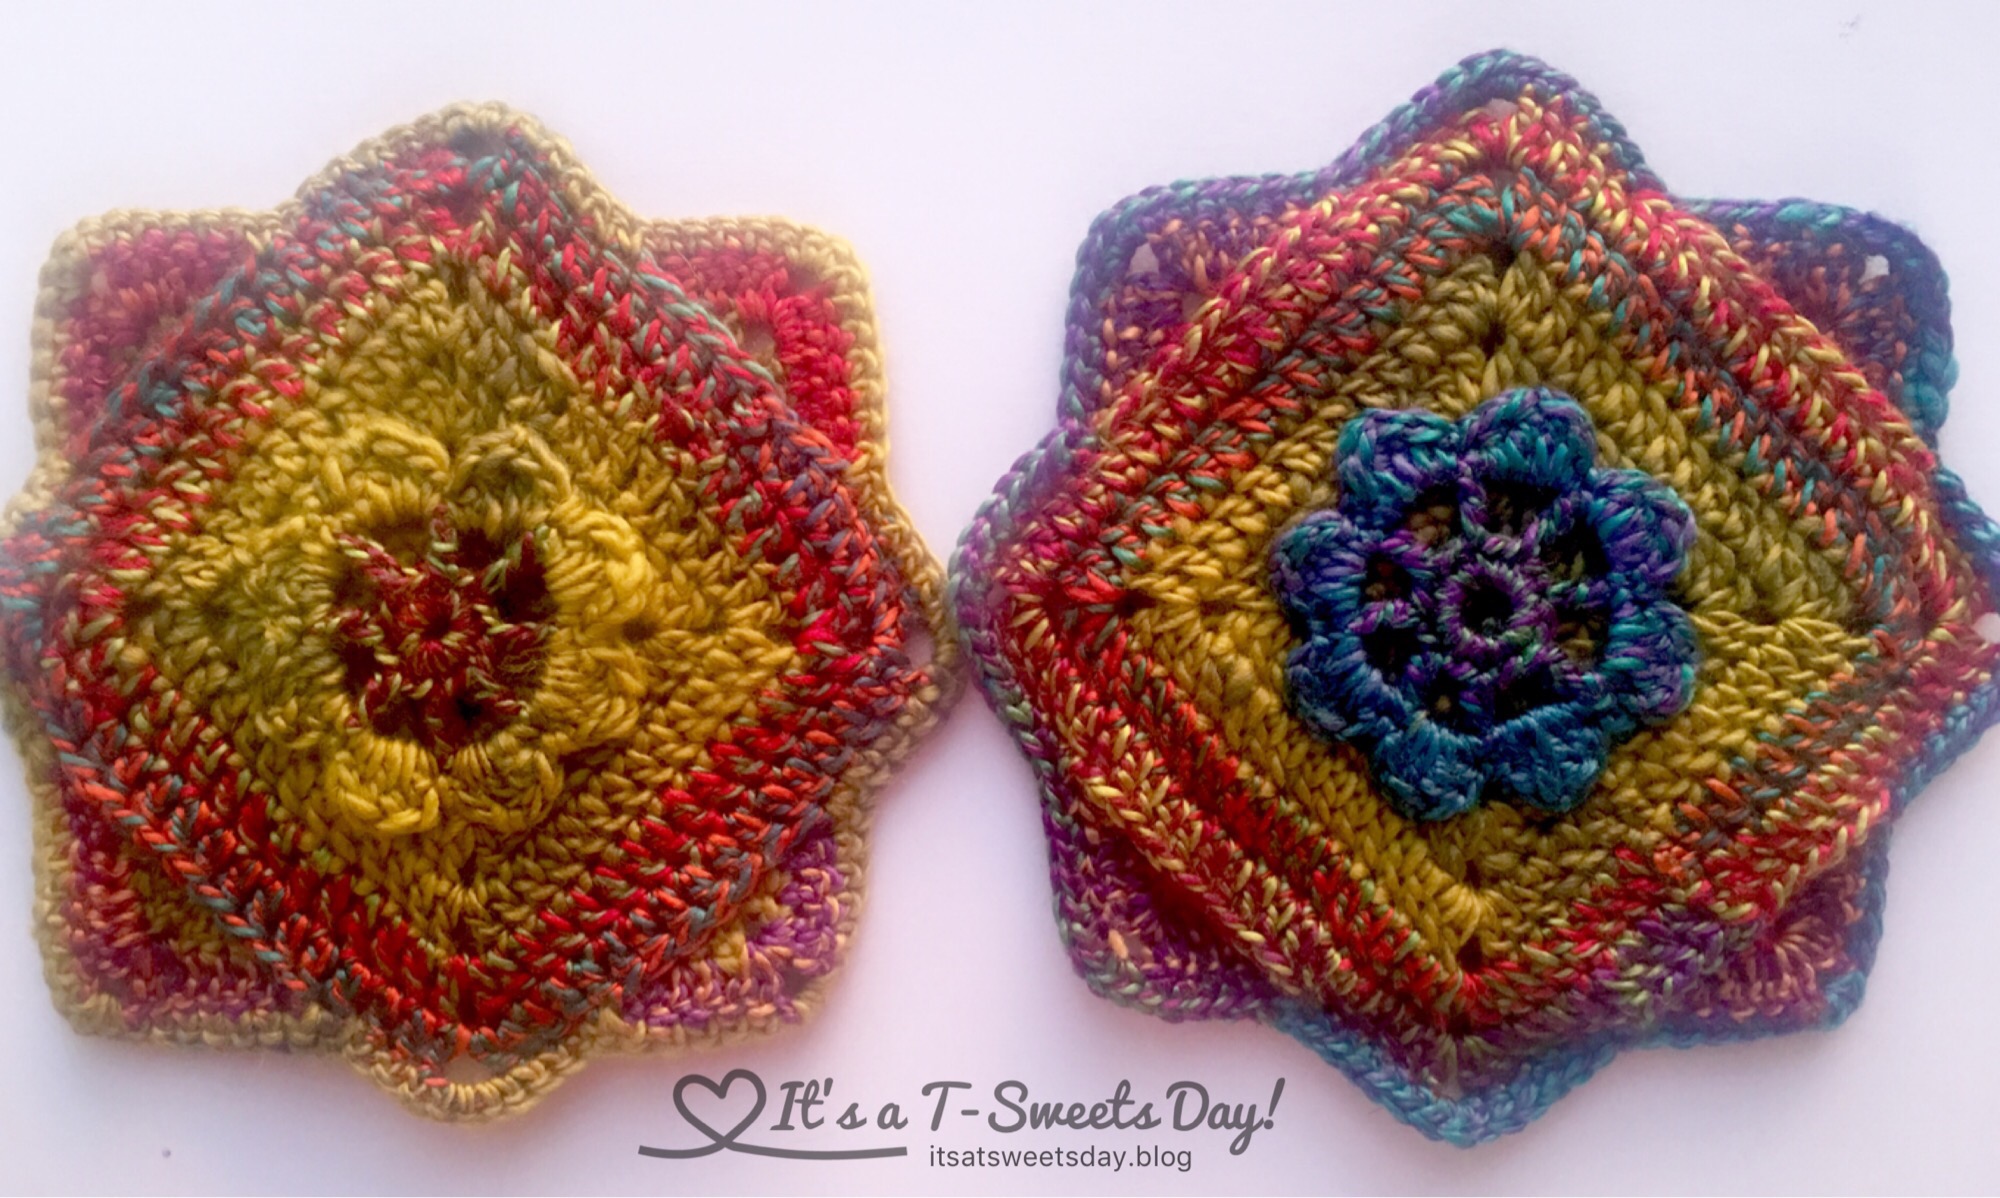
Here are the fronts of my two pot holders.

And here are the backs. I absolutely LOVE them! I am sure I will get years of use out of them. And each time I use them, I will have happy memories of my trip to San Francisco!
I hope you will give this pattern a try. If you do, please let me know how it goes;). Until next time!!


Those are really cute! I have stopped buying traditional “tourist” things on trips. I much prefer something useful that calls to mind good memories of a trip.
LikeLiked by 1 person
We are kindred travelers Kate! Textile memories are the best:)!
LikeLiked by 1 person
What a cool pot holder, and what a fab holiday memory idea. Thank you for sharing
LikeLiked by 1 person
Thank you Julia! I hope you give these Potholders a try. They really work up quickly and are so pretty❤️
LikeLiked by 1 person
very pretty colors and pattern ❤
LikeLiked by 1 person
Thank you so much!
LikeLiked by 1 person
What a lovely idea! I tend to. Up a little souvenir like a spoon or thimble for the memories, but this is a great idea!
LikeLiked by 1 person
Thank you Catherine! I hope you give it a try on your next trip:)
LikeLike
Love your yarn souvenir Tracy, and the potholder tutorial….I might try this. I have some sort of large crochet hook in my bag, maybe I’ll grab some of that charity yarn and see if I can follow your pictures. (I failed Granny squares multiple times as a teen.) 😄 USeful memories are some of the best!
LikeLiked by 1 person
A re-try on the Granny Square is definitely in need Kathy:). I would LOVE for you to try the tutorial and let me know if I have left anything out. You are the BEST!! They do turn out so cute:)❤️❤️
LikeLiked by 1 person
What a nice looking yarn that is – I think I need to plan a vacation in San Francisco 😉
LikeLiked by 1 person
Thank you❤️. San Francisco is always a good idea!
LikeLiked by 1 person
I just made one using some gorgeous cotton variegated yarn. I managed to finish it in one sitting this evening (though I’m going to bed a lot later than planned!) which is good as i was making it as a present for some friends we are visiting tomorrow. Thank you for sharing the pattern.
LikeLiked by 1 person
Oh Julia! Wonderful:)!! I’m so glad you tried it. You made my day❤️❤️
LikeLike
Check it out on my latest blog… I’ve linked to your post from it too, so others can find the pattern. I’m very excited about giving this as a present 🙂
LikeLiked by 1 person
Woo hoo! I’m on my way to check it out!
LikeLiked by 1 person
What a pretty “hippy” potholders!! And that yarn ❤ ❤ ❤ !!!! I used acrylic on some potholders and they've worked out fine so far – no melting. I wouldn't use them to set my cast iron pan on or something that was just coming off the stove, but for warm dishes they're great. 😀
LikeLiked by 1 person
Thank you Tami! A little melting on my Potholders is bound to happen. I’m not that picky as long as my fingers don’t burn. I’ve had a too thin pot holder or too in the past! These are extra thick and finger safe:)! But, I probably
LikeLiked by 1 person
Oops! Reply sent accident lol:). I will save the cast iron for the old ugly Potholders. Lol❤️
LikeLike