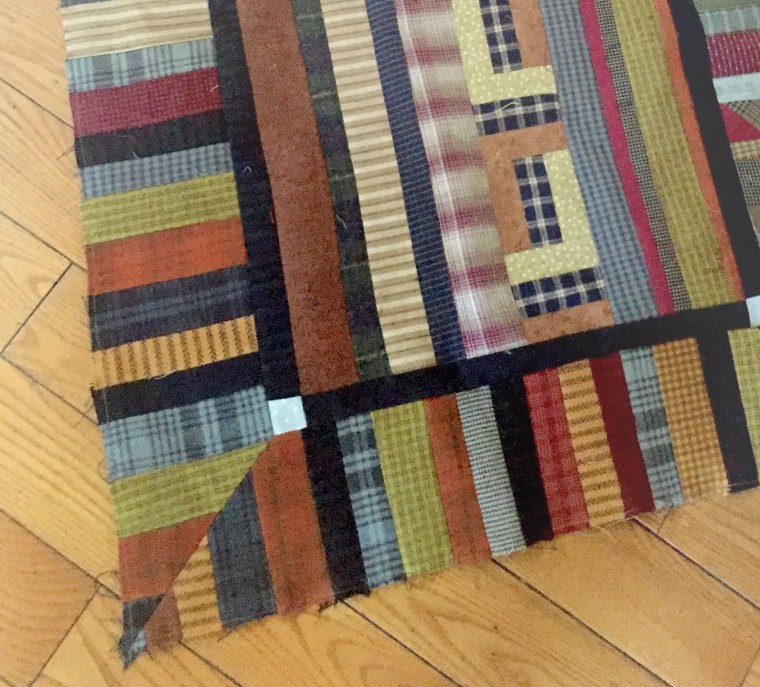
This quilt just screamed for a beautiful piano key border. All of the extra strips looked so pretty and seemed like they wanted to be a part of this quilt as well. The thing about a piano key border is that it definitely looks best with a pretty mitered corner. It isnt hard, but there are a few tricks to it. Here is the way that I made this beautiful Piano Key Border:
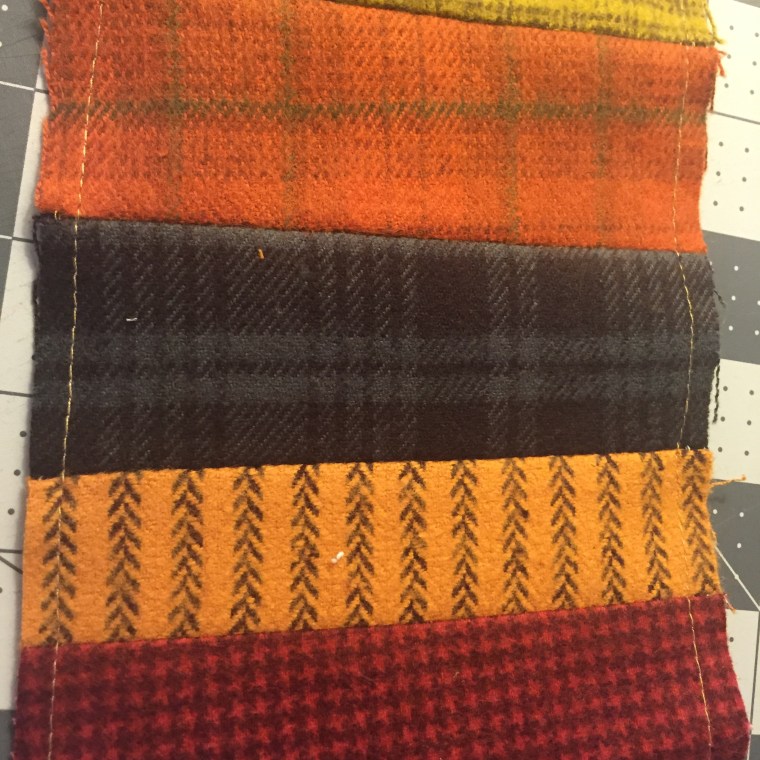
- Decide on the width of the border. You can choose this based upon some of your shorter strip scraps so you waste less fabric. I decided to cut all of my fabric strips to 5″ in length.
- Cut all of the left over or newly cut strips to your desired size.
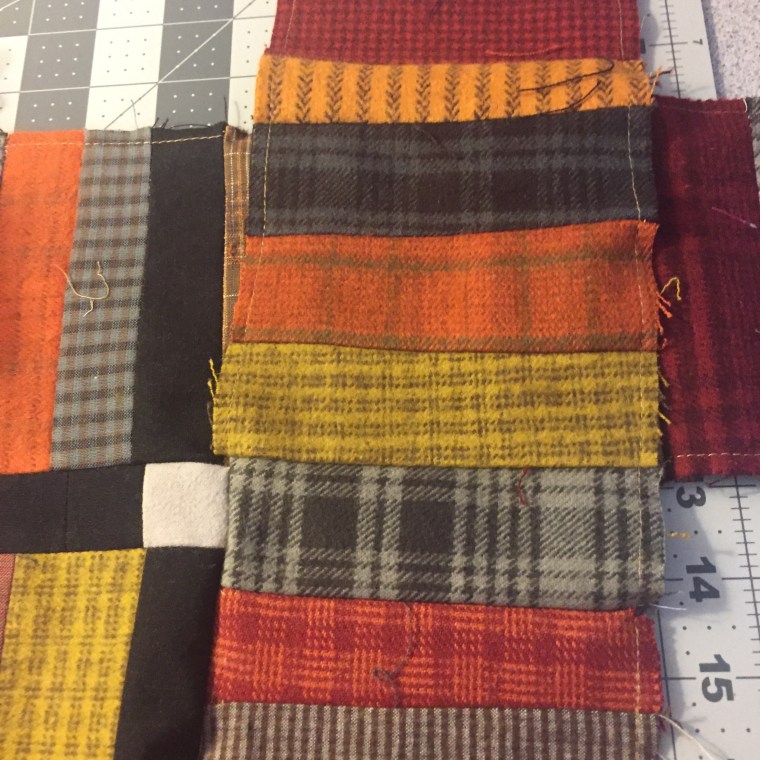
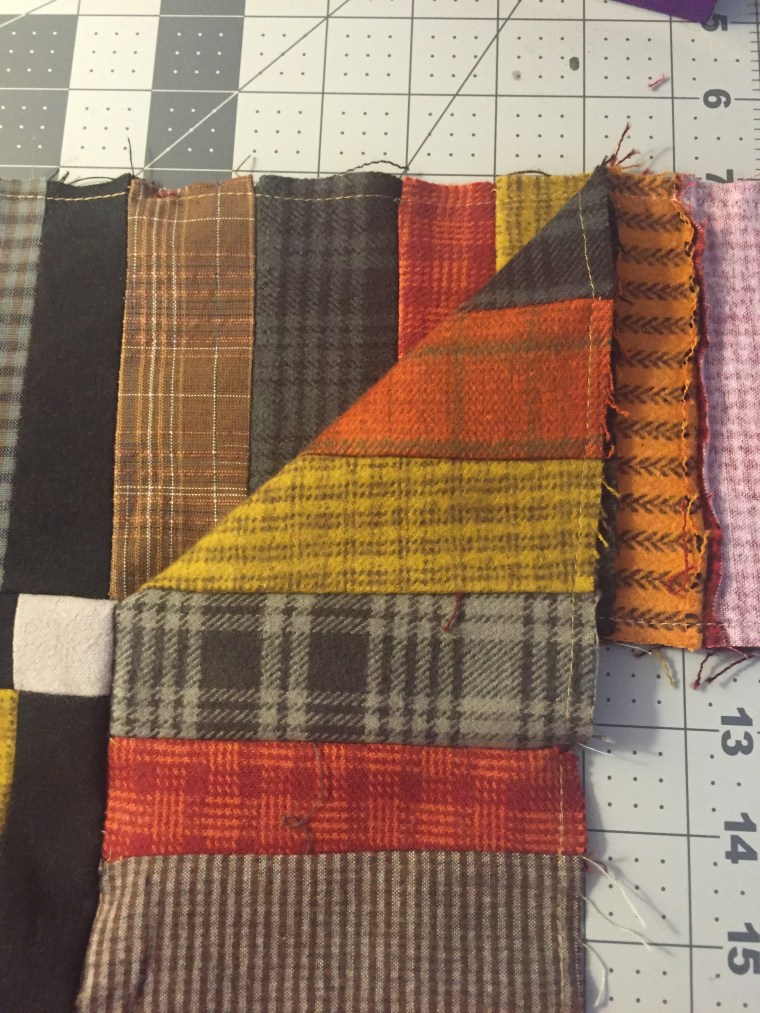
- Once all of the fabrics are cut, then sew them together. You can chain them 2×2, then 4×4, then 8×8 cutting them apart each time and starting the chaining process again. Your piano keys will get longer and longer as you go. Sew 4 lengths that are about 16″ longer than the side you are going to attach it to

Here is my handy “Cutting Gizmo” that I use for cutting my chain piecing. It works great! - Press your strips nice and flat as you go.
- Sew a stay stitch seam a little less than a 1/4″ from each side to keep the seams from opening
- Leaving about an 8″ tail above and below the quilt, sew the piano border to the quilt. Start sewing about 3″ down and leave about 3″ at the end.
- Turn the quilt over so you can see where you are sewing, and sew the 3″ gap closed. Begin and end at 1/4″ from the quilt edge.
- Repeat for the other sides. Be sure to move the previous border strip out of the way so you do not catch it in your stitching. It is important to be quite exact on that 1/4″ start and stop at the beginning and ending of your stitching.
 3″ from the edge
 Start with needle right in the ending stir from previous strip
 It should look like this
 - Press the border flat. With the seams toward the border.
- While at the ironing board, straighten the border tails on top of each other
- Fold the top strip back on itself at a 45 degree angle. The edge will match the bottom strip and it will look like a pretty mitered angle.
- Heavily press this fold. You want a very strong fold mark. CAREFULLY open the fabric back and pin in place so that it does not move at all.


- Gently take your quilt back to the sewing machine and sew on the fold mark. Start from the outer edge and end EXACTLY on the 1/4″ stitching line of the quilt.

Stitch on fold line 
End at 1/4″ seam line 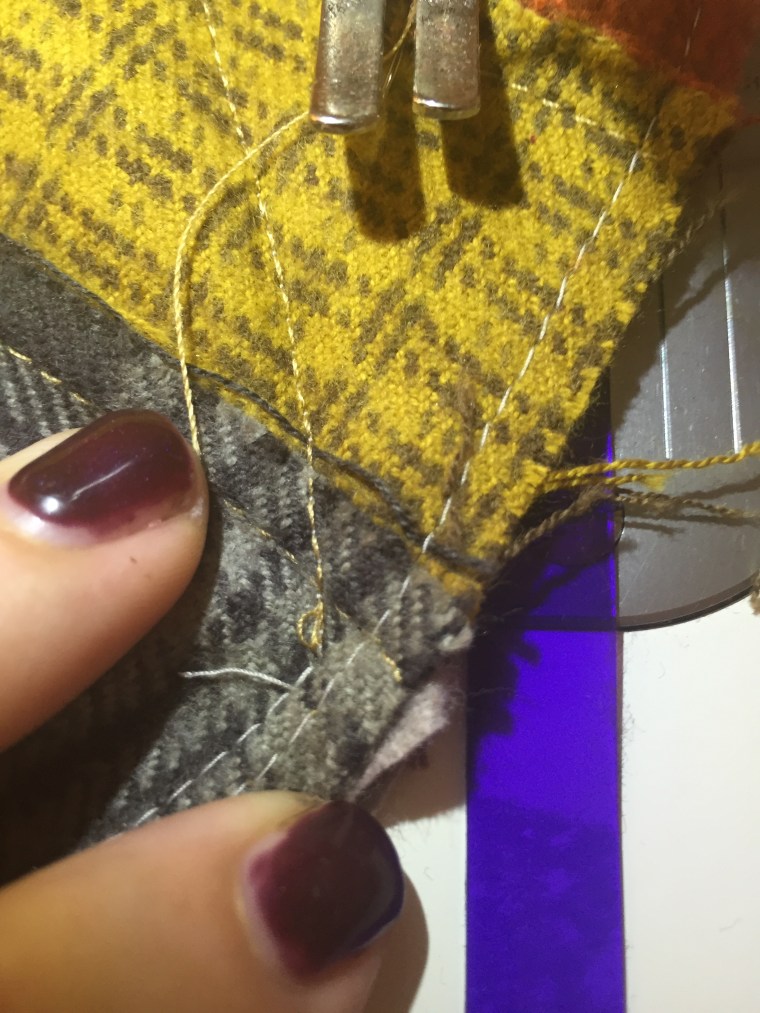
It should look like this - Open and check to make sure that there are no puckers and it looks the way you like it. Then trim the seam and press it open
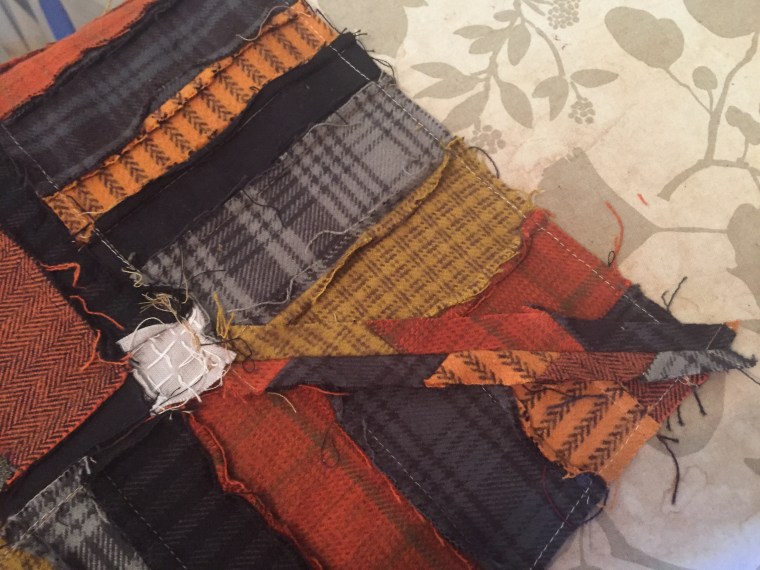
- Repeat this for all of the corners.
There you go! Now you have a SWEET mitered border:). Yea!
–Tracy


