

Hello again! Today is going to be a fun day. We are going to be laying out all of our blocks and sewing them together to make our quilt! Fun!!!:)
We have a lot to do so let’s get started.

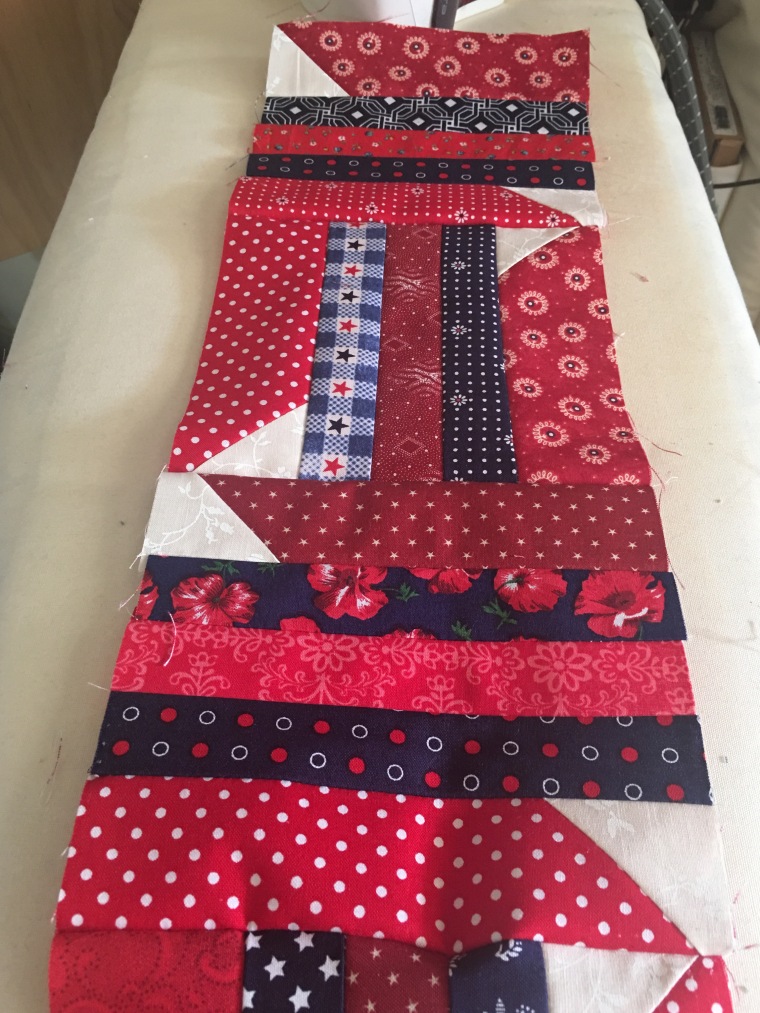
Take all of your finished blocks to a place in your house that has a large enough floor space to lay out about 70″x80″. Start laying each block down with one block having the stripes go vertically and the next block having the stripes go horizontally.

Look at how the pin wheels magically appear! Lay your blocks into 12 rows of 10 blocks each. Lay them out and arrange the blocks so the colors are the way you like them.

Woo hoo! We are ready to sew:)!! It is a little tricky to make sure all of these blocks are sewn exactly in the place we have put them. But don’t worry, if you are patient with walking back and forth from your machine to your laid out blocks, you will have no problems at all.

The first thing we have to do is mark the left side of the first block of each row. I like to use clover clips, but you could use stickers, safety pins, or bobby pins. Whatever you have to mark that side of that square is fine. In fact, if you use stickers, you could even write the number of the row. That would be the BEST way:)

Starting on the top #1 row, place the left square on top of the square to the right. Place those squares on top of the next square, and those on top of the next. Keep placing your squares on top of each other until the whole row is in a pile. Take this pile to your sewing area.

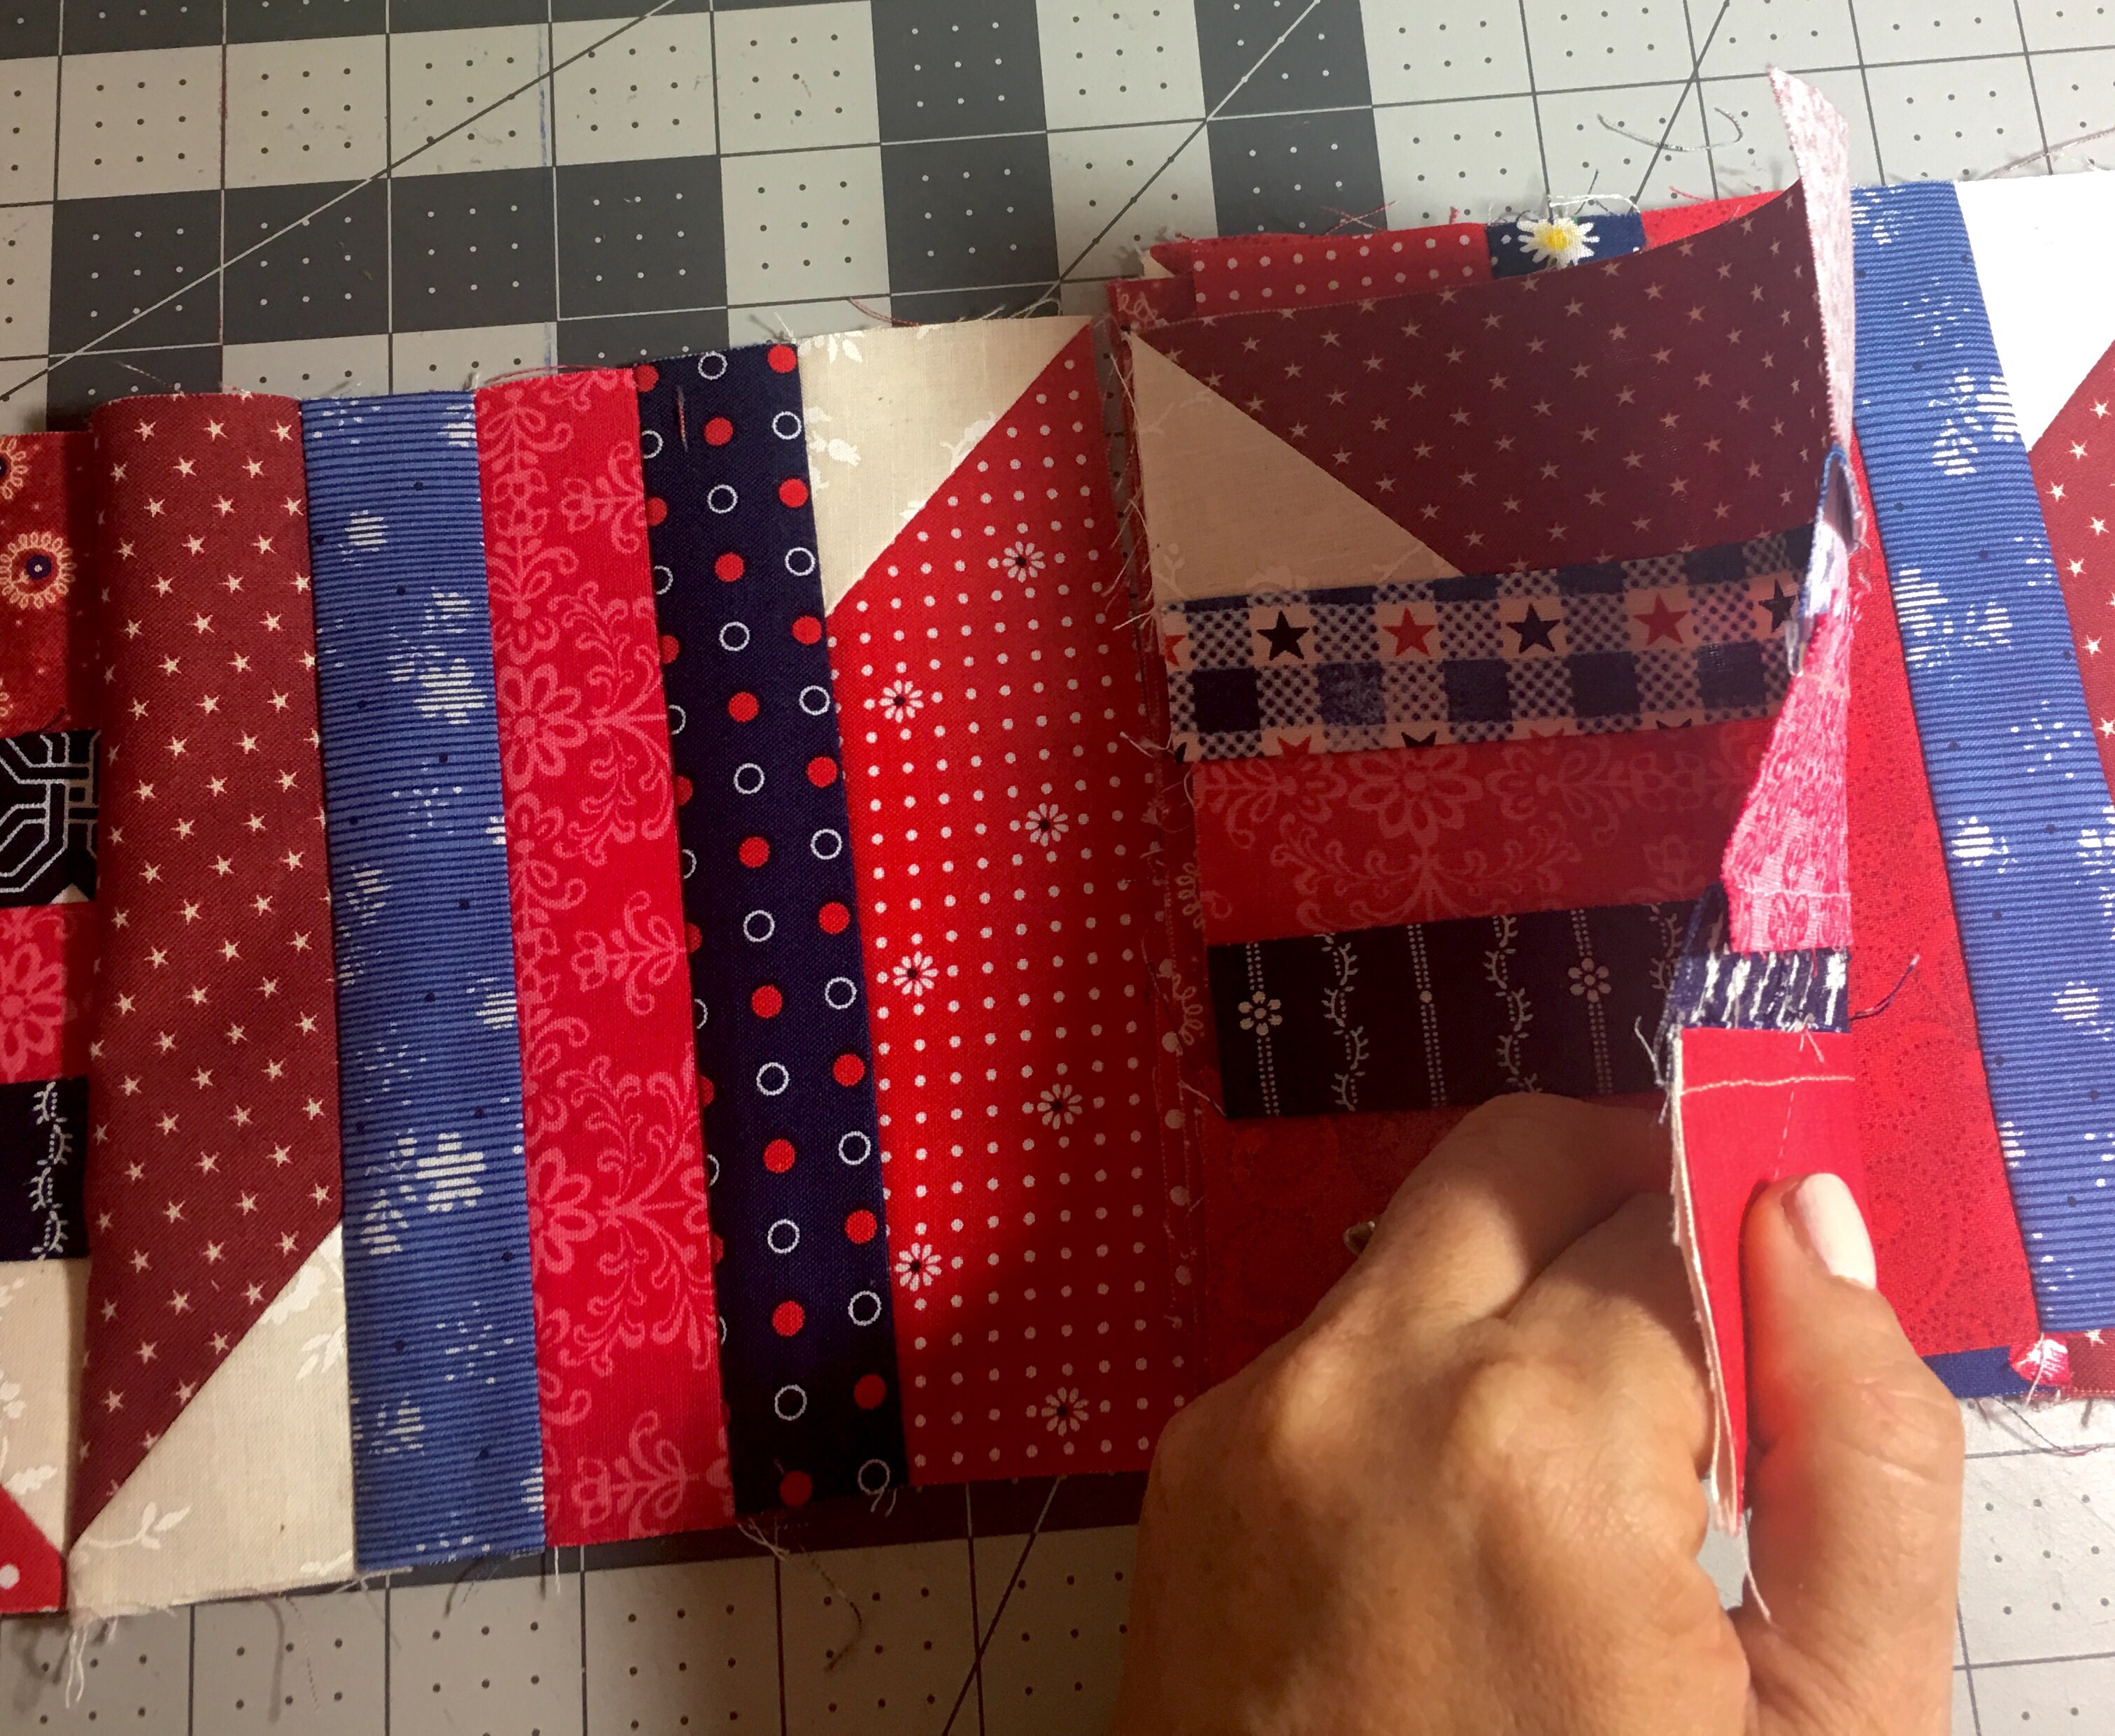
- Move the top square to the left of the pile
- Flip the next square over on top of that square like turning the page of a book
- Sew the right edge of these blocks together.
- Open the blocks up and add the next block to the right side of the last block

- As you are sewing, check to make sure the flipped cream pieces are snug together tightly or as I like to say, “kissing” each other. You can feel this with your fingers as you go, or you can pin them if you need to.

- The half pinwheel should have the point 1/4″ up from the edge and look like this:

- Repeat this process until all 10 blocks are sewn together.
- Take your row to the ironing board and press the seams flat and smooth.


Yea! Our first row is done!

Take it back to our layed quilt and lay it in its place and repeat the process for all of the rest rows. Whew! That is a lot of walking back and forth. But believe me, you won’t get lost in your quilt this way.
Now let’s take row #1 and #2 to our sewing machine. Be sure to mark #1 row with an extra clip or sticker to be able to keep them in the right order. Here is why the stickers with the row # written on it would be the best method of marking that left edge.

Sew the bottom of row #1 to the top of row #2. Make sure that the blocks are kissing each other at the seams as you go.

Sew the whole row together and press it open.

Just look at this beautiful, magical pinwheel! SWEET!!

Sew and press all of the rows together in this same manner.

Woo hoo!!!! Your quilt is all sewn together and it looks FANTASTIC!!
We are almost done with our quilt. In our next lesson we will add the border. See you then:)
Don’t forget to post pictures of your fabric and progress on Instagram #pinsandstripesqal I will be giving away a jelly roll to someone who posts a picture from all seven lessons and a picture of themselves with their new quilt by the end of July 2017!!

If any of you are just joining us, you can find the previous lessons here:
- Lesson #1 – Planning
- Lesson #2 – Fabric preparation
- Lesson #3 – Chain Sewing
- Lesson #4 – Stitch and flip
- Lesson #5 – Layout
- Lesson #6 – Borders
- Lesson #7 – Quilting and Binding

This quilt is SEW BEAUTIFUL!! You have inspired me to make this pattern. Thank you so much for sharing this. I LOVE IT. Hope you’re having a great quilting day :))
LikeLiked by 1 person
Fantastic Anthony!!! Glad to have you joining in:). Any day is a great day if there is quilting involved!! I look forward to seeing the fabrics you choose😊
LikeLiked by 1 person
Look at those corners and points match up perfectly! Great job.
LikeLike
Hi Tracy!
My quilt was on the back burner in July because I had a ton of family stuff/traveling going on, but I’m ready to get back into it!
I laid out all the blocks and have them all in rows, etc. the way I want them. However, I noticed that for some reason pretty much all the blocks are rectangles instead of squares. The width is about 1/4 to 1/2 inch shorter than the length. I don’t really know how this happened, but I’m wondering what I should do now. Is my only option to measure and cut a little off of both ends of each block to make them perfect squares? Any advice?
Thanks so much! XO
Delia
P.S. Tassy sent me some photos from Declan’s blessing and the outfit you made looked so cute on him!!
LikeLike
Wonderful Delia! This can happen for various reasons such as even a 16″ too large or too small seam multiplied 4 times can equal 1/4″. Never fear though. Just lay the blocks you are sewing together right sides together with short side of the block centered on the 6.5″ block . There should be anywhere from an 1/8″ to a 1/16″ fudge factor which will be swallowed in the seam. I also find that a 1/4″ off is fairly easy to pull and stretch a bit to make fit. Put the larger block on the bottom and pull on the top just slightly as you sew and they will magically line up!:).
Let me know if this makes sense or do f you need a picture or two. 😉❤️–Tracy:)
LikeLike
Thank you!! It makes sense and I will try it. Also, I totally thought I had sent that last message in an email. Didn’t mean to make it a public comment.
LikeLiked by 1 person
No problems at all❤️
LikeLike